
Hey there, friends! I’ve gotta tell ya, there’s nothing quite like the magic of a 5-Minute Chili Bar to turn a hectic weeknight into a full-on feast. A few years back, I stumbled upon this idea when I was scrambling to feed a houseful of hungry teens after a soccer game, and let me tell you, it was a game-changer.
With just a handful of pantry staples and a few minutes, I had a spread that made everyone feel like they’d walked into a cozy diner.
Now, I’m not exaggerating when I say this 5-Minute Chili Bar has saved my sanity more times than I can count. It’s become a go-to in my house, especially when I’m short on time but still want something hearty and customizable. My family loves piling on their favorite toppings, and I love how I can whip it up faster than you can say “dinner’s ready!”
Honestly, if you’re looking for a quick, crowd-pleasing meal, this 5-Minute Chili Bar is gonna be your new best friend. Stick with me, and I’ll walk you through every step to make it just as easy and delicious in your kitchen as it is in mine.
Why You’ll Love This Recipe
I’ve found that the 5-Minute Chili Bar isn’t just about speed; it’s about the pure joy of customization. In my kitchen, it’s a guaranteed hit because everyone gets to build their bowl exactly how they like it, from spicy to mild, loaded with cheese or piled with veggies. It’s like a little party on a plate, and who doesn’t love that?
Plus, let’s be real: a 5-Minute Chili Bar means less stress for me as the cook. I’m not slaving over a hot stove for hours; I’m just tossing together some basics and letting the fam go wild with toppings. It’s a win-win, and I think you’ll feel the same once you give it a try!
Ingredients List
Alright, let’s talk about what you need to pull off this 5-Minute Chili Bar. I’m all about keeping it simple, so I stick to ingredients I usually have on hand or can grab in a quick grocery run. Honestly, I prefer brands like Hormel for canned chili because it’s got a solid flavor base, but feel free to use whatever you’ve got.
Here’s the breakdown for a basic 5-Minute Chili Bar setup that’ll feed about 6-8 folks. I’ve included some notes on my faves, ‘cause I’m picky about a few things (aren’t we all?).
For the Chili Base
- 3 cans (15 oz each) of chili with beans, I go for Hormel with mild spice
- 1 can (15 oz) of black beans, drained and rinsed for extra heartiness
- 1 tablespoon chili powder, to amp up the flavor if needed
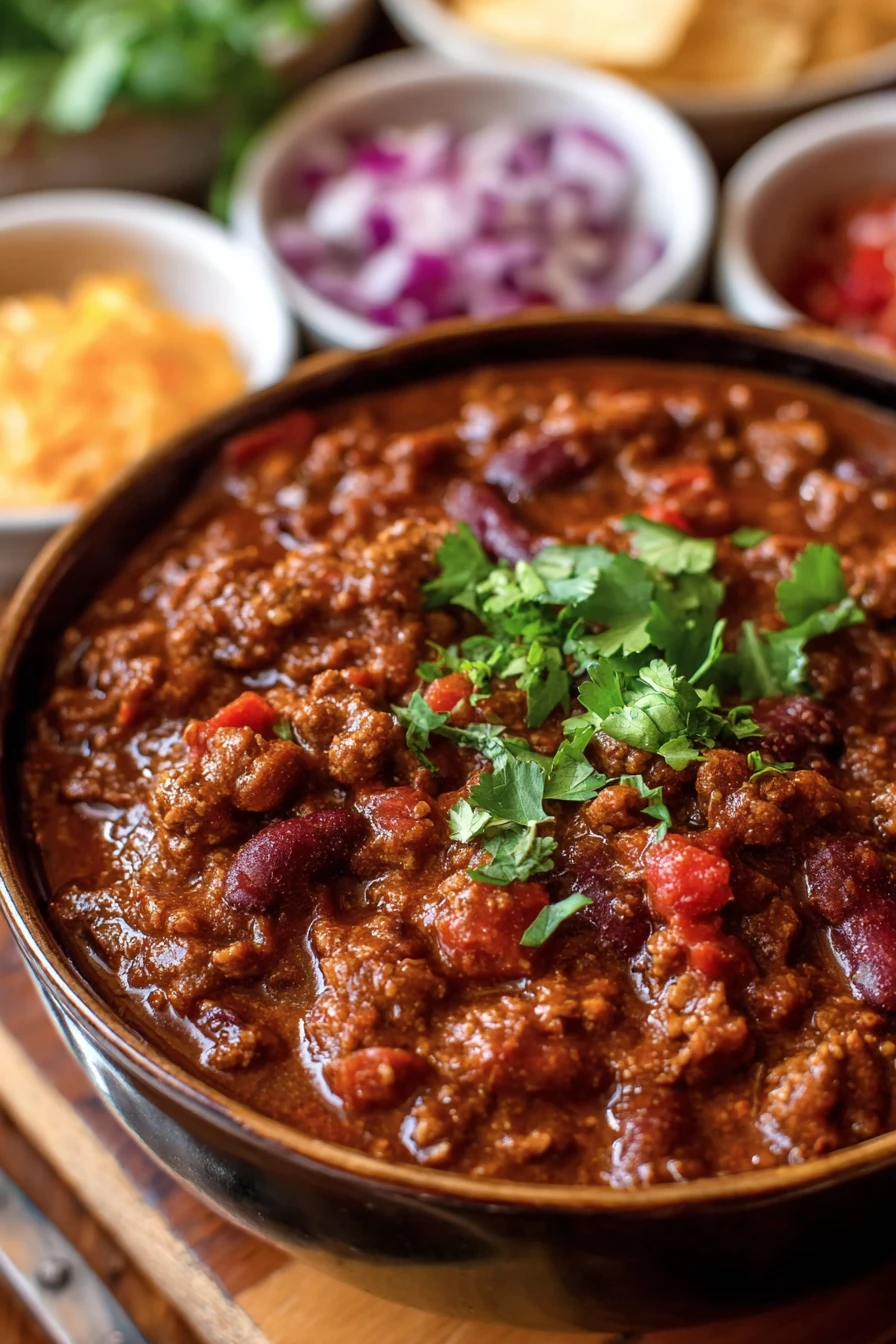
For the Toppings Bar
- 1 cup (240g) shredded cheddar cheese, sharp for that bold bite
- 1/2 cup (120g) sour cream, full-fat ‘cause it’s just creamier
- 1 cup diced tomatoes, fresh if possible for a pop of color
- 1/2 cup chopped green onions, for a little zing
- 1 small bag (10 oz) corn chips, like Fritos, for that crunchy magic
- 1/4 cup sliced jalapeños, pickled or fresh if you’re feeling brave
These are my go-to picks for a killer 5-Minute Chili Bar, but you can mix and match based on what’s in your fridge. I usually buy extra cheese ‘cause my kids go nuts for it. Trust me, having plenty of options makes this feel like a legit feast!
Variations
One of the best things about a 5-Minute Chili Bar is how dang versatile it is. I’ve played around with so many tweaks over the years, and I’m excited to share some of my faves. Whether you’re feeding picky eaters or spice lovers, there’s a version of the 5-Minute Chili Bar for everyone.
Here are a few spins I’ve tried (and loved) on the classic 5-Minute Chili Bar setup. Honestly, half the fun is experimenting, so don’t be shy about making it your own!
- Turkey Twist: Swap out canned chili for a quick ground turkey mix with taco seasoning. I tried this once when I was out of cans, and it was a lighter, fresher take.
- Veggie Vibes: Go meatless with a mix of kidney beans, lentils, and diced bell peppers. My vegetarian sister raved about this one!
- Spicy Inferno: Add a dash of hot sauce or extra chili flakes to the base. I’m a heat junkie, so this is my personal go-to.
- White Chili Wonder: Use canned white chicken chili instead of the classic beef version for a creamier bowl.
- Sweet Potato Swap: Toss in some diced, pre-cooked sweet potato for a subtle sweetness. My kids always ask for this now.
- Loaded Nacho Style: Serve the chili over tortilla chips with all the toppings for a game-day vibe.
- BBQ Fusion: Mix in a spoonful of barbecue sauce for a smoky, tangy kick. I stumbled on this by accident, and wow, it works!
- Breakfast Bar: Add a fried egg on top for a brunchy spin. Trust me, it’s weirdly amazing in a 5-Minute Chili Bar.
Servings and Timing
Let’s break down how much a 5-Minute Chili Bar serves and how long it’ll take ya. In my experience, this recipe scales super easily, whether you’re feeding a couple of people or a small army. Here’s what I’ve clocked for timing and portions when I whip up my go-to 5-Minute Chili Bar.
- Prep Time: 3 minutes
- Cook Time: 2 minutes (just heating!)
- Total Time: 5 minutes
- Servings: 6-8 portions
I’ve found this is perfect for a family dinner or a casual get-together. If you’ve got more mouths to feed, just double the chili cans and toppings!
Step-by-Step Instructions
Alright, let’s get down to business and make this 5-Minute Chili Bar happen. I’ve done this so many times I could probably do it blindfolded (okay, maybe not, but you get the idea). I’m gonna walk you through each step with my little tricks to keep it quick and tasty.

Step 1: Heat the Chili Base
Grab a big pot or even a microwave-safe bowl if you’re in a real pinch. Dump in your cans of chili and the drained black beans, then sprinkle in that extra chili powder if you like a kick. Heat it over medium on the stove for about 2 minutes, stirring so it doesn’t stick, or zap it in the microwave for a minute or two. I usually taste-test here to make sure it’s got enough oomph.
Step 2: Prep the Toppings
While the chili warms up, let’s set up the topping station for your 5-Minute Chili Bar. I just grab a bunch of small bowls or even paper plates and toss in the shredded cheese, sour cream, diced tomatoes, green onions, and jalapeños. Lay out a bag of corn chips nearby—trust me, having everything in reach makes this a breeze. I’ve learned to chop stuff ahead if I can; it’s a lifesaver.
Step 3: Set Up the Bar
Now, arrange everything on the counter or table so folks can build their own bowls. Put the hot chili in the center, surrounded by all those yummy toppings for the 5-Minute Chili Bar. I like to throw down a few spoons and let everyone go to town. It’s kinda fun watching my family fight over the last bit of cheese!
Step 4: Serve and Enjoy
Call everyone over and let ‘em dive into this 5-Minute Chili Bar. I usually start with a base of chili, then pile on chips, cheese, and a dollop of sour cream. Pro tip: keep a roll of paper towels handy ‘cause things can get messy in the best way. Honestly, this step is where the magic happens—everyone’s grinning and chowing down.
Nutritional Information
I’m not gonna lie, a 5-Minute Chili Bar isn’t exactly diet food, but it’s hearty and filling, which counts for something in my book. I’ve crunched the numbers for a basic serving (without going overboard on toppings), and here’s the rough breakdown per person. Keep in mind, this varies based on how heavy-handed you are with the extras in your 5-Minute Chili Bar!
- Calories: 350 per serving
- Fat: 15g
- Protein: 12g
- Carbohydrates: 40g
- Sodium: 800mg
Healthier Alternatives
If you’re looking to lighten up your 5-Minute Chili Bar, I’ve got ya covered with some swaps I’ve tried myself. I’m not always in the mood for a heavy meal, so these tweaks help me keep things balanced without losing the flavor. Here are a few ideas for a healthier 5-Minute Chili Bar that still hits the spot.
- Low-Sodium Chili: Use a reduced-sodium canned chili to cut down on salt. I’ve swapped this in plenty of times and barely notice the difference.
- Turkey Chili Base: Opt for a turkey-based chili instead of beef for less fat. It’s still super tasty in a 5-Minute Chili Bar.
- Greek Yogurt Swap: Replace sour cream with plain Greek yogurt for a protein boost. I do this when I’m watching calories.
- Baked Chips: Use baked tortilla chips instead of fried corn chips to trim some fat.
Serving Suggestions
I love serving up a 5-Minute Chili Bar ‘cause it’s so darn flexible for any occasion. Whether it’s a casual family night or a rowdy game-day gathering, I’ve got a few ways I like to present it. Here are my top picks for pairing and serving a 5-Minute Chili Bar that’ll impress.
- Game Night Grub: Set it up buffet-style with extra chips and beer on the side.
- Cozy Dinner: Pair with warm cornbread for a soul-warming meal.
- Kid-Friendly Feast: Keep toppings mild and add a side of fruit for balance. My little ones dig this!
- Party Pleaser: Serve in disposable bowls for easy cleanup at a 5-Minute Chili Bar bash.
Common Mistakes to Avoid
Look, I’ve flubbed my fair share of meals, and even a simple 5-Minute Chili Bar can go sideways if you’re not careful. I’m sharing a few slip-ups I’ve made so you don’t have to learn the hard way. Avoid these pitfalls for a flawless 5-Minute Chili Bar experience.
- Not Heating Enough: Don’t serve cold chili; even a quick zap makes a difference. I’ve rushed this and regretted it.
- Skimping on Toppings: Too few options kill the fun of a 5-Minute Chili Bar. Trust me on this one.
- Over-Spicing: Go easy on chili powder if your crowd isn’t heat-ready. I burned some tongues once (oops!).
- Messy Setup: Keep the bar organized, or it’s chaos. I learned this after a topping disaster.
Storing Tips
Got leftovers from your 5-Minute Chili Bar? No problem! I’ve figured out how to keep things fresh for round two. Here’s how I store extras after a 5-Minute Chili Bar night.
- Refrigerator: Store chili in an airtight container for 3-4 days.
- Freezer: Freeze chili (not toppings) for up to 2 months in freezer bags.
- Toppings Tip: Keep fresh toppings separate and prep new ones when reheating your 5-Minute Chili Bar.

Frequently Asked Questions
I’ve gotten a bunch of questions about the 5-Minute Chili Bar over the years, so I’m tackling the most common ones here. Let’s dive into these FAQs about making a killer 5-Minute Chili Bar at home.
Can I make a 5-Minute Chili Bar ahead of time?
Absolutely! Prep the chili base and toppings in advance, then just reheat the chili when you’re ready. I do this for parties all the time.
What if I don’t have canned chili?
No worries, just cook up some ground beef or turkey with basic seasoning and canned tomatoes. It takes a bit longer, though.
Can I make it vegetarian?
Yep, use a meatless chili or bean mix. It’s just as hearty, I promise!
How do I scale a 5-Minute Chili Bar for a crowd?
Double or triple the cans of chili and toppings. I’ve fed 20 people this way with no stress.
Are there gluten-free options?
Sure thing! Use gluten-free chili and corn chips. Always check labels, though.
Can kids enjoy this?
For sure, just keep the spice mild and let ‘em pick their toppings. My kiddos love it.
What’s the best chili brand?
I’m partial to Hormel, but Stagg works great too. Pick what you vibe with!
How do I keep it warm for a party?
Use a slow cooker on the “keep warm” setting. It’s a lifesaver for gatherings.
Conclusion
So there ya have it, folks—a super easy, crazy delicious 5-Minute Chili Bar that’ll make you the hero of any meal. I’ve loved sharing my tips and tricks, and I hope you’ll give this 5-Minute Chili Bar a whirl in your kitchen. Drop a comment if you try it; I’d love to hear how your family customizes their 5-Minute Chili Bar bowls!
Conclusion
I hope you enjoyed this recipe for 5-Minute Chili Bar! It’s truly one of my favorites, and I’m confident you’ll love it too.
Remember to follow the steps carefully for the best results. Don’t hesitate to experiment with your own variations and make this recipe your own.
Happy cooking!