
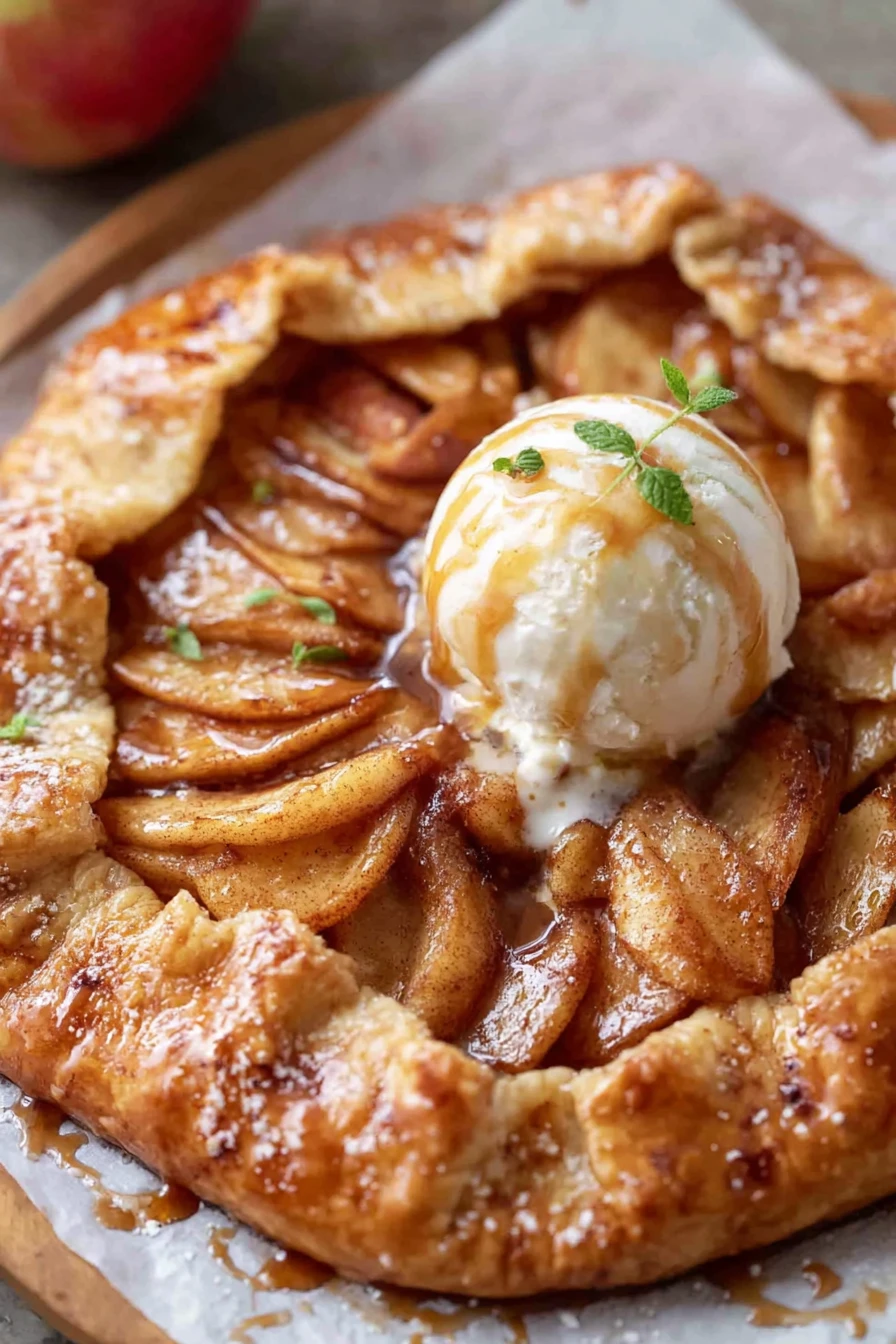
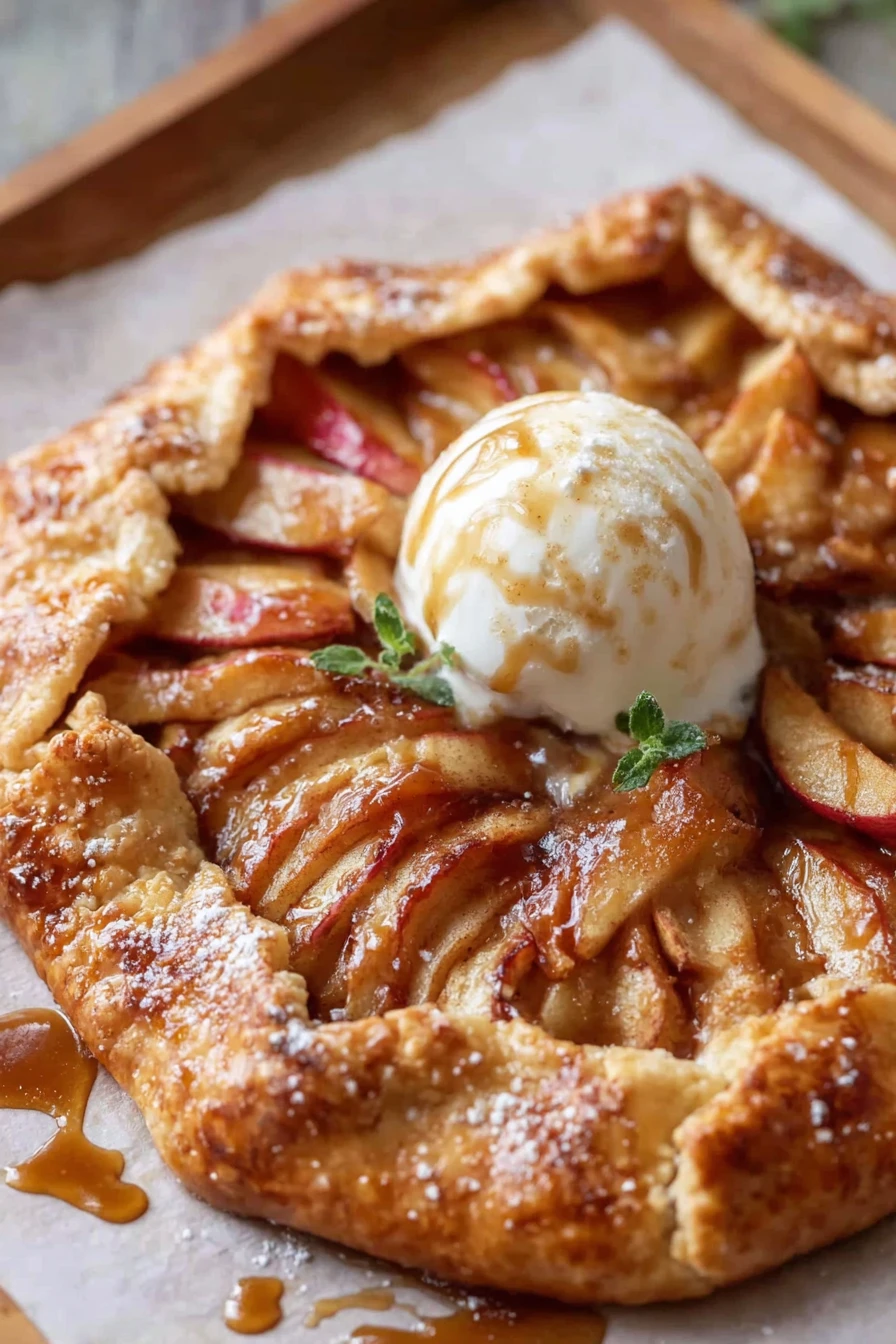
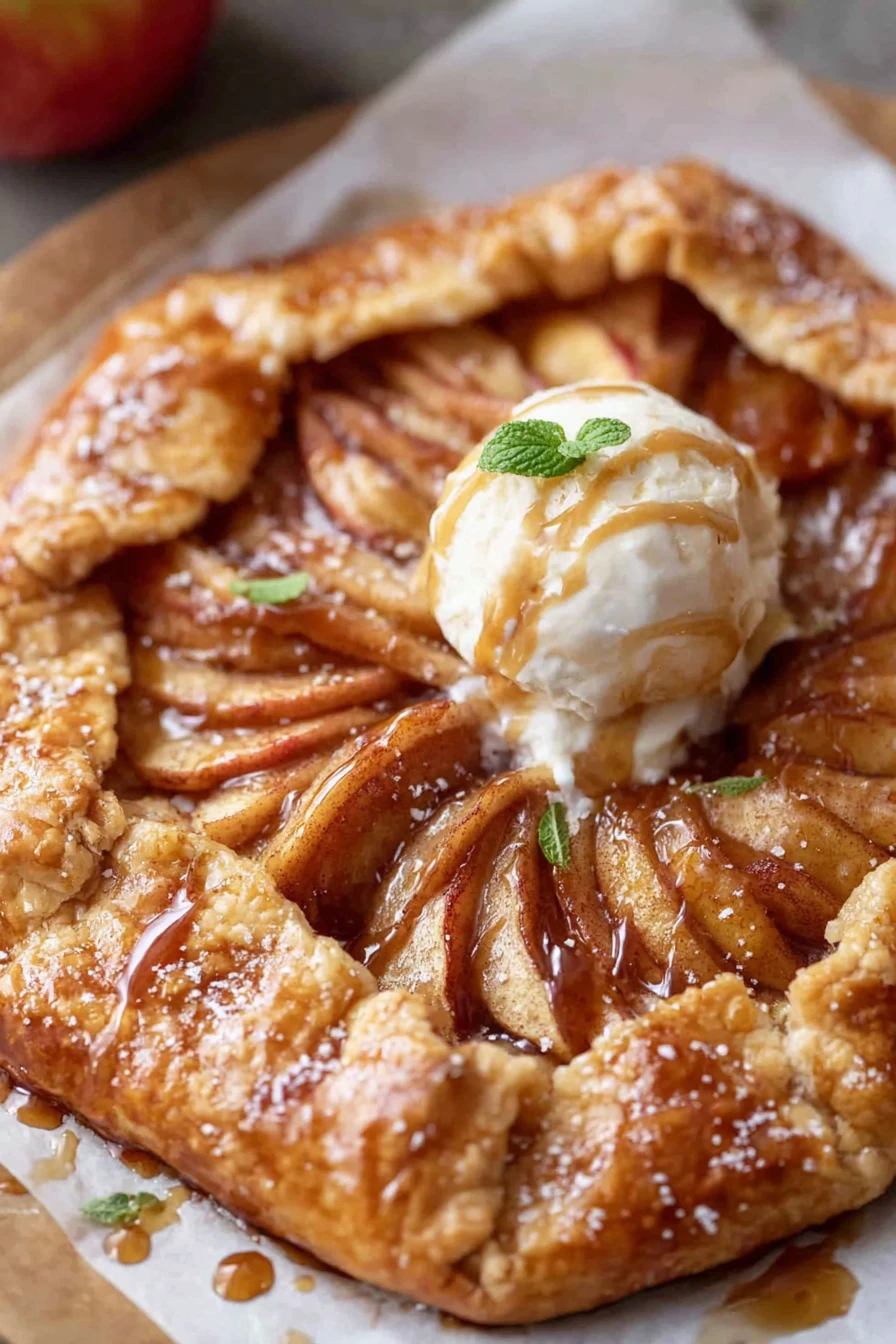
I’ll never forget the first time I made an Apple Galette. It was a crisp fall afternoon, and I had a pile of apples from a local orchard just begging to be turned into something sweet. I’d heard about this rustic, free-form pie—simpler than a traditional one—and thought, “Why not?” My kitchen smelled like cinnamon and caramel by the end, and my family couldn’t stop raving about that Apple Galette.
Honestly, I was a bit intimidated at first. Pie crusts and I have had our battles (more on that later), but this Apple Galette turned out to be forgiving, even for a newbie baker like I was back then. It’s become a go-to dessert in my house ever since.
If you’re looking for a dessert that’s easy to whip up but looks like you spent hours on it, stick with me. I’m sharing everything I’ve learned about making the perfect Apple Galette, from flaky crust to juicy filling.
Why You’ll Love This Recipe
I’ve found that an Apple Galette is the ultimate crowd-pleaser, mostly because it’s so darn versatile. It’s less fussy than a pie—no crimping edges or worrying about a soggy bottom—and still delivers that warm, comforting vibe. In my kitchen, it’s the dessert I turn to when I want something impressive without breaking a sweat.
Plus, the rustic look of an Apple Galette just screams cozy, homemade goodness. My friends always think I’ve gone full gourmet when I serve it, and I’m not about to tell them it took me less than an hour. Trust me, you’ll love how this comes together with minimal effort and maximum flavor.
Ingredients List
I’m a big believer in keeping things simple with an Apple Galette, but I’ve got my preferences when it comes to ingredients. I usually buy firm apples like Honeycrisp or Granny Smith because they hold up during baking and don’t turn to mush. Let’s break down what you’ll need for this rustic beauty, split into crust and filling for clarity.
For the Crust
- 1 1/2 cups (190g) all-purpose flour, spooned and leveled for accuracy
- 1/2 teaspoon salt, to balance the sweetness
- 1/2 cup (1 stick or 113g) unsalted butter, cold and cut into small cubes for flakiness
- 4-6 tablespoons ice water, added slowly to bring the dough together
For the Filling
- 3-4 medium apples (about 1.5 lbs or 680g), peeled, cored, and thinly sliced for even cooking
- 1/3 cup (65g) granulated sugar, though I sometimes cut back if my apples are sweet
- 1 tablespoon (15ml) lemon juice, for a bright pop of flavor
- 1 teaspoon ground cinnamon, because an Apple Galette without cinnamon just ain’t right
- 1 tablespoon (14g) unsalted butter, cut into small pieces to dot over the filling
- 1 large egg, beaten with 1 tablespoon water for an egg wash
- 1 tablespoon coarse sugar, optional, for a sparkly, crunchy top
I prefer making my crust from scratch for that “I did it myself” satisfaction, but if you’re short on time, a store-bought pie dough works too. Just don’t skimp on the apples—fresh is best for an Apple Galette.
Variations
Over the years, I’ve played around with my Apple Galette recipe, tweaking it based on what’s in my pantry or who I’m feeding. Some variations have been total game-changers, while others were happy accidents. Here are a few spins on the classic Apple Galette that you might wanna try.
- Pear and Apple Mix: Swap half the apples for ripe pears for a softer, sweeter bite. I tried this once for a holiday brunch, and it was a hit.
- Spiced-Up Version: Add a pinch of nutmeg and cloves along with cinnamon for a deeper, cozier flavor. My husband begs for this every fall.
- Caramel Drizzle: Drizzle homemade or store-bought caramel sauce over the baked Apple Galette. It’s pure decadence, trust me.
- Nutty Crunch: Sprinkle chopped walnuts or pecans over the filling before baking. I love the texture this adds.
- Berry Blend: Toss in a handful of fresh blueberries or raspberries with the apples for a tart twist. My kids always ask for this colorful version.
- Savory Twist: Skip the sugar and mix in some sharp cheddar with the apples for a savory Apple Galette. I was skeptical at first, but it’s amazing with a glass of wine.
- Maple Glaze: Brush a little maple syrup over the top after baking for a glossy, sweet finish. It’s a little trick I picked up from a friend.
There’s no wrong way to make an Apple Galette your own. Experiment with flavors you love, and you might stumble on a new family favorite like I have.
Servings and Timing
In my experience, timing an Apple Galette is pretty straightforward, even if you’re not a speed demon in the kitchen. It usually takes me a bit longer if I’m chatting with someone while I bake (guilty as charged), but here’s the breakdown for a smooth process. This recipe for Apple Galette serves a nice group too.
- Prep Time: 25 minutes
- Cook Time: 35-40 minutes
- Total Time: About 1 hour 5 minutes
- Servings: 6-8 slices
Step-by-Step Instructions
Let’s get into the nitty-gritty of making an Apple Galette. I’ve made this so many times I could probably do it blindfolded, but I’ll walk you through each step like I’m right there in your kitchen. Follow along, and don’t stress if it’s not perfect—rustic is the name of the game!
Step 1: Make the Crust
Start by mixing the flour and salt in a big bowl. Cut in that cold butter with a pastry cutter or your fingers until it looks like coarse crumbs—I’m all about using my hands for this part. Add ice water a tablespoon at a time until the dough just holds together, then wrap it in plastic and chill for 30 minutes.
Step 2: Prep the Apples
While the dough chills, peel, core, and slice your apples thinly. Toss ‘em in a bowl with sugar, lemon juice, and cinnamon until they’re nicely coated. I’ve learned that prepping this Apple Galette filling ahead keeps things moving fast.
Step 3: Roll Out the Dough
On a lightly floured surface, roll your dough into a rough 12-inch circle. Don’t worry if the edges are uneven—that’s the charm of an Apple Galette. Transfer it to a parchment-lined baking sheet for easy cleanup (a little trick I wish I’d known sooner).
Step 4: Assemble the Galette
Pile the apple mixture in the center of the dough, leaving a 2-inch border. Fold the edges up over the filling, pleating as you go. Dot the apples with butter pieces, brush the crust with egg wash, and sprinkle coarse sugar on top if you’re feeling fancy.
Step 5: Bake It
Pop your Apple Galette into a preheated 375°F (190°C) oven and bake for 35-40 minutes until the crust is golden and the apples are tender. I always peek around 30 minutes to make sure nothing’s burning. Let it cool for 10 minutes before slicing.
Step 6: Serve and Enjoy
Slice up that Apple Galette and dig in while it’s still warm. I’ve burned my tongue more times than I can count because I couldn’t wait. It’s worth every impatient bite!
Nutritional Information
I’m not gonna pretend I’m a nutritionist, but I’ve looked into the basics for this Apple Galette because, well, I like to know what I’m eating. Here’s a rough estimate per slice, based on 8 servings. Keep in mind, this is a dessert, so indulge a little!
- Calories: 280 per slice
- Fat: 14g
- Protein: 3g
- Carbohydrates: 36g
- Sodium: 200mg
Healthier Alternatives
If I’m watching my sugar or fat intake, I’ve swapped out a few things in my Apple Galette with decent results. It’s still a treat, but these tweaks make me feel a smidge less guilty. Give ‘em a shot if you’re looking to lighten up your Apple Galette.
- Lower Sugar: Cut the granulated sugar in half and add a touch of honey for natural sweetness.
- Whole Wheat Crust: Use whole wheat flour instead of all-purpose for extra fiber. It’s a bit denser, but I kinda like the nutty flavor.
- Butter Substitute: Replace half the butter in the crust with unsweetened applesauce. It’s not as flaky, but it works for an Apple Galette.
- Less Butter on Top: Skip dotting the filling with butter and rely on the apples’ natural juices. I’ve done this plenty of times, and it’s still tasty.
Serving Suggestions
I love serving an Apple Galette in ways that feel extra special, even if it’s just a random Tuesday night. Here are a few ideas from my table to yours, based on what’s worked for me and my crew. These pairings take an Apple Galette to the next level.
- With Ice Cream: A scoop of vanilla ice cream on a warm slice is pure heaven. My family fights over the last bite!
- Whipped Cream Dollop: Add a little homemade whipped cream for a light, fluffy contrast.
- With Hot Cider: Pair it with a mug of spiced apple cider for the ultimate fall vibe. I do this every October.
- As Brunch Star: Serve alongside a savory quiche for a sweet-savory balance at brunch. My friends loved this at my last get-together.
Common Mistakes to Avoid
I’ve botched an Apple Galette or two in my day, and I’m not ashamed to admit it. Trust me on this one, learning the hard way has made me a better baker. Avoid these pitfalls when making your Apple Galette, and you’ll save yourself some kitchen grief.
- Overloading Apples: Too many apples can make the center soggy. I’ve done this and ended up with a mess.
- Warm Dough: Don’t skip chilling the dough, or it’ll be sticky and tear. Learned that one the hard way.
- Skipping Parchment: Baking without parchment paper makes cleanup a nightmare. I forgot once, and I’m still scrubbing my tray.
- Uneven Slicing: Slice apples inconsistently, and some pieces won’t cook through. Guilty of rushing this step with my Apple Galette.
Storing Tips
I’ve found that an Apple Galette keeps pretty well if you store it right, though it rarely lasts long at my house. In my experience, these tips help maintain that fresh-baked taste. Try ‘em out for your Apple Galette leftovers.
- Room Temperature: Good for 1-2 days if covered loosely with foil.
- Refrigerator: Store in an airtight container for up to 4 days.
- Freezer: Freeze slices for up to 2 months, wrapped tightly in plastic and foil.
Frequently Asked Questions
I get a bunch of questions about making an Apple Galette, so I’m answering the most common ones here. Let me know if you’ve got others, and I’ll help out!
Can I make an Apple Galette ahead of time?
Totally! Assemble it up to the baking step, cover, and refrigerate for a day. Bake when you’re ready.
What apples are best for an Apple Galette?
I swear by Honeycrisp or Granny Smith for their firmness and flavor balance. They don’t get too mushy.
Can I use store-bought dough?
Yup, and I’ve done it plenty. It’s a solid shortcut if you’re crunched for time.
Why did my crust get soggy?
Probably too much liquid from the apples. Try not to overfill, and bake on a hot tray.
Can I freeze an Apple Galette?
Yes, baked or unbaked. Wrap it tight, and it’ll keep for a couple of months.
How thin should I slice the apples?
Aim for about 1/8 inch. Too thick, and they won’t cook evenly—I’ve messed this up before!
Do I have to peel the apples?
Not really, but I do for a smoother texture. It’s just personal preference, honestly.
Can I make mini galettes?
For sure! Divide the dough and filling into smaller portions. They’re adorable and bake faster.
Conclusion
There you have it, everything I’ve learned about crafting the perfect Apple Galette. I hope you’ll give this a try and make it your own—maybe even create some sweet memories like I have with my family. Let me know how your Apple Galette turns out; I’d love to hear about it!
Conclusion
I hope you enjoyed this recipe for Apple Galette ! It’s truly one of my favorites, and I’m confident you’ll love it too. Remember to follow the steps carefully for the best results.
Don’t hesitate to experiment with your own variations and make this recipe your own. Happy cooking!