
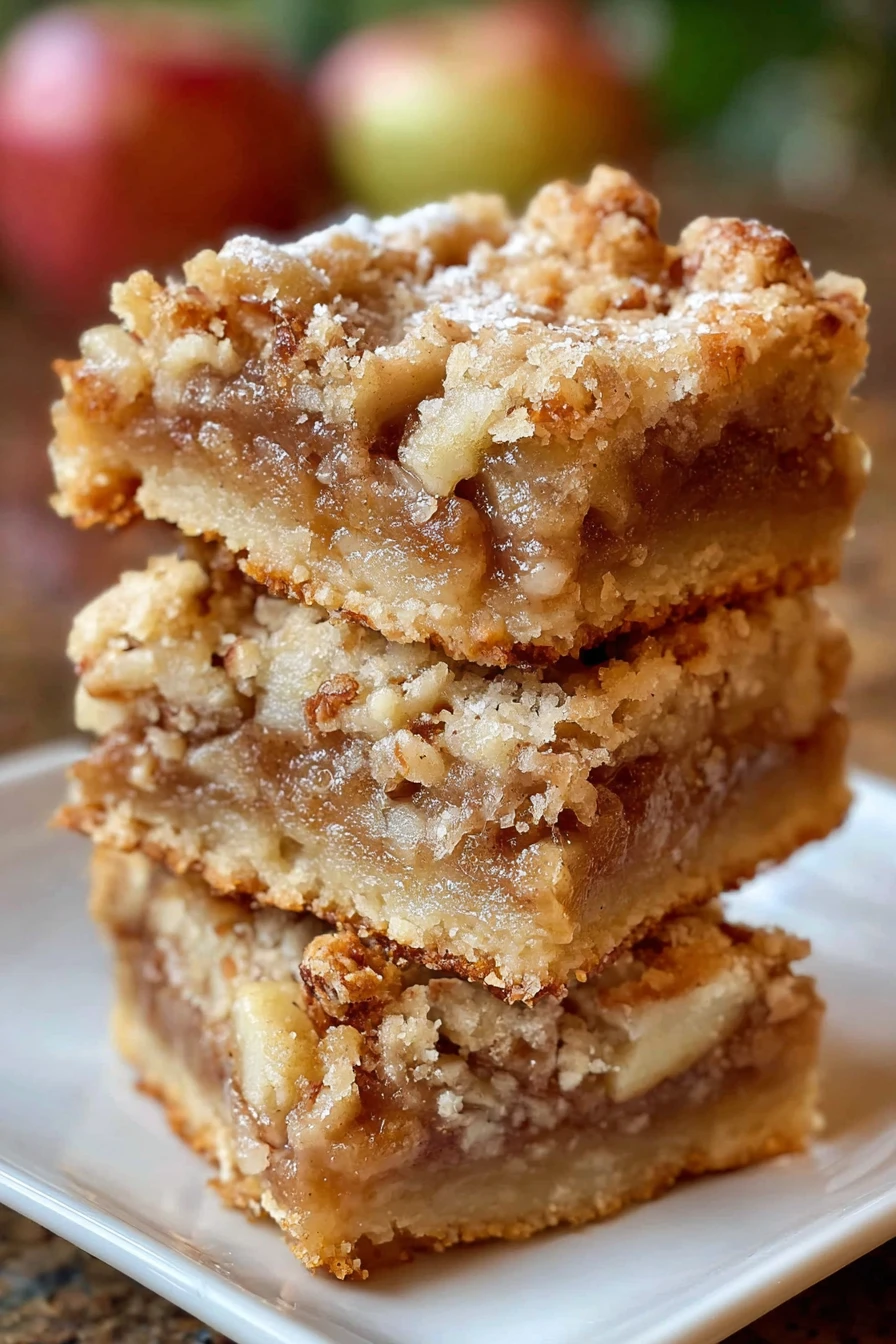
Alright, let’s chat about something that’s become a total game-changer in my kitchen: Apple Pie Bars. I stumbled upon the idea of making Apple Pie Bars a few years back when I was craving the cozy vibes of a classic apple pie but didn’t have the patience to fuss with a pie crust.
My family loves these sweet, cinnamon-spiced treats, and honestly, I can’t get enough of how they fill the house with that warm, autumnal aroma. These Apple Pie Bars are my go-to when I want dessert without the drama.
I remember the first time I whipped up a batch of Apple Pie Bars; I was a bit skeptical if they’d match the magic of a traditional pie. But oh boy, did they deliver! My husband took one bite and declared them “better than pie,” which, let me tell ya, is high praise in our house.
Now, I’m thrilled to share this recipe with y’all. Whether you’re a baking newbie or a seasoned pro, these Apple Pie Bars are gonna steal your heart, just like they did mine. Stick with me, and I’ll walk you through every step to make ‘em perfect.
Why You’ll Love This Recipe
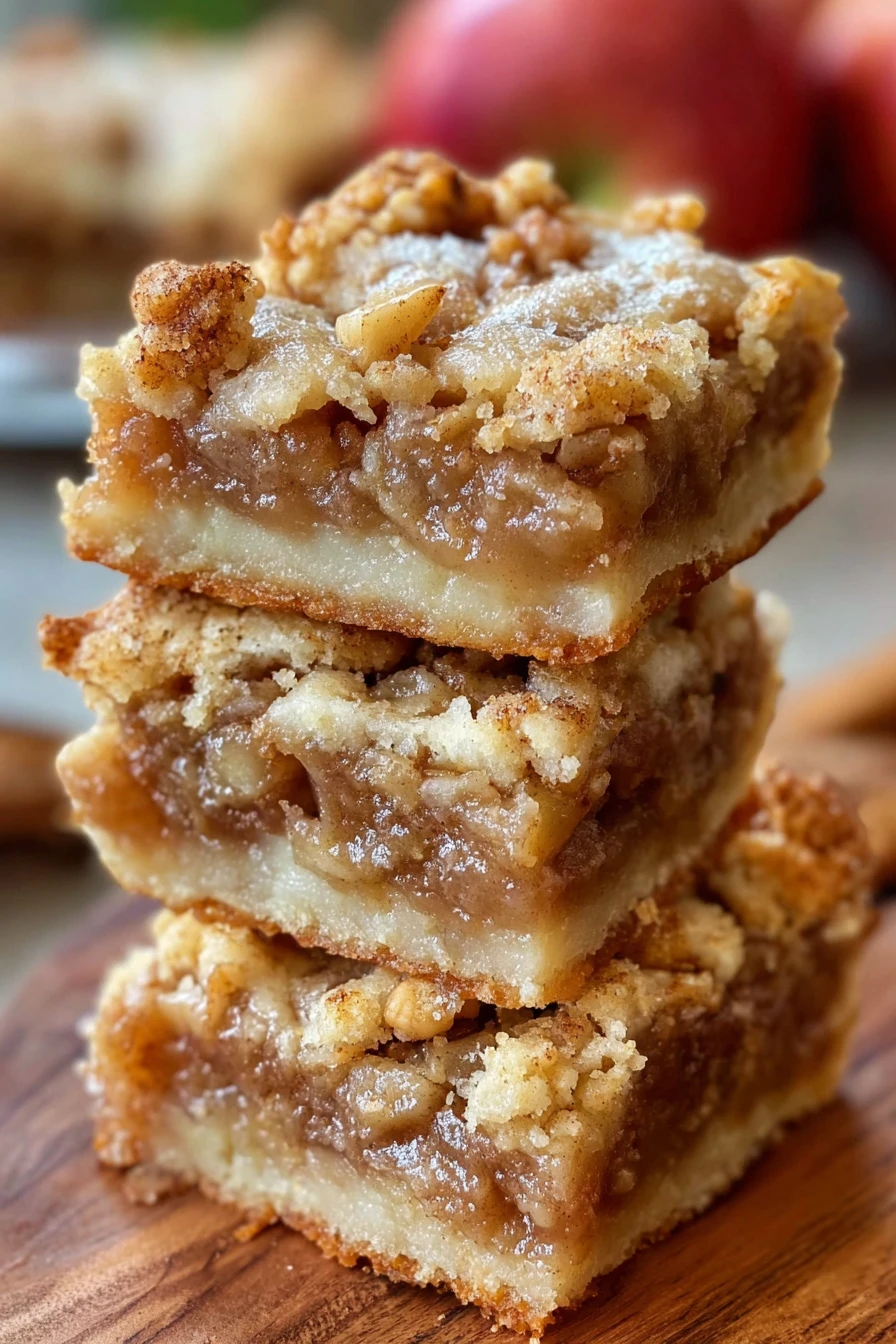
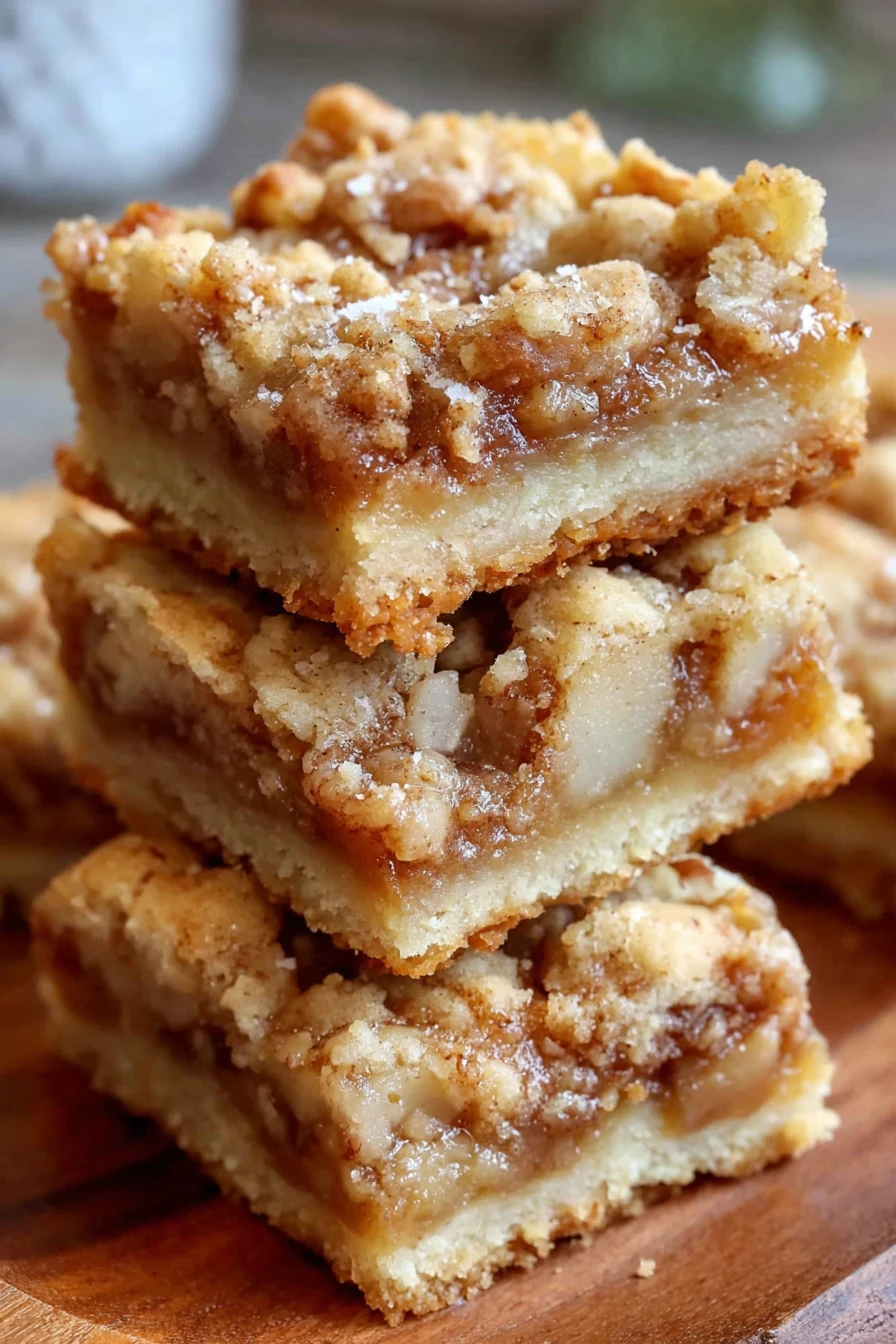
I’ve found that Apple Pie Bars are the ultimate crowd-pleaser, blending the best of pie and cookie into one handheld treat. They’ve got that flaky, buttery crust and a gooey apple filling that just screams fall. In my kitchen, they’re a staple for potlucks, family gatherings, or even just a cozy night in.
What’s more, Apple Pie Bars are way easier than rolling out a full pie—trust me, I’ve botched enough pie crusts to know! You’ll love how forgiving this recipe is, even if you’re not a baking wizard. Plus, they’re perfect for slicing and sharing (or hoarding, no judgment here!).
Ingredients List
Let’s dive into what you’ll need to make these scrumptious Apple Pie Bars. I’m all about using ingredients I’ve got on hand, but I’ve got some preferences that really elevate the flavor. Here’s the breakdown, split into crust and filling, ‘cause organization is my jam.
For the Crust
- 2 cups (240g) all-purpose flour, sifted for a lighter texture
- 1/2 cup (100g) granulated sugar, for just the right sweetness
- 1 cup (2 sticks or 226g) unsalted butter, cold and cubed—I prefer European-style for extra richness
- 1/2 teaspoon salt, to balance the flavors
- 1 large egg, beaten, to bind it all together
For the Apple Filling
- 5 medium Granny Smith apples, peeled, cored, and sliced thin—I usually buy these ‘cause they hold up well in baking
- 3/4 cup (150g) brown sugar, packed, for that caramel-y depth
- 1 tablespoon (15ml) lemon juice, to keep the apples from browning
- 2 teaspoons ground cinnamon, ‘cause Apple Pie Bars ain’t complete without it
- 1/4 teaspoon ground nutmeg, for a warm, nutty kick
- 2 tablespoons (16g) cornstarch, to thicken the filling
I love how simple this list is for Apple Pie Bars. You’ve probably got most of this in your pantry already! And if you’re wondering about apple types, I’m team Granny Smith, but feel free to experiment. These bars are forgiving, which is why I keep coming back to ‘em.
Variations
One thing I adore about Apple Pie Bars is how versatile they are. I’ve played around with this recipe more times than I can count, tweaking it based on what’s in my fridge or what my kids are craving. Here are some twists on Apple Pie Bars that’ll keep things fresh.
- Caramel Drizzle: Drizzle some store-bought or homemade caramel sauce over the cooled bars for an extra decadent touch. I tried this once for a holiday party, and let’s just say there were no leftovers!
- Nutty Crunch: Mix in 1/2 cup of chopped pecans or walnuts into the apple filling for some texture. My husband loves this version, though I’m not huge on nuts myself.
- Spiced Up: Add a pinch of ground cloves or allspice to the filling for a deeper flavor. I did this last Thanksgiving, and it was a hit.
- Cranberry Twist: Toss in 1/2 cup of dried cranberries with the apples for a tart-sweet vibe. My kids always ask for this around the holidays.
- Gluten-Free Swap: Use a 1:1 gluten-free flour blend for the crust. I’ve made this for a friend with dietary restrictions, and it still turned out awesome.
- Maple Glaze: Whisk together 1/2 cup powdered sugar and 2 tablespoons maple syrup for a glaze. I’m obsessed with this one on chilly mornings.
- Streusel Topping: Sprinkle a quick mix of flour, butter, and sugar on top before baking for a crumbly finish. This is my go-to when I want Apple Pie Bars to feel extra fancy.
Honestly, these variations on Apple Pie Bars are just the start. Get creative and make ‘em your own—I’m all ears if you’ve got a cool idea to share!
Servings and Timing
When it comes to Apple Pie Bars, timing and portions are super straightforward, which I appreciate as a busy home cook. In my experience, this recipe comes together pretty quickly, even on a hectic day. Here’s the lowdown on how long it’ll take and how many you’ll feed.
- Prep Time: 25 minutes
- Cook Time: 40 minutes
- Total Time: 1 hour 5 minutes
- Servings: 12-16 bars, depending on how big you cut ‘em
I usually get about 16 Apple Pie Bars outta this batch, which is perfect for a small gathering or a few days of snacking. If I’m in a rush, I’ll prep the apples ahead—saves a ton of time!
Step-by-Step Instructions
Let’s get down to business and make these Apple Pie Bars. I’m gonna walk ya through each step like we’re baking together in my kitchen. I’ve got some little tricks up my sleeve to make this as easy as pie (pun intended!).
Step 1: Preheat and Prep
First things first, crank your oven to 350°F (175°C) and line a 9×13-inch baking pan with parchment paper. I learned the hard way that skipping the parchment means a sticky mess, so don’t skip this! It makes lifting out the Apple Pie Bars a breeze.
Step 2: Make the Crust
In a big bowl, mix the flour, sugar, and salt for the crust. Cut in that cold butter with a pastry cutter or your fingers till it’s all crumbly like wet sand—kinda therapeutic, if you ask me. Add the egg, mix it up, then press half the dough into your pan for the base of the Apple Pie Bars.
Step 3: Cook the Apple Filling
Grab a skillet and toss in your sliced apples, brown sugar, lemon juice, cinnamon, nutmeg, and cornstarch. Cook over medium heat for about 8-10 minutes till the apples soften and get all juicy. I love this step ‘cause the smell is pure heaven—Apple Pie Bars magic in the making!
Step 4: Assemble the Bars
Spread that apple filling over the crust in an even layer. Then, crumble the rest of the dough on top for a rustic look. Don’t worry if it’s not perfect; Apple Pie Bars are all about that homemade charm.
Step 5: Bake to Perfection
Pop the pan in the oven and bake for 35-40 minutes until the top is golden brown. I usually check at the 35-minute mark ‘cause my oven runs hot. You’ll know your Apple Pie Bars are done when the edges are bubbly and irresistible.
Step 6: Cool and Slice
Let the bars cool completely in the pan before cutting—trust me, I’ve sliced too soon and ended up with a gooey disaster. Once they’re cool, lift ‘em out with the parchment and slice into squares. These Apple Pie Bars are worth the wait, I promise!
Nutritional Information
I’m not gonna lie, Apple Pie Bars aren’t exactly diet food, but they’re worth every bite in my book. Here’s a quick peek at the stats per serving, based on cutting into 16 pieces. I think it’s good to know what you’re eating, especially if you’re watching your intake.
- Calories: 280 per bar
- Fat: 12g
- Protein: 3g
- Carbohydrates: 40g
- Sodium: 150mg
These numbers for Apple Pie Bars are just a guide, of course. If you’re curious about tweaking for health, I’ve got some ideas coming up next!
Healthier Alternatives
If you’re looking to lighten up these Apple Pie Bars, I’ve got your back. I’ve swapped stuff out plenty of times when I’m trying to cut back on sugar or fat, and they still taste amazing. Here are a few tricks for healthier Apple Pie Bars that I’ve tested.
- Less Sugar: Cut the brown sugar in the filling to 1/2 cup and add a bit of honey for natural sweetness. I’ve done this and barely noticed a difference.
- Whole Wheat Crust: Use whole wheat flour instead of all-purpose for extra fiber. It’s a bit denser, but I kinda like the nutty flavor in Apple Pie Bars.
- Butter Swap: Replace half the butter with unsweetened applesauce in the crust. When I’m watching calories, this is my go-to, and it keeps things moist.
These tweaks make Apple Pie Bars a tad guilt-free without losing that cozy, comforting vibe. Give ‘em a try if you’re feeling health-conscious!
Serving Suggestions
I love serving Apple Pie Bars in all sorts of ways, depending on the vibe I’m going for. They’re so dang versatile, and I’ve got some fave ideas to share. Here’s how I plate up these Apple Pie Bars for maximum yum.
- With Ice Cream: Top a warm bar with a scoop of vanilla ice cream. At my last dinner party, this combo had everyone raving!
- Whipped Cream Dollop: Add a swirl of homemade or canned whipped cream for a classic touch. I’m a sucker for this with Apple Pie Bars.
- Coffee Pairing: Serve alongside a hot cup of coffee or chai for a cozy afternoon treat. It’s my personal ritual with Apple Pie Bars.
- Dessert Platter: Cut into smaller squares and add to a dessert tray with cookies and brownies. It’s a hit for holiday spreads, trust me!
Common Mistakes to Avoid
I’ve made my fair share of flubs with Apple Pie Bars over the years, so lemme save you some headaches. These are the pitfalls I’ve stumbled into, and I’m sharing ‘em so your batch of Apple Pie Bars turns out perfect.
- Overcooking Apples: Don’t cook the apples too long on the stove, or they’ll turn to mush in the oven. I learned the hard way and ended up with applesauce bars!
- Skimping on Cooling: Cutting before they cool completely is a recipe for disaster. I’ve done this and watched my Apple Pie Bars crumble apart—ugh.
- Uneven Crust: Press that bottom crust evenly, or you’ll get soggy spots. Trust me on this one with Apple Pie Bars; it makes a difference.
- Wrong Pan Size: Stick to a 9×13 pan, or the layers won’t bake right. I tried a smaller pan once, and it was a total mess.
Storing Tips
Storing Apple Pie Bars is a cinch, and I’ve got some tried-and-true methods to keep ‘em fresh. In my experience, they don’t last long in my house, but when they do, here’s what works for Apple Pie Bars.
- Refrigerator: Keep in an airtight container for up to 5 days. I’ve found they taste even better the next day!
- Freezer: Freeze individual bars wrapped in plastic wrap for up to 2 months. Just thaw overnight when you’re craving Apple Pie Bars.
- Room Temp: They’re good for a day or two on the counter if it’s not too warm. I usually don’t risk it, though!
Frequently Asked Questions
I get a lotta questions about Apple Pie Bars, so I’ve rounded up the most common ones. Let’s tackle ‘em with some real-talk answers based on my baking adventures with Apple Pie Bars.
Can I make Apple Pie Bars ahead of time?
Absolutely, you can! I often bake ‘em a day or two before a party, store ‘em in the fridge, and they’re just as tasty. Just reheat slightly if you want that warm, fresh-baked feel.
What apples are best for Apple Pie Bars?
I’m partial to Granny Smith ‘cause they’re tart and hold their shape. But Honeycrisp or Braeburn work great too if you want a sweeter bite.
Can I use a different fruit?
Sure thing! I’ve swapped in pears before, and it’s delicious. Just adjust the sugar if your fruit is sweeter or juicier than apples.
How do I prevent a soggy crust?
Make sure your apple filling isn’t too watery—cook it down enough on the stove. Also, don’t skip the parchment paper; it helps a ton.
Can I double the recipe?
Yep, I’ve doubled it for big gatherings. Use two 9×13 pans or one big sheet pan, and keep an eye on baking time—it might need a few extra minutes.
Are Apple Pie Bars gluten-free?
Not as written, but you can use a gluten-free flour blend for the crust. I’ve done it, and it’s pretty darn close to the original.
How do I cut clean squares?
Wait till they’re fully cooled—seriously, don’t rush it. I use a sharp knife and wipe it clean between cuts for neat edges.
Can I add a glaze on top?
Oh, for sure! A simple powdered sugar and milk glaze is my fave. Drizzle it on once the bars are cool for a sweet finishing touch.
Conclusion
So there ya have it, my tried-and-true guide to making Apple Pie Bars that’ll knock your socks off. I’ve poured all my kitchen mishaps and wins into this recipe, and I’m stoked to share these Apple Pie Bars with you. Give ‘em a whirl, tweak ‘em to your taste, and let me know how it goes—I’d love to hear!
Conclusion
I hope you enjoyed this recipe for Apple Pie Bars! It’s truly one of my favorites, and I’m confident you’ll love it too.
Remember to follow the steps carefully for the best results. Don’t hesitate to experiment with your own variations and make this recipe your own. Happy cooking!