Amelia
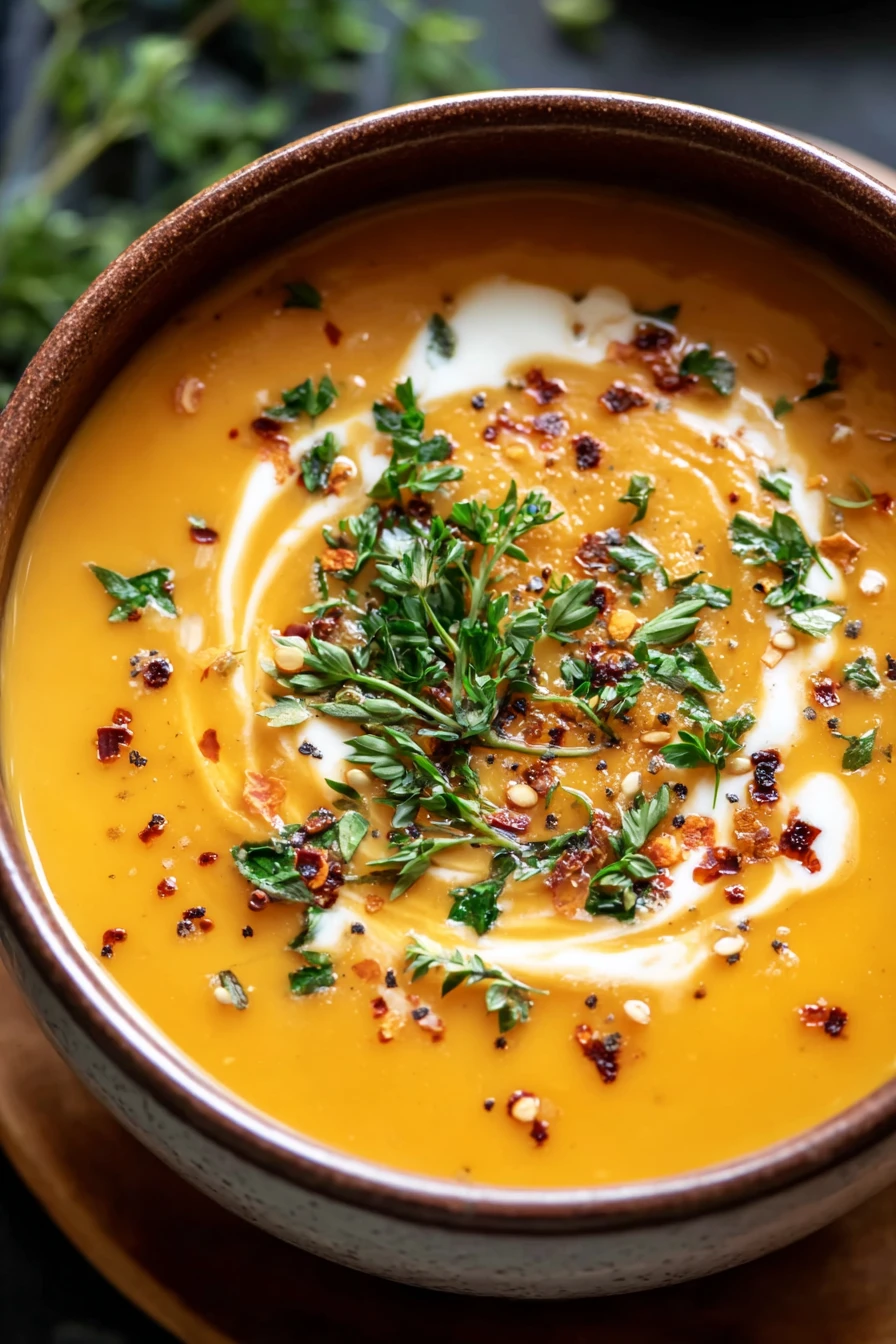
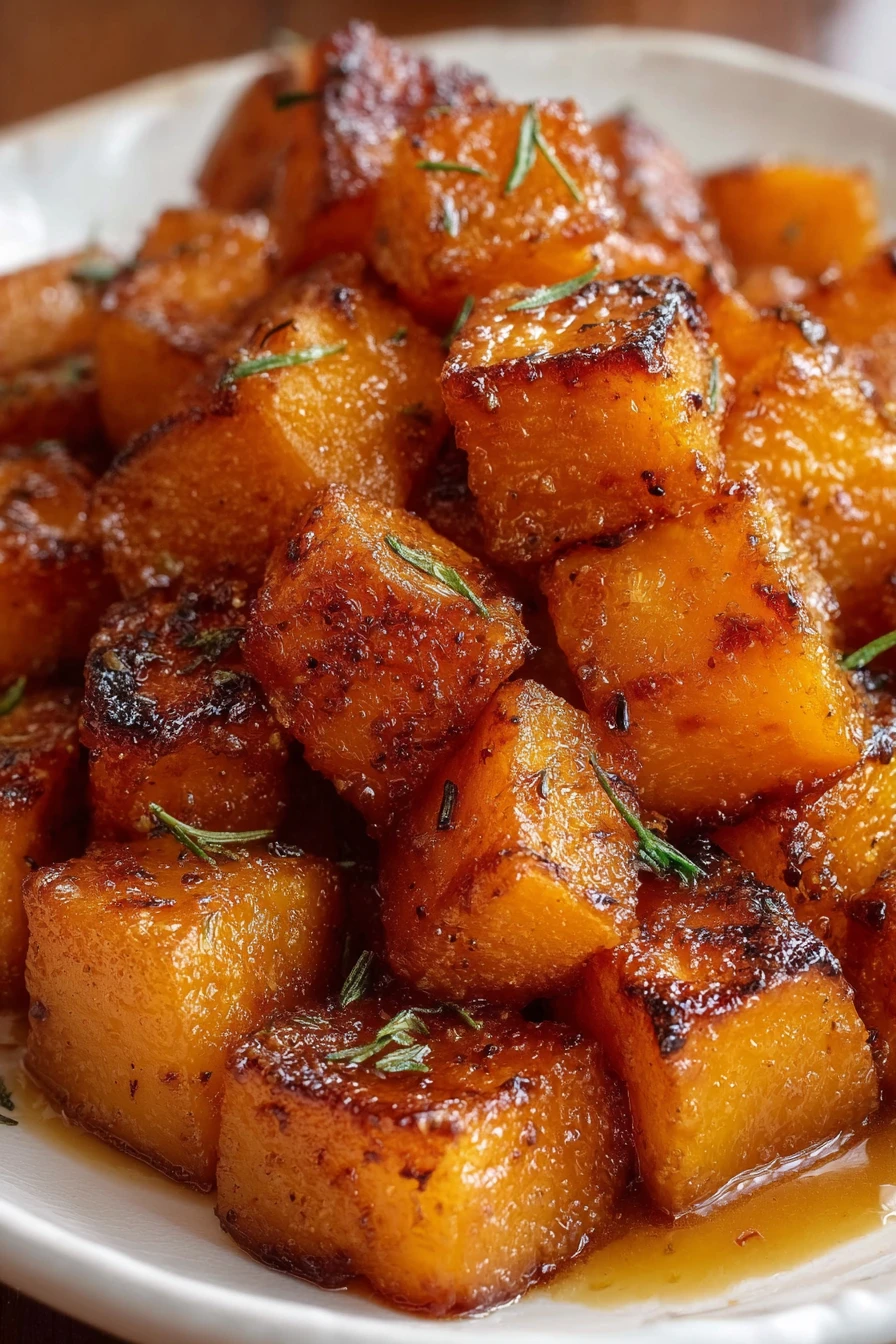
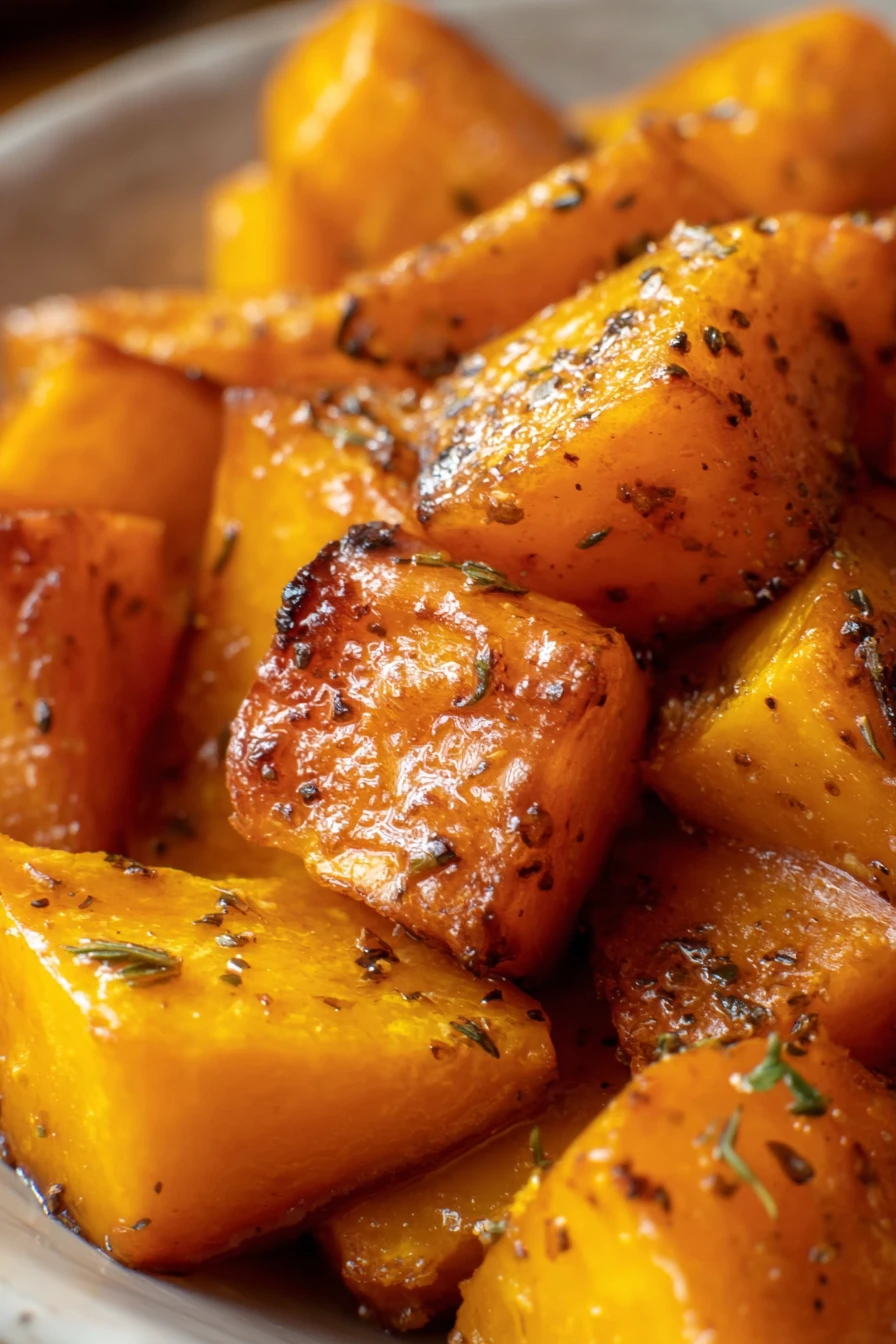
Deliciously Easy Perfectly Roasted Butternut Squash Recipe
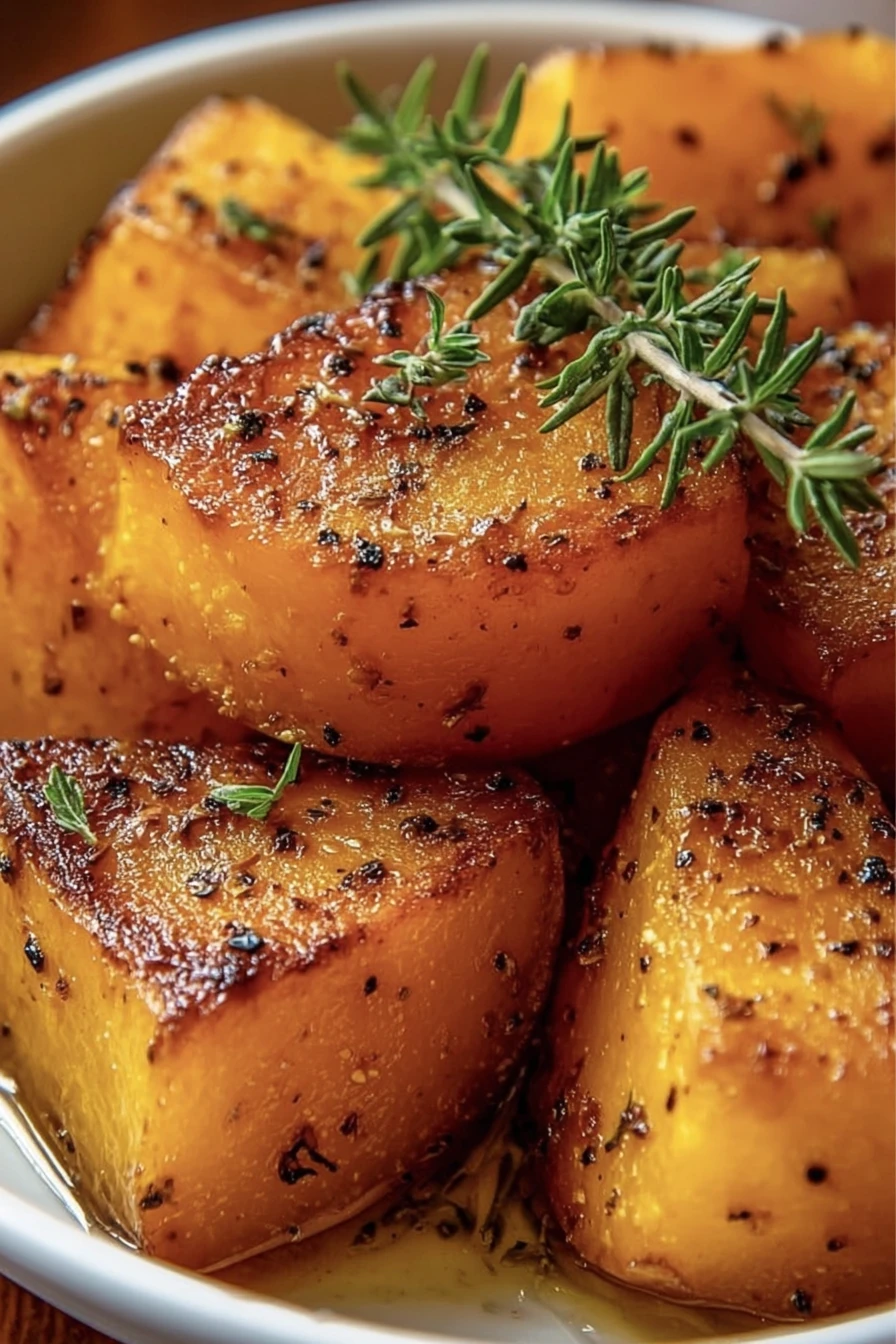
Hey there, fellow food lovers! I’ve gotta share something that’s …
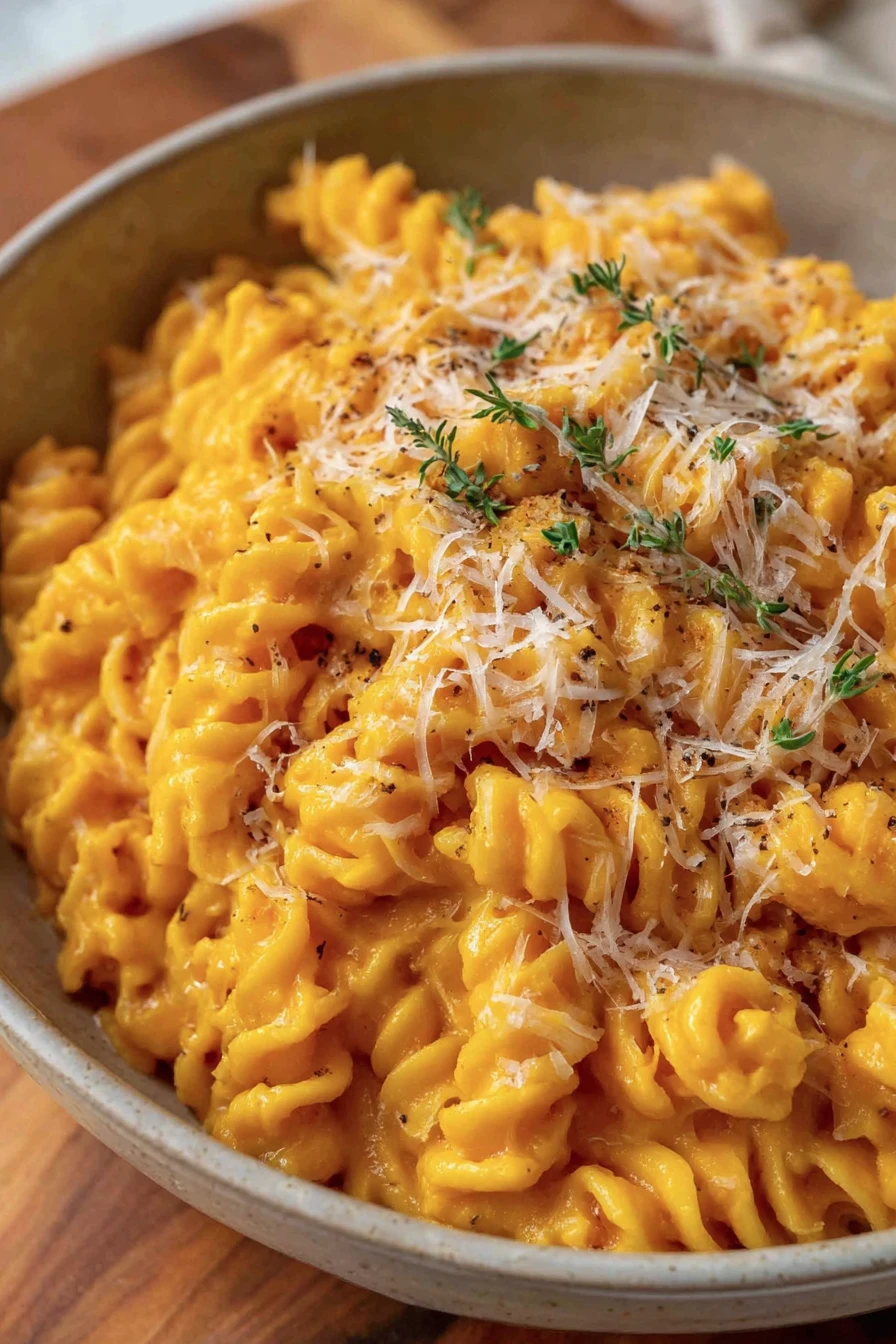
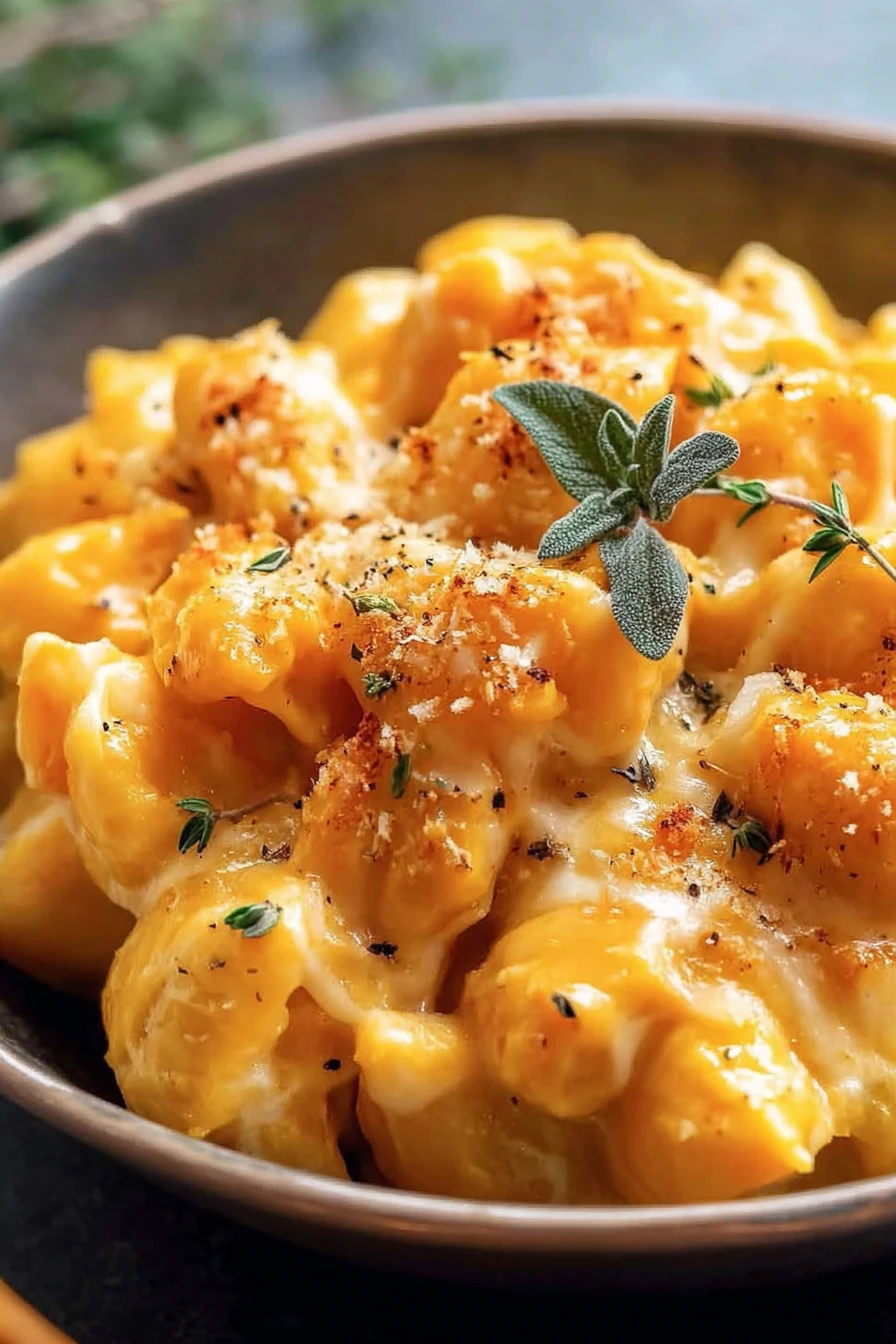
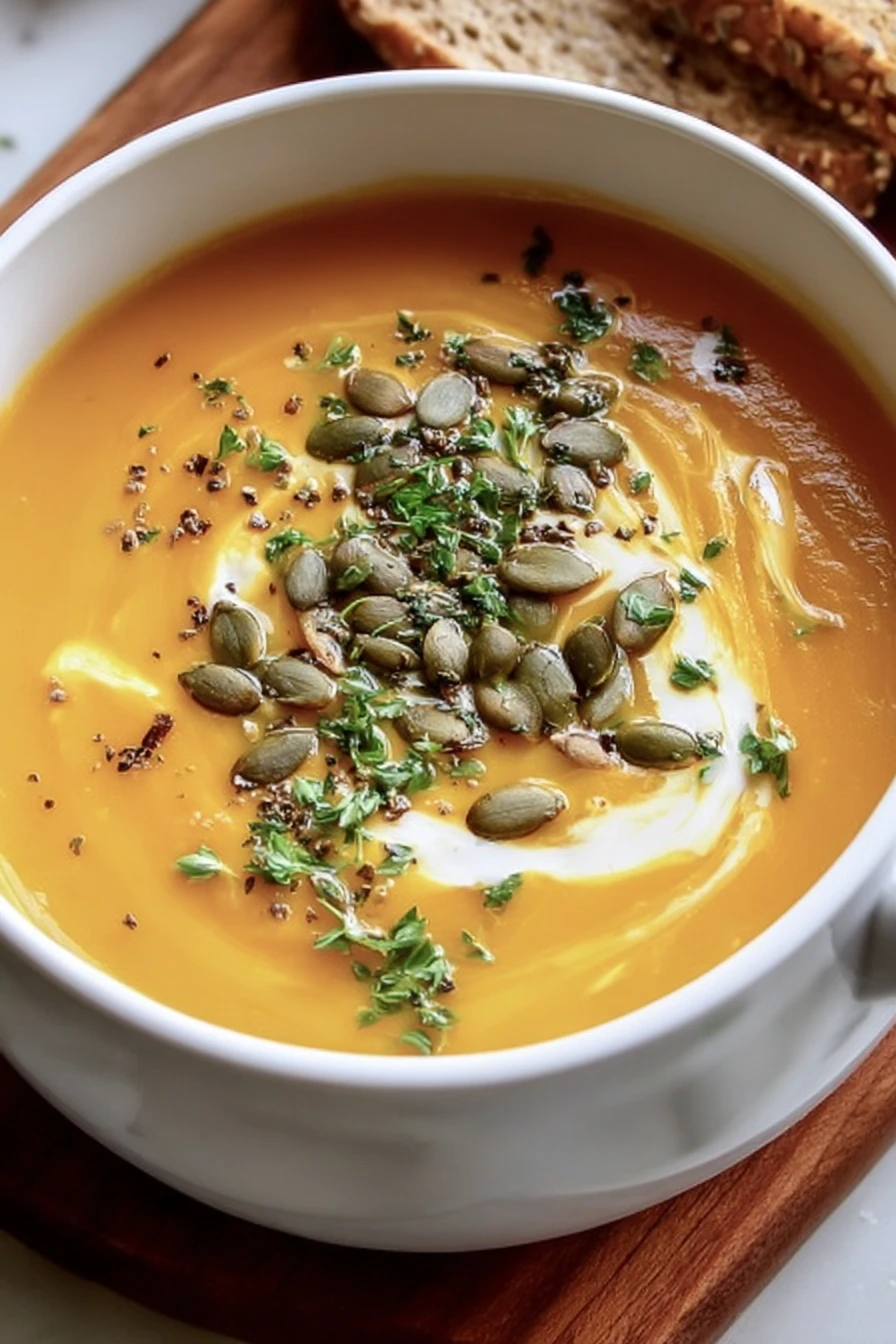
Butternut Squash Ravioli with Brown Butter Sauce
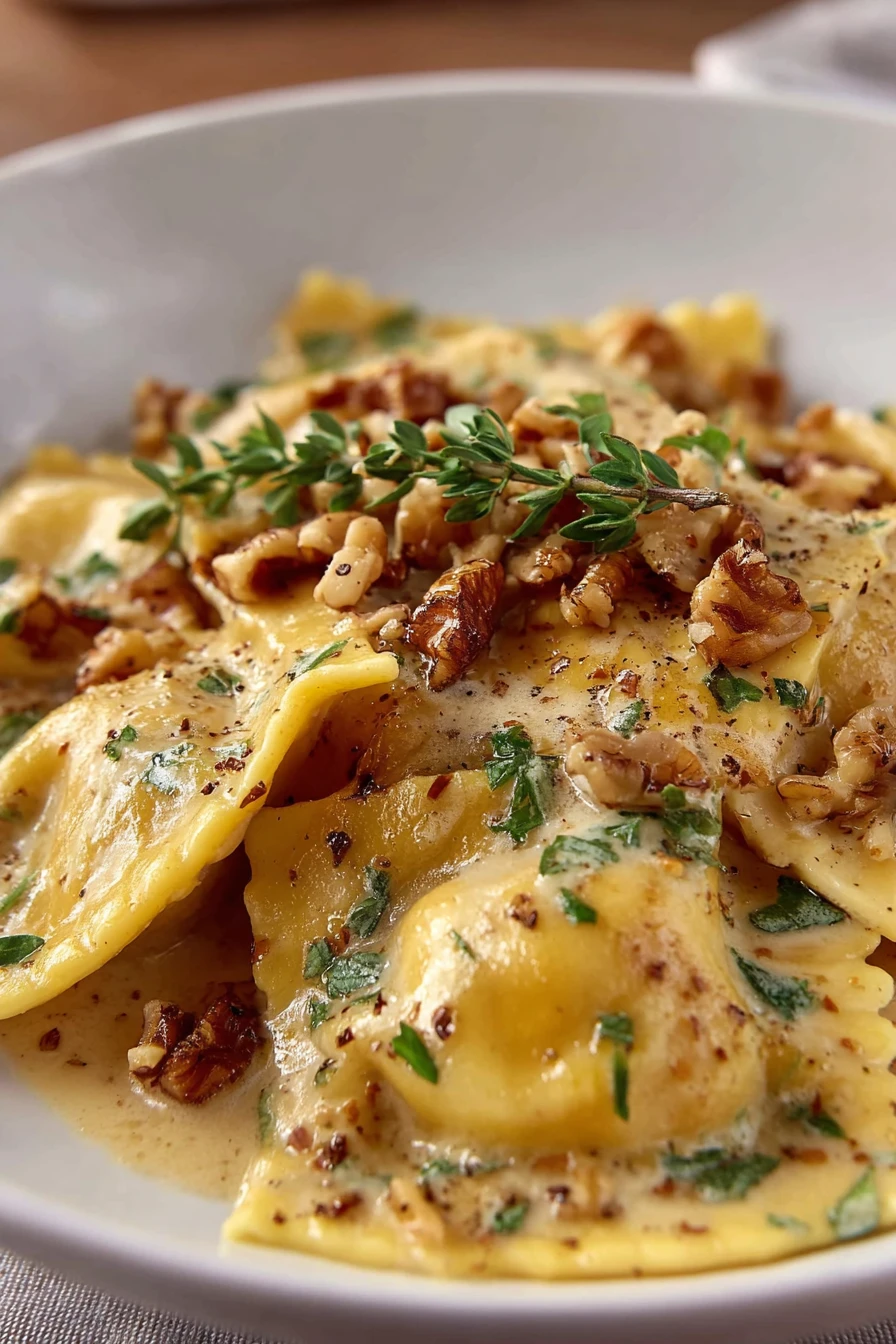
I’ll never forget the first time I made Butternut Squash …