Harper
High Protein Blueberry Cottage Cheese Muffins
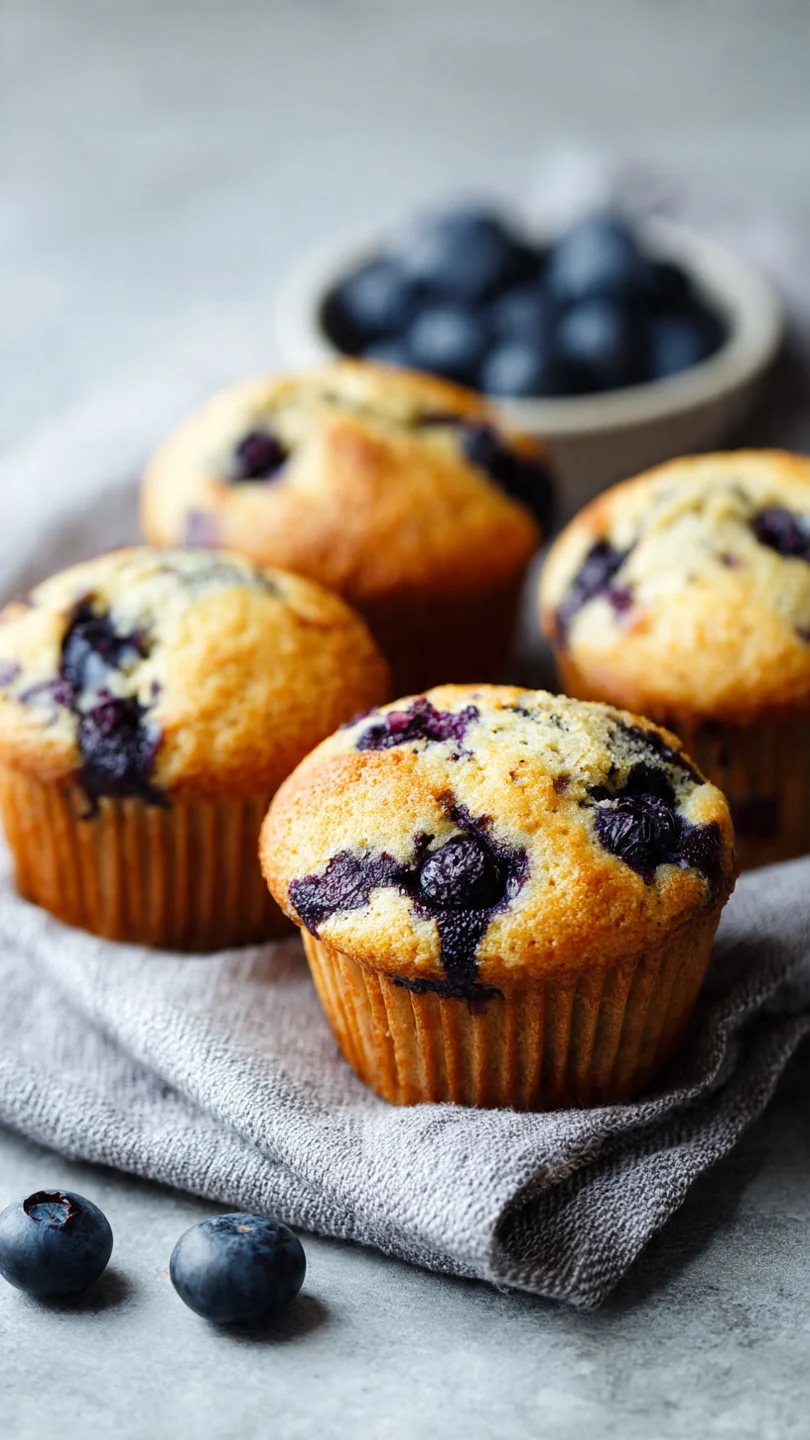
Imagine a muffin that doesn’t leave you hungry an hour …

Healthy Strawberry Smoothie Recipe
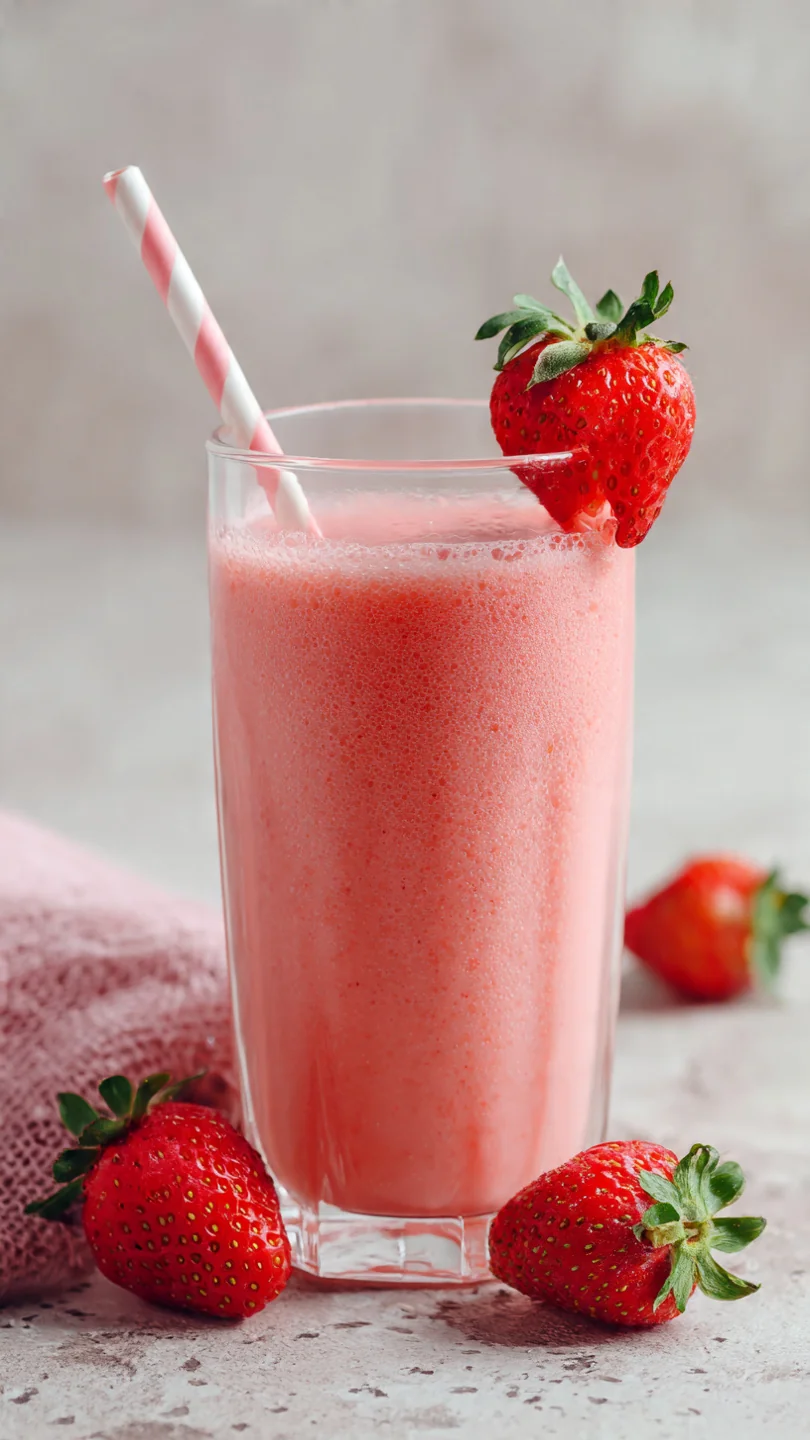
There’s something incredibly satisfying about that first sip of a …