
 Olivia
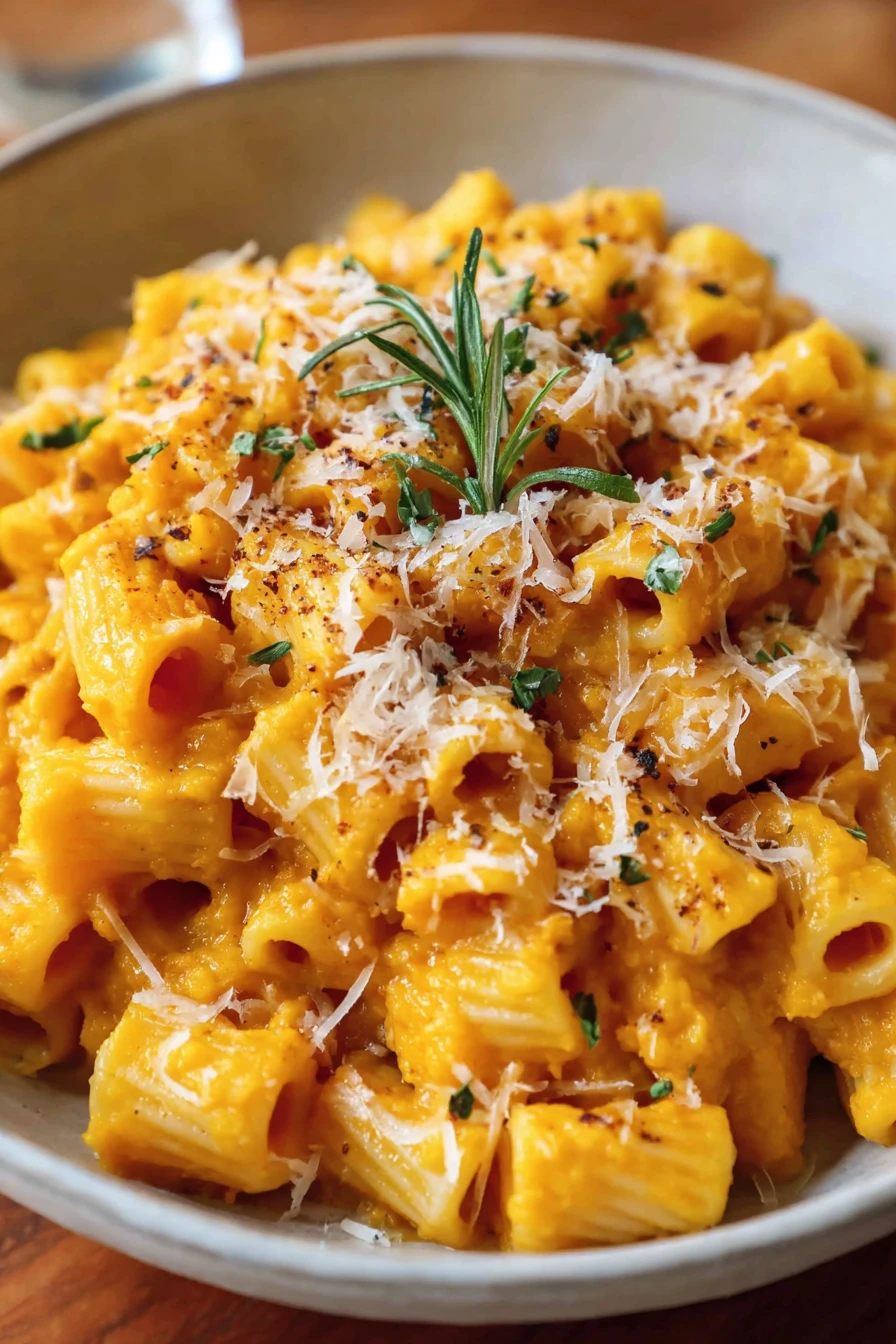
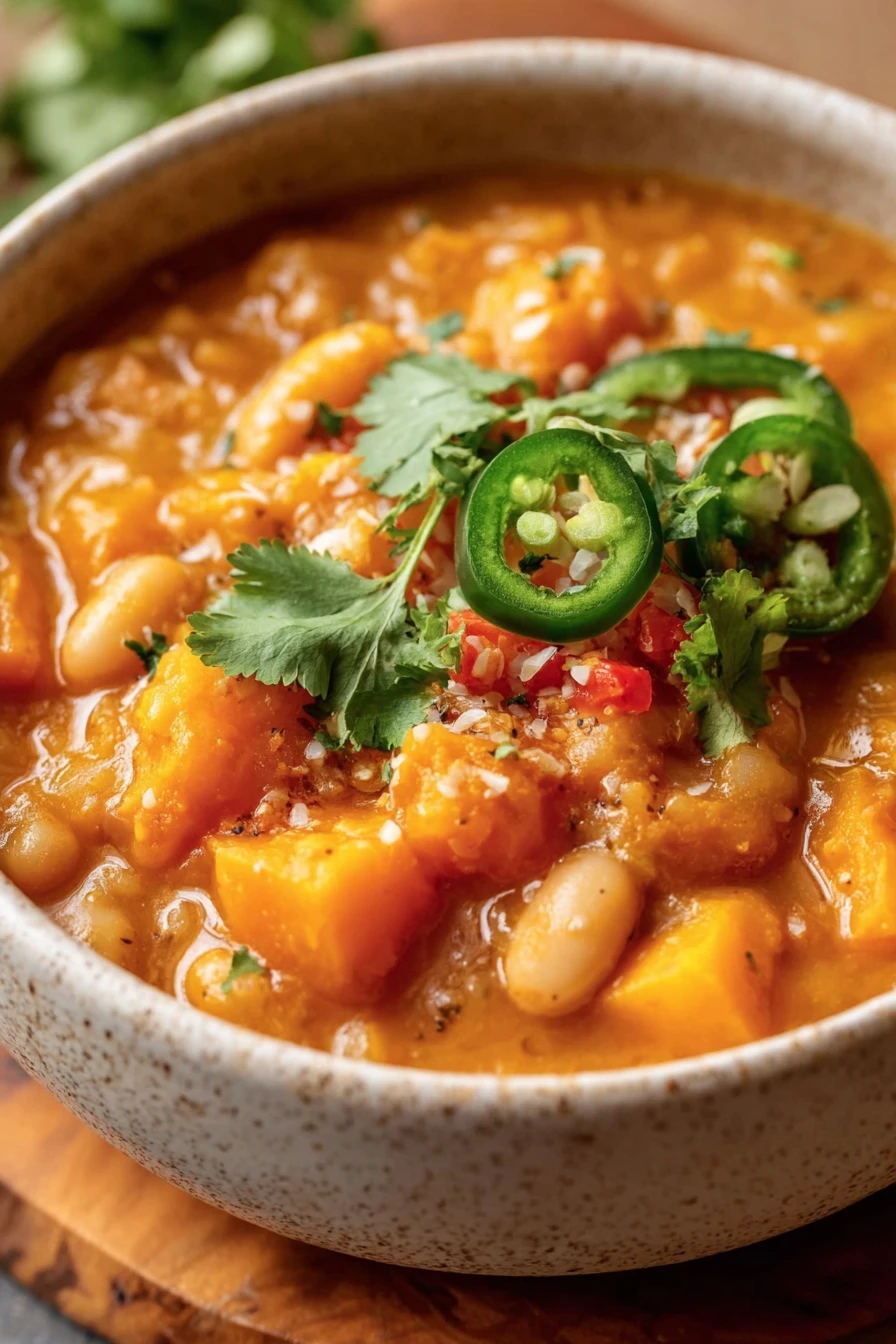
Creamy Butternut Squash Gnocchi with Sausage Recipe
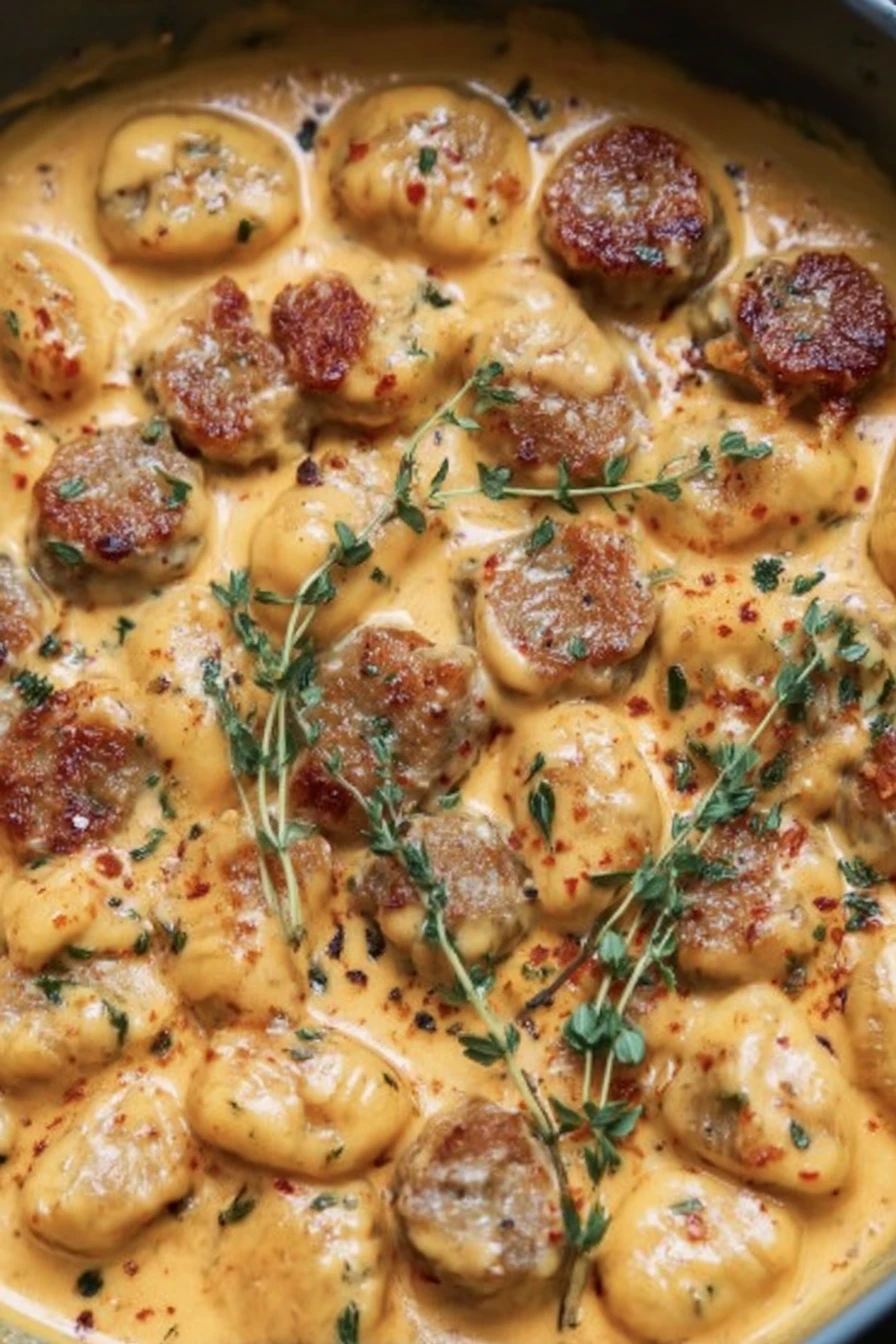
I’ll never forget the first time I stumbled upon the …
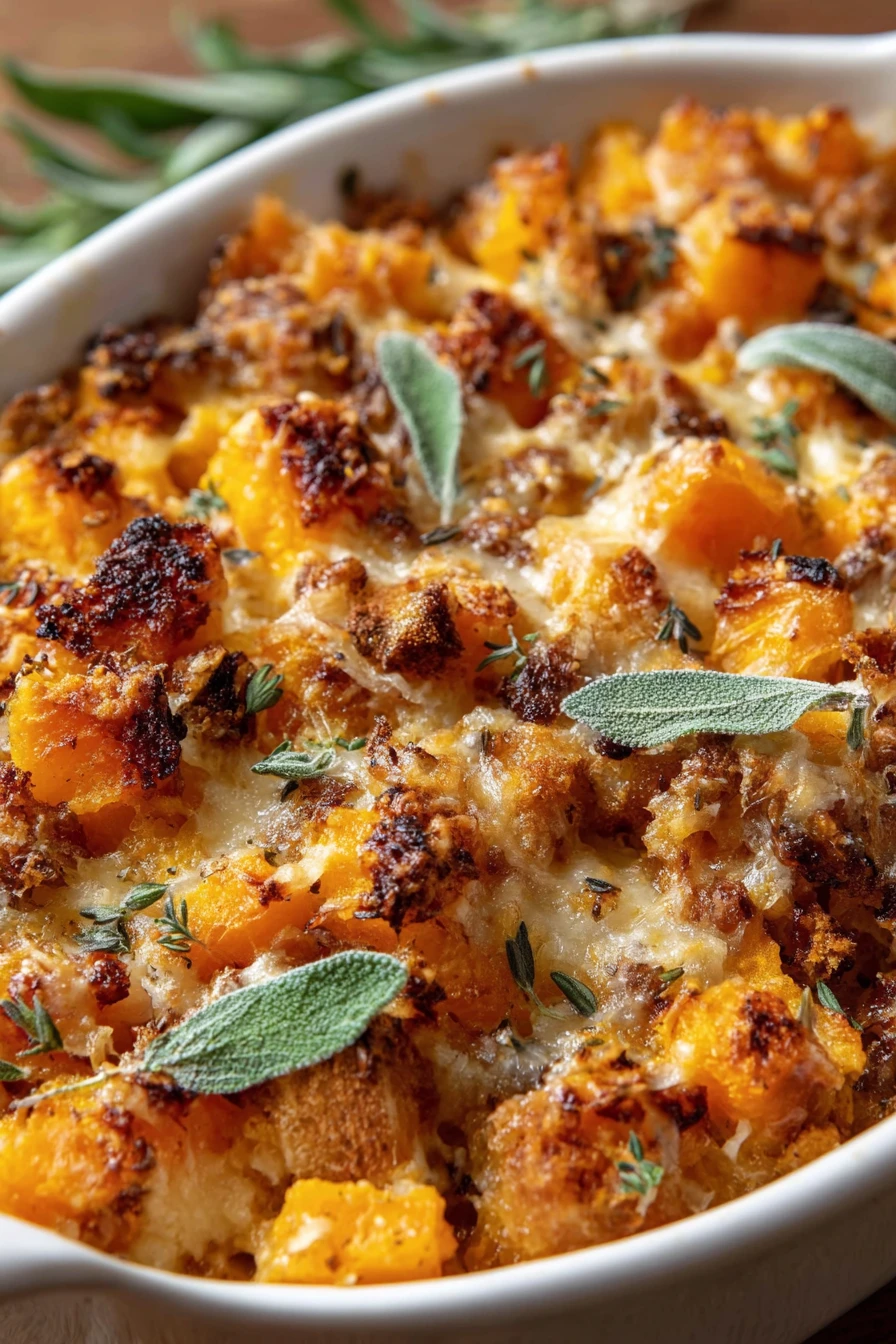
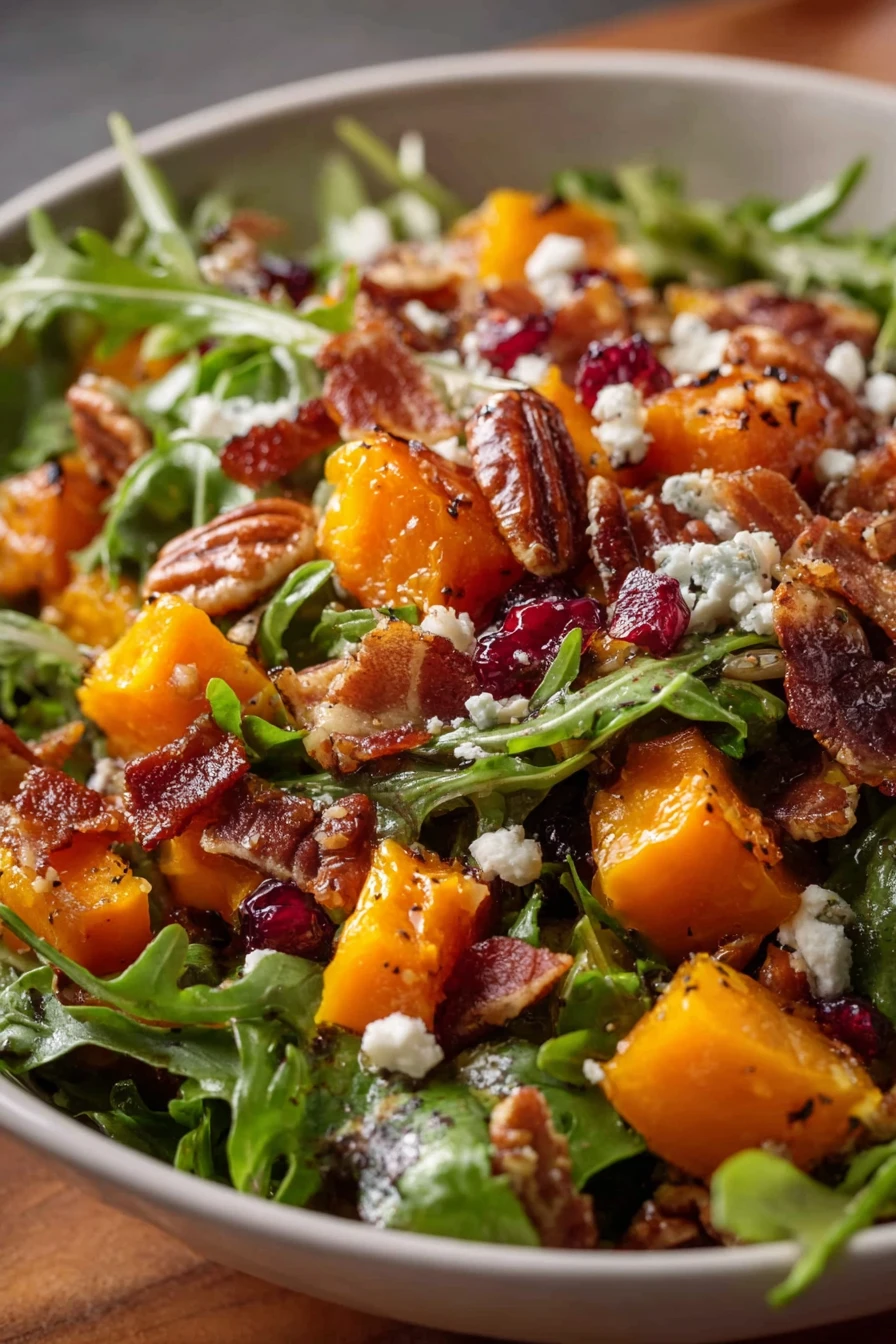
Delicious Roasted Butternut Squash Recipe for Fall
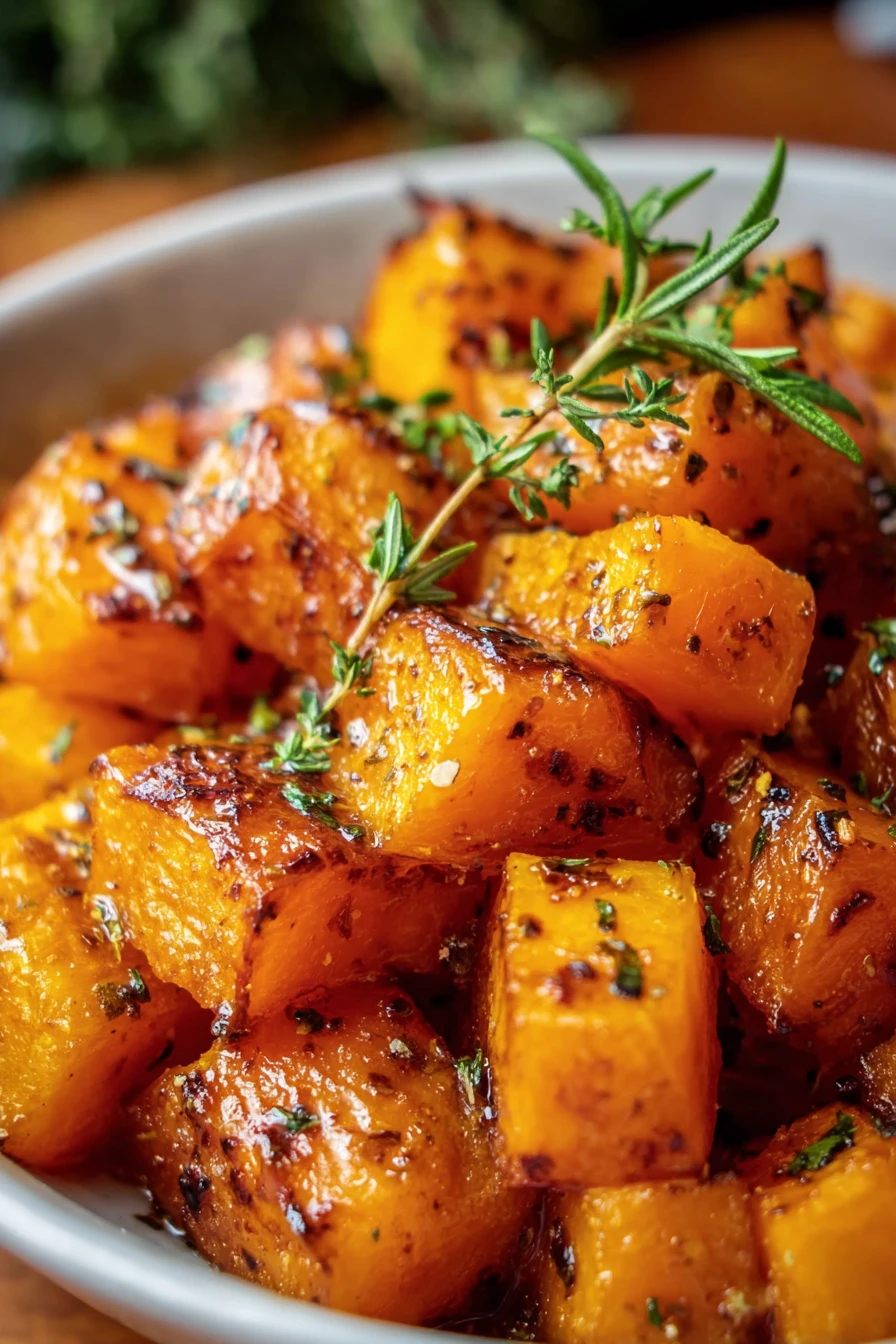
I’ll never forget the first time I stumbled upon a …