
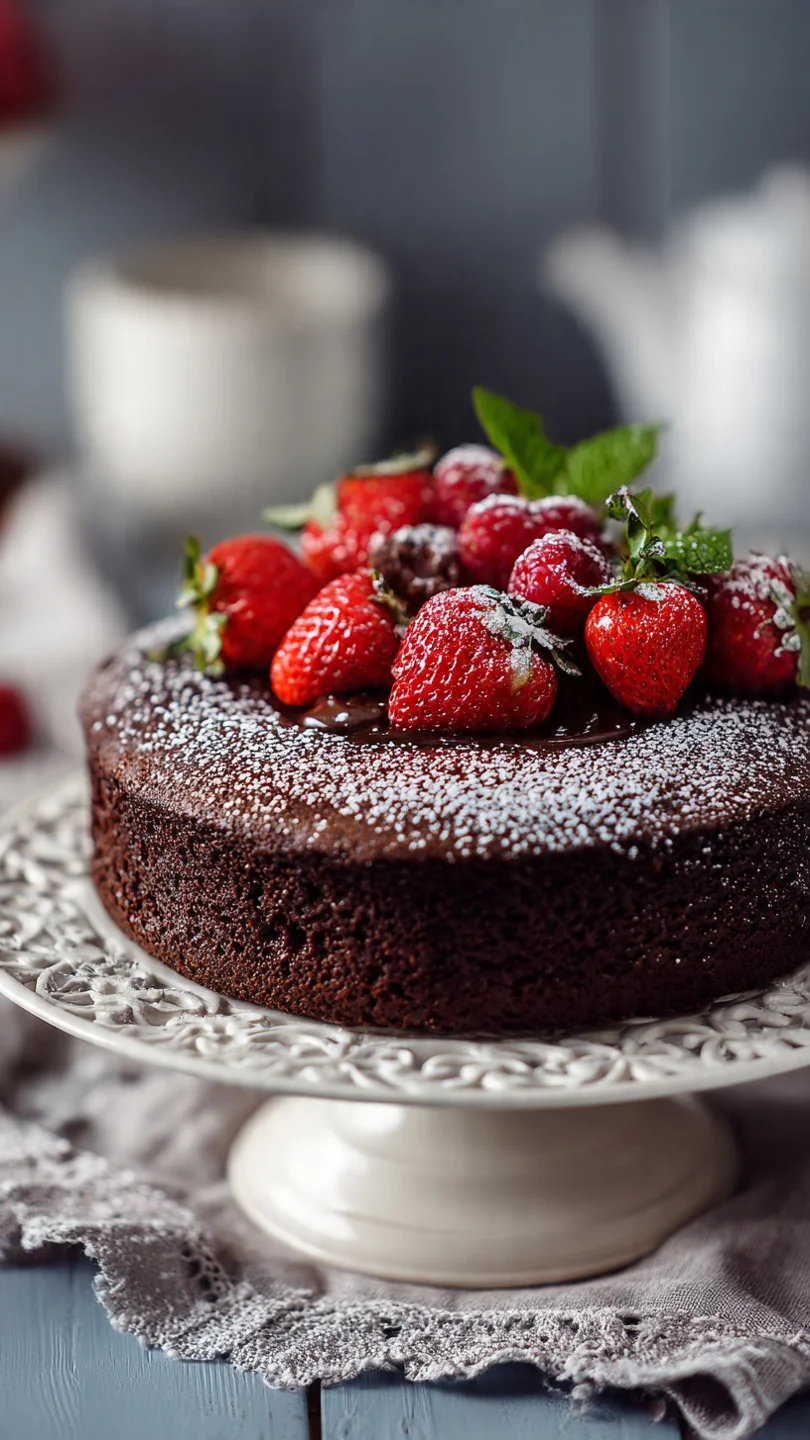
There are desserts, and then there are legends. This Better Than Anything Chocolate Cake isn’t just a recipe; it’s an experience. Imagine the deepest, moistest chocolate cake you’ve ever tasted, transformed into a vehicle for sweetened condensed milk and rich caramel, then crowned with clouds of whipped cream and crunchy toffee.
It’s the dessert you bring to a potluck when you want to be a hero, the one you make for a birthday when store-bought just won’t do. Having tested this in professional kitchens and home ovens alike, I can tell you its magic lies in a simple, foolproof technique that delivers maximum decadence with minimal fuss. Get ready to make a cake that truly earns its name.
This cake is a guaranteed crowd-pleaser for so many reasons. It combines simplicity with spectacular results in a way few desserts can.
- Unbeatable Moisture: The poke-and-soak technique ensures every single bite is incredibly moist and infused with sweet, caramel flavor.
- Minimal Effort, Maximum Praise: Starting with a boxed mix streamlines the process, letting you focus on the transformative layers that make it special.
- Make-Ahead Perfection: This cake must be chilled for hours, making it the ultimate stress-free dessert for parties and gatherings.
- Textural Heaven: You get the soft cake, the gooey caramel center, the light whipped topping, and the satisfying crunch of toffee—all in one forkful.
- Highly Customizable: It’s a fantastic template. Don’t like toffee? Use nuts. Prefer a different sauce? The method remains the same.
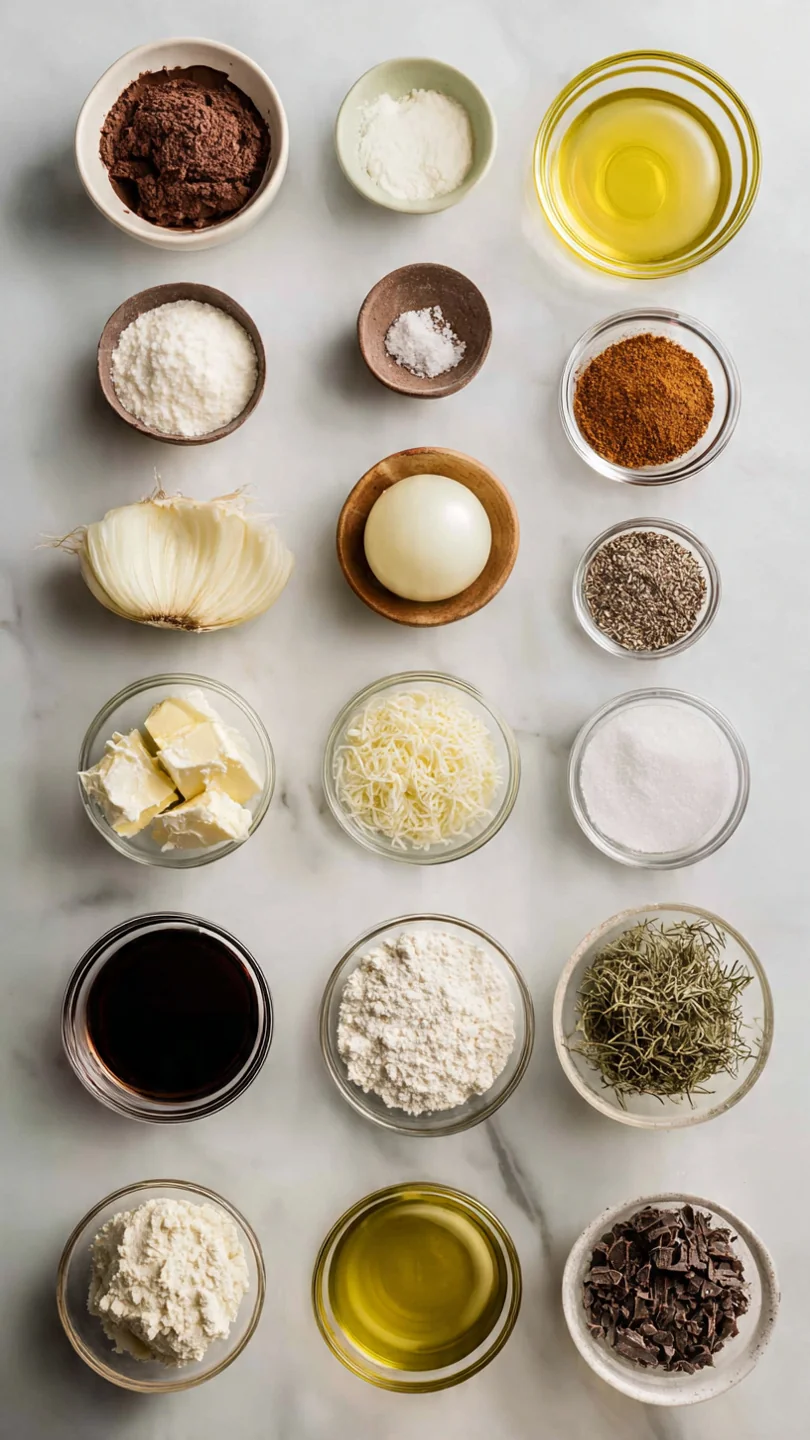
Ingredients You’ll Need
- Let’s gather our ingredients—this is where simple components come together to create pure magic. Using a quality boxed devil’s food cake mix is your secret weapon here; it provides a reliable, rich chocolate base that pairs perfectly with the sweet additions. The sweetened condensed milk is non-negotiable—it’s the liquid gold that creates the cake’s signature moistness and creamy sweetness. For the caramel, a good-quality jarred ice cream topping works beautifully and saves time. The frozen whipped topping stabilizes nicely for a clean presentation. Finally, the chocolate-covered toffee bars (like Heath) provide that essential crunch. If you can’t find them, other crushed candy bars or even chopped pecans are great alternatives.
Note: You’ll find the complete list of ingredients, along with their exact measurements, in the printable recipe card at the bottom of this post.
Kitchen Equipment Needed
You likely have everything you need already. The essential tool is a 9×13 inch metal or glass baking pan—this size is perfect for the cake mix and allows for ideal depth after soaking. You’ll need basic mixing bowls and utensils to prepare the cake batter.
The key piece of “equipment” for the signature poke step is the handle of a wooden spoon; its rounded end is perfect for creating holes without tearing the cake. A wire cooling rack is helpful for letting the cake cool evenly. For finishing, an offset spatula makes spreading the whipped topping effortless, and a rolling pin and zip-top bag are the easiest way to crush the toffee bars.
How to Make Better Than Anything Chocolate Cake Recipe
Step 1: Bake the Chocolate Base
Preheat your oven to 350°F (175°C) and grease your 9×13 inch pan. Prepare the devil’s food cake mix exactly as directed on the box. This usually involves combining the mix with eggs, oil, and water.
Pour the batter into your prepared pan and bake for 28-32 minutes. You’ll know it’s done when the top springs back lightly to the touch and a toothpick inserted in the center comes out with just a few moist crumbs. Believe me, slightly under-baking is better than over-baking here, as the soak will finish the process.
Let it cool in the pan for only about 10 minutes before the next step.
Step 2: Poke and Begin the Soak
Now for the fun part that gives this cake its character. While the cake is still warm (not hot), take the handle of a wooden spoon and poke holes all over the surface. Space them about an inch apart and push down about three-quarters of the way through the cake.
You want to create plenty of channels without destroying the structure. Tip from me: don’t just poke straight down—give the handle a little wiggle to widen the holes slightly so they can drink up more of the goodness.
Step 3: The Decadent Pour-Over
Slowly and deliberately, pour the entire can of sweetened condensed milk over the warm cake. Take your time, moving back and forth to ensure it drips into every single hole. You’ll see it disappear before your eyes.
Immediately follow with the jar of caramel sauce, using a spoon to help spread it evenly if needed. The warmth of the cake is crucial here—it helps thin the sauces just enough so they penetrate deeply. Let the cake sit until it reaches full room temperature; this patience allows for complete absorption.
Step 4: Apply the Frosting and Crunch
Once the cake is completely cool to the touch, it’s time for the topping. Using an offset spatula or a butter knife, spread the entire container of thawed whipped topping evenly over the surface, going right to the edges. For the toffee bits, place the bars in a sturdy zip-top bag, seal it, and crush them with a rolling pin until you have a mix of fine powder and small chunks.
Sprinkle this crunchy layer generously and evenly over the whipped topping.
Step 5: Chill, Slice, and Serve
This is the most important step for texture: refrigeration. You must cover the cake and chill it in the refrigerator for at least 4 hours, but overnight is truly ideal. This chilling time allows all the flavors to marry and the cake to set up perfectly for slicing.
When ready to serve, use a sharp knife, running it under hot water and wiping it clean between cuts for beautiful, clean slices. Step back and admire your creation before serving it cold.
A few chef-approved insights will ensure your cake is flawless every single time.
- The Warm Cake Rule: Pouring the condensed milk and caramel onto a warm (not hot) cake is the single most important technique. A cold cake will simply pool the liquids on top.
- Poking Tool Matters: The round end of a wooden spoon handle is ideal. Avoid using a fork or knife, as they can create tears instead of clean holes.
- Chill for Structure: Do not skip or shorten the chilling time. It firms up the whipped topping and allows the soaked layers to set, making the cake sliceable instead of messy.
- Quality of Caramel: If your caramel sauce is very thick, you can warm it slightly in the microwave for 10-15 seconds to make it more pourable. Just don’t make it hot.
- Even Distribution: When pouring the sauces, start around the edges of the cake. The center tends to absorb more slowly, so this method helps prevent the edges from becoming over-saturated.
Recipe Variations & Customizations
- The beauty of this recipe is its adaptability. Once you master the base technique, the flavor combinations are endless.
- Coffee Lover’s Version: Prepare the cake mix using strong brewed coffee instead of water. Use a mocha or coffee-flavored syrup in place of the caramel.
- Turtle Cake: Substitute the caramel with a thick chocolate fudge sauce. Use chopped pecans instead of toffee bits for the topping.
- Berry Bliss: After the soak and before the whipped topping, spread a layer of seedless raspberry or strawberry jam. Top with fresh berries instead of toffee.
- Candy Bar Swap: Use crushed Butterfinger, Snickers, or Reese’s Peanut Butter Cups in place of the toffee bars for a different candy profile.
- Salted Caramel Twist: Use a salted caramel sauce and sprinkle the finished cake with a light dusting of flaky sea salt for a sophisticated sweet-and-salty balance.
- German Chocolate Style: Use a coconut-pecan frosting (the kind from a can) in place of the caramel sauce, and top with toasted coconut and pecans.
What to Serve With This Recipe
This cake is a rich, stand-alone star, but it can be part of a magnificent dessert spread. For a casual gathering, serve it with scoops of vanilla bean ice cream or a dollop of freshly whipped cream to cut the sweetness. Coffee is its best friend—offer strong black coffee, espresso, or a creamy latte.
For a dinner party, consider a lighter first course, as this dessert is substantial. It’s the perfect finale for summer barbecues, potlucks, birthday celebrations, and holiday meals where you want a guaranteed showstopper that requires no last-minute preparation.
Storage & Make-Ahead Instructions
- This cake’s make-ahead nature is one of its greatest assets.
- Refrigeration: Always store the cake covered in the refrigerator. It will keep well for 4-5 days. The whipped topping may begin to weep slightly after day 3, but the cake will still taste delicious.
- Freezing: You can freeze the fully assembled cake for up to 2 months. Wrap the entire pan tightly in plastic wrap, then in aluminum foil. Thaw overnight in the refrigerator before serving. Note that the whipped topping may lose a bit of its texture after freezing.
- Make-Ahead Strategy: This cake is designed to be made at least a day ahead. I recommend preparing it up to 24 hours before you need it. The flavor and texture only improve with time.
- Serving Leftovers: For the best texture, always serve slices cold directly from the fridge.
Frequently Asked Questions
Q: Can I make this cake completely from scratch?
Absolutely. Use your favorite homemade chocolate cake recipe baked in a 9×13 pan. The rest of the assembly process remains exactly the same.
Just ensure your cake is still warm when you poke and pour.
Q: My sweetened condensed milk isn’t soaking in all the way. What did I do wrong?
This usually means the cake wasn’t warm enough when you poked it, or the holes aren’t deep/wide enough. Next time, ensure the cake is just cool enough to handle and wiggle your poking tool to create better channels.
Q: Can I use homemade whipped cream instead of frozen whipped topping?
You can, but stabilized whipped cream is better. The frozen topping holds its shape for days in the fridge. Homemade whipped cream may deflate and become runny.
If you prefer it, add a tablespoon of instant pudding powder to your cream while whipping to help stabilize it.
Q: Is there a way to make this less sweet?
The cake is intentionally very sweet. For a slightly less sweet version, you can reduce the caramel sauce to 3/4 of the jar and use a less-sweet chocolate cake mix. The toffee bits also add sweetness, so you could reduce the amount or use chopped nuts instead.
Q: Can I make this in a different pan size?
A 9×13 is ideal. If you use a smaller pan (like a 9×9), you’ll have a thicker cake that may require a longer bake time and might not absorb the sauces as evenly. I don’t recommend it.
Q: How do I know when the cake is done baking before poking?
The classic toothpick test is best. Insert it into the center—it should come out with a few moist crumbs attached, but not wet batter. The top should also be set and spring back when lightly touched.
Q: My caramel and condensed milk pooled on top. Can I fix it?
If it’s only a small amount, you can gently tilt the pan to redistribute it. If it’s a lot, you may have poked the cake when it was too cool. It will still taste great, but the texture will be wetter on top.
Use it as a lesson for next time!
Final Thoughts
This Better Than Anything Chocolate Cake is more than the sum of its parts. It’s a lesson in how simple techniques—poking, pouring, chilling—can transform everyday ingredients into something extraordinary. As a professional, I appreciate its reliability; as a home cook, I love the joy it brings to everyone who tries it.
It’s the dessert that gets requested again and again, the one that makes people ask for the recipe. I encourage you to make it exactly as written the first time, then have fun with the variations. Trust the process, especially the chilling time.
Once you taste that first perfect, cold, moist, crunchy, creamy bite, you’ll understand exactly how it got its name. Please let me know how it turns out for you—share your photos and tag me. Happy baking
Better Than Anything Chocolate Cake
Equipment
- 9×13 inch baking pan
- Mixing bowls
- Wooden spoon handle or similar poking tool
- Wire cooling rack
- Offset spatula
- Rolling pin and zip-top bag (for crushing toffee)
Ingredients
- 1 box Devil’s Food Cake Mix 15.25 oz size, plus ingredients listed on box (typically eggs, oil, water)
- 14 oz Sweetened Condensed Milk One can, not evaporated milk
- 12 oz Caramel Sauce or Ice Cream Topping Jarred works perfectly
- 8 oz Frozen Whipped Topping Thawed, such as Cool Whip
- 6 regular-sized Chocolate-Covered Toffee Bars Such as Heath or Skor bars, crushed
- 1/2 cup Semi-Sweet Chocolate Chips For garnish (optional)
Instructions
- Preheat your oven to 350°F (175°C). Grease a 9×13 inch baking pan. Prepare the devil’s food cake batter according to the package directions. Pour the batter into the prepared pan and bake for 28-32 minutes, or until a toothpick inserted into the center comes out clean. Let the cake cool in the pan on a wire rack for about 10 minutes.
- Using the handle of a wooden spoon or a similar round tool, poke holes all over the warm cake. Make the holes about 1 inch apart and push down about 3/4 of the way through the cake. This creates channels for the sweet mixture to soak in. Trust me, don’t be shy with the holes!
- Slowly pour the entire can of sweetened condensed milk over the warm cake, aiming for the holes. Take your time to let it seep in. Then, do the same with the caramel sauce, ensuring it gets into the holes and covers the entire surface. Let the cake cool completely to room temperature, which allows the liquids to fully absorb.
- Once the cake is completely cool, spread the thawed whipped topping evenly over the top with an offset spatula. For the cleanest look, spread it to the edges. In a zip-top bag, crush the chocolate-covered toffee bars with a rolling pin until you have a mix of fine bits and small chunks.
- Sprinkle the crushed toffee bits evenly over the whipped topping layer. If using, melt the chocolate chips and drizzle over the top for extra decadence. Cover and refrigerate the cake for at least 4 hours, or preferably overnight, before serving. This chilling time is non-negotiable for the perfect texture.