
Hey there, friends! I’ve gotta tell ya, I stumbled upon the magic of Brown Sugar Overnight Oats a few years back when I was desperate for a quick, no-fuss breakfast. I remember being bleary-eyed, juggling a toddler on my hip, and thinking, “There’s gotta be a better way than cereal every morning!” That’s when Brown Sugar Overnight Oats saved my sanity, and honestly, they’ve been a staple in my kitchen ever since.
Now, I’m not gonna pretend I got it right the first time. My initial batch of Brown Sugar Overnight Oats was a gloopy mess because I didn’t measure the milk properly (lesson learned!). But once I nailed the ratio, it became my go-to for busy mornings or even a sneaky late-night snack.
If you’re looking for a breakfast that’s equal parts easy and delicious, stick with me. I’m spilling all my secrets on making Brown Sugar Overnight Oats that’ll have you excited to roll out of bed. Let’s dive in!
Why You’ll Love This Recipe
I’ve found that Brown Sugar Overnight Oats are a total game-changer for anyone with a packed schedule. They’re ridiculously simple to whip up, requiring zero cooking skills, and the sweet, caramel-like flavor of brown sugar just makes every bite feel like a treat. Honestly, who doesn’t want dessert for breakfast without the guilt?
In my kitchen, these oats are a hit with everyone, from my picky eater to my husband who claims he “doesn’t do breakfast.” I love how customizable Brown Sugar Overnight Oats can be, whether I’m tossing in fruit or a drizzle of nut butter. Trust me, once you try this, you’ll wonder how you ever survived mornings without it!
Ingredients List
Alright, let’s talk ingredients for Brown Sugar Overnight Oats. I’m all about keeping it simple, so you probably already have most of this stuff in your pantry. I prefer using rolled oats for that chewy texture, but I’ll share some swaps later if you’ve only got quick oats on hand.
Here’s what you’ll need to make a basic batch of Brown Sugar Overnight Oats, enough for two servings. I usually buy store-brand items to save a few bucks, but I splurge on good vanilla extract because it makes a difference, in my opinion.
- 1 cup (80g) rolled oats, old-fashioned for the best texture
- 1 cup (240ml) milk, I use whole milk for creaminess, but any kind works
- 2 tablespoons (25g) brown sugar, packed for that rich, molasses-y sweetness
- 1/2 teaspoon vanilla extract, for a warm, cozy flavor
- 1/4 teaspoon ground cinnamon, just a pinch to spice things up
- Pinch of salt, to balance the sweetness
And that’s it for the base of Brown Sugar Overnight Oats! I like to keep a stash of these ingredients ready because, let’s be real, I’m making this at least twice a week. You can double or triple the recipe if you’re meal-prepping for the family.
Variations
One of the things I adore about Brown Sugar Overnight Oats is how versatile they are. I’ve played around with so many tweaks over the years, depending on my mood or what’s in the fridge. Here are some of my favorite spins on this classic recipe that keep it fresh and exciting.
- Apple Pie Twist: Toss in 1/4 cup diced apples and a dash more cinnamon for that fall vibe. I tried this once during a cozy autumn weekend, and it was like eating pie for breakfast!
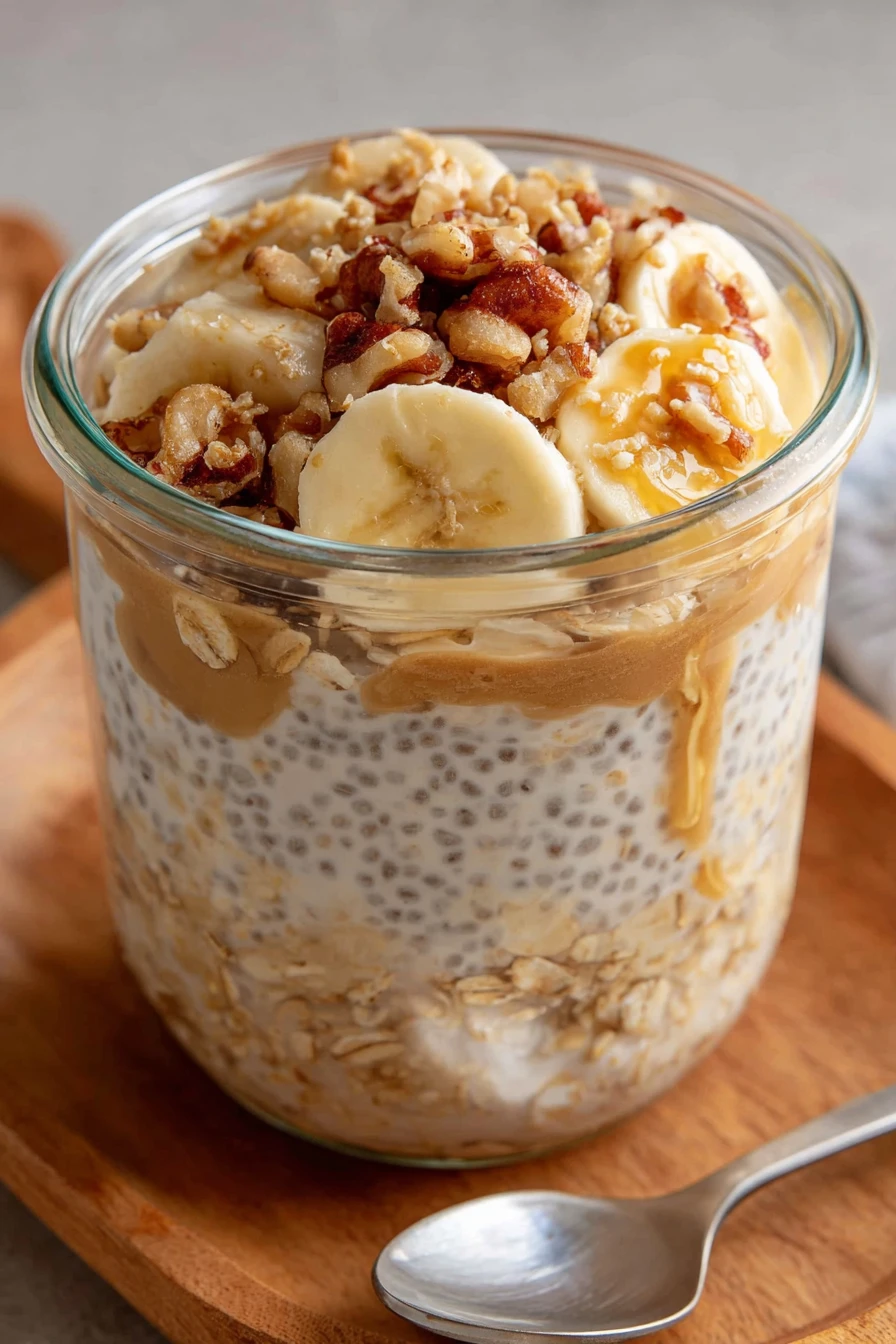
- Peanut Butter Bliss: Stir in 1 tablespoon peanut butter for a nutty kick. My kids always beg for this version of Brown Sugar Overnight Oats.
- Berry Blast: Add a handful of fresh or frozen berries right before eating. It’s my go-to when I want something lighter.
- Chocolate Indulgence: Mix in 1 teaspoon cocoa powder and a few chocolate chips. I save this for weekends when I’m feeling fancy!
- Tropical Escape: Throw in some shredded coconut and diced mango. It reminds me of a beach vacation I wish I was on.
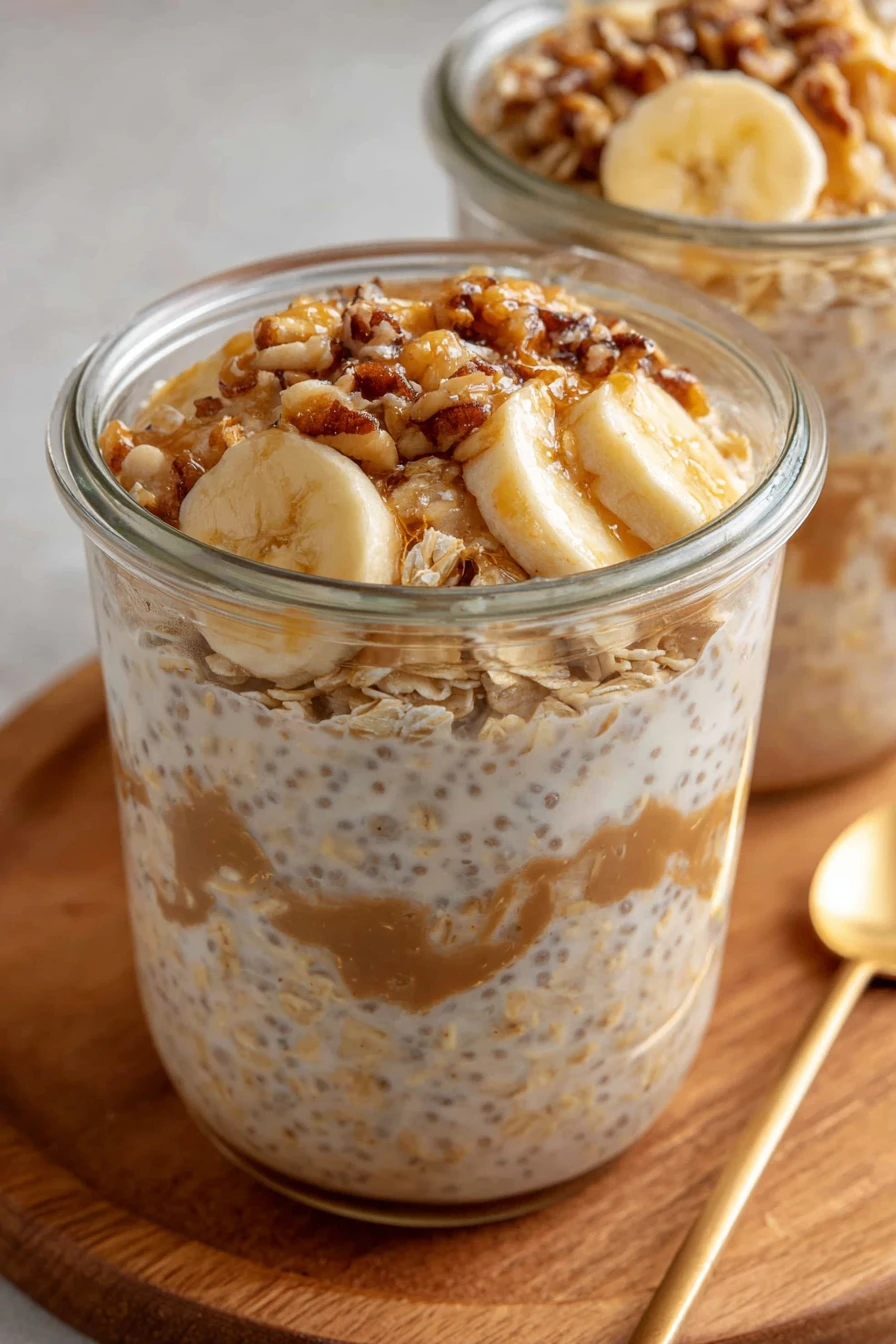
- Maple Nut Crunch: Swap the brown sugar for maple syrup and add chopped walnuts. This one’s a hit at my house during the holidays.
- Banana Bread Vibes: Mash half a banana into the mix with a sprinkle of nutmeg. I’m obsessed with how comforting this tastes with Brown Sugar Overnight Oats.
Seriously, don’t be afraid to experiment with Brown Sugar Overnight Oats. Half the fun is making it your own, and I’m always tinkering with new combos. What’s your favorite add-in? Drop me a comment!
Servings and Timing
Let’s chat about how much time and how many servings you’ll get with Brown Sugar Overnight Oats. In my experience, this recipe comes together lightning-fast, which is why I rely on it during chaotic weeks. Here’s the breakdown based on how I make it.
- Prep Time: 5 minutes
- Chill Time: At least 4 hours, preferably overnight
- Total Time: 4 hours 5 minutes (mostly hands-off)
- Servings: 2 portions
I usually make a double batch of Brown Sugar Overnight Oats on Sunday night to cover a few breakfasts. It’s a lifesaver when I’m rushing out the door, and I think you’ll find the timing just as convenient!
Step-by-Step Instructions
Making Brown Sugar Overnight Oats is so easy, I swear you’ll be shocked at how little effort it takes. I’ve done this a million times, so let me walk you through it step by step with some of my little tricks to get it just right. Let’s get started!
Step 1: Gather Your Gear
First things first, grab a couple of mason jars or small containers with lids. I use pint-sized jars because they’re the perfect portion for Brown Sugar Overnight Oats, plus they look cute on the fridge shelf. You’ll also need a spoon or fork for mixing, nothing fancy here.
Step 2: Mix the Dry Stuff
Dump your rolled oats, brown sugar, cinnamon, and that tiny pinch of salt into each jar. I like to give it a quick stir with a spoon to make sure the brown sugar doesn’t clump up. I’ve learned the hard way that uneven sweetness is a bummer in Brown Sugar Overnight Oats!
Step 3: Add the Wet Ingredients
Pour in the milk and a splash of vanilla extract. Stir it all up until everything’s combined. Pro tip: If I’m feeling lazy, I just put the lid on and shake the jar like a maraca—works like a charm for Brown Sugar Overnight Oats.
Step 4: Chill Out
Pop the lids on your jars and stash them in the fridge for at least 4 hours, though overnight is best. I’ve noticed the texture gets so much better the longer they sit. Honestly, this hands-off step is why Brown Sugar Overnight Oats are my jam.
Step 5: Add Toppings (Optional)
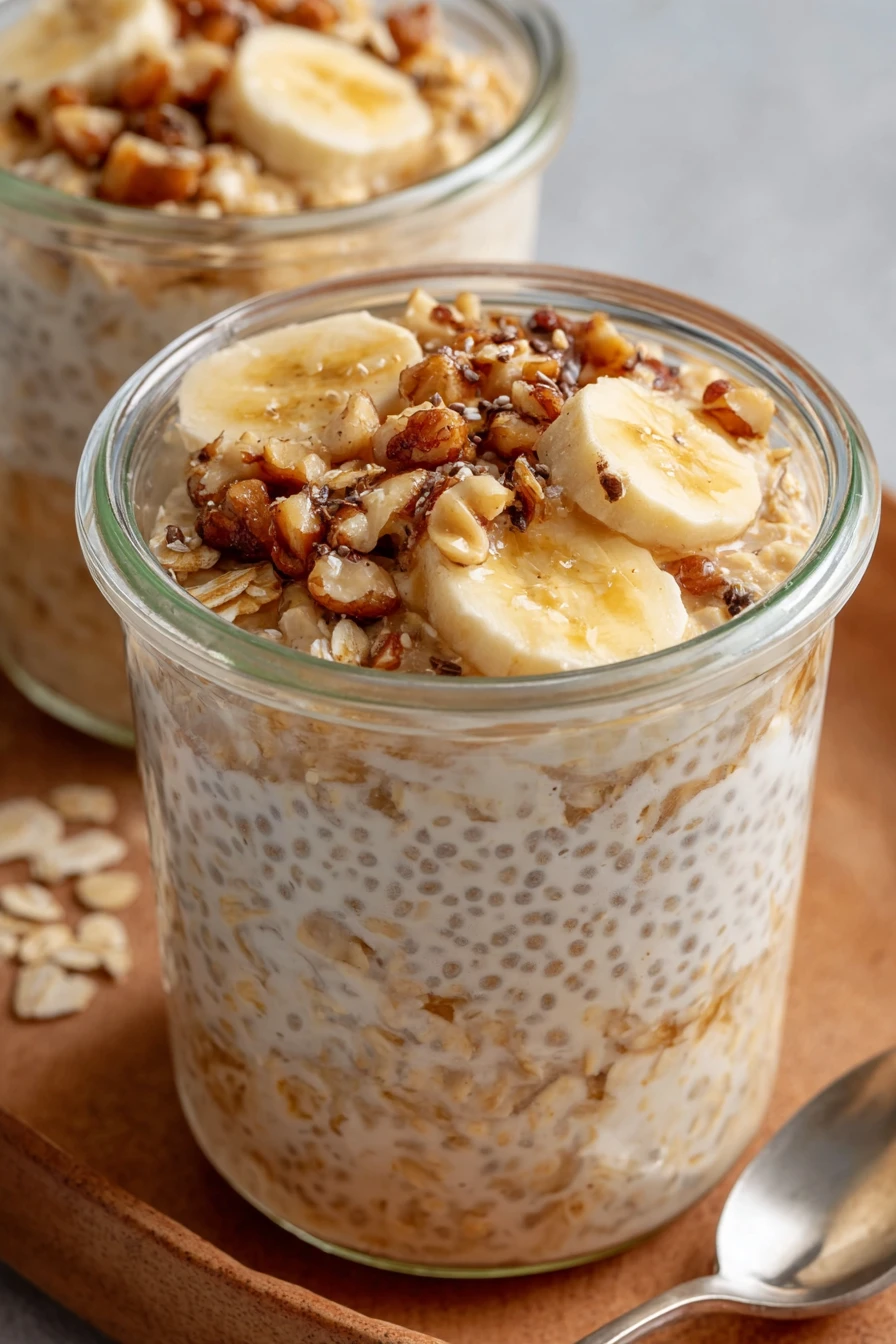
In the morning, or whenever you’re ready to eat, toss on any extras like fruit or nuts. I’m partial to a sliced banana or a sprinkle of granola for some crunch. With Brown Sugar Overnight Oats, this is where you can really make it your own.
There ya go, folks! Five minutes of “cooking” for a breakfast that feels like you put in way more effort. I’ve messed this up before by rushing, so take your time mixing—trust me.
Nutritional Information
I’m not gonna lie, I’m not a nutritionist, but I’ve crunched the numbers on Brown Sugar Overnight Oats because I like to know what I’m eating. Here’s a rough estimate per serving, based on my basic recipe with whole milk. Keep in mind, add-ins will tweak these stats.
- Calories: 250 per serving
- Fat: 5g
- Protein: 8g
- Carbohydrates: 42g
- Sodium: 80mg
I think Brown Sugar Overnight Oats are pretty balanced for a hearty breakfast, especially if you’re mindful of toppings. It keeps me full for hours, which is a win in my book!
Healthier Alternatives
If you’re looking to lighten up Brown Sugar Overnight Oats, I’ve got some swaps I’ve tried over the years. I’m not always in “health mode,” but when I’m watching my intake, these tweaks keep the flavor without derailing my goals. Here are my go-to options for a guilt-free version.
- Lower Sugar: Cut the brown sugar to 1 tablespoon and add a splash of maple syrup or mashed banana for natural sweetness.
- Non-Dairy Milk: Swap regular milk for almond or oat milk to reduce calories and make it vegan-friendly. I’ve done this tons of times with great results for Brown Sugar Overnight Oats.
- Chia Boost: Add 1 tablespoon chia seeds for extra fiber and omega-3s. It thickens up the texture too, which I kinda love.
- Less Fat: Use skim or low-fat milk if you’re cutting back. It’s not as creamy, but still tasty in Brown Sugar Overnight Oats.
Play around with these ideas! I’ve found they still deliver that comforting vibe of Brown Sugar Overnight Oats without the extra heft.
Serving Suggestions
I’ve got some favorite ways to enjoy Brown Sugar Overnight Oats, depending on the vibe I’m going for. Whether it’s a rushed morning or a lazy weekend, here’s how I serve it up. These ideas might spark some inspiration for you too!
- Classic Breakfast: Just grab a spoon and dig in straight from the jar with a sprinkle of nuts. It’s my default for busy days.
- Fruit Lover’s Dream: Top with fresh strawberries and blueberries for a burst of color and flavor. I did this for a brunch once, and everyone raved about my Brown Sugar Overnight Oats!
- Warm It Up: Microwave for 30 seconds if you prefer it warm. I’m hooked on this during chilly mornings with Brown Sugar Overnight Oats.
- Parfait Style: Layer with yogurt and granola in a glass for a pretty presentation. I love doing this for guests to fancy up Brown Sugar Overnight Oats.
How do you like yours? I’m always curious about new twists!
Common Mistakes to Avoid
Okay, let’s talk about some pitfalls with Brown Sugar Overnight Oats, because I’ve made every mistake in the book. I learned the hard way, so you don’t have to. Here are the biggies to watch out for.
- Wrong Liquid Ratio: Too much milk makes it soupy, too little and it’s dry. I’ve botched this before, so stick to a 1:1 oat-to-milk ratio for perfect Brown Sugar Overnight Oats.
- Not Waiting Long Enough: Don’t rush the chilling time; 4 hours minimum is key for soft oats. I’ve eaten gritty Brown Sugar Overnight Oats, and it’s not fun.
- Skipping the Mix: If you don’t stir well, you’ll get clumps of brown sugar. Guilty as charged on this one with early batches of Brown Sugar Overnight Oats!
- Overloading Toppings: Go easy at first, or you’ll overpower the base flavor. Trust me, less is more with Brown Sugar Overnight Oats sometimes.
Save yourself the headache and keep these in mind. I’ve got the scars to prove they’re real issues!
Storing Tips
Storing Brown Sugar Overnight Oats is a breeze, and I’ve got it down to a science after making big batches for the week. In my experience, proper storage keeps them tasting fresh. Here’s how I do it.
- Refrigerator: Store in airtight jars or containers for up to 5 days. I’ve found they’re best within the first 3 days for Brown Sugar Overnight Oats.
- Freezer: Freeze individual portions for up to a month, thawing overnight in the fridge. It’s a solid backup for Brown Sugar Overnight Oats when life gets crazy!
- Toppings Separate: Add fresh toppings like fruit after storage to avoid sogginess. That’s my rule for keeping Brown Sugar Overnight Oats perfect.
Frequently Asked Questions
I get a bunch of questions about Brown Sugar Overnight Oats, so let’s tackle the most common ones. I’ve answered these based on my own trial and error, so hopefully, they help you out!
Can I use quick oats instead of rolled oats?
Yup, you totally can, though the texture will be softer and less chewy. I’ve done it in a pinch, and it still works for Brown Sugar Overnight Oats, just not my fave.
Do I have to use brown sugar?
Nope, you can swap it for maple syrup or honey if that’s your jam. I prefer the deep flavor in Brown Sugar Overnight Oats, but alternatives are cool too.
Can I make this vegan?
Absolutely! Use plant-based milk like almond or oat, and you’re golden. I’ve made vegan Brown Sugar Overnight Oats tons of times, and it’s just as yummy.
How long do they need to sit?
At least 4 hours, but overnight is best for that perfect texture. I’ve rushed it before, and trust me, patience pays off.
Can I heat them up?
Sure thing! Pop them in the microwave for 20-30 seconds. I love warm Brown Sugar Overnight Oats when it’s chilly out.
Are they kid-friendly?
Oh yeah, my kids devour them. Just cut back on sugar if you’re worried, and toss in some fruit.
Can I double the recipe?
Go for it! I double or triple it all the time for meal prep. Same ratios, just more jars.
What if they’re too thick?
Just stir in a splash of milk before eating to loosen them up. Happens to me sometimes too!
Conclusion
Well, there you have it, my tried-and-true guide to Brown Sugar Overnight Oats! I’m so stoked to share this recipe because it’s honestly been a lifesaver in my hectic life, and I bet it’ll be for you too. Give these Brown Sugar Overnight Oats a whirl, play with the flavors, and let me know how it goes. I can’t wait to hear what you think about Brown Sugar Overnight Oats in the comments!
Conclusion
I hope you enjoyed this recipe for Brown Sugar Overnight Oats! It’s truly one of my favorites, and I’m confident you’ll love it too. Remember to follow the steps carefully for the best results. Don’t hesitate to experiment with your own variations and make this recipe your own.
Happy cooking!