
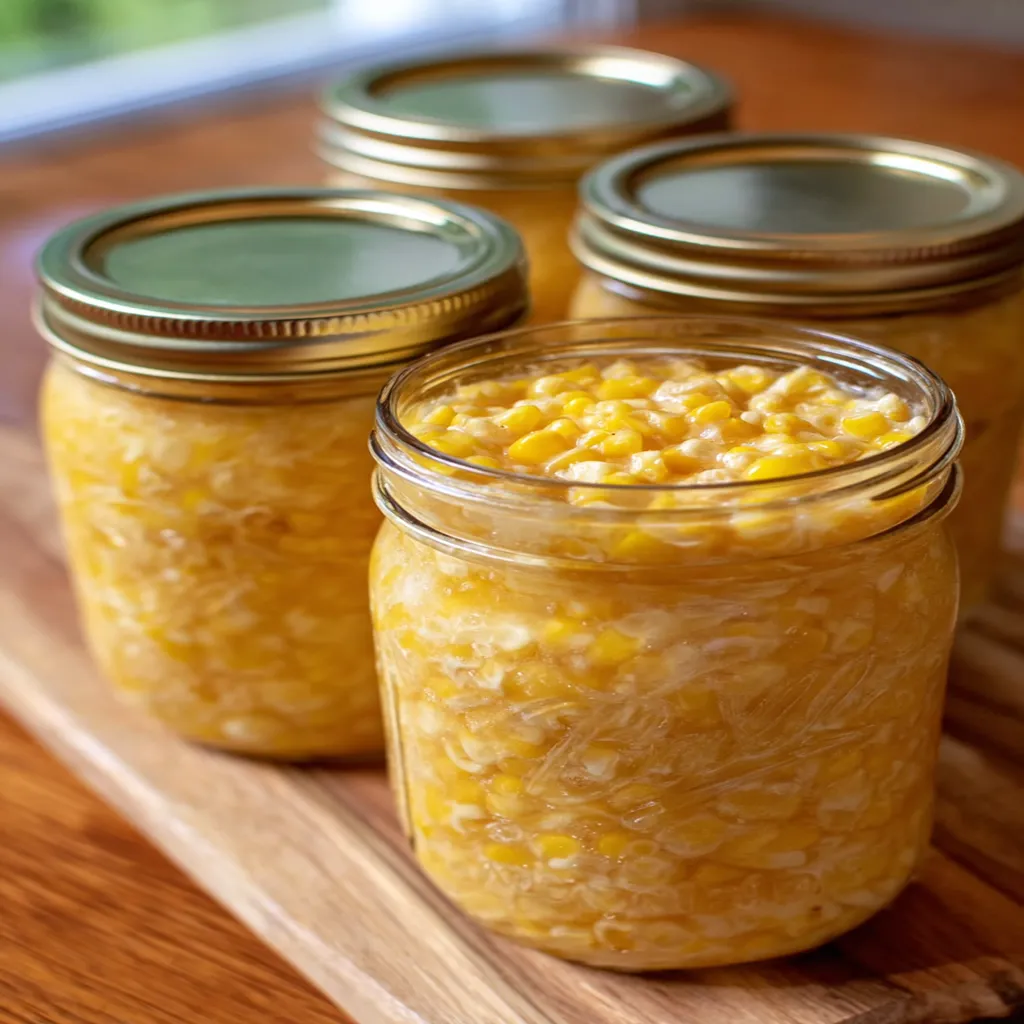
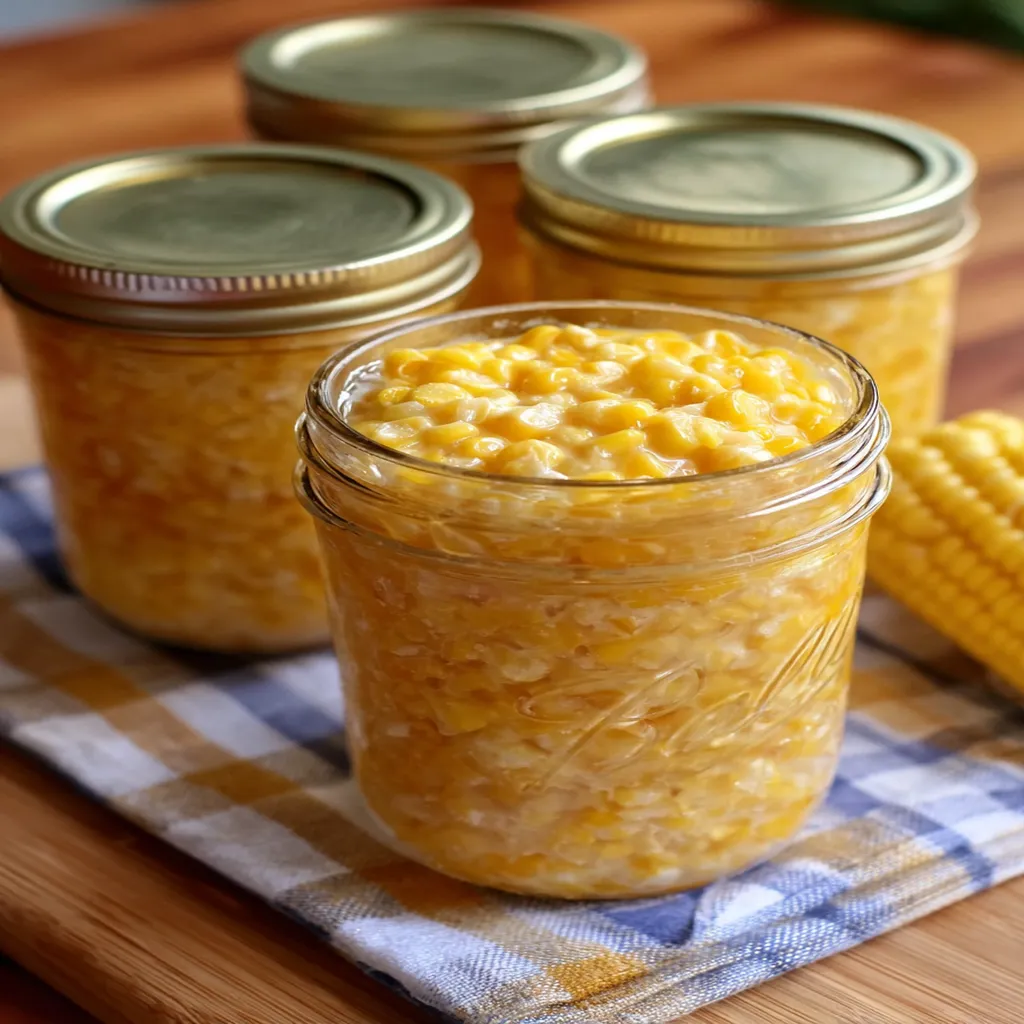
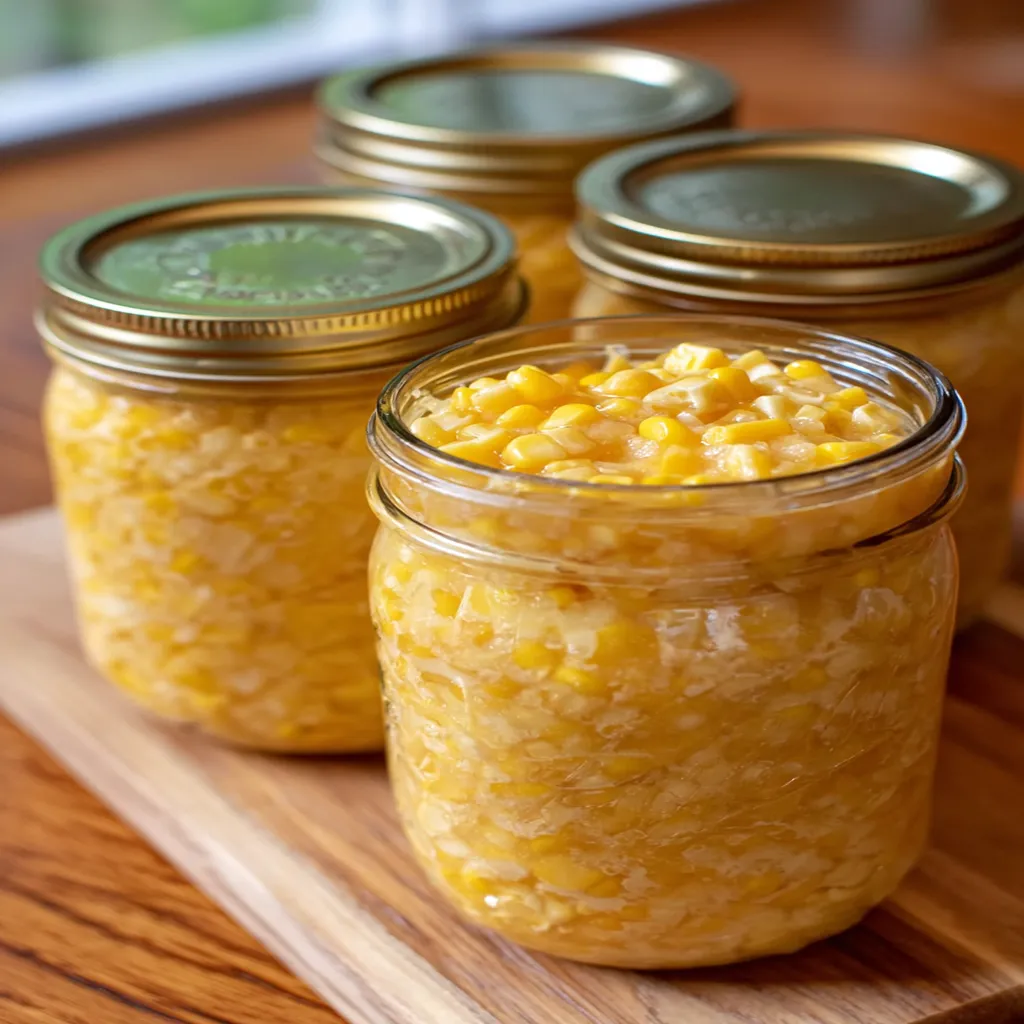
Hey there, friends! I’ve gotta share something that’s become a staple in my kitchen every summer: Canning Cream Style Corn.
There’s nothing quite like preserving the sweet, fresh taste of corn at its peak, and I discovered this method a few years back when my garden went absolutely bonkers with a bumper crop. My family loves cracking open a jar in the middle of winter and tasting that sunny, golden goodness all over again.
Honestly, the first time I tried Canning Cream Style Corn, I was a bit intimidated. All those jars and boiling water baths seemed like a lot, but trust me, once you get the hang of it, it’s a breeze! I’m excited to walk you through this process step by step, sharing all the little tricks I’ve picked up along the way.
If you’re looking to capture summer in a jar, Canning Cream Style Corn is where it’s at. Stick with me, and I’ll show you how to make this a fun, rewarding project for your own kitchen crew. Let’s dive in!
Why You’ll Love This Recipe
I’ve found that Canning Cream Style Corn isn’t just about preserving food; it’s about preserving memories. There’s something so satisfying about popping open a jar you prepped months ago and serving it up with a big ol’ smile. It’s a taste of summer no matter the season, and in my kitchen, that’s pure gold.
Plus, it’s super versatile! You can toss this creamy corn into soups, casseroles, or just heat it up as a side dish with a pat of butter. I’m telling you, once you start Canning Cream Style Corn, you’ll wonder how you ever lived without a stash of these jars in your pantry. If you love this recipe, you’ll also enjoy cream cheese caramel dip for apples.
Ingredients List
When it comes to Canning Cream Style Corn, the ingredients are pretty straightforward, but I’ve got my preferences after years of trial and error. I usually buy the freshest corn I can find at the local farmers’ market—there’s just no beating those sweet, just-picked ears. Here’s what you’ll need to get started, with exact measurements to keep things nice and tidy. You might also want to try bobby flays crab corn chowder.
- 20 ears of fresh corn, husked and silks removed (the fresher, the better, trust me)
- 1 pint (2 cups or 480ml) water, for each quart jar, to help with packing
- 2 teaspoons salt, per quart jar, for flavor (I prefer canning salt over table salt for clarity in the jars)
- Boiling water, as needed for the canner and jar processing
I’m a stickler for using non-iodized salt when Canning Cream Style Corn because it keeps the liquid from getting cloudy. And if you’re wondering about the corn, I always aim for sweet varieties like Silver Queen or Peaches and Cream—they give that perfect creamy texture. These measurements should fill about 4-5 quart jars, depending on how tightly you pack ‘em. Let’s keep this simple and scrumptious as we dive into making Canning Cream Style Corn!
Variations
One of the best things about Canning Cream Style Corn is how easy it is to tweak to your taste. Over the years, I’ve played around with different flavors and styles, and I’m pumped to share some of my favorite spins on this classic. Whether you like a little kick or a smoky vibe, there’s a variation here for you.
- Spicy Southwest: Add 1/2 teaspoon of chili powder and a pinch of cayenne to each jar before sealing for a zesty twist. I tried this once and my husband couldn’t stop raving about it with his tacos!
- Herb-Infused Bliss: Mix in 1 teaspoon of dried thyme or rosemary per jar for an earthy depth. This one’s a go-to for me when I’m pairing Canning Cream Style Corn with roast chicken.
- Garlic Lover’s Dream: Toss in a minced garlic clove per jar for a savory punch. My kids always ask for this version with their cornbread.
- Smoky Bacon Vibes: Add 1 tablespoon of crumbled, cooked bacon to each jar before processing. It’s a game-changer, y’all.
- Cheesy Delight: Stir in 2 tablespoons of grated Parmesan per jar for a creamy, cheesy kick. I stumbled on this by accident and now it’s a family fave.
- Sweet and Savory: Drizzle 1 teaspoon of honey per jar to enhance the natural sweetness of the corn. It sounds weird, but it works!
- Pepper Pop: Include 1/4 cup of diced bell peppers for color and crunch. I love how it looks in the jars!
Canning Cream Style Corn lets you get creative, so don’t be afraid to experiment. I’m always fiddling with new ideas, and these are just the ones that stuck in my kitchen over time. If you’ve got a twist of your own, I’d love to hear about it!
Servings and Timing
When I’m Canning Cream Style Corn, I like to plan ahead because timing can make or break your day in the kitchen. In my experience, this recipe comes together pretty smoothly if you’ve got everything prepped. Here’s the breakdown of how long it usually takes me to whip up a batch.
- Prep Time: 45 minutes (husking and cutting corn takes a bit, y’all)
- Processing Time: 85 minutes (for pressure canning at 10 pounds pressure)
- Total Time: About 2.5 hours
- Servings: 4-5 quart jars of Canning Cream Style Corn
These timings are based on my own kitchen chaos, so yours might vary a smidge depending on how fast you husk corn or how many interruptions you get (kids, I’m looking at you). But honestly, Canning Cream Style Corn is worth every minute!
Step-by-Step Instructions
Alright, let’s roll up our sleeves and get into the nitty-gritty of Canning Cream Style Corn. I’ve done this so many times I could probably do it blindfolded, but I’ll break it down nice and easy for ya. Follow along, and don’t hesitate to hit me up if something’s unclear!
Step 1: Prep Your Corn
Start by husking those 20 ears of corn and removing all the silky bits—trust me, those little strands are a pain if they sneak into your jars. Using a sharp knife, cut the kernels off the cob into a big bowl. Then, scrape the cobs with the back of the knife to get that creamy, milky juice—that’s the secret to awesome Canning Cream Style Corn!
Step 2: Cook the Corn
Pop your kernels and milky bits into a large pot with 2 cups of water per 4 cups of corn. Bring it to a gentle boil over medium heat, stirring now and then so it doesn’t stick. I’ve learned to keep an eye on it here, or you’ll end up with a scorched mess (been there, done that).
Step 3: Pack the Jars
While the corn’s hot, ladle it into sterilized quart jars, leaving about 1 inch of headspace at the top. Add 2 teaspoons of salt per jar if you’re using it, then fill with boiling water to cover the corn, still keeping that 1-inch headspace. This step’s key for safe Canning Cream Style Corn, so don’t skimp on the spacing.
Step 4: Wipe and Seal
Wipe the jar rims with a clean, damp cloth to get rid of any residue—sticky jars are a no-go for a good seal. Place the lids on and screw the bands on fingertip-tight. I always double-check this part because a loose lid can ruin a whole jar of Canning Cream Style Corn. For another great variation, check out vodka cream sauce.
Step 5: Pressure Can
Load your jars into a pressure canner with 2-3 inches of simmering water at the bottom. Process at 10 pounds of pressure for 85 minutes (adjust for altitude if needed—I’m at sea level, so this works for me). Canning Cream Style Corn safely is all about following these pressure rules, so don’t wing it!
Step 6: Cool and Check
Once done, let the canner cool naturally—don’t rush it by opening the lid early, or you risk busted jars. After cooling, check that the lids have sealed by pressing the center; if it pops, it’s no good and needs refrigerating. I’ve had a jar or two fail over the years, but most seal up perfectly for Canning Cream Style Corn if you take your time. For more inspiration, I recommend checking out how to make ice cream cone cupcakes.
Nutritional Information
I’m no dietitian, but I like to keep an eye on what’s in my food, especially when I’m Canning Cream Style Corn for my family. Here’s a rough breakdown per 1-cup serving, based on what I’ve researched and calculated. It’s not exact, but it gives you a decent idea.
- Calories: 180 per serving
- Fat: 2g
- Protein: 5g
- Carbohydrates: 40g
- Sodium: 300mg (if you add the salt)
Canning Cream Style Corn is naturally pretty wholesome, especially since you control the ingredients. I love that there’s no funky preservatives—just pure corn goodness. If you’re watching sodium, you can skip the salt during Canning Cream Style Corn and add it later when serving.
Healthier Alternatives
I’m all for making recipes fit different needs, and Canning Cream Style Corn is no exception. Over the years, I’ve swapped things around when I’m watching calories or trying to cut back on certain stuff. Here are a few tweaks that’ve worked for me.
- No-Salt Option: Skip the salt entirely during Canning Cream Style Corn and season to taste when you open the jar. I do this sometimes for my mom, who’s on a low-sodium diet.
- Less Water: Use half the water when packing jars to concentrate the corn’s natural sweetness. I’ve found this works great for thicker Canning Cream Style Corn.
- Organic Corn: Opt for organic ears if you’re avoiding pesticides. It’s pricier, but I think it’s worth it for peace of mind.
- Low-Sugar Varieties: Choose a less sweet corn variety if you’re cutting carbs. When I’ve done this, the texture still holds up nicely for Canning Cream Style Corn.
These swaps don’t mess with the process much, so feel free to play around based on what your crew needs.
Serving Suggestions
If you love this recipe, you’ll also enjoy no bake banana cream pie.
I love serving up Canning Cream Style Corn in all sorts of ways—it’s such a versatile side! Whether it’s a holiday feast or a quick weeknight meal, here are some ideas that’ve been hits at my table. Hopefully, they’ll spark some inspiration for you too.
- Classic Comfort: Heat up a jar with a dollop of butter and a sprinkle of black pepper. It’s my go-to for pairing with fried chicken.
- Corn Pudding: Mix Canning Cream Style Corn with eggs and milk, then bake for a creamy side dish. I brought this to a potluck once, and it vanished!
- Soup Starter: Add a jar to chicken noodle soup for extra sweetness and body. It’s a sneaky way I get my kids to eat more veggies.
- Casserole Base: Use Canning Cream Style Corn in a cheesy cornbread casserole. At my last family dinner, this stole the show.
Common Mistakes to Avoid
I’ve made my fair share of oopsies while Canning Cream Style Corn, and I’m happy to spill the beans so you don’t have to learn the hard way. These are some pitfalls I’ve stumbled into over the years. Trust me on this stuff! If you enjoyed this recipe, you might like raspberry cream pie.
- Not Enough Headspace: If you overfill jars, they might not seal or could crack during processing. I’ve lost a few batches this way—heartbreaking!
- Skipping Sterilization: Don’t skip sterilizing your jars, or you risk spoilage. I thought I could cut corners once, and let’s just say mold isn’t a fun surprise.
- Wrong Pressure: Using the wrong pressure or timing can be unsafe for Canning Cream Style Corn. I double-check my canner’s gauge every time now.
- Ignoring Altitude: If you’re above sea level, adjust processing times. I didn’t know this at first and had underprocessed jars of Canning Cream Style Corn—yikes!
Storing Tips
Once you’ve got your jars of Canning Cream Style Corn all sealed up, proper storage is key to keeping that flavor locked in. I’ve found these tips work best in my experience. Here’s how I handle it.
- Cool, Dark Place: Store jars in a pantry or cupboard away from heat and light for up to a year.
- After Opening: Refrigerate any opened jars of Canning Cream Style Corn and use within 5-7 days.
- Check Seals: Before storing, make sure lids don’t pop when pressed—unsealed jars of Canning Cream Style Corn should go straight to the fridge.
Frequently Asked Questions
I get a bunch of questions about Canning Cream Style Corn, so I’ve rounded up the most common ones I hear. Let’s tackle ‘em one by one with answers straight from my kitchen adventures.
Can I use frozen corn for Canning Cream Style Corn?
Yep, you can, but fresh is best for texture and flavor. If you’re using frozen, thaw it first and skip straight to cooking. I’ve done this in a pinch, and it’s not quite the same, but it works.
Do I have to use a pressure canner?
Absolutely, yes! Canning Cream Style Corn isn’t safe with just a water bath due to low acidity. I learned this the hard way, so don’t skip the pressure canner. For more recipes like this, check out thai style grilled steak salad.
How long do the jars last?
For another great variation, check out best ever homemade salsa for canning.
If processed and stored right, they’re good for about a year. I’ve pushed it to 18 months once, but the quality starts dropping, in my opinion.
Can I add butter to the jars?
I wouldn’t—it’s not safe for canning as fats can interfere with sealing. Add butter when you serve your Canning Cream Style Corn instead. I do this all the time!
What if a jar doesn’t seal?
Pop it in the fridge and use it within a week. I’ve had this happen a couple of times, no biggie, just eat it soon.
Can I reuse lids?
Nope, always use new lids for each batch. Reused ones might not seal properly. I made that mistake early on—lesson learned!
Is it normal for liquid to siphon out during processing?
Yeah, a little loss is fine if the seal’s good. Just don’t overfill jars next time. I’ve seen this with my batches too.
Can I double the recipe?
Sure, as long as your canner can handle the jars. I’ve doubled up for big harvests of Canning Cream Style Corn—just watch your timing and space.
Conclusion
So there you have it, my tried-and-true guide to Canning Cream Style Corn! I hope you’re as pumped as I am to stash away some summer vibes for those chilly months ahead. Give Canning Cream Style Corn a shot, and let me know how it turns out—I’m all ears for your stories and tweaks. Happy canning, y’all, and enjoy every sweet, creamy bite!