Breakfast
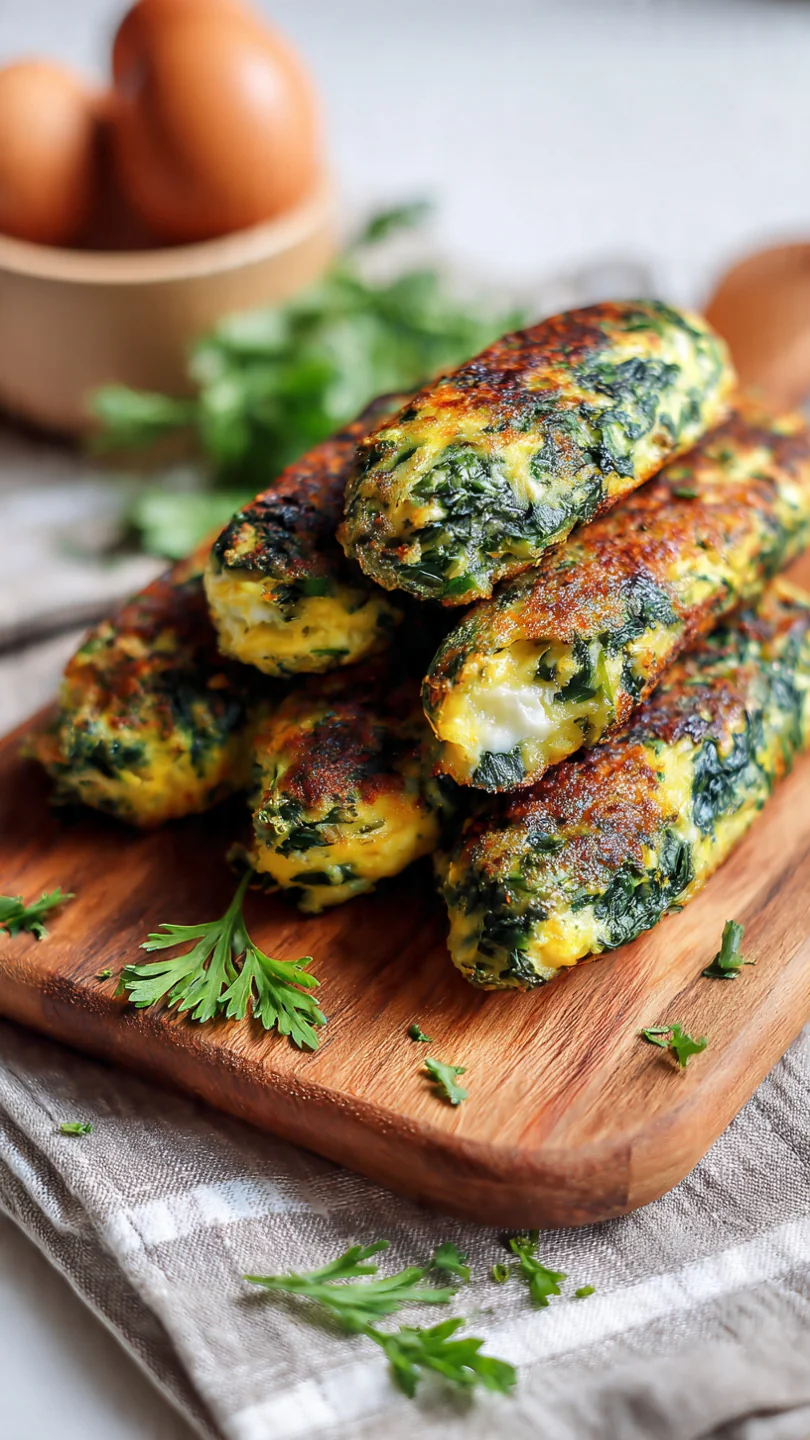
Homemade Turkey Sausage

There’s something incredibly satisfying about making sausage from scratch. You …
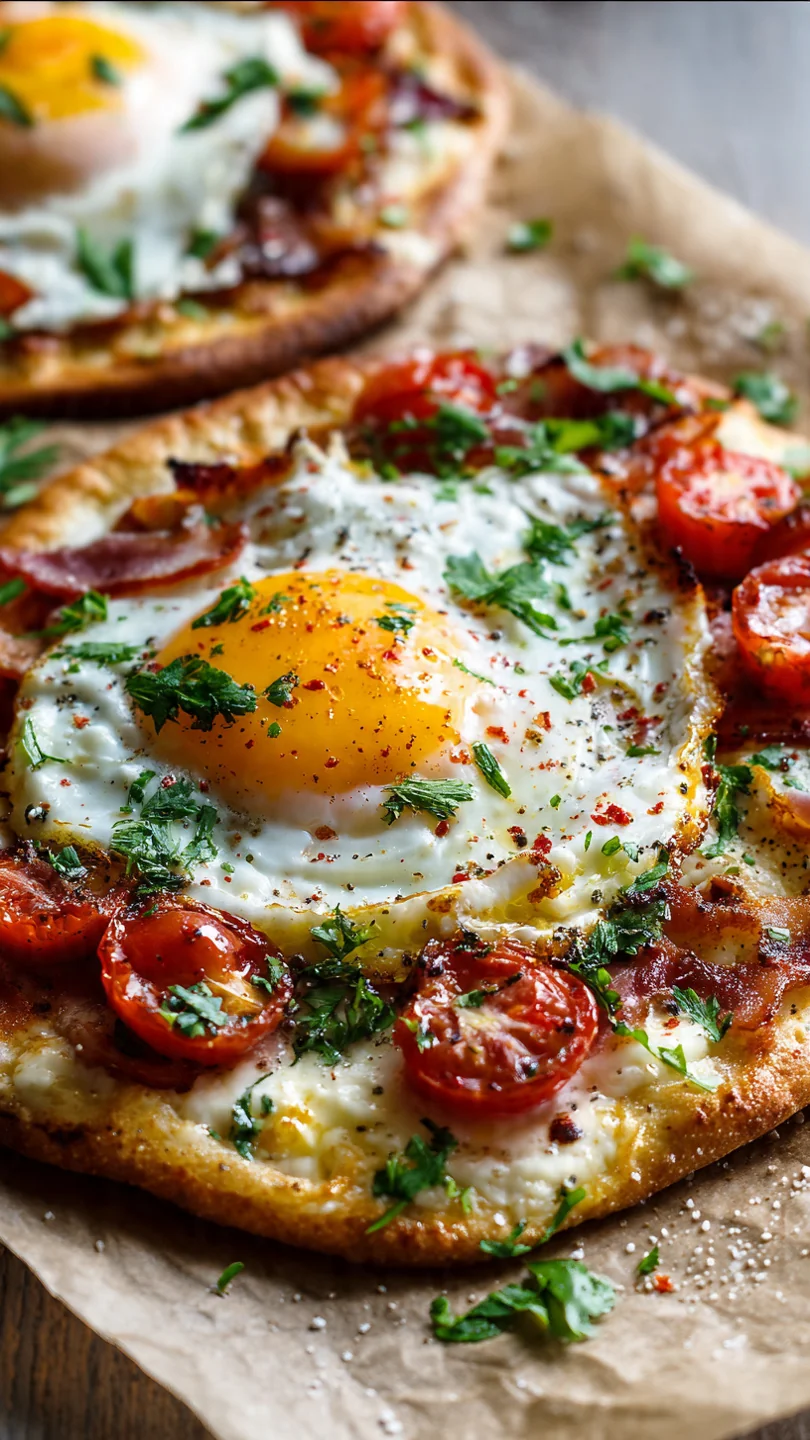
Loaded Veggie Cheese Omlete
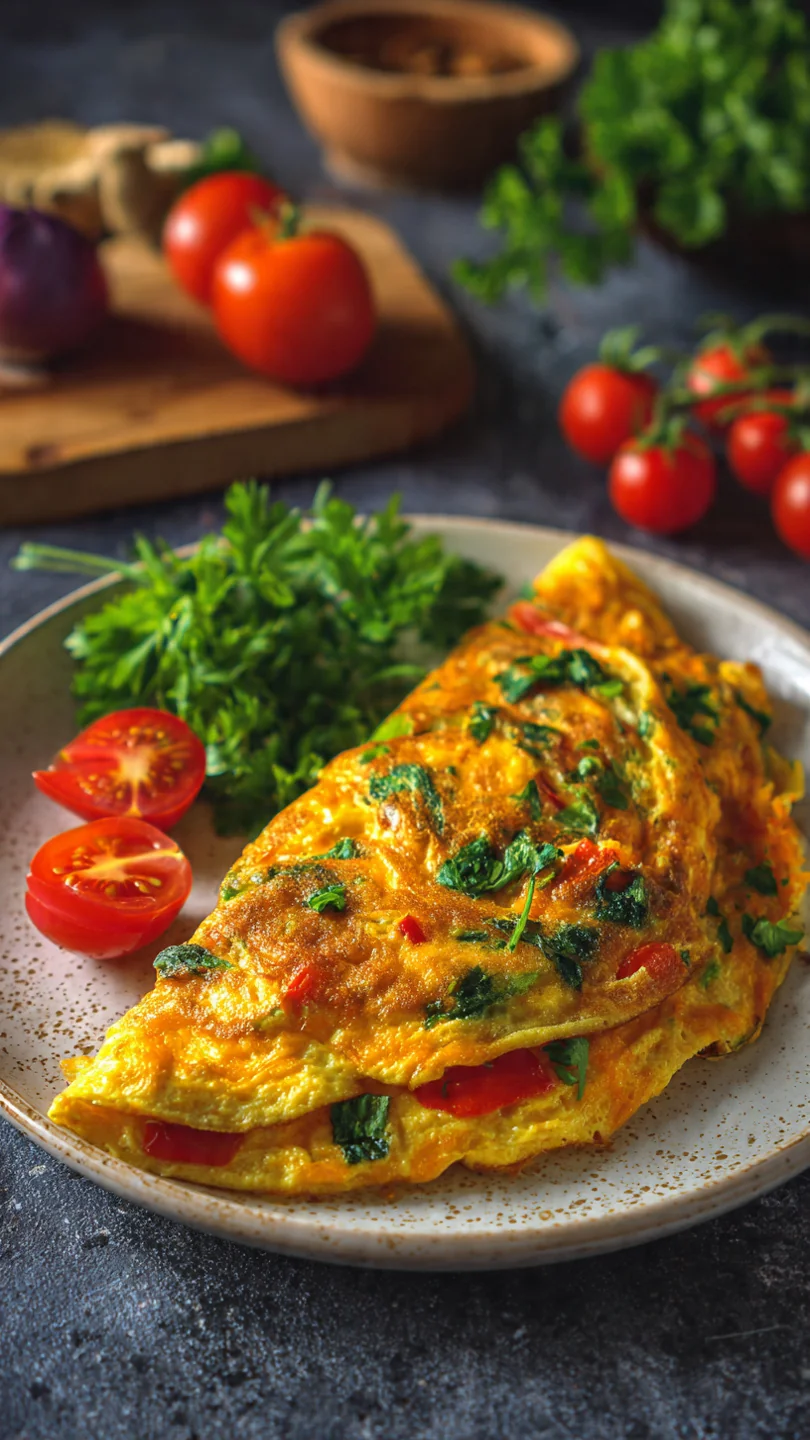
There’s something deeply satisfying about a perfectly cooked omelette. It’s …
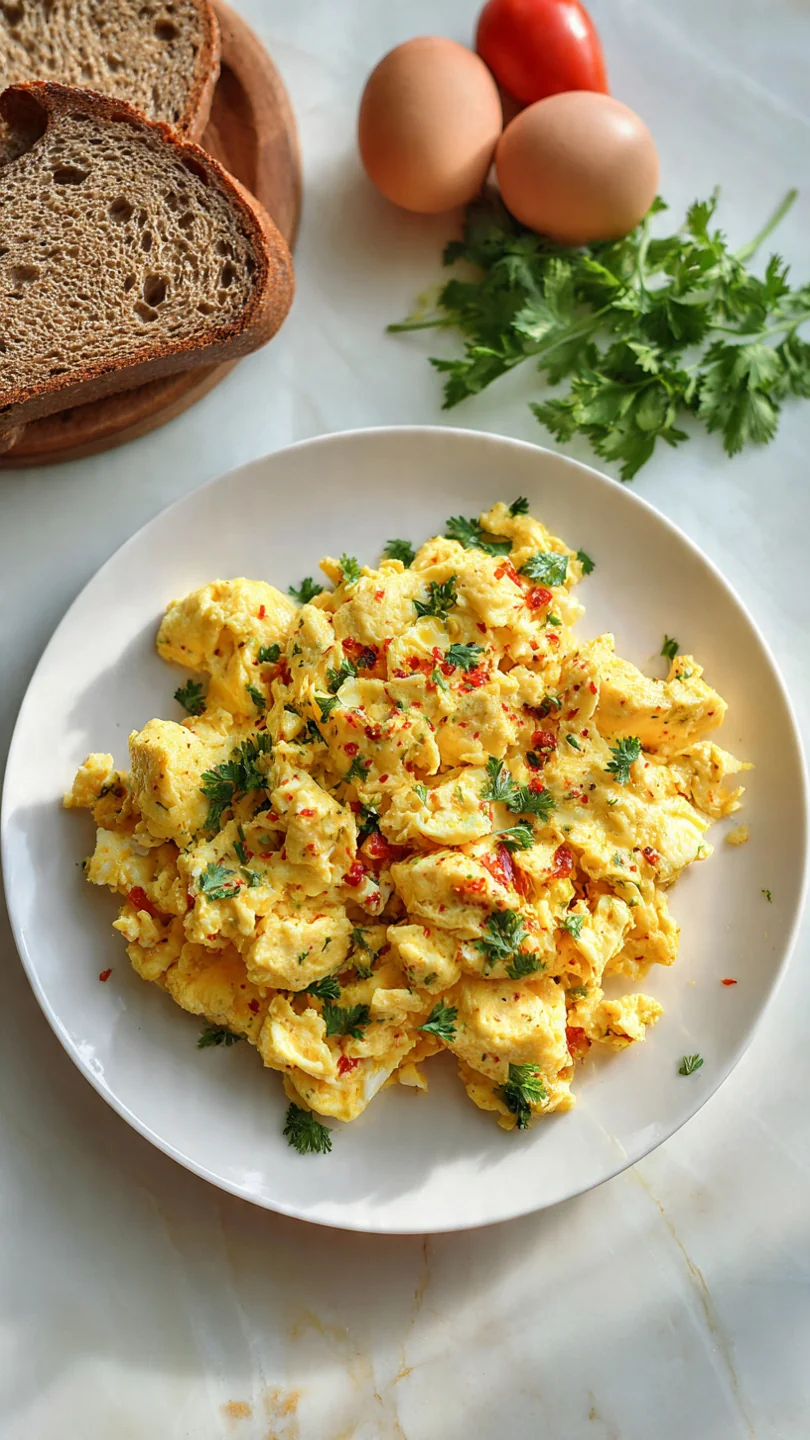
Scrambled Eggs With Tomatoes And Green Onions
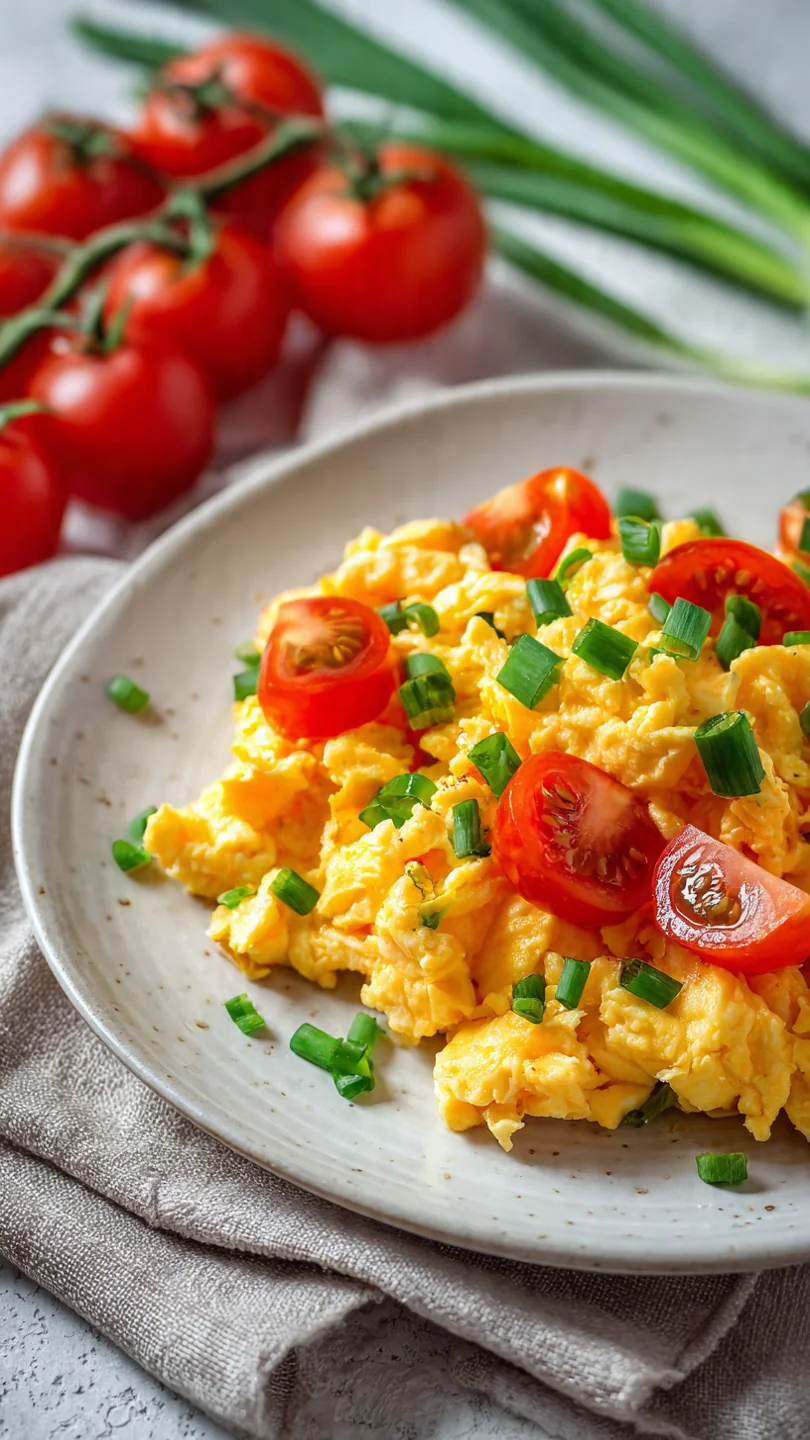
There’s a quiet magic in transforming a few humble ingredients …
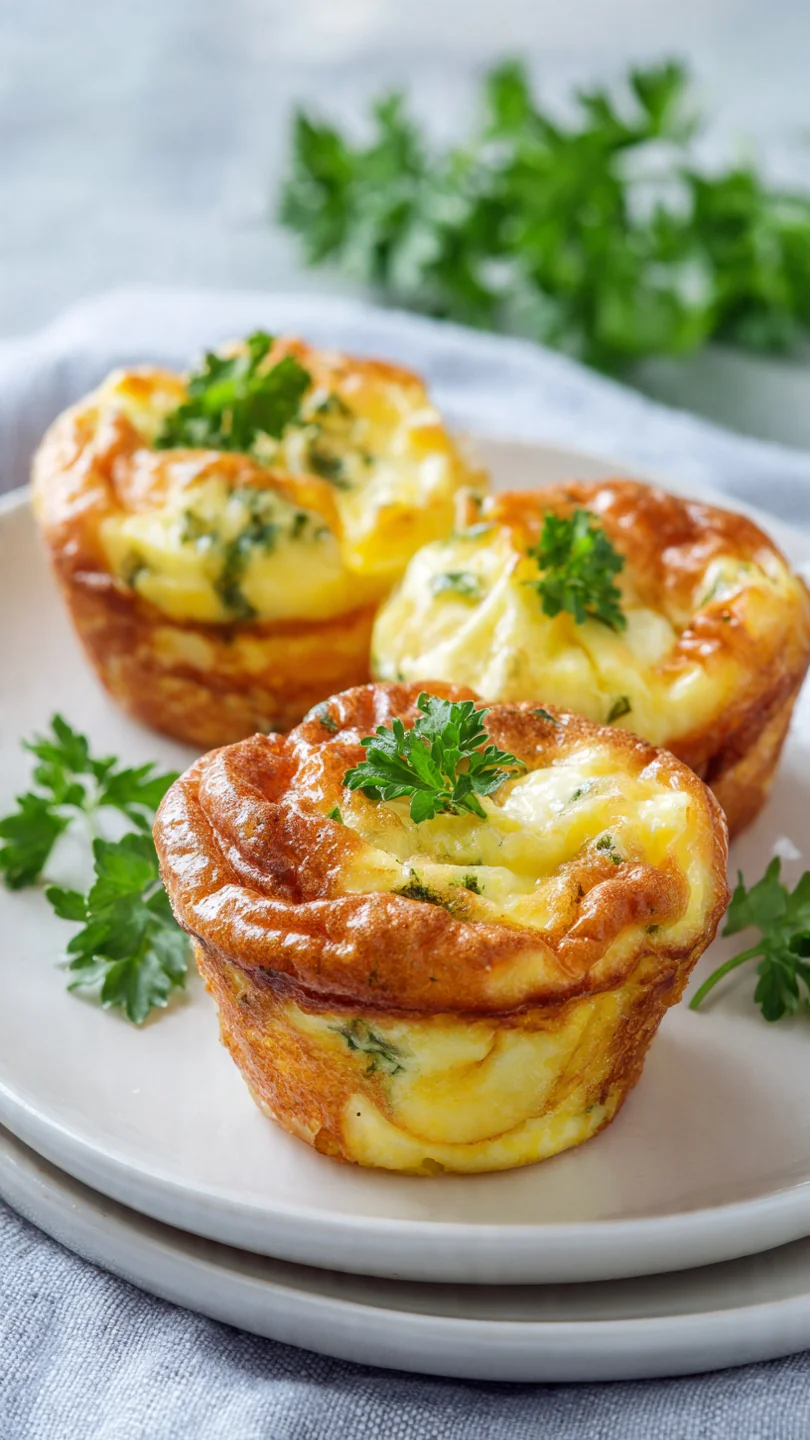
Greek Yogurt Pancakes
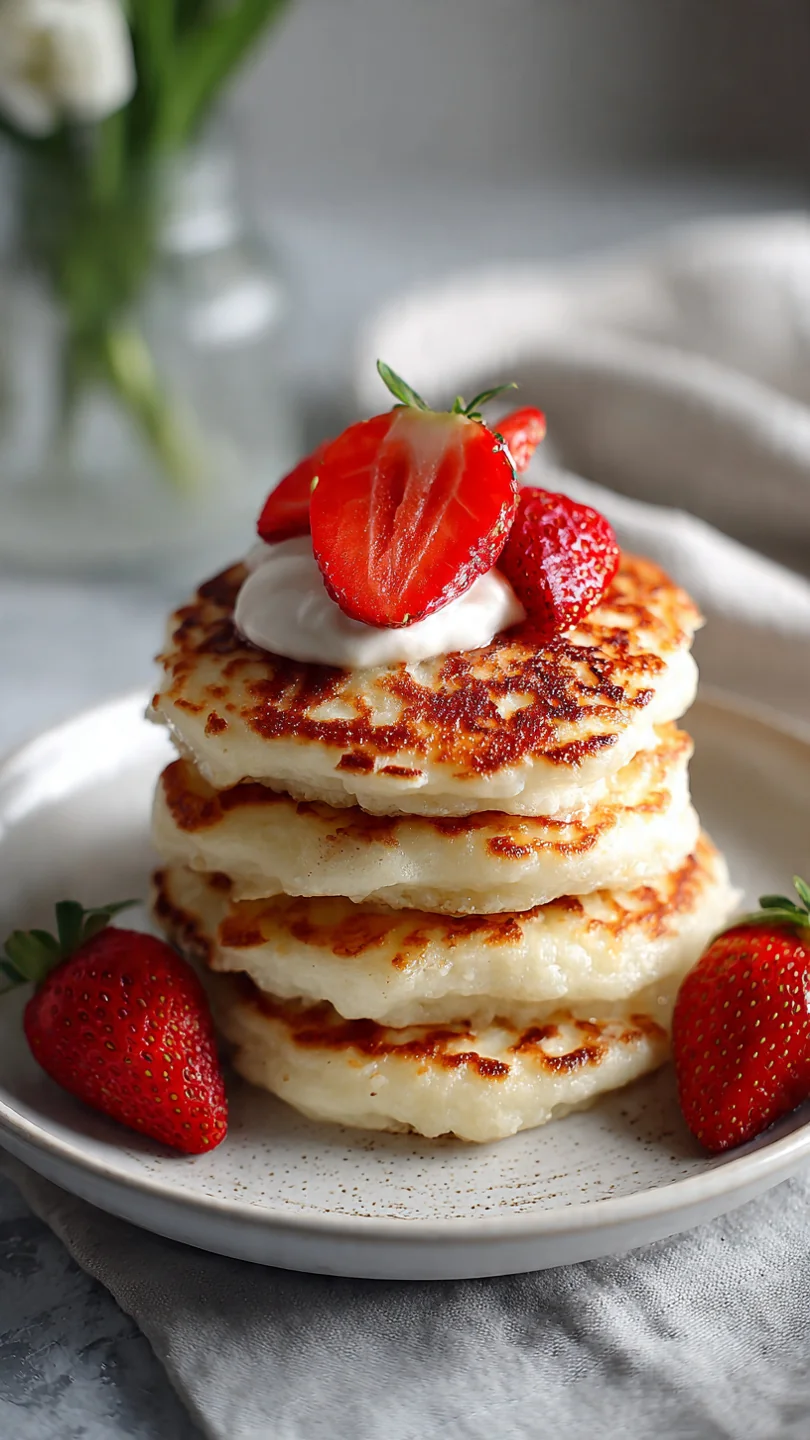
There’s something deeply satisfying about a perfect pancake. That golden-brown …