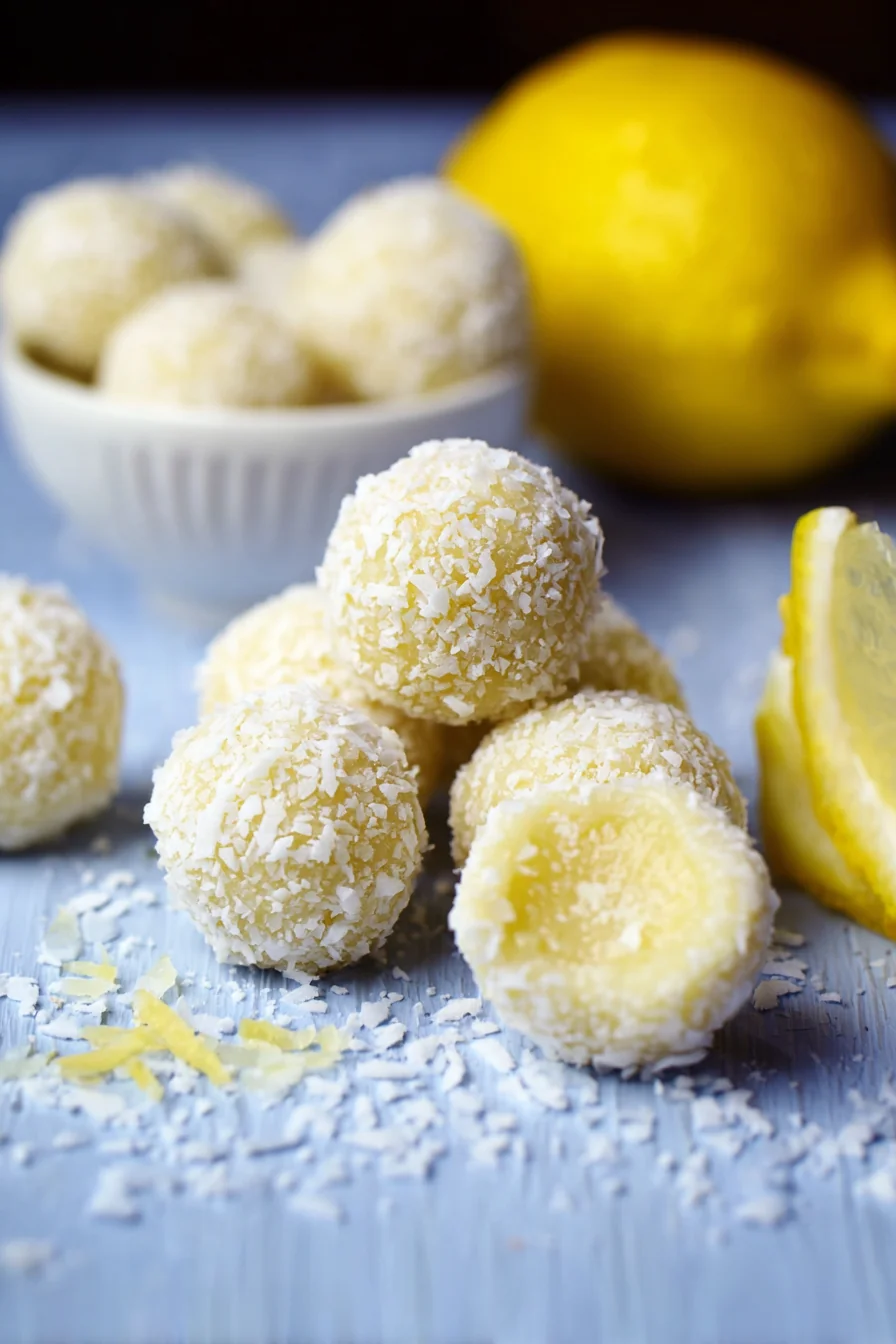
Lemon Balls December 6, 2025 by Harper Lemon Balls are a refreshing and easy no-bake dessert that … Read more
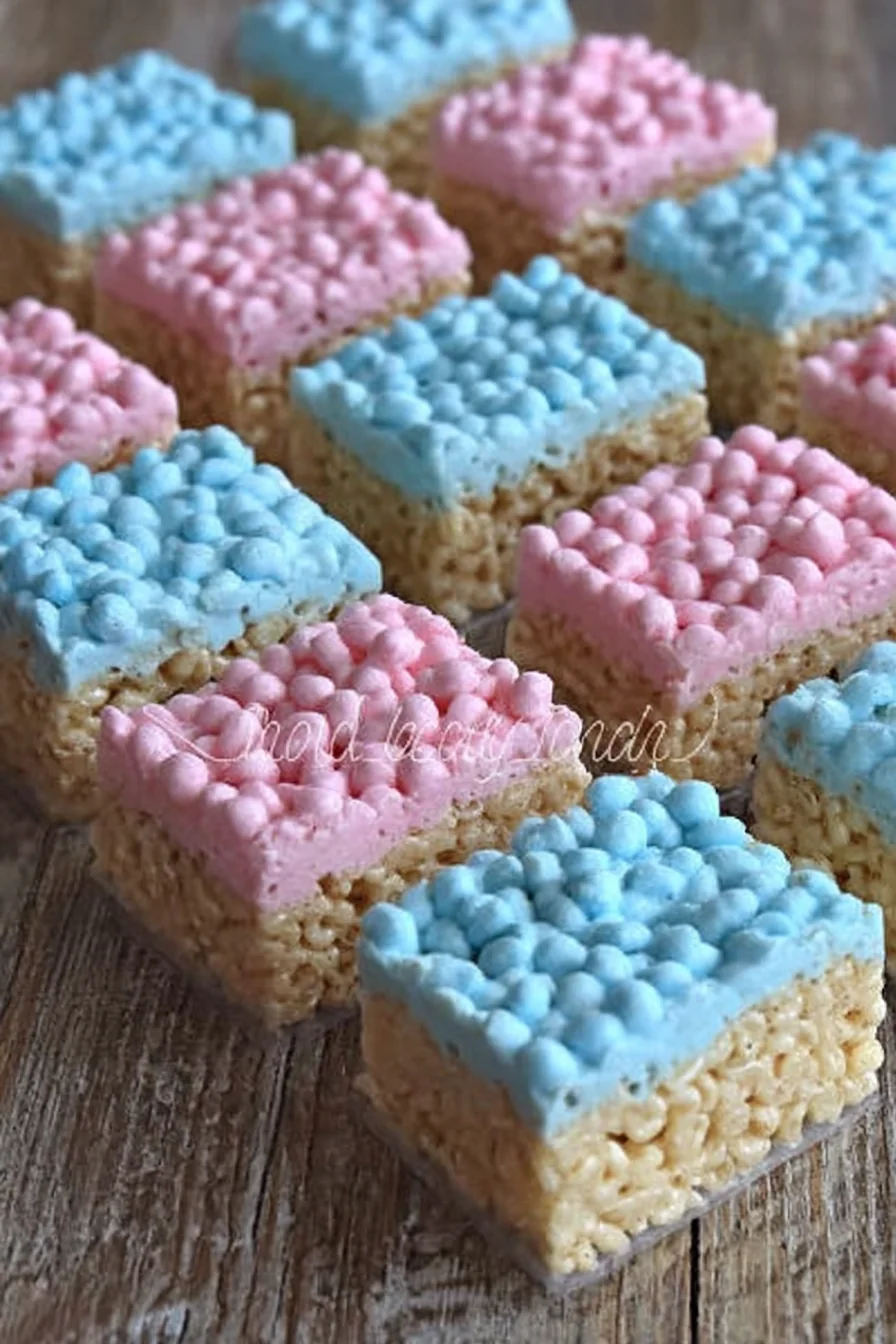
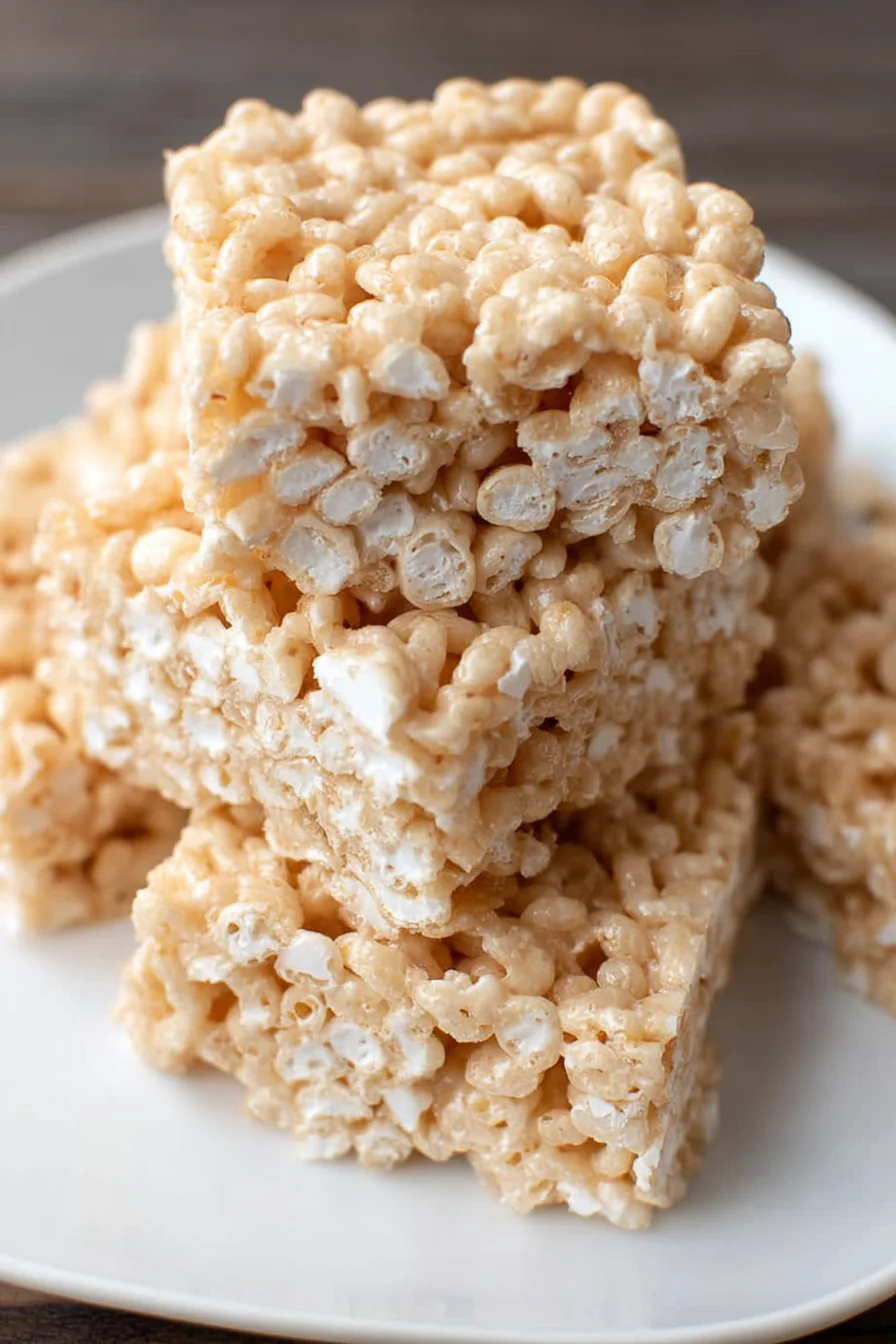
Gender Reveal Rice Krispie Treats December 6, 2025 by Harper Gender Reveal Rice Krispie Treats are a delightful and easy-to-make … Read more
Mint Chocolate December 6, 2025 by Harper Why You’ll Love This Recipe Easy to Make: With just … Read more
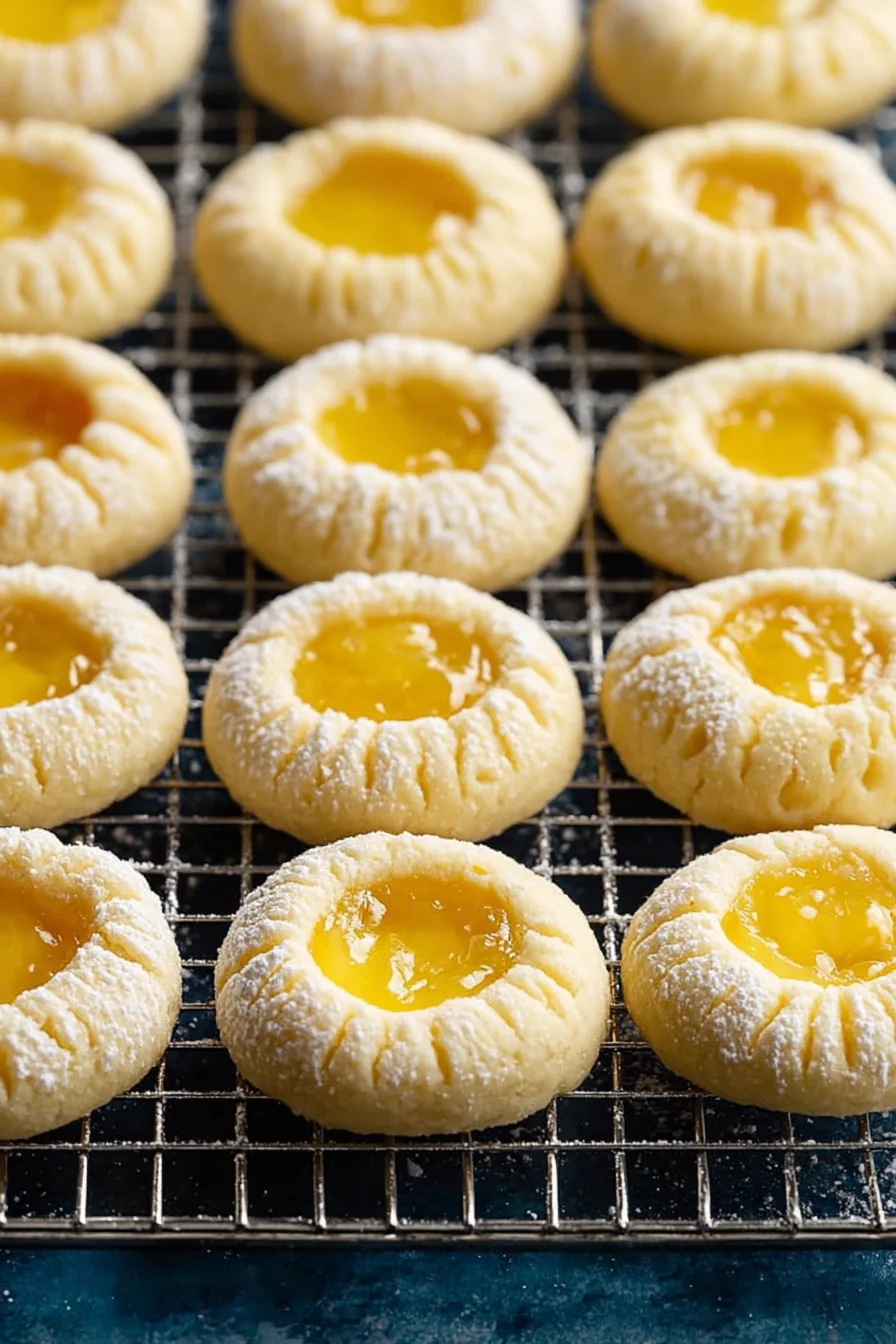
Lemon Thumbprint Cookies December 6, 2025 by Harper Why You’ll Love This Recipe Zesty Lemon Flavor: The bright, … Read more
Mini Apple Tarts December 6, 2025 by Harper Why You’ll Love This Recipe Easy to Make: These mini … Read more
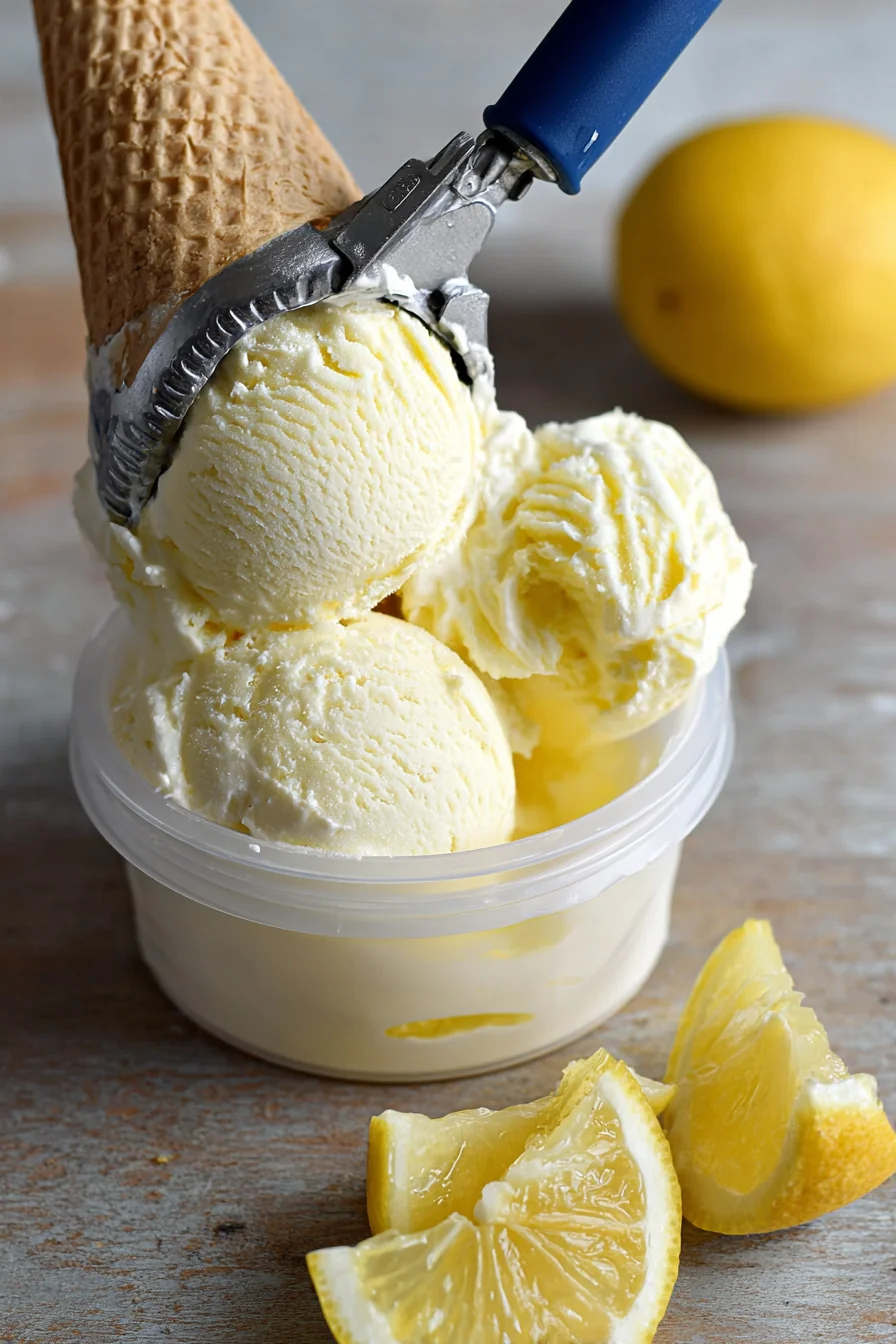
Lemon Ice Cream December 6, 2025 by Harper Why You’ll Love This Recipe Refreshing Citrus Flavor: The zesty … Read more
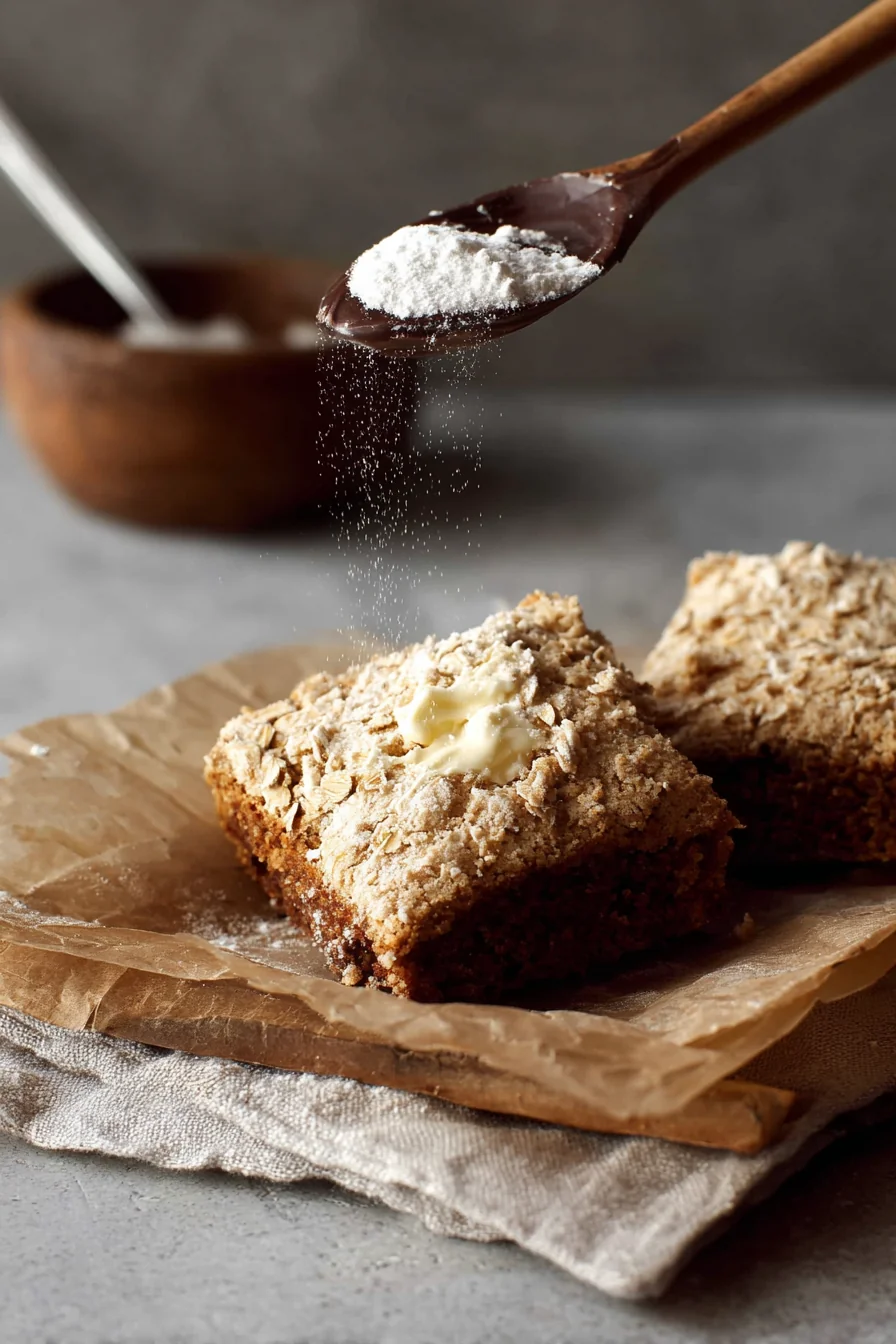
Oat Flour Desserts December 5, 2025 by Harper Why You’ll Love This Recipe Gluten-Free Delight: These oat flour … Read more
Lemon Angel Food Cake December 5, 2025 by Harper Why You’ll Love This Recipe Light and Fluffy Texture: This … Read more
Gluten Free Rice Krispie Treats December 4, 2025 by Harper Why You’ll Love This Recipe Easy to Make: With just … Read more
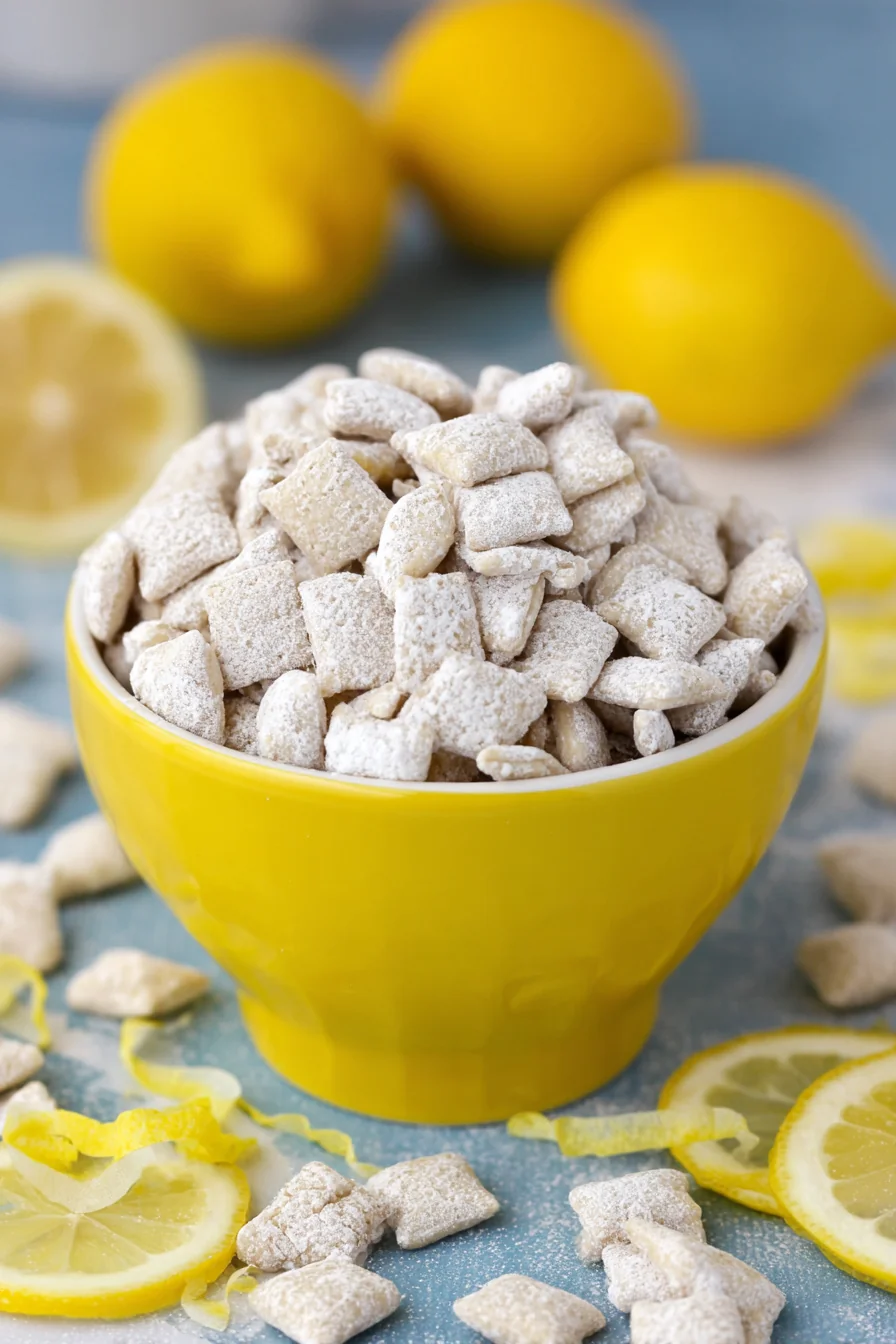
Lemon Puppy Chow December 4, 2025 by Harper Lemon Puppy Chow is a delightful twist on the classic … Read more