Lemon Cheesecake Crescent Rolls December 4, 2025 by Harper Why You’ll Love This Recipe Easy to Make: These lemon … Read more
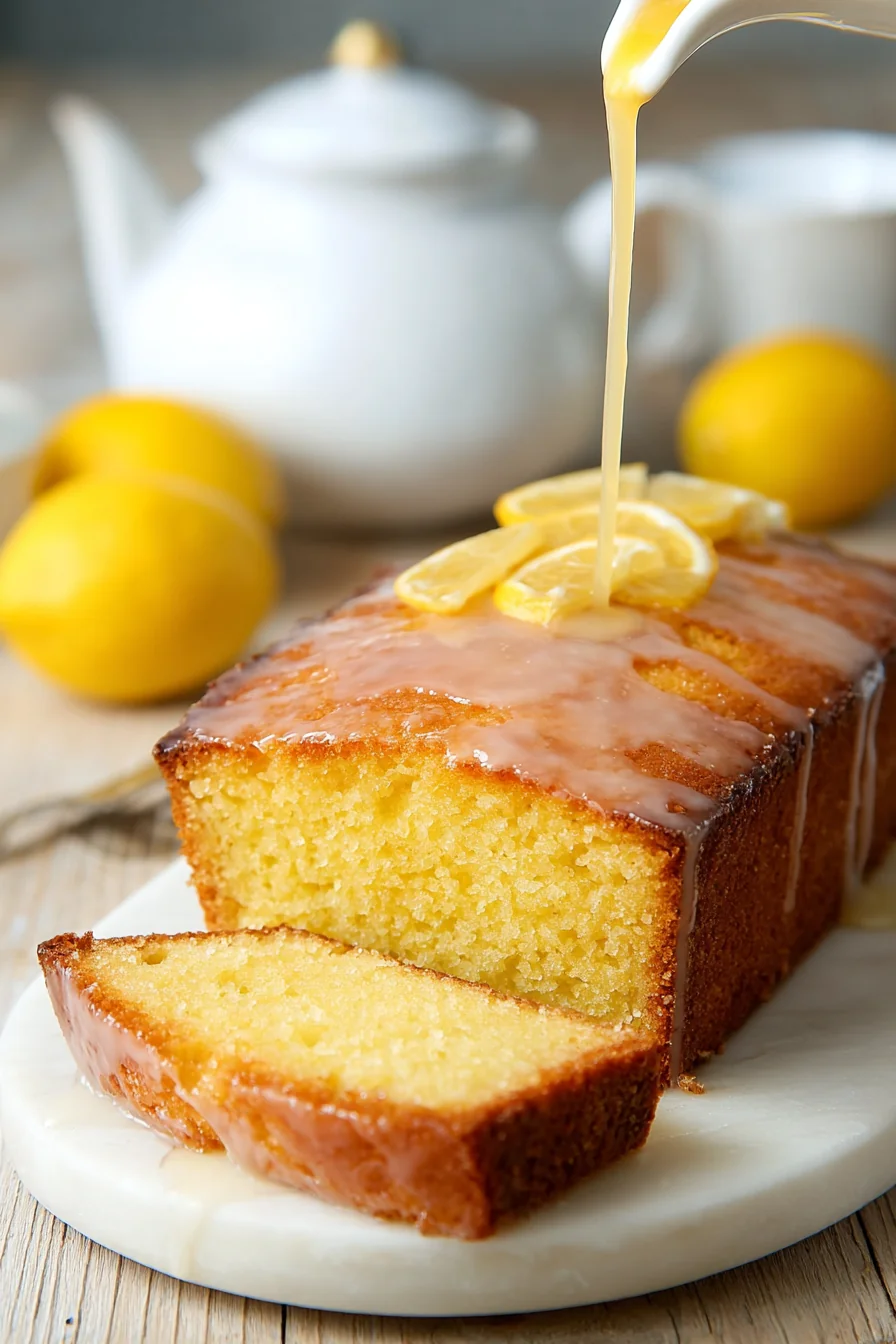
Lemon Drizzle December 4, 2025 by Harper Lemon Drizzle Cake is a beloved British dessert known for … Read more
Sweet Rice December 3, 2025 by Harper Why You’ll Love This Recipe Easy to Make: This sweet … Read more
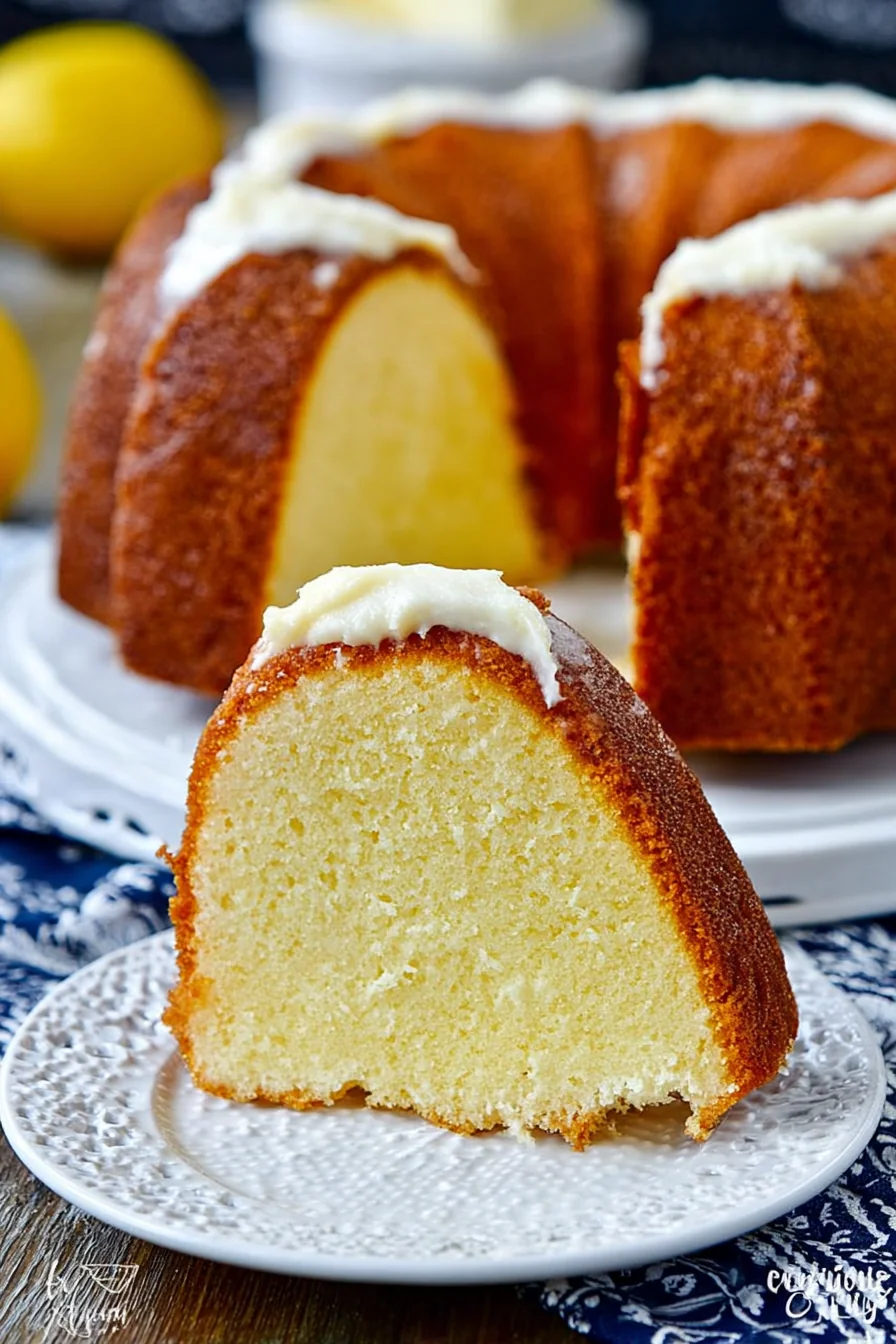
Lemon Cream Cheese Pound Cake December 3, 2025 by Harper Lemon Cream Cheese Pound Cake is a delightful dessert that … Read more
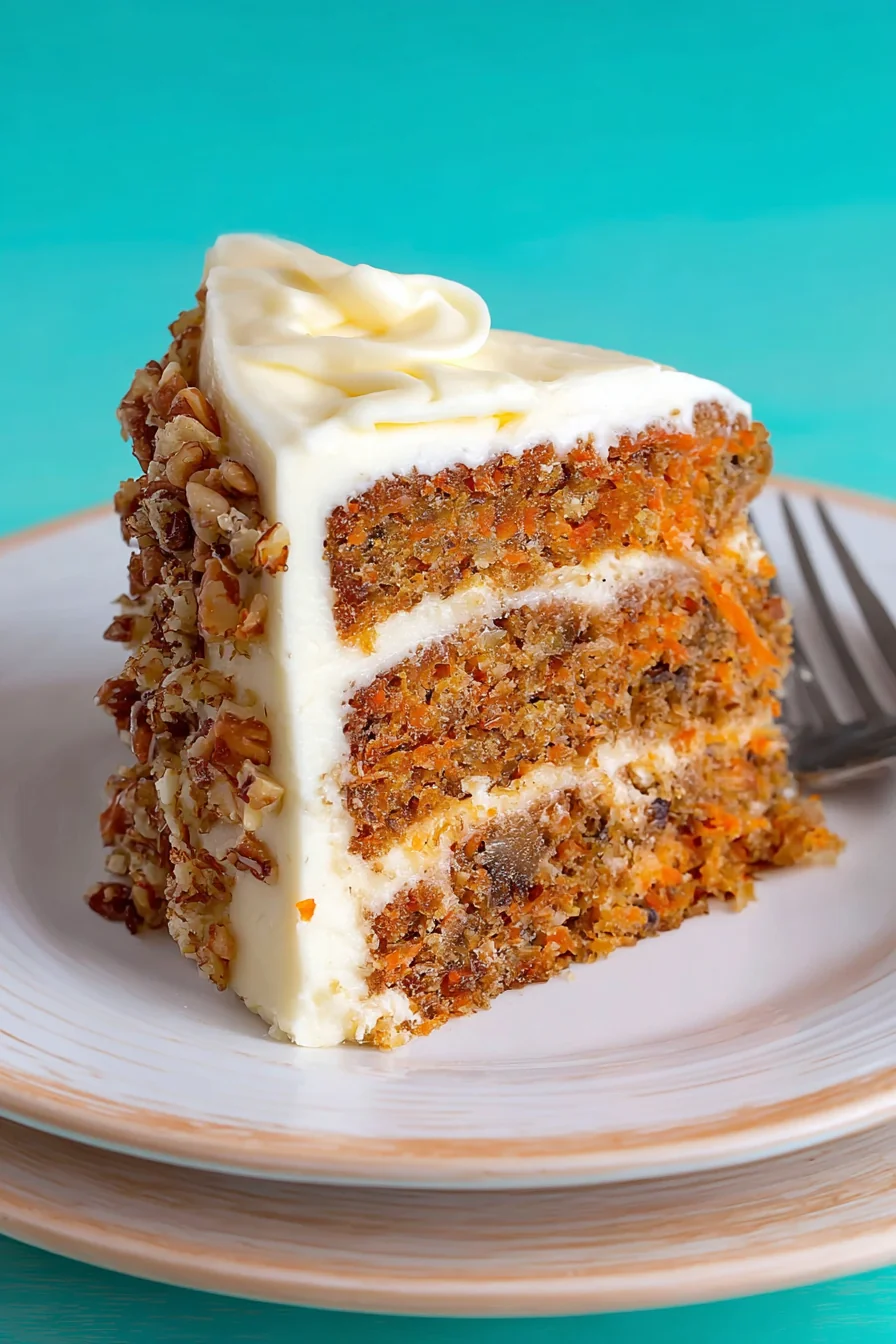
Carrot Cake IV December 3, 2025 by Harper Why You’ll Love This Recipe Moist and Flavorful: The combination … Read more
Lemon Curd Dessert December 3, 2025 by Harper Lemon curd is a delightful dessert that combines the zesty … Read more
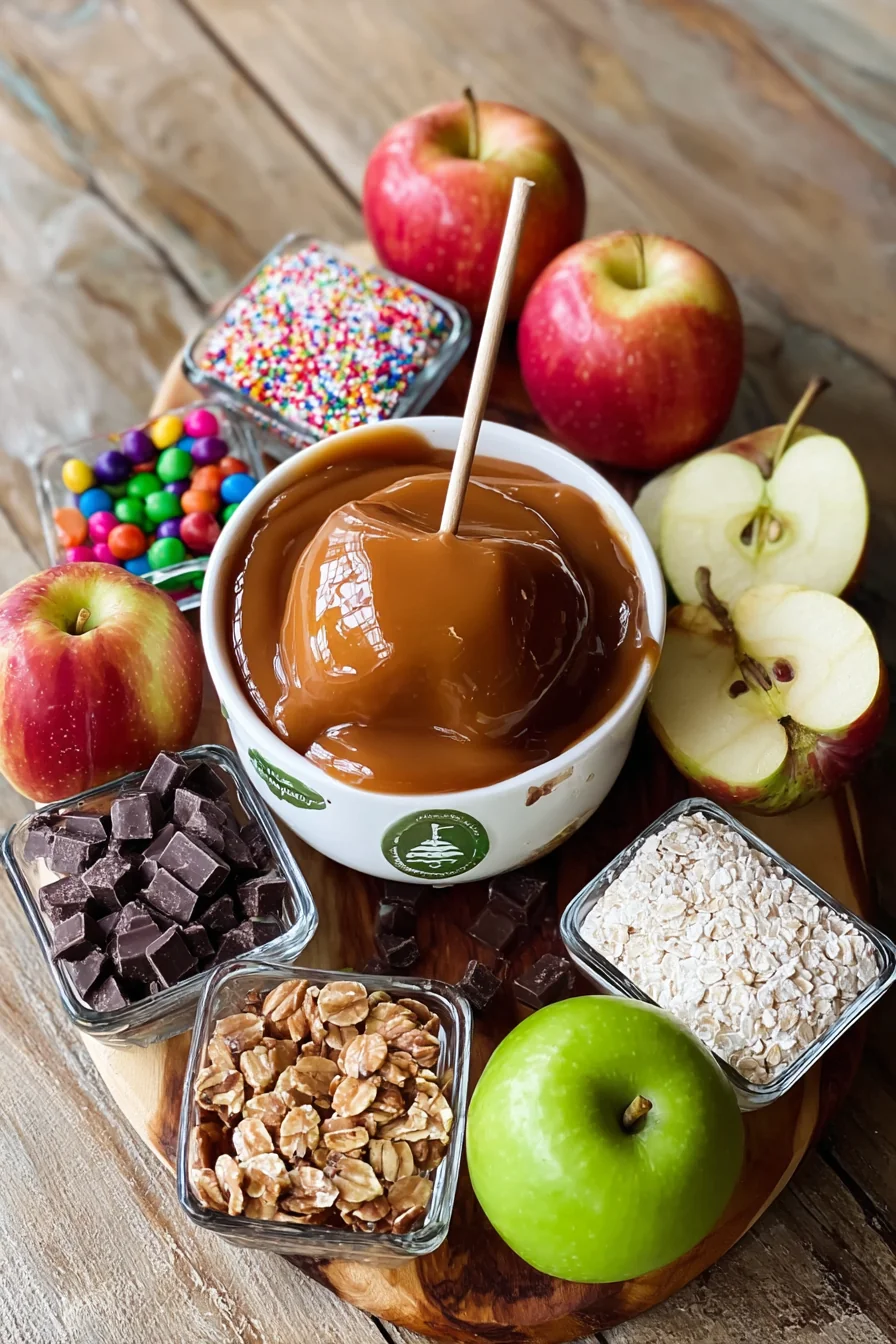
Caramel Apple Toppings December 3, 2025 by Harper Why You’ll Love This Recipe Easy to Make: With just … Read more
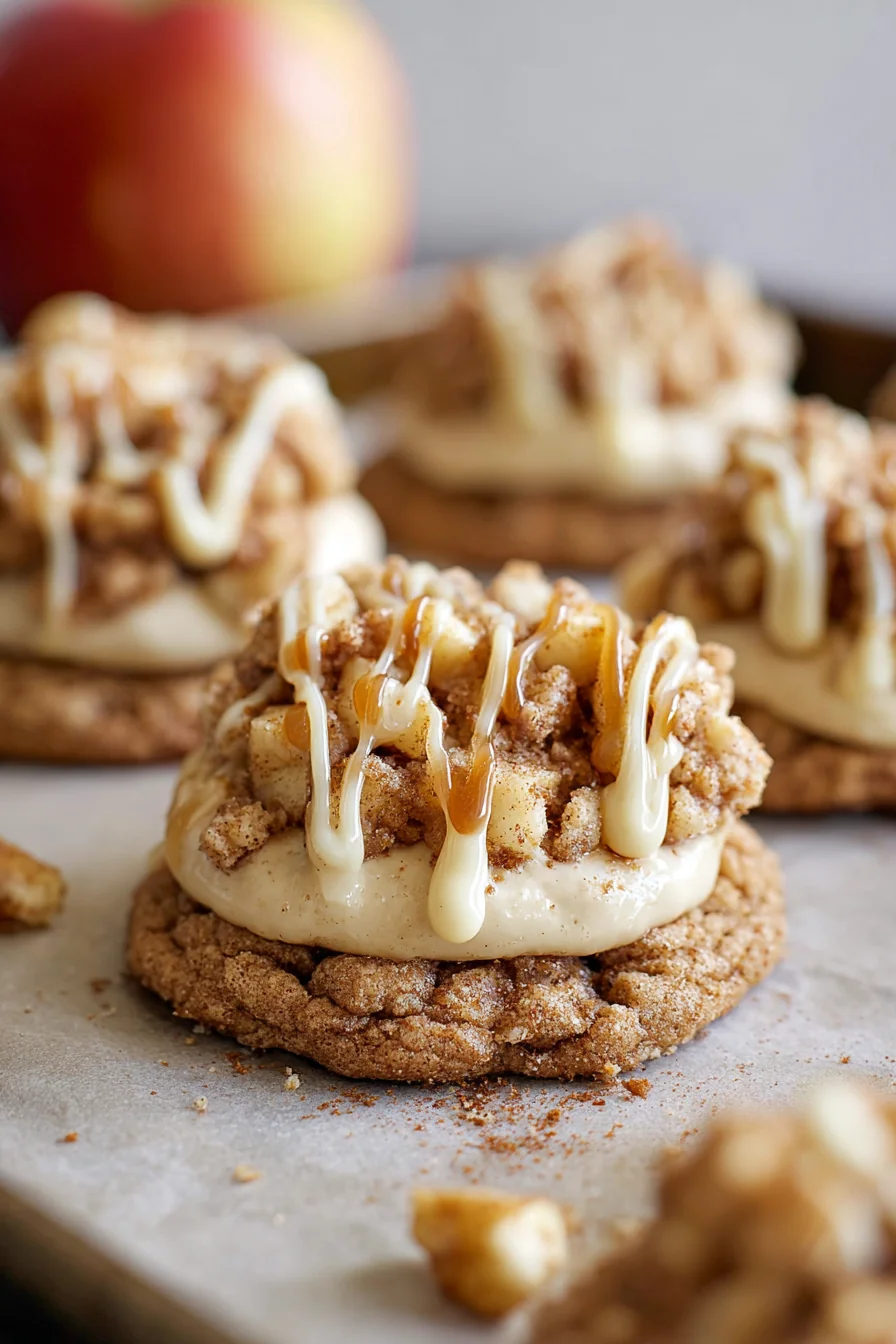
Apple Crisp Cookies November 23, 2025 by Harper Why You’ll Love This Recipe Easy to Make: With straightforward … Read more
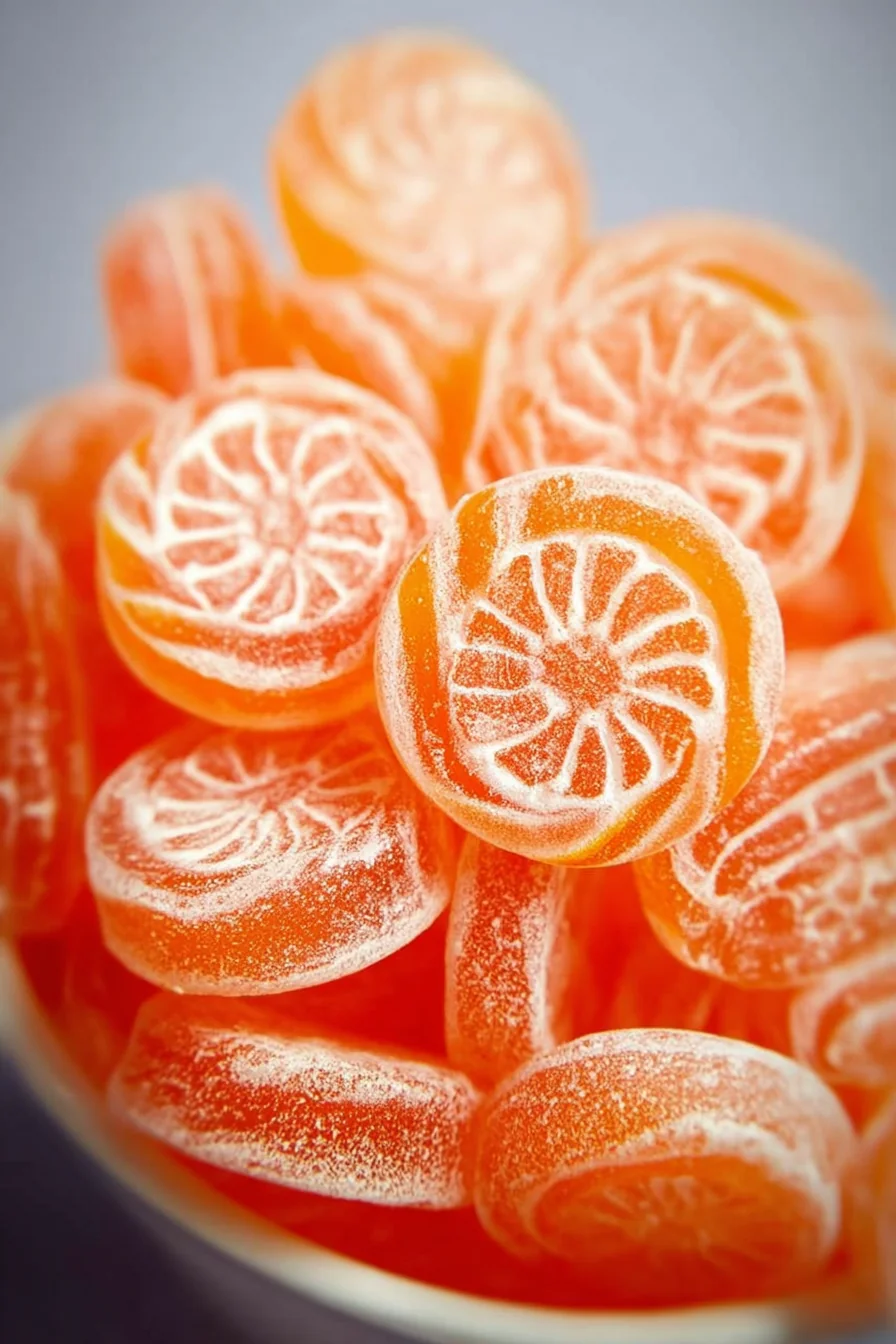
Orange Candy November 23, 2025 by Harper Why You’ll Love This Recipe Easy to Make: This recipe … Read more
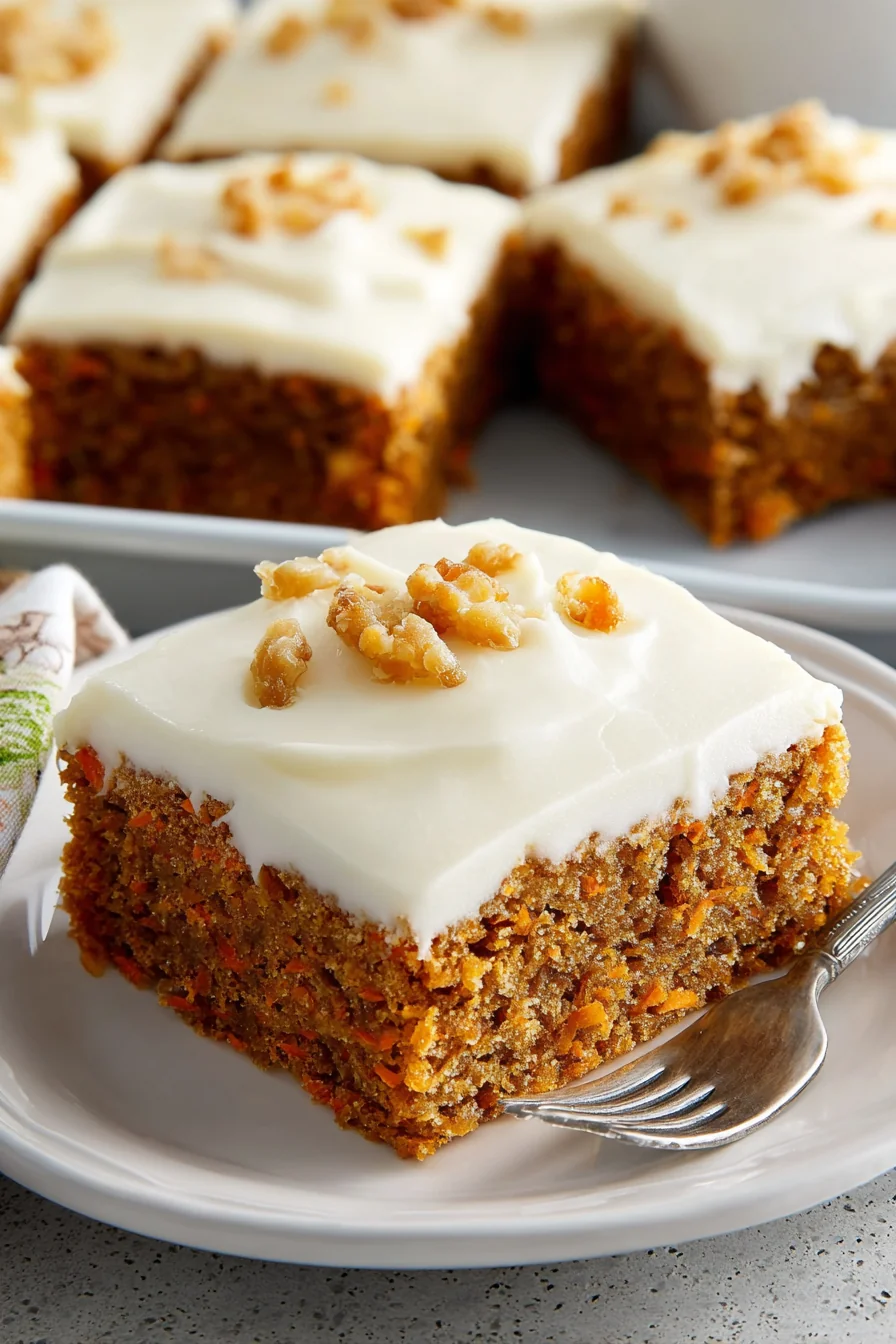
Carrot Sheet Cake November 23, 2025 by Harper Carrot Sheet Cake is a delightful dessert that combines the … Read more