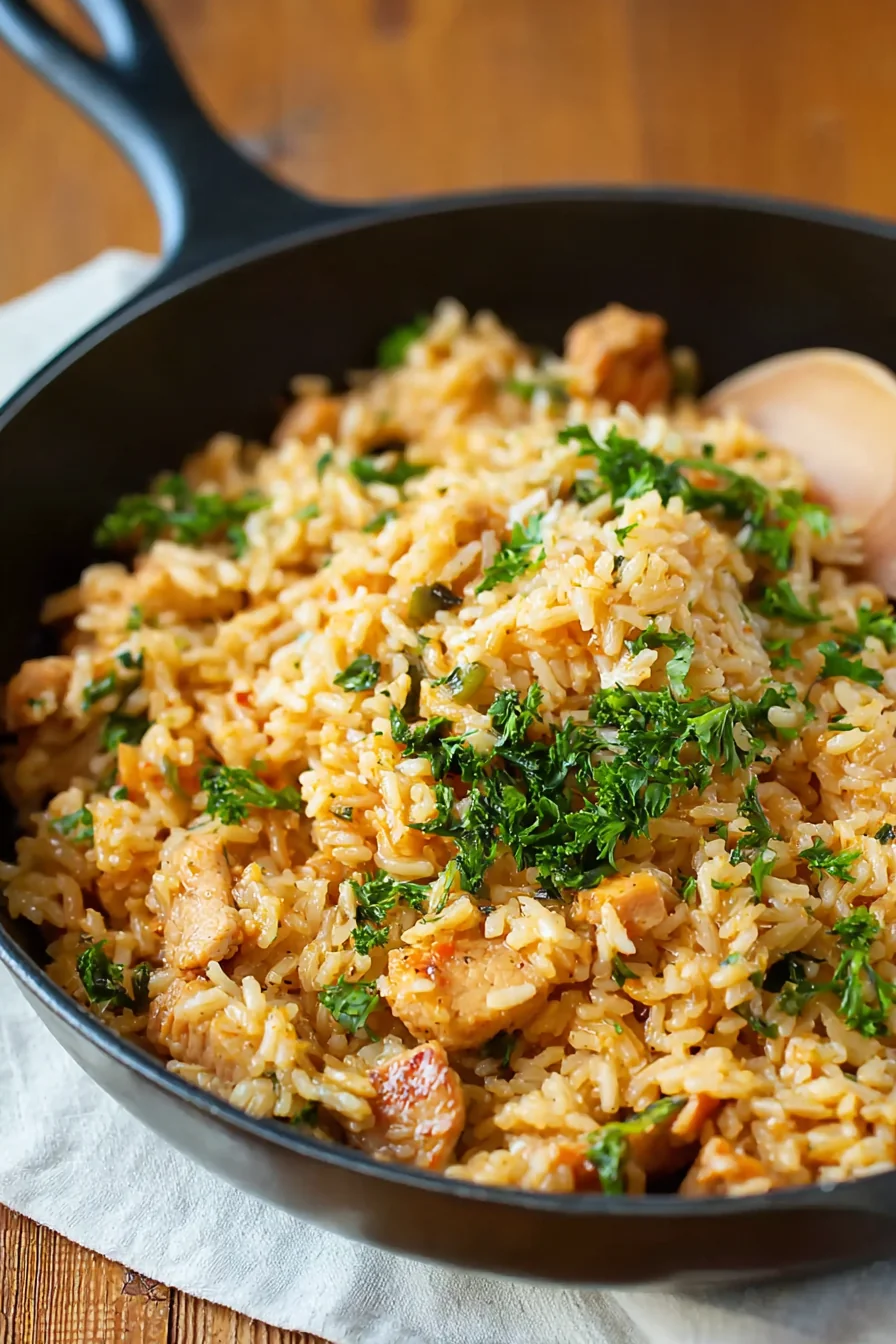
Easy Dinner with Rice December 5, 2025 by Harper Why You’ll Love This Recipe Easy to Make: This one-pot … Read more
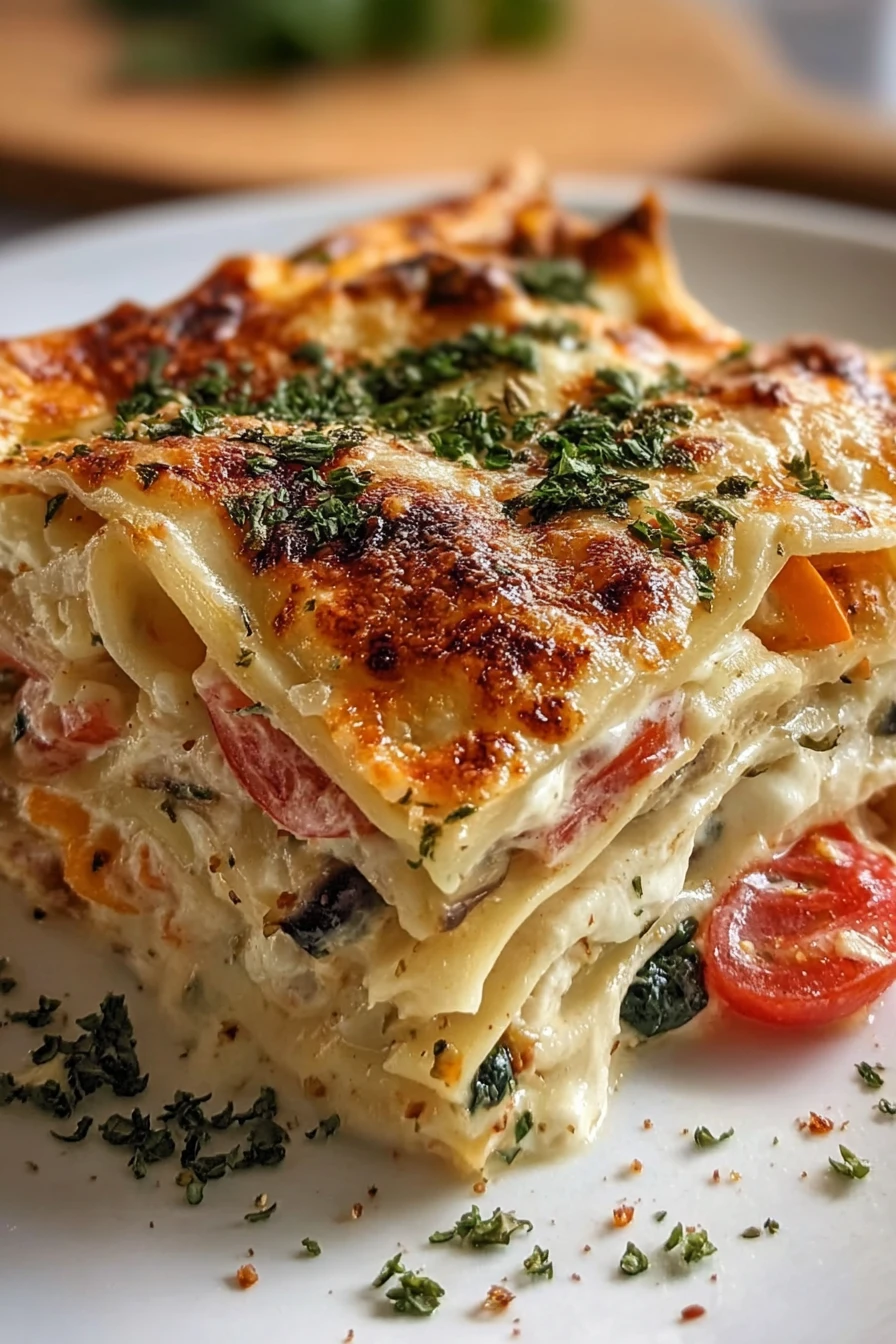
Loaded Veggie White Lasagna September 28, 2025 by Isabella I’ve got a confession to make: the first time I … Read more
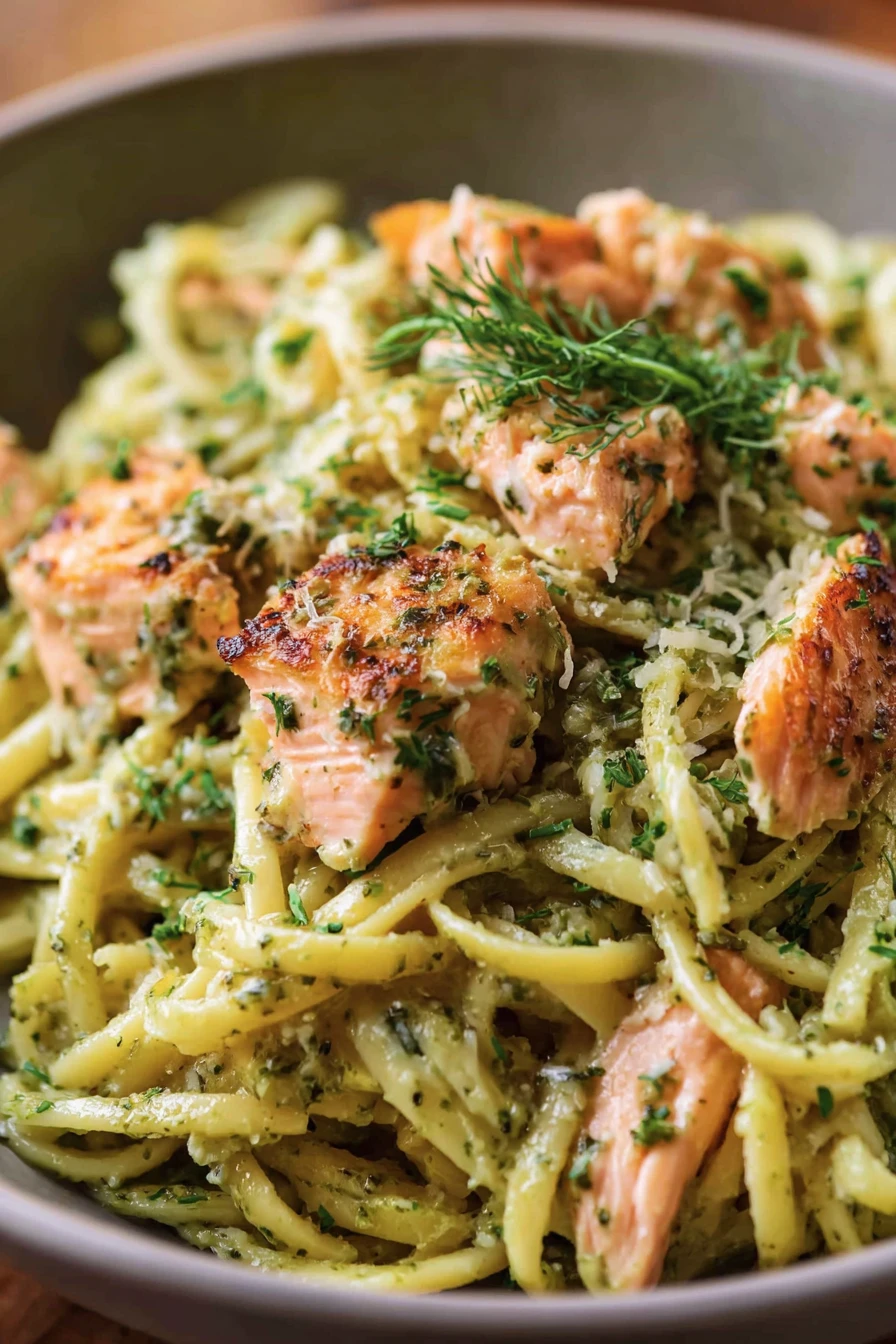
Creamy Salmon Pesto Pasta Recipe September 28, 2025 by Isabella Hey there, friends! I’ve gotta tell ya, stumbling upon this … Read more
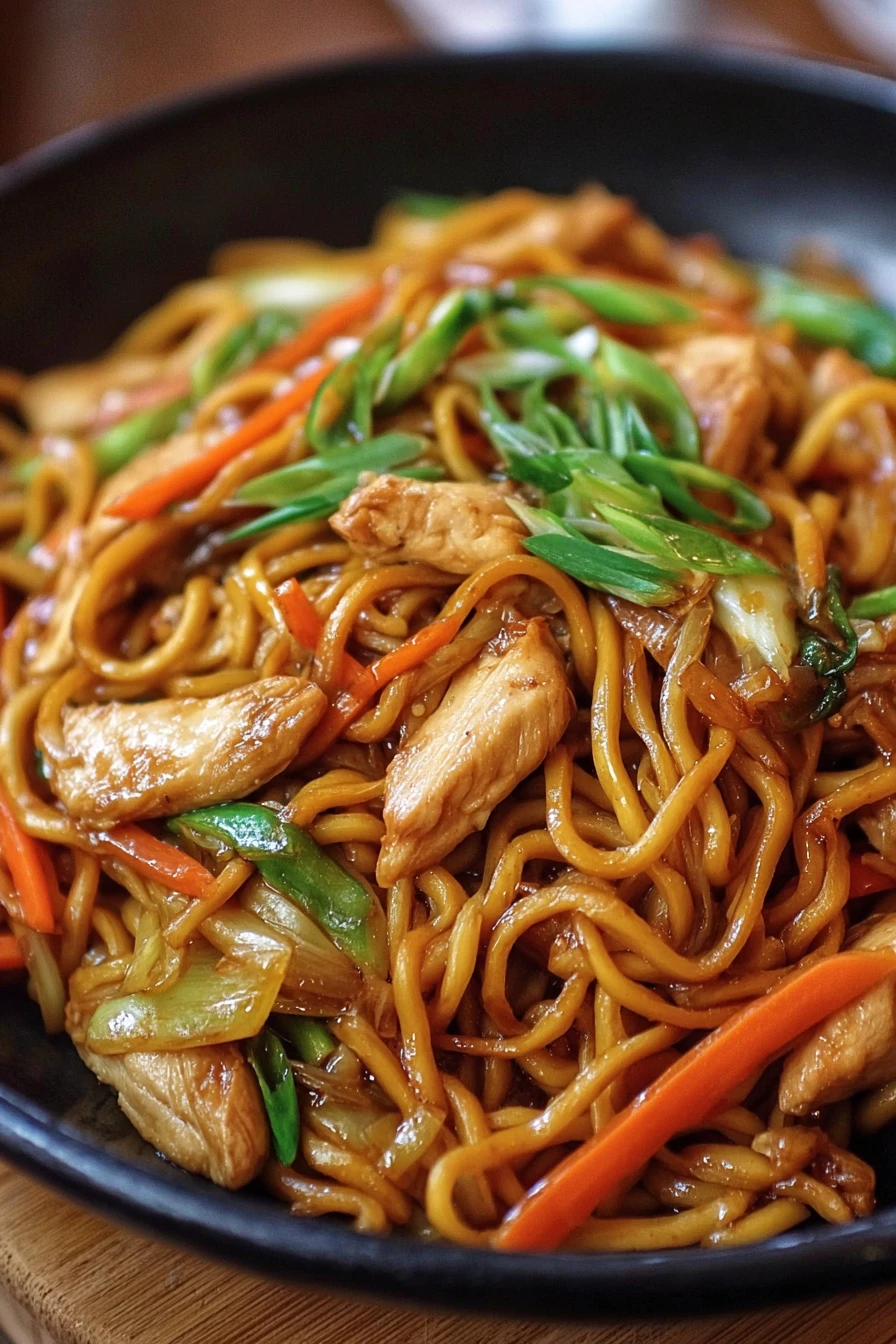
Easy Chicken Lo Mein Recipe September 28, 2025 by Isabella Hey there, fellow food lovers! I’ve gotta tell you, I … Read more
Pasta Bolognese Classic Italian September 28, 2025 by Isabella Hey there, fellow food lovers! I’ve gotta confess, there’s nothing … Read more
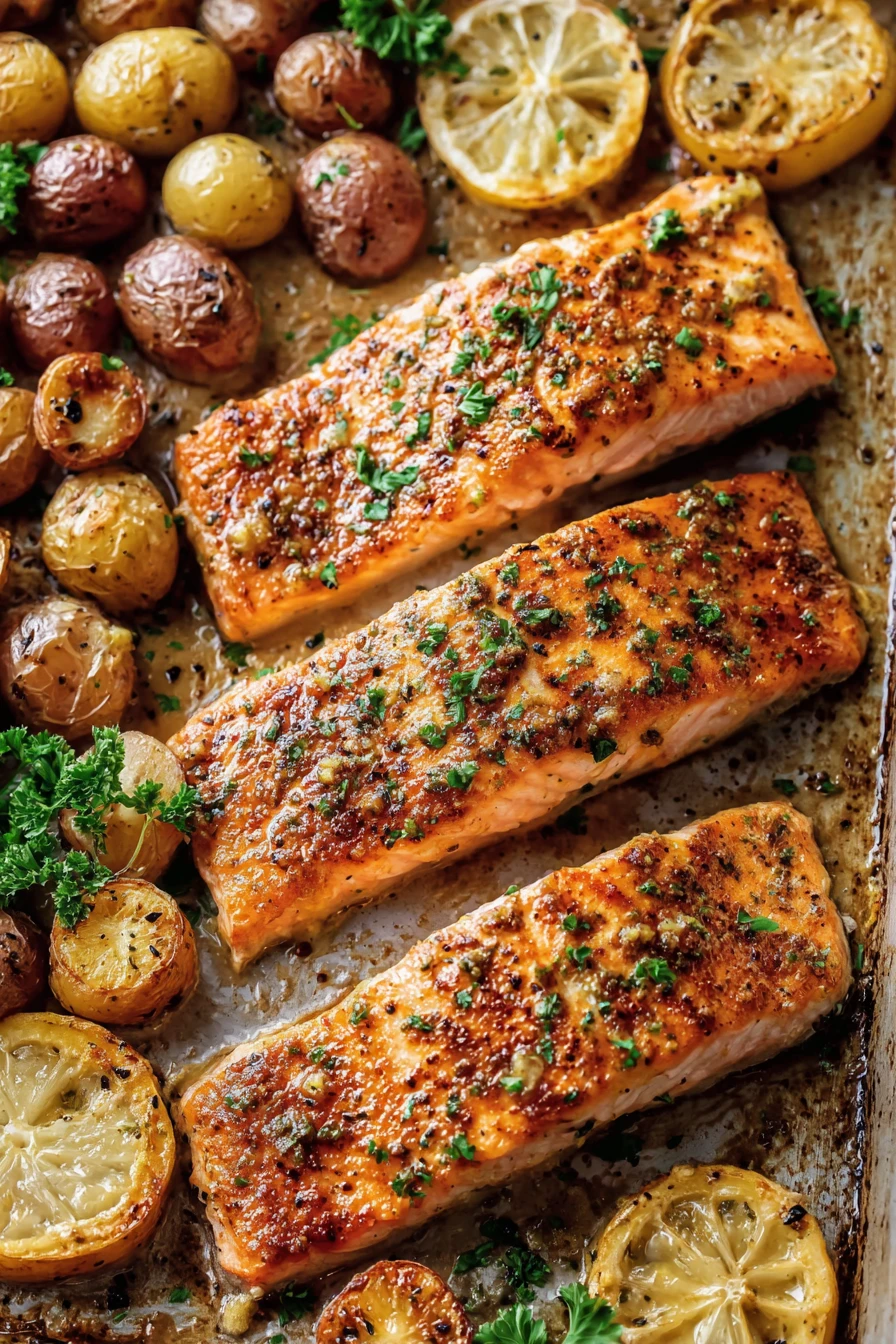
Easy Sheet Pan Honey Mustard Salmon with Potatoes September 28, 2025 by Isabella Y’all, let me tell you about the first time I … Read more
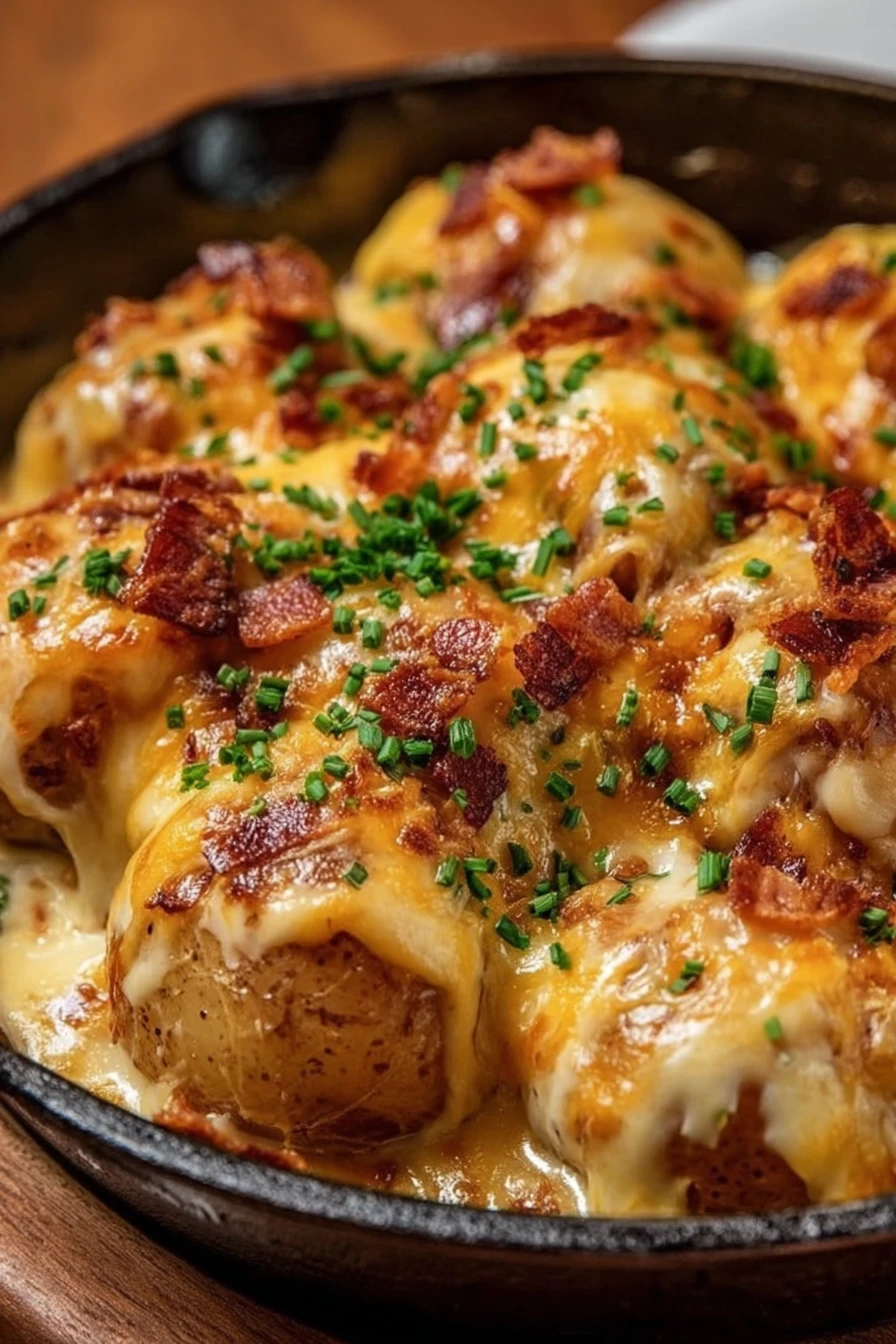
Cheesy Mississippi Mud Potatoes September 28, 2025 by Isabella Hey there, friends! I’m beyond excited to share one of … Read more
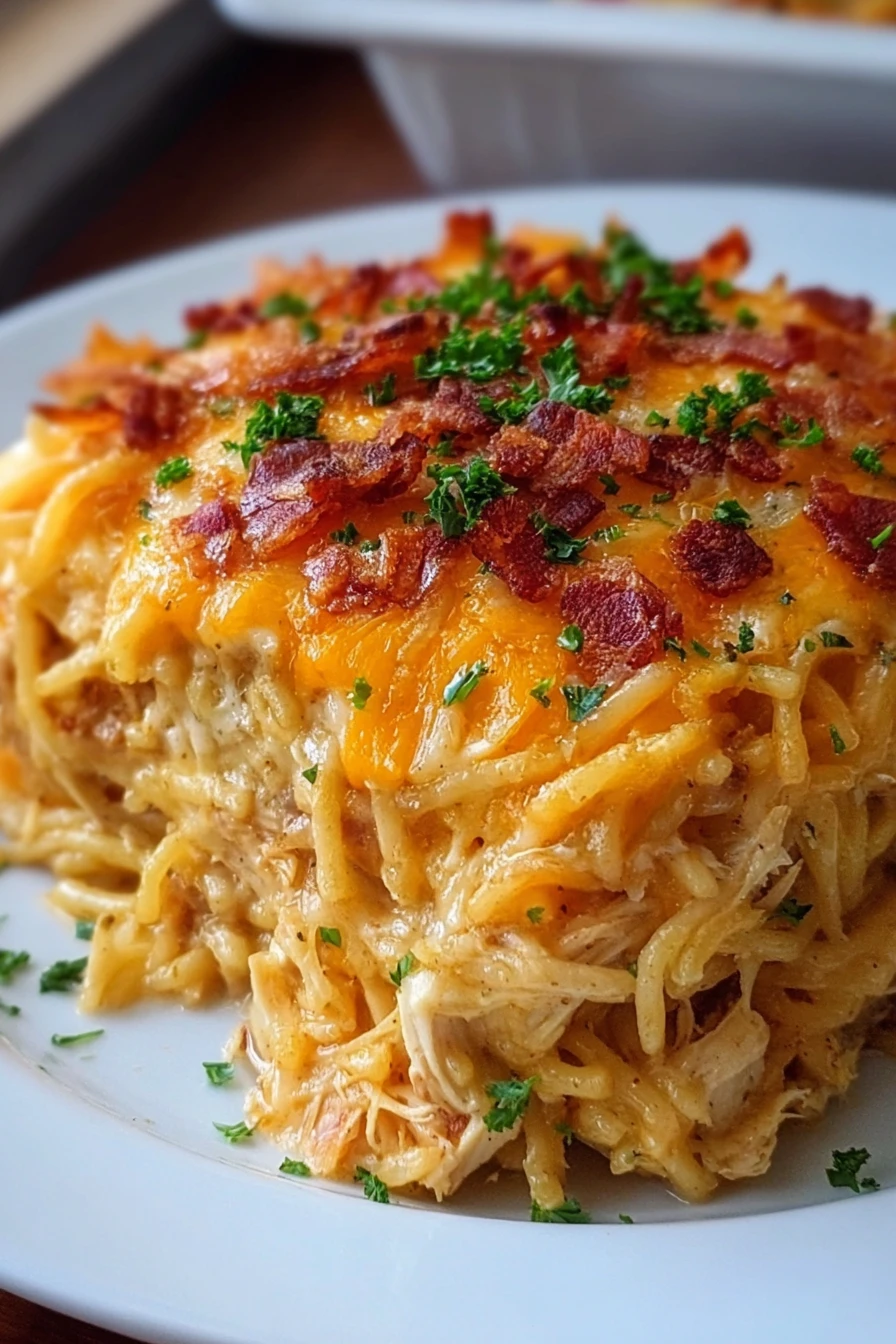
Spicy Southern Chicken Spaghetti Casserole September 28, 2025 by Isabella I’ll never forget the first time I whipped up a … Read more
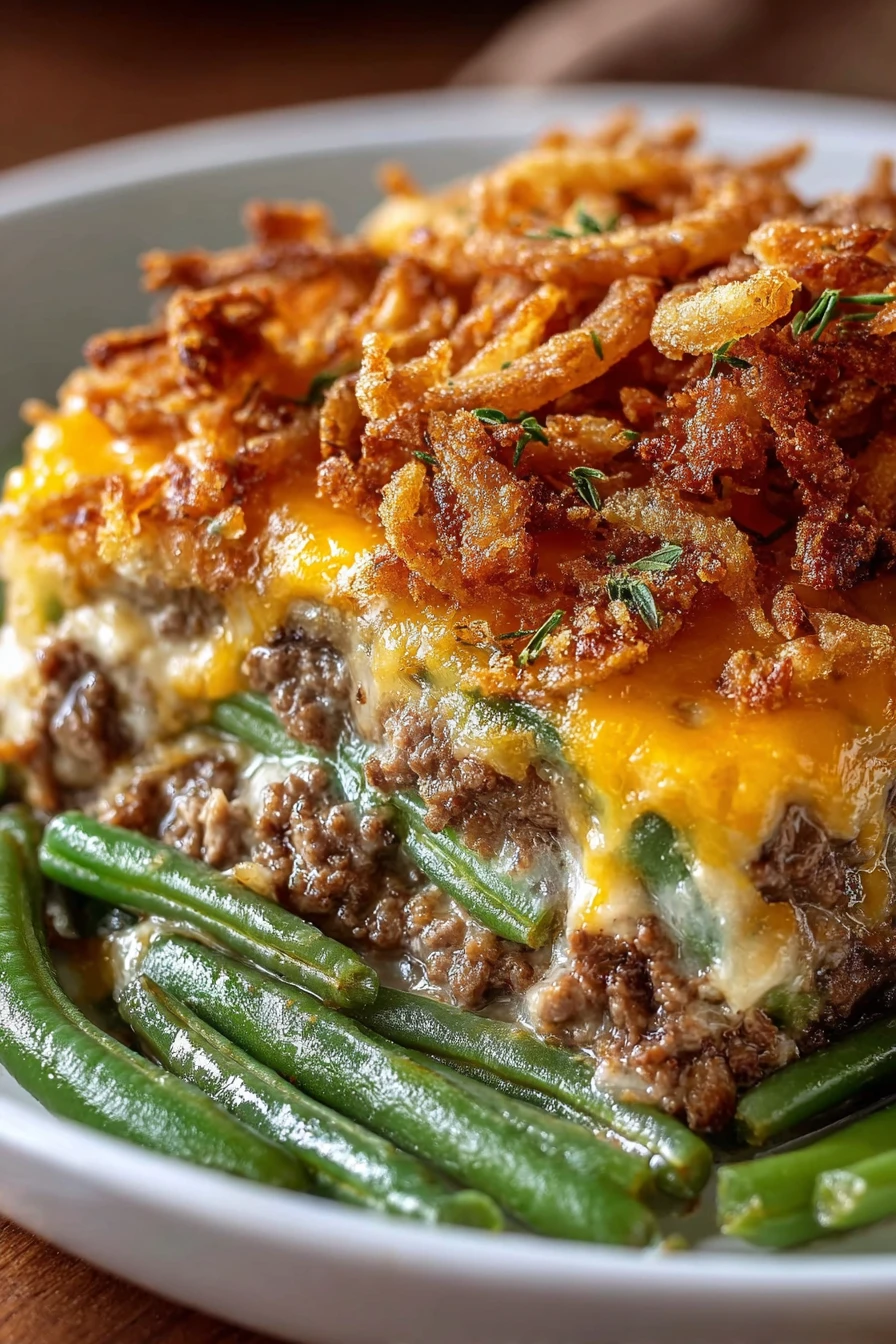
Cheeseburger Green Bean Casserole Delight September 28, 2025 by Isabella I still remember the first time I threw together a … Read more
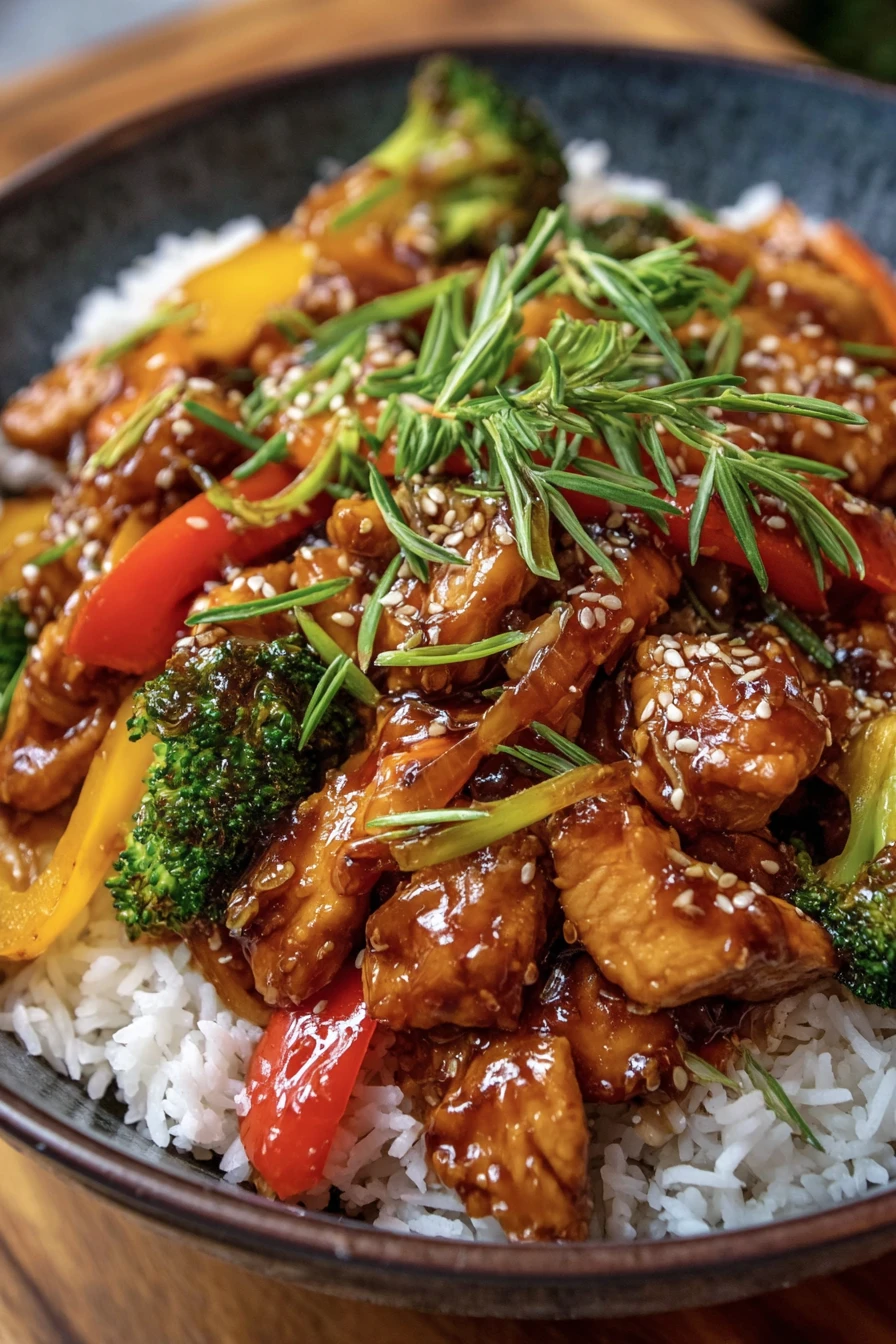
Honey Garlic Chicken Stir-Fry September 28, 2025 by Isabella I’ll never forget the first time I whipped up a … Read more