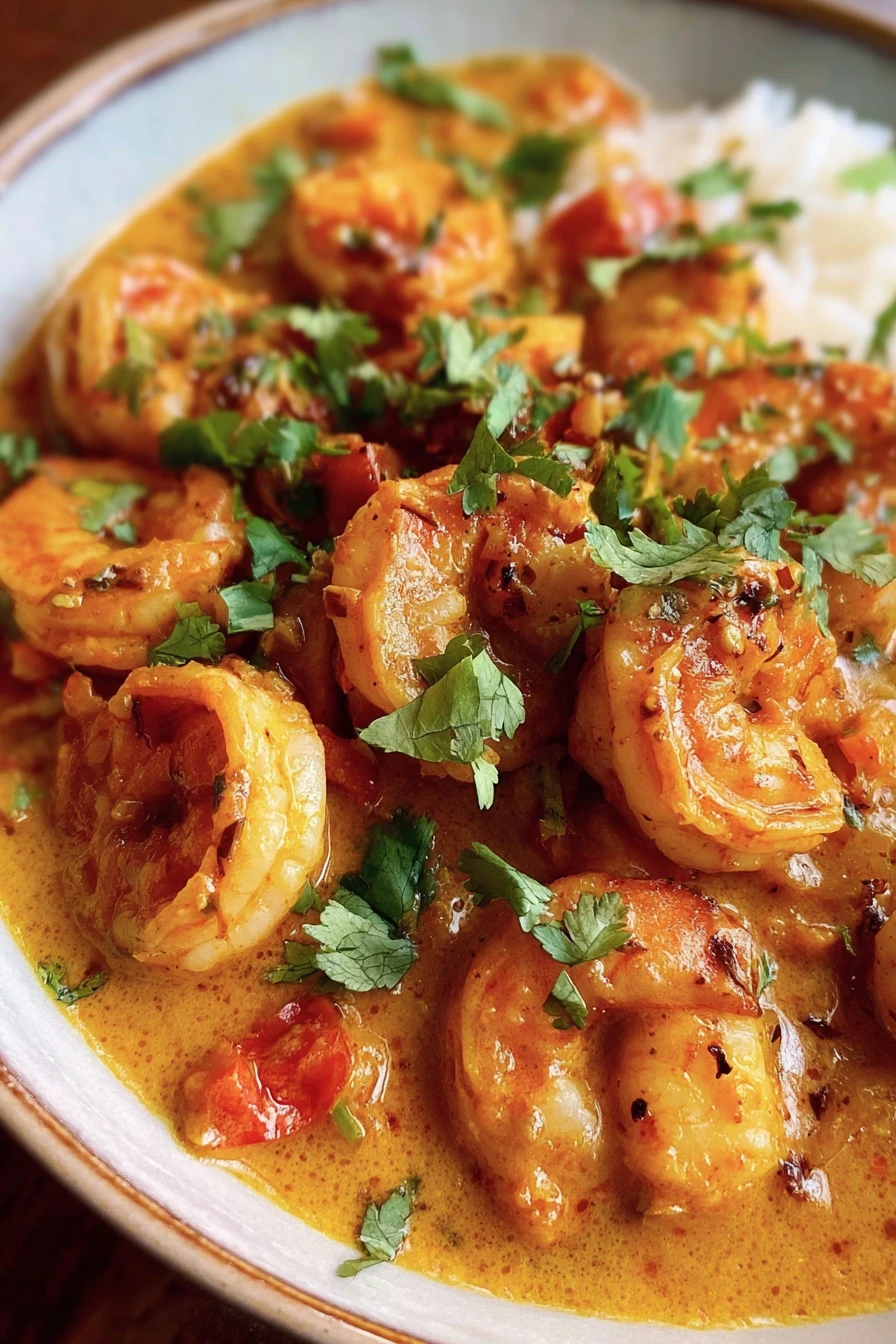
Thai Coconut Shrimp Curry September 28, 2025 by Isabella I’ll never forget the first time I stumbled upon a … Read more
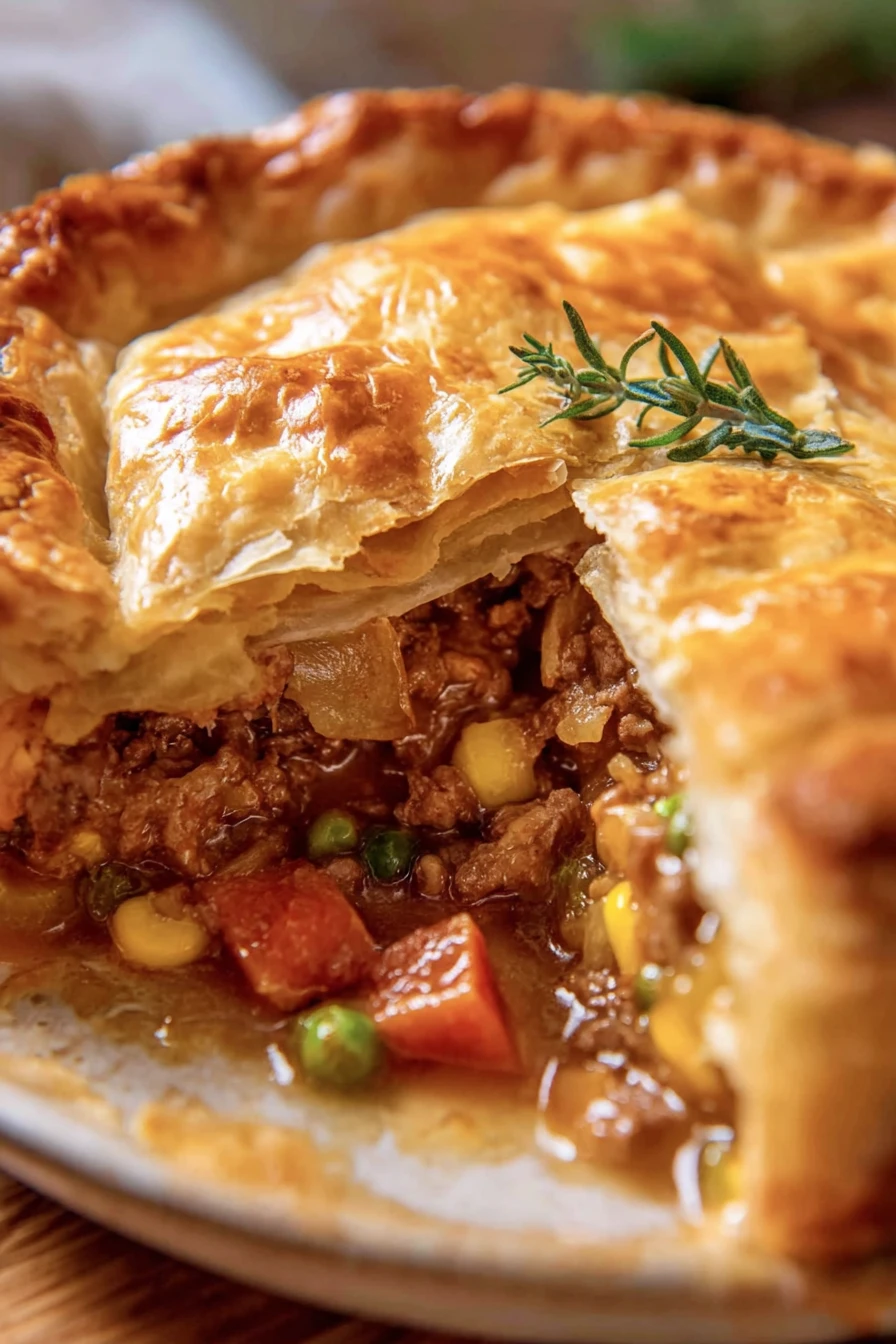
Beef Pot Pie Recipe September 28, 2025 by Isabella Hey there, fellow food lovers! I’m beyond excited to share … Read more
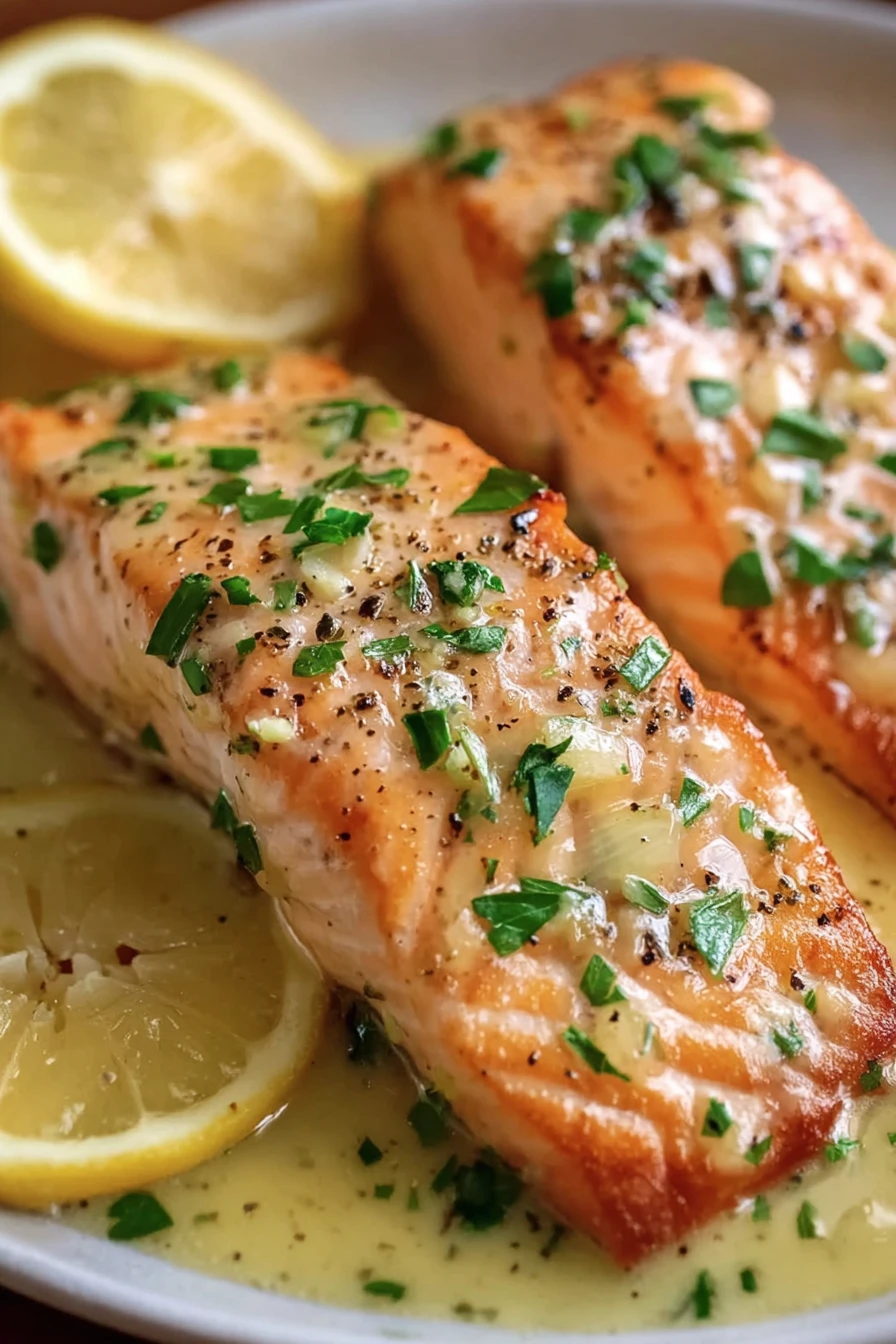
Salmon with Garlic Lemon Butter Sauce September 28, 2025 by Isabella Hey there, fellow food lovers! I’ve gotta tell you about … Read more
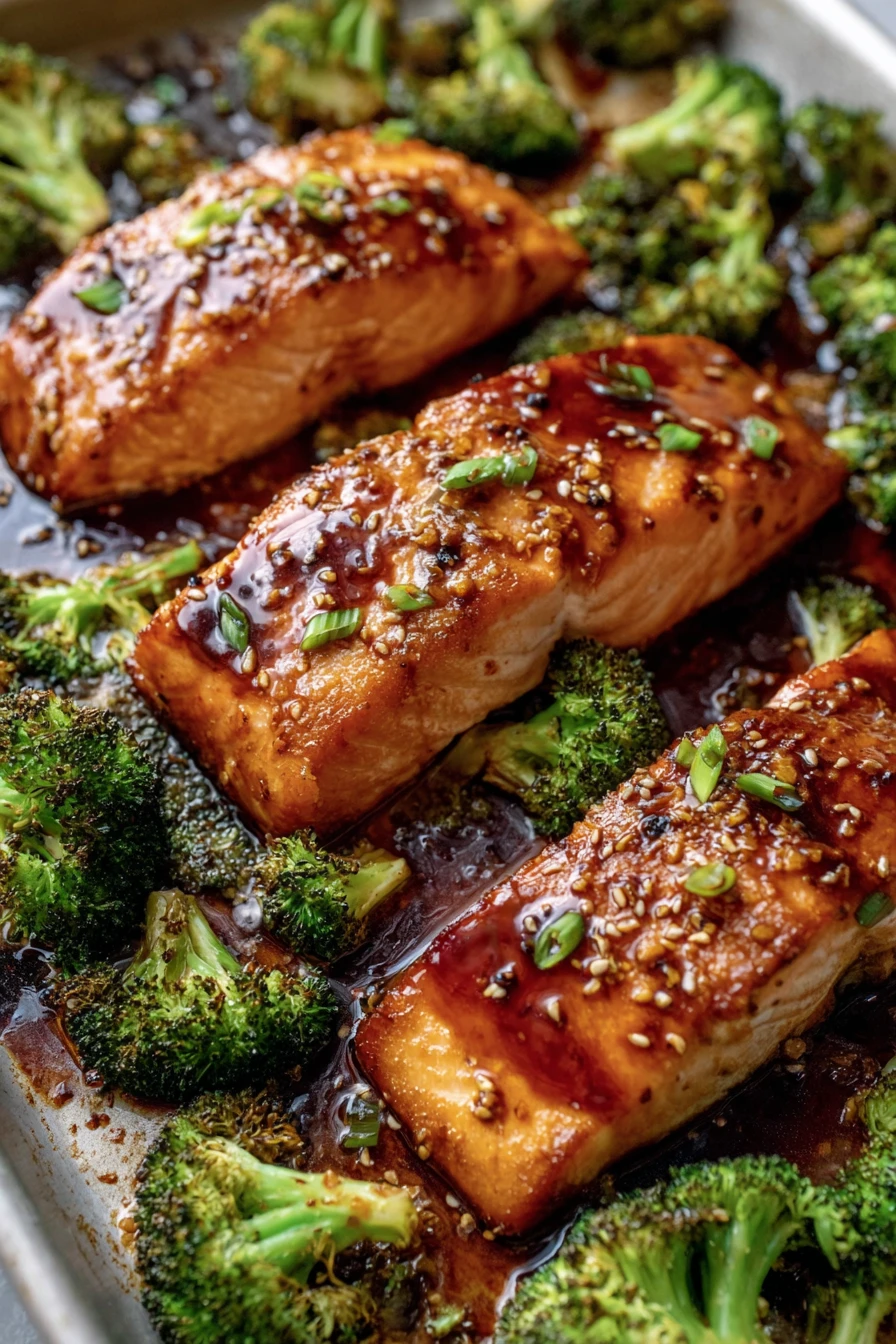
Sheet Pan Teriyaki Salmon and Broccoli September 28, 2025 by Isabella I’ll never forget the first time I whipped up Sheet … Read more
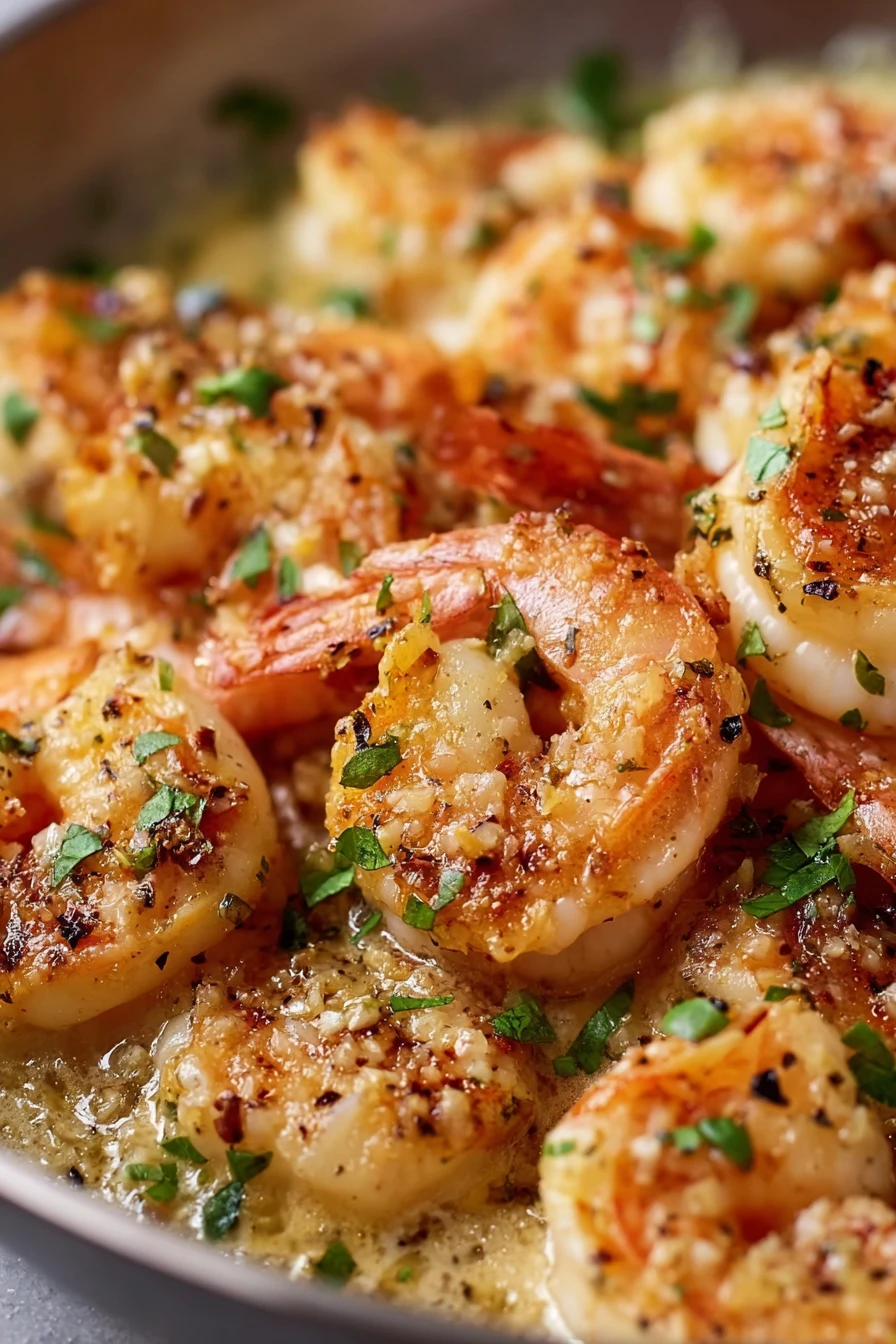
Garlic Parmesan Shrimp September 28, 2025 by Isabella Hey there, I’m so excited to share one of my … Read more
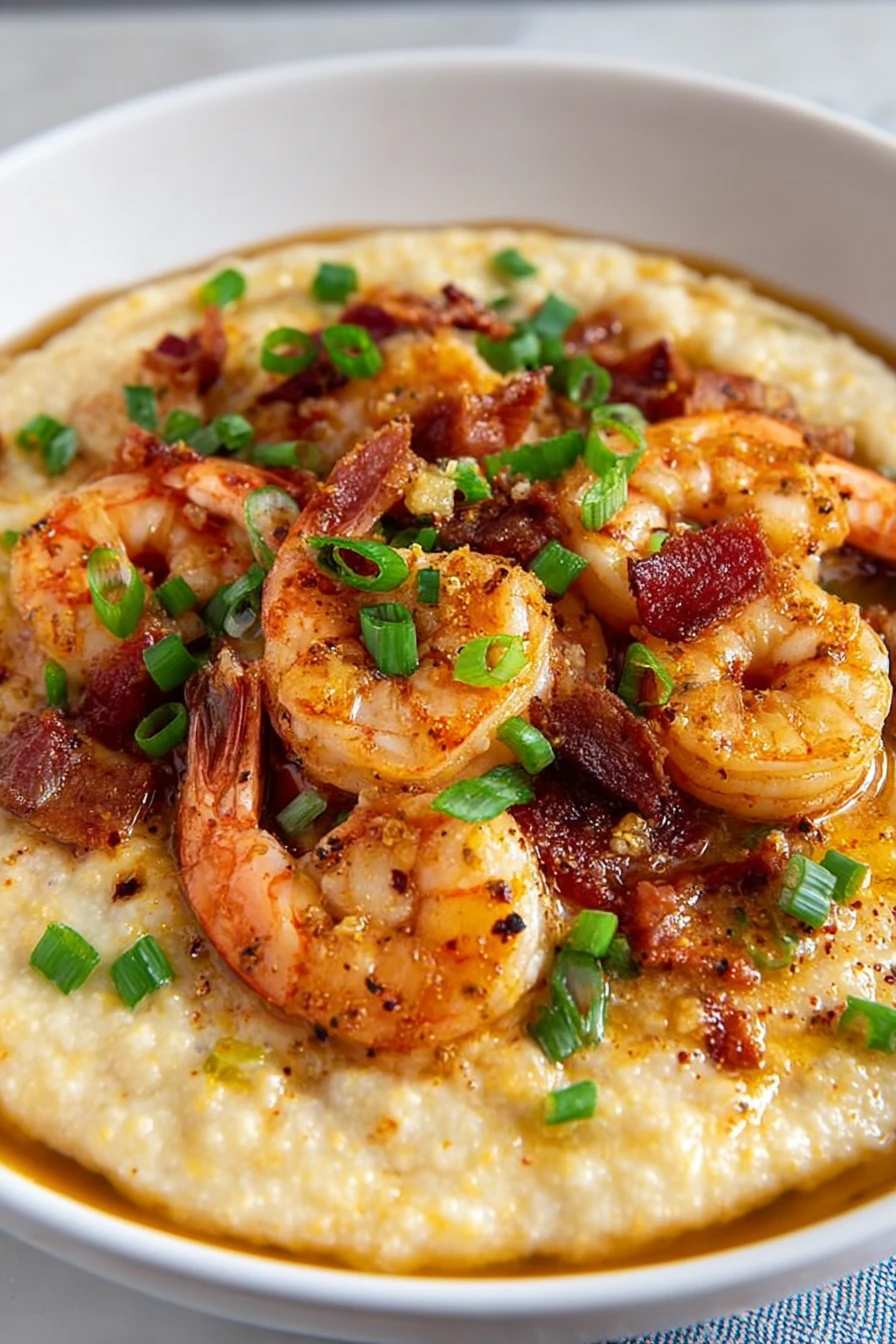
Southern Shrimp and Grits Recipe September 28, 2025 by Isabella Y’all, I’ve gotta tell ya, there’s nothing quite like a … Read more
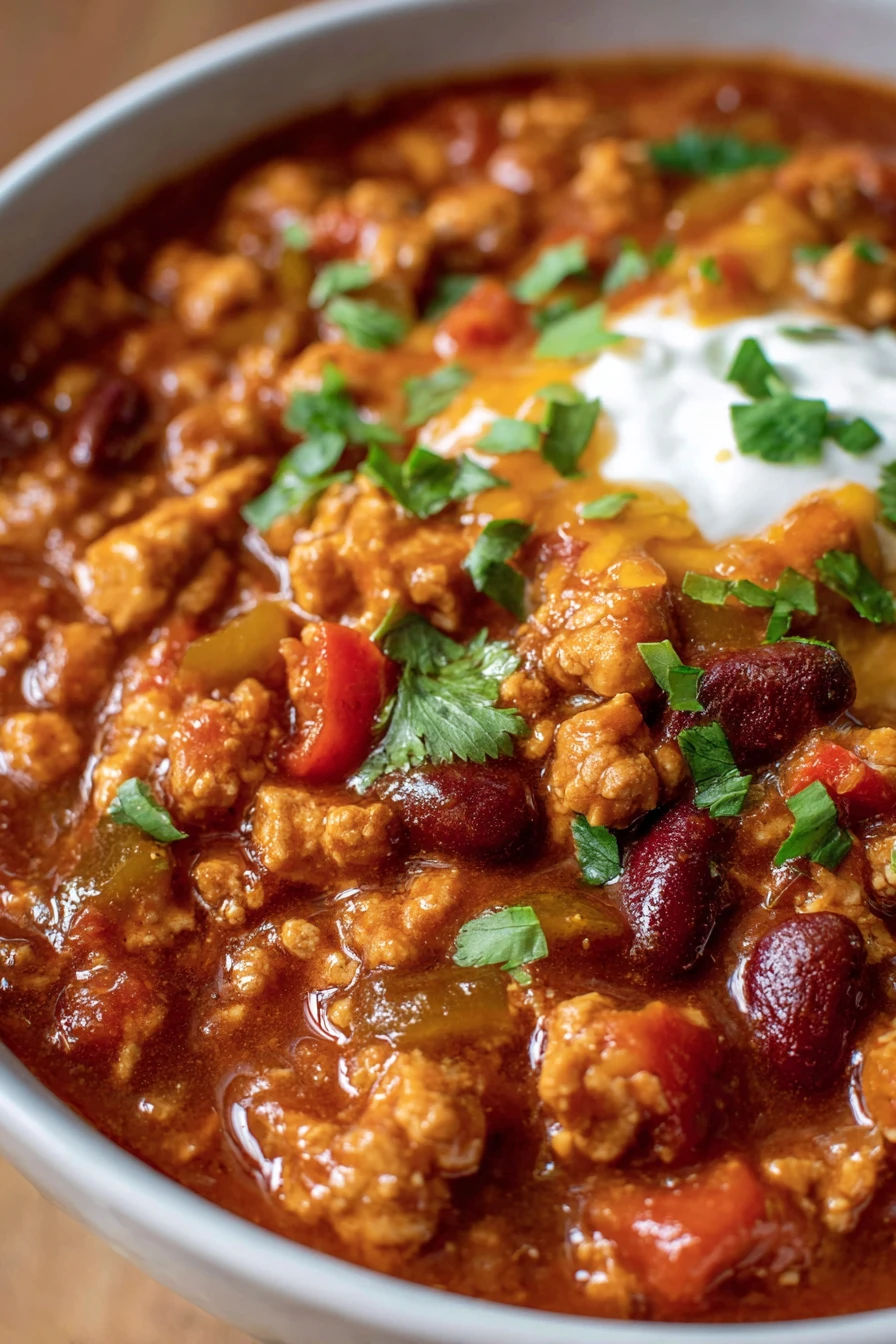
Easy Turkey Pumpkin Chili September 28, 2025 by Isabella I’ll never forget the first time I stumbled into making … Read more
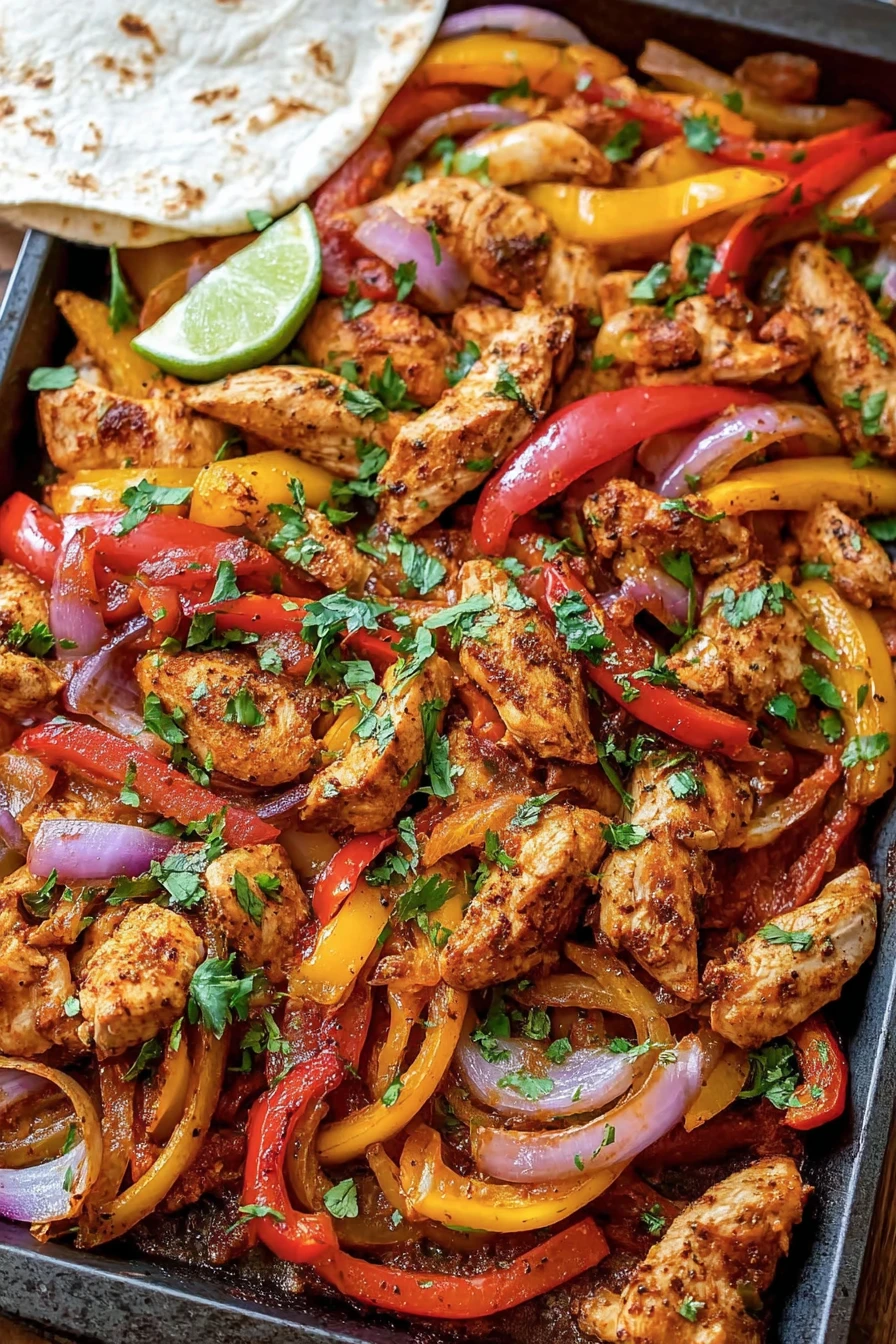
SHEET PAN CHICKEN FAJITAS September 28, 2025 by Isabella I’ve gotta confess, the first time I whipped up Sheet … Read more
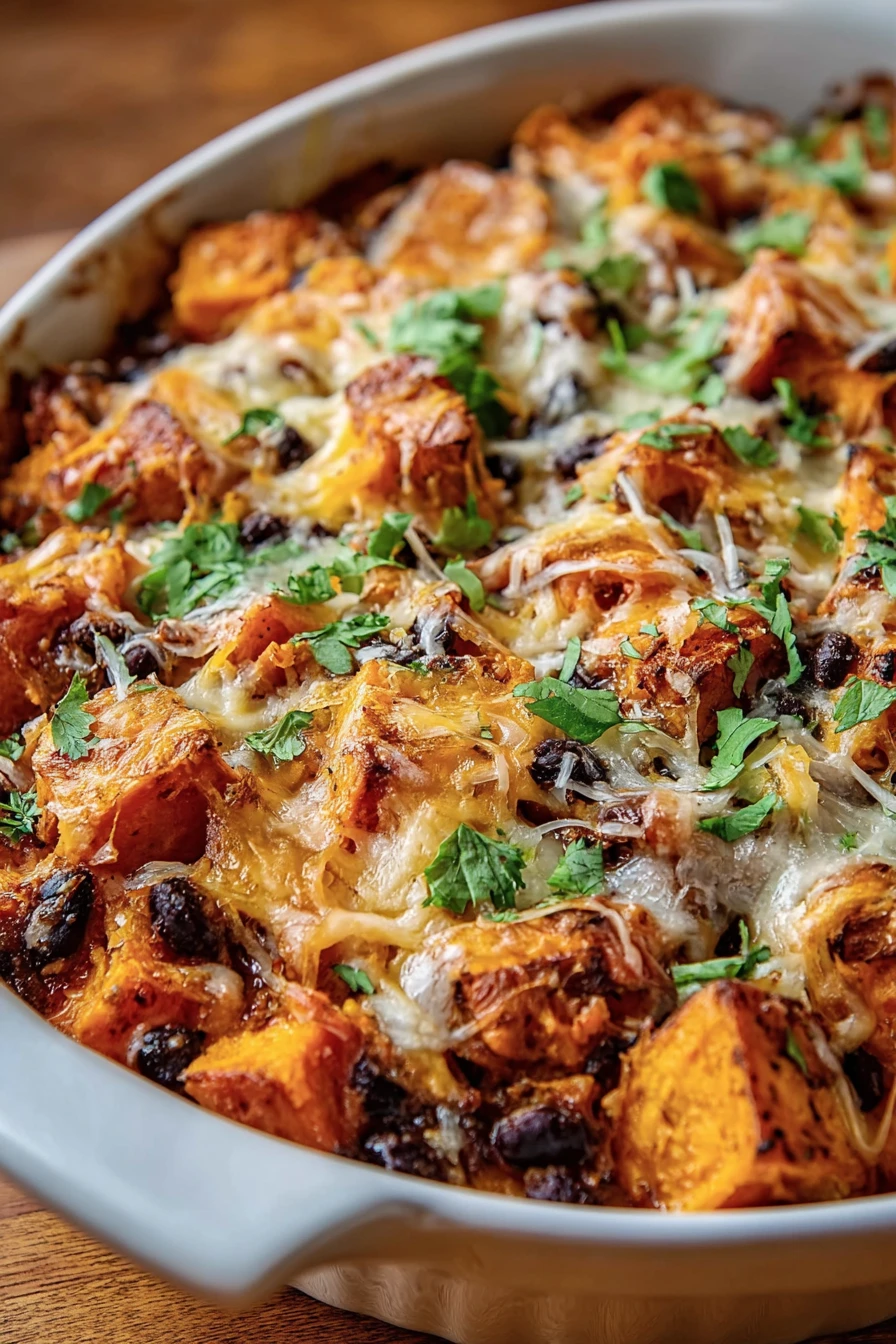
Sweet Potato and Black Bean Casserole September 25, 2025 by Harper I’ve gotta confess, the first time I whipped up a … Read more
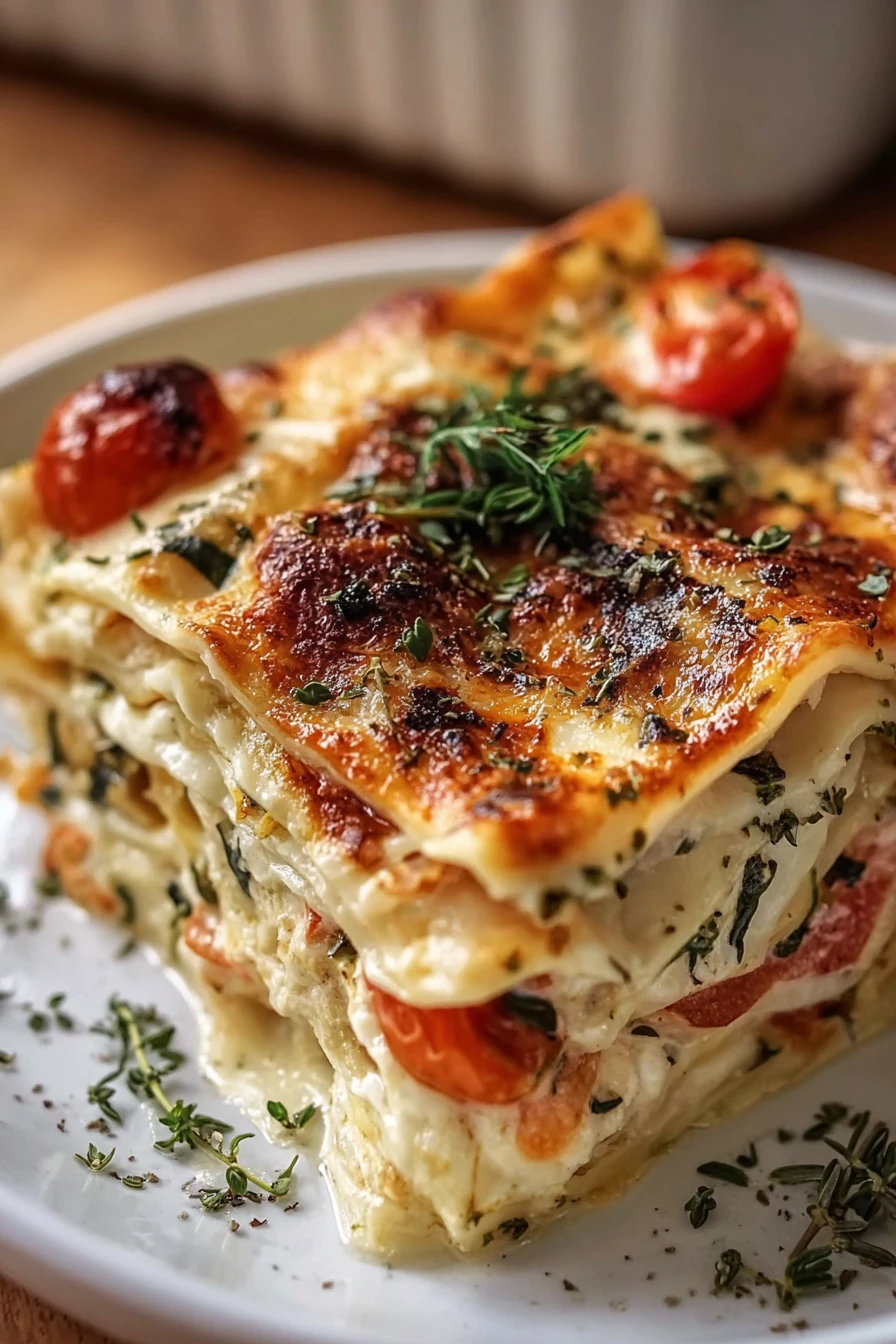
Loaded Veggie White Lasagna September 25, 2025 by Harper Hey there, friends! I’ve gotta tell ya, the first time … Read more