
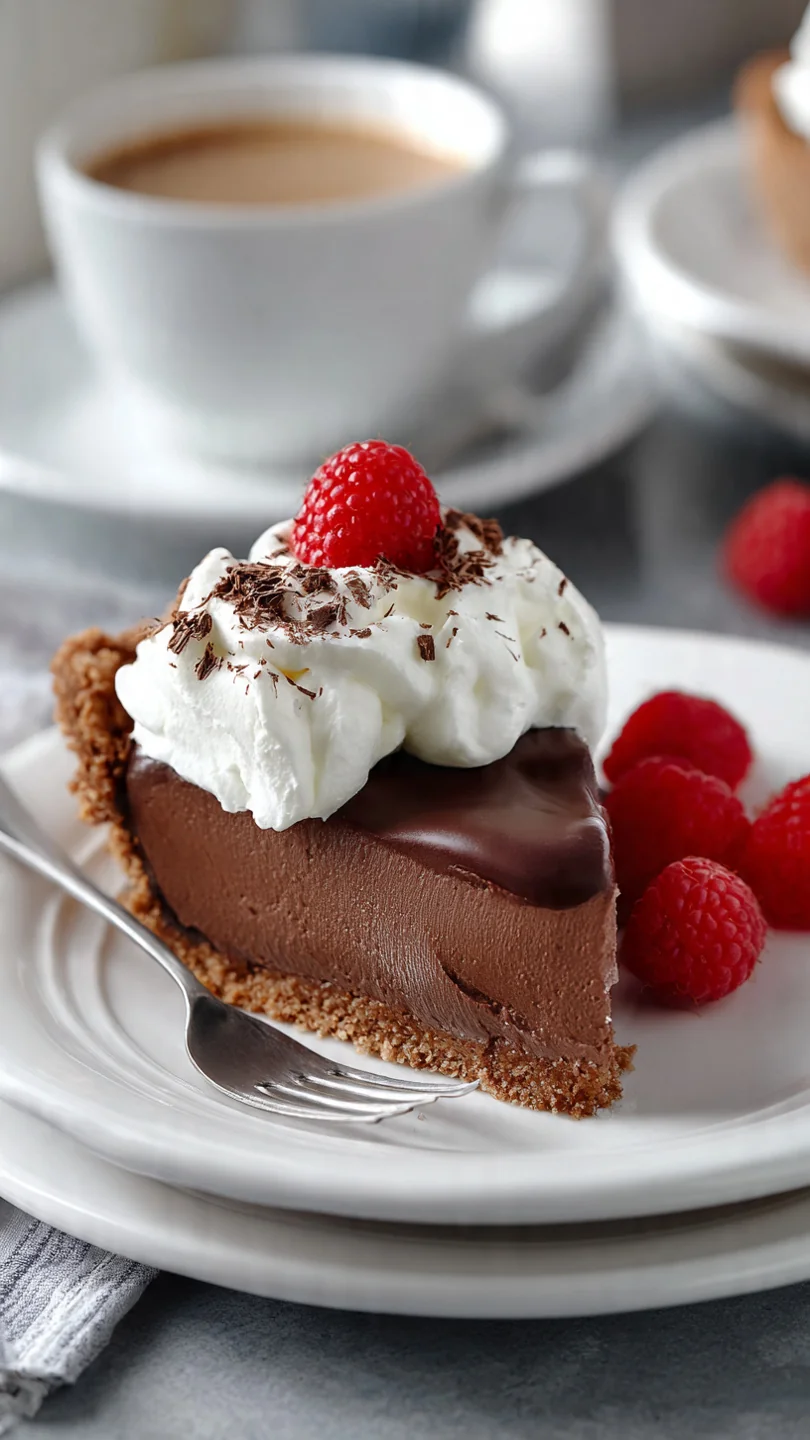
There’s a moment of pure magic in dessert making when heavy cream and melted chocolate come together, transforming from separate entities into something airy, decadent, and impossibly smooth. That’s the heart of a perfect chocolate mousse pie. This isn’t just another rich chocolate pie; it’s an elegant, no-bake masterpiece that balances intense chocolate flavor with a cloud-like texture, all nestled in a crisp, salty-sweet cookie crust.
It’s the dessert you make when you want to impress without spending hours in the kitchen, and trust me, the results are always worthy of a special occasion.
- Professional-Quality Texture: The secret is starting with a chocolate ganache, which gives the mousse a stable, silky body that won’t weep or separate, unlike versions made with raw eggs.
- No-Bake Convenience: With zero oven time required, this is the perfect dessert for hot days or when you need to free up the oven for other parts of your meal.
- Make-Ahead Perfection: This pie needs time to set, making it an ideal do-ahead dessert that actually improves in flavor and texture overnight in the fridge.
- Elegant Yet Simple: It looks like it came from a patisserie, but the techniques are straightforward—whipping, folding, and chilling.
- Endlessly Customizable: The crust and toppings are a blank canvas for your creativity, from different cookies to various garnishes.
- Crowd-Pleasing Flavor: Deep, rich chocolate that’s not overly sweet appeals to almost every dessert lover.
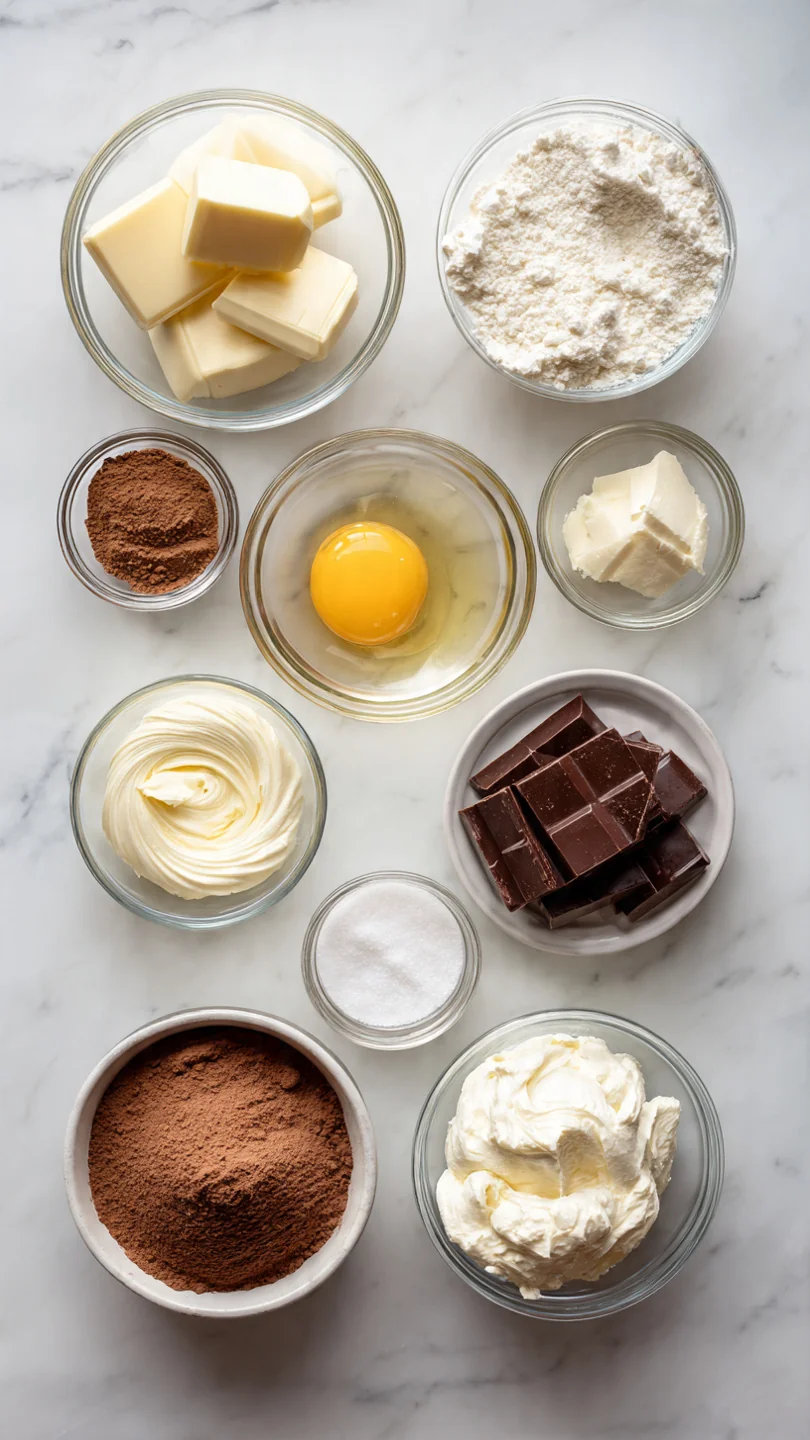
Ingredients You’ll Need
Let’s gather our ingredients—this is where simple components come together to create something truly special. Using quality chocolate is non-negotiable here; it’s the star of the show. Look for a bar you enjoy eating on its own, with a cocoa percentage between 55-70% for the best balance of flavor and smoothness.
- Oreo cookies: We use the whole cookie, filling and all, for the crust. The filling acts as a binder, reducing the amount of butter needed.
- Unsalted butter: Melted, to help the cookie crumbs form a cohesive, crisp crust.
- High-quality semisweet or bittersweet chocolate: Chopped finely for even melting. I prefer a bar like Ghirardelli or Callebaut for consistent results.
- Heavy whipping cream: Must be cold for proper whipping. The high fat content (36% or more) is essential for stable peaks and a luxurious mouthfeel.
- Granulated sugar: Just enough to sweeten the whipped cream without making the mousse cloying.
- Pure vanilla extract & Fine sea salt: These enhance and deepen the chocolate flavor, cutting through the richness.
Note: You’ll find the complete list of ingredients, along with their exact measurements, in the printable recipe card at the bottom of this post.
Kitchen Equipment Needed
You don’t need any specialty equipment, but a few key tools make the process foolproof. A food processor creates the finest, most even cookie crumb crust. A stand mixer or a powerful hand mixer is best for whipping the cream to firm peaks without overworking it.
A 9-inch pie plate, preferably a deep-dish style, gives you plenty of room for that tall, impressive mousse filling. A rubber spatula is your best friend for gentle folding, and an offset spatula makes smoothing the top a breeze.
How to Make Chocolate Mousse Pie Recipe
Step 1: Build the Foundation
In your food processor, pulse the Oreos into uniform fine crumbs. Drizzle in the melted butter and pulse until the mixture looks like wet sand. Trust me, taking the time to press this mixture very firmly and evenly into your pie plate—up the sides and across the bottom—is what prevents a crumbly, falling-apart crust later.
Use the bottom of a measuring cup to really tamp it down. Pop it in the fridge to set solid while you make the filling.
Step 2: Create the Chocolate Base
This step is where we borrow technique from professional pastry kitchens. We’re making a simple ganache by pouring hot cream over finely chopped chocolate. Let it sit for a full minute—this allows the heat to gently melt the chocolate from the outside in.
Then, whisk slowly from the center outward until you have a perfectly smooth, glossy pool. Let this cool until it’s just barely warm to the touch. If it’s too hot, it will melt the whipped cream; too cold, and it will be too stiff to fold in smoothly.
Step 3: Whip to Perfect Peaks
Combine the cold heavy cream, sugar, vanilla, and salt in a chilled bowl. Whip on medium-high speed. Tip from me: Watch closely.
You want firm peaks that hold their shape when the whisk is lifted, but the cream should still look smooth and lustrous, not grainy or curdled. Over-whipped cream will make your mousse dense. Believe me, this is the most critical step for that cloud-like texture.
Step 4: The Gentle Fold
Now for the magic. Take about one cup of your whipped cream and stir it directly into the cooled chocolate ganache. This “lightens” the thick chocolate, making it easier to incorporate the rest without deflating the air you just whipped in.
Add the remaining whipped cream in two additions. Using a wide rubber spatula, cut down through the center, sweep along the bottom, and fold up and over. Rotate the bowl and repeat until no white streaks remain.
The mixture will be beautifully light and fluffy.
Step 5: Assemble and Set
Retrieve your chilled crust. Spoon the chocolate mousse into the center and gently spread it out to the edges with an offset spatula. For an optional shiny ganache top, repeat the quick ganache process with the extra cream and chocolate, let it cool slightly so it’s pourable but not hot, and pour it over the mousse, tilting the plate to cover.
Refrigerate the pie for at least 4 hours, but overnight is truly best. This long, slow set allows the flavors to meld and the texture to become perfectly sliceable.
Step 6: Slice and Serve with Pride
When you’re ready to serve, let the pie rest on the counter for 10-15 minutes. This slight warming makes slicing cleaner and the texture even more luxurious. Use a sharp, thin-bladed knife dipped in very hot water and wiped completely dry for each cut.
Step back and admire your work—each slice should reveal distinct, neat layers. Garnish with a dollop of fresh whipped cream and chocolate shavings.
- Chocolate Choice is Key: The flavor of your pie is the flavor of your chocolate. A 60% cocoa bar provides the ideal balance of deep chocolate flavor and sweetness.
- Temperature Control: Ensure your cream is ice-cold for whipping and your ganache is cool (not cold) before folding. A significant temperature difference is the main cause of a deflated, dense mousse.
- The Fold Test: To check if you’ve folded enough, scoop up some mousse and let it drop from the spatula. It should hold its shape briefly before melting back into the bowl. If it’s still streaky, fold a few more times.
- For a Super-Crisp Crust: You can bake the pressed Oreo crust at 350°F for 8-10 minutes, then cool completely before filling. This toasts the crumbs and guarantees a firm base.
- Avoid Weeping: A mousse that releases water often comes from under-whipped cream or adding the whipped cream to chocolate that is still too warm.
Recipe Variations & Customizations
- Gluten-Free Version: Use your favorite gluten-free chocolate sandwich cookies for the crust. Ensure your chocolate is certified gluten-free.
- Vegan Chocolate Mousse Pie: Substitute the Oreos for vegan chocolate cookies. Use coconut cream (the solid part from a can) chilled overnight, and whip it with a touch of maple syrup. Use high-quality vegan dark chocolate.
- Mint Chocolate Variation: Add 1/4 teaspoon of pure peppermint extract to the cream while whipping. Garnish with crushed peppermint candies or a mint sprig.
- Salted Caramel Swirl: Before adding the mousse to the crust, drizzle 1/3 cup of thick salted caramel sauce over the bottom. Pour in the mousse, then use a knife to swirl in another 1/3 cup of caramel.
- Espresso Infused: Dissolve 1 tablespoon of instant espresso powder into the 1/2 cup of hot cream before pouring it over the chocolate for the ganache base.
- Different Crust: Substitute the Oreos with graham crackers, chocolate wafer cookies, or even crushed pretzels for a sweet-and-salty twist. Adjust butter as needed until the texture is correct.
- Berry Topping: Skip the ganache topping and serve each slice with a generous spoonful of fresh macerated raspberries or strawberries.
- Mocha Mousse: Add 1 tablespoon of instant coffee granules to the sugar before whipping it with the cream.
What to Serve With This Recipe
This chocolate mousse pie is a rich, decadent finale, so pair it with lighter, brighter elements. A simple garnish of fresh raspberries or orange segments cuts through the richness beautifully. For a dinner party, serve it after a meal like herb-roasted chicken, a simple steak, or a hearty pasta.
Coffee is its classic partner—a strong espresso or a cup of black coffee balances the sweetness. For a festive touch, a glass of Port, a cream sherry, or a cherry-based lambic beer makes for a stunning pairing. It’s perfect for holidays, birthdays, dinner parties, or any time you want a dessert that feels celebratory.
Storage & Make-Ahead Instructions
- Refrigeration: This pie must be stored covered in the refrigerator. It will keep for up to 4 days. Press plastic wrap directly onto the surface of any leftover slices to prevent a skin from forming.
- Freezing: You can freeze the pie for up to 1 month. Wrap the whole pie or individual slices tightly in plastic wrap, then in foil. Thaw overnight in the refrigerator before serving. Note: The texture may be slightly denser after freezing.
- Make-Ahead Strategy: This is the ultimate make-ahead dessert. Prepare it fully 1-2 days before you need it. The extended chilling time only improves the flavor and makes for cleaner slicing.
- Garnishing: Always add fresh whipped cream, berries, or other perishable garnishes just before serving.
Frequently Asked Questions
Q: Can I make this without a food processor?
A: Absolutely. Place the cookies in a sturdy zip-top bag and crush them with a rolling pin until you have fine, even crumbs. Mix with the melted butter in a bowl.
Q: My whipped cream turned grainy/buttery. What happened?
A: You likely over-whipped it. The cream was either not cold enough, or you whipped it too long. Unfortunately, you need to start over with new cream.
Whip just until firm peaks form.
Q: Can I use milk chocolate or white chocolate?
A: You can, but be cautious. Milk chocolate is sweeter and softer, so reduce the sugar in the whipped cream by half. White chocolate sets much softer; you may need to add a teaspoon of unflavored gelatin to the hot cream to help it set.
Q: How do I know when the mousse is set?
A: Gently press the center with a clean fingertip. It should feel firm and not leave an indent. A minimum of 4 hours is required, but overnight is foolproof.
Q: Is there a substitute for heavy whipping cream?
A: For the mousse structure, no. Lower-fat alternatives like half-and-half or light cream will not whip to stable peaks. For a dairy-free version, use the solid part of full-fat canned coconut cream.
Q: Can I use Cool Whip or pre-made whipped topping?
A: I don’t recommend it for the mousse itself, as it will alter the flavor and texture significantly. However, you could use it as a garnish on top if desired.
Q: My ganache seized and became lumpy. How can I fix it?
A: This happens if a small amount of water gets into the chocolate or if the cream was too hot. Try adding another tablespoon of warm cream and whisking vigorously. If that fails, gently re-melt the mixture over a double boiler, stirring constantly.
Q: Why did my crust slide down the sides of the pie plate?
A: This means it wasn’t pressed firmly enough or chilled before filling. Always press very firmly and chill for at least 20 minutes to set the butter.
Final Thoughts
This chocolate mousse pie recipe distills professional technique into a completely approachable, no-bake dessert. It’s a testament to how a few quality ingredients, treated with care, can create something extraordinary. The silky texture, the intense chocolate flavor balanced by the crisp crust, and the elegant presentation make it a recipe you’ll return to for years.
It proves that you don’t need complicated methods to create a show-stopping dessert—just good chocolate, cold cream, and a little patience while it chills.
I hope this recipe brings as much joy to your table as it has to mine. If you try it, I’d love to hear how it turned out! Share your creations online and tag me, or leave a comment with your favorite variation.
Happy baking—or rather, happy no-baking!

Chocolate Mousse Pie
Equipment
- 9-inch pie plate (preferably deep dish)
- Food processor
- Stand mixer or hand mixer
- Heatproof bowl and saucepan
- Rubber spatula
- Offset spatula (helpful for smoothing)
Ingredients
- 24 whole Oreo cookies (regular, not Double Stuf) Filling included
- 5 tbsp Unsalted butter melted
- 8 oz High-quality semisweet or bittersweet chocolate chopped (about 1 1/3 cups)
- 2 cups Heavy whipping cream divided, cold
- 1/3 cup Granulated sugar
- 1 tsp Pure vanilla extract
- 1/4 tsp Fine sea salt
- 1/2 cup Additional heavy cream for ganache topping (optional)
- 4 oz Additional semisweet chocolate for ganache topping (optional)
Instructions
- Make the crust: In a food processor, pulse the Oreo cookies (filling and all) into fine crumbs. Add the melted butter and pulse until the mixture resembles wet sand. Press firmly and evenly into the bottom and up the sides of a 9-inch pie plate. Refrigerate for at least 20 minutes to set.
- Melt the chocolate: Place the chopped chocolate in a heatproof bowl. Heat 1/2 cup of the heavy cream in a small saucepan over medium heat until it just begins to simmer. Pour the hot cream over the chocolate, let it sit for 1 minute, then whisk gently until completely smooth and glossy. This is your chocolate ganache base. Let it cool to just barely warm, about 10-15 minutes.
- Whip the cream: In the bowl of a stand mixer fitted with the whisk attachment (or using a hand mixer), combine the remaining 1 1/2 cups of cold heavy cream, sugar, vanilla, and salt. Whip on medium-high speed until firm peaks form. Be careful not to over-whip into butter.
- Fold the mousse: Add about 1 cup of the whipped cream to the cooled chocolate ganache. Fold gently with a spatula to lighten the mixture. This makes it easier to incorporate the rest. Add the remaining whipped cream in two additions, folding gently but thoroughly until no white streaks remain. The mixture should be smooth, light, and fluffy.
- Assemble and chill: Spoon the chocolate mousse into the chilled crust. Smooth the top with an offset spatula. For a ganache topping, heat the optional 1/2 cup cream until simmering, pour over the optional 4 oz chopped chocolate, let sit, then whisk smooth. Cool slightly, then pour over the mousse. Refrigerate the pie for at least 4 hours, or preferably overnight, until completely set.
- Serve: Before serving, let the pie sit at room temperature for 10-15 minutes to soften slightly. Garnish with additional whipped cream and chocolate shavings if desired. Use a sharp knife dipped in hot water and wiped dry to get clean slices.