
Hey there, friends! I’m so excited to chat about one of my all-time favorite desserts today: the Classic Pumpkin Pie. There’s something magical about this dish that just screams cozy autumn vibes, and I’ve been whipping up batches of Classic Pumpkin Pie for as long as I can remember. I still think back to the first time I tried making it as a teenager—oh boy, what a mess that was with a soggy crust and lumpy filling, but I’ve come a long way since then!
Honestly, nothing beats the smell of a Classic Pumpkin Pie baking in the oven on a crisp fall day. My family loves gathering around the table for a slice, especially during the holidays, and I can’t wait to share my tried-and-true recipe with you. So, grab your apron, and let’s dive into making this seasonal classic together!
Why You’ll Love This Recipe
I’ve found that there’s something truly special about a homemade Classic Pumpkin Pie that store-bought versions just can’t match. It’s not just the creamy, spiced filling or the flaky crust—it’s the love and nostalgia baked right in. In my kitchen, this recipe has become a staple because it’s straightforward, forgiving, and always a crowd-pleaser.
And let’s be real, who doesn’t adore a dessert that’s perfect for Thanksgiving or just a random Tuesday in November? My version of Classic Pumpkin Pie balances sweetness with those warm, earthy spices like cinnamon and nutmeg. Trust me, one bite, and you’ll be hooked!
Ingredients List
Alright, let’s talk about what you’ll need to make a killer Classic Pumpkin Pie. I’m pretty picky about my ingredients because, in my experience, the quality really shines through in the final dish. I usually buy organic pumpkin puree if I’m not roasting my own, and I prefer using fresh spices for that extra punch of flavor.
Here’s everything you’ll need, broken down into crust and filling. I’ve got exact measurements because, believe me, precision matters when baking a Classic Pumpkin Pie.
For the Crust
- 1 1/2 cups (190g) all-purpose flour, for that perfect flaky base
- 1/2 teaspoon salt, to enhance the flavors
- 1/2 cup (115g) unsalted butter, cold and cubed for maximum flakiness
- 4-6 tablespoons ice water, added slowly to bring the dough together
For the Filling
- 1 can (15 oz or 425g) pumpkin puree, pure and unsweetened for the best texture
- 3 large eggs, at room temperature for a smooth mix
- 1 cup (200g) granulated sugar, just the right amount of sweet
- 1/2 cup (100g) brown sugar, for a hint of caramel depth
- 1 teaspoon ground cinnamon, because it’s not Classic Pumpkin Pie without it
- 1/2 teaspoon ground nutmeg, for that warm, nutty kick
- 1/4 teaspoon ground cloves, a tiny bit goes a long way
- 1/2 teaspoon salt, to balance the sweetness
- 1 cup (240ml) heavy cream, for a luscious, creamy filling
- 1 teaspoon vanilla extract, for a subtle, sweet aroma
Variations
Now, while I’m a purist when it comes to a Classic Pumpkin Pie, I’ve played around with some fun twists over the years. I love how versatile this recipe is, and there’s always room to tweak it based on your mood or what’s in your pantry. Here are a few variations of Classic Pumpkin Pie that I’ve tried, and honestly, they’re all pretty darn tasty.
- Bourbon-Infused: Add a tablespoon of bourbon to the filling for a subtle, boozy warmth. I tried this once for a Friendsgiving, and it was a hit!
- Ginger Snap Crust: Swap the traditional pie crust for crushed ginger snap cookies mixed with melted butter. It adds a spicy-sweet crunch that pairs so well with Classic Pumpkin Pie.
- Maple Glaze: Drizzle a bit of maple syrup over the top after baking for extra sweetness. My kids always ask for this version.
- Nutty Topping: Sprinkle chopped pecans or walnuts on top before baking for a bit of texture. I’m nuts about this one (see what I did there?).
- Coconut Cream: Replace half the heavy cream with coconut milk for a tropical twist. It’s a little unconventional for Classic Pumpkin Pie, but so good.
- Spiced Whipped Cream: Add a pinch of cinnamon to your whipped cream topping for an extra layer of flavor. I’ve done this for fancy dinners, and it’s always a crowd-pleaser.
- Chocolate Swirl: Swirl in some melted dark chocolate into the filling before baking. It’s a decadent take on Classic Pumpkin Pie that I stumbled upon by accident!
Servings and Timing
Let’s talk logistics for this Classic Pumpkin Pie because timing is everything when you’re juggling holiday cooking. In my experience, this recipe comes together pretty smoothly if you plan ahead. Here’s the breakdown for making a Classic Pumpkin Pie that serves a decent crowd.
- Prep Time: 25 minutes
- Cook Time: 55-60 minutes
- Total Time: About 1 hour 25 minutes, plus cooling time
- Servings: 8-10 slices, depending on how generous you’re feeling
I usually give myself a little extra time for chilling the dough—patience pays off with a flaky crust!
Step-by-Step Instructions
Alright, let’s roll up our sleeves and get into the nitty-gritty of making a Classic Pumpkin Pie. I’m gonna walk you through this like I’m right there in the kitchen with you, sharing all my little tricks. I’ve made this so many times, I could probably do it blindfolded (okay, maybe not, but you get the idea).
Step 1: Make the Crust
Start by mixing your flour and salt in a big bowl. Cut in that cold butter until it looks like coarse crumbs—I use my fingers sometimes ‘cause it’s just faster. Add ice water a tablespoon at a time until the dough holds together, then wrap it up and chill it for at least an hour. This step is key for a Classic Pumpkin Pie with a crust that doesn’t fall apart.
Step 2: Roll and Shape
Once chilled, roll out your dough on a floured surface. I aim for a circle about 12 inches wide, then carefully transfer it to a 9-inch pie dish. Trim the edges, crimp ‘em if you’re feeling fancy, and pop it back in the fridge while you make the filling for your Classic Pumpkin Pie.
Step 3: Mix the Filling
In another bowl, whisk together the pumpkin puree, eggs, sugars, spices, salt, cream, and vanilla. I like to give it a good mix until it’s silky smooth—don’t skimp on the elbow grease here. This is the heart of a Classic Pumpkin Pie, so taste it if you’re brave and adjust the spices if needed.
Step 4: Assemble and Bake
Pour that gorgeous filling into your chilled crust. Bake at 425°F for 15 minutes, then lower the temp to 350°F and bake for another 40-45 minutes until the center is just set. I always check by giving the pie a little jiggle—if it’s wobbly only in the middle, it’s good to go for a perfect Classic Pumpkin Pie.
Step 5: Cool and Serve
Let your Classic Pumpkin Pie cool completely on a wire rack. I know it’s tempting to dive right in, but waiting helps the filling set properly. Trust me, it’s worth the wait!
Nutritional Information
I’m not gonna lie, a Classic Pumpkin Pie isn’t exactly a health food, but it’s a treat worth savoring. I like knowing the basics of what’s in a slice, especially if I’m serving it to guests with dietary needs. Here’s the rough nutritional breakdown per serving of Classic Pumpkin Pie, based on 8 slices.
- Calories: 320 per slice
- Fat: 18g
- Protein: 5g
- Carbohydrates: 35g
- Sodium: 280mg
Healthier Alternatives
If you’re looking to lighten up a Classic Pumpkin Pie, I’ve got a few swaps I’ve tried that still keep it delicious. I’m not always watching calories, but when I am, these tricks help me enjoy my favorite dessert guilt-free. Here are some ideas for a healthier take on Classic Pumpkin Pie.
- Lower Sugar: Cut the granulated sugar in half and add a touch of stevia or monk fruit sweetener. I’ve done this and barely noticed a difference.
- Light Cream: Swap heavy cream for evaporated skim milk to reduce fat. It’s still creamy enough for a Classic Pumpkin Pie.
- Whole Wheat Crust: Use whole wheat flour instead of all-purpose for extra fiber. I’ve swapped this in, and it adds a nice nutty flavor.
- Egg Whites: Use two egg whites instead of one whole egg to cut cholesterol. It works pretty well in my opinion.
Serving Suggestions
I love getting creative with how I serve a Classic Pumpkin Pie because it’s such a versatile dessert. Whether it’s a holiday feast or a casual family night, a little flair goes a long way. Here are my go-to ideas for serving up a Classic Pumpkin Pie with style.
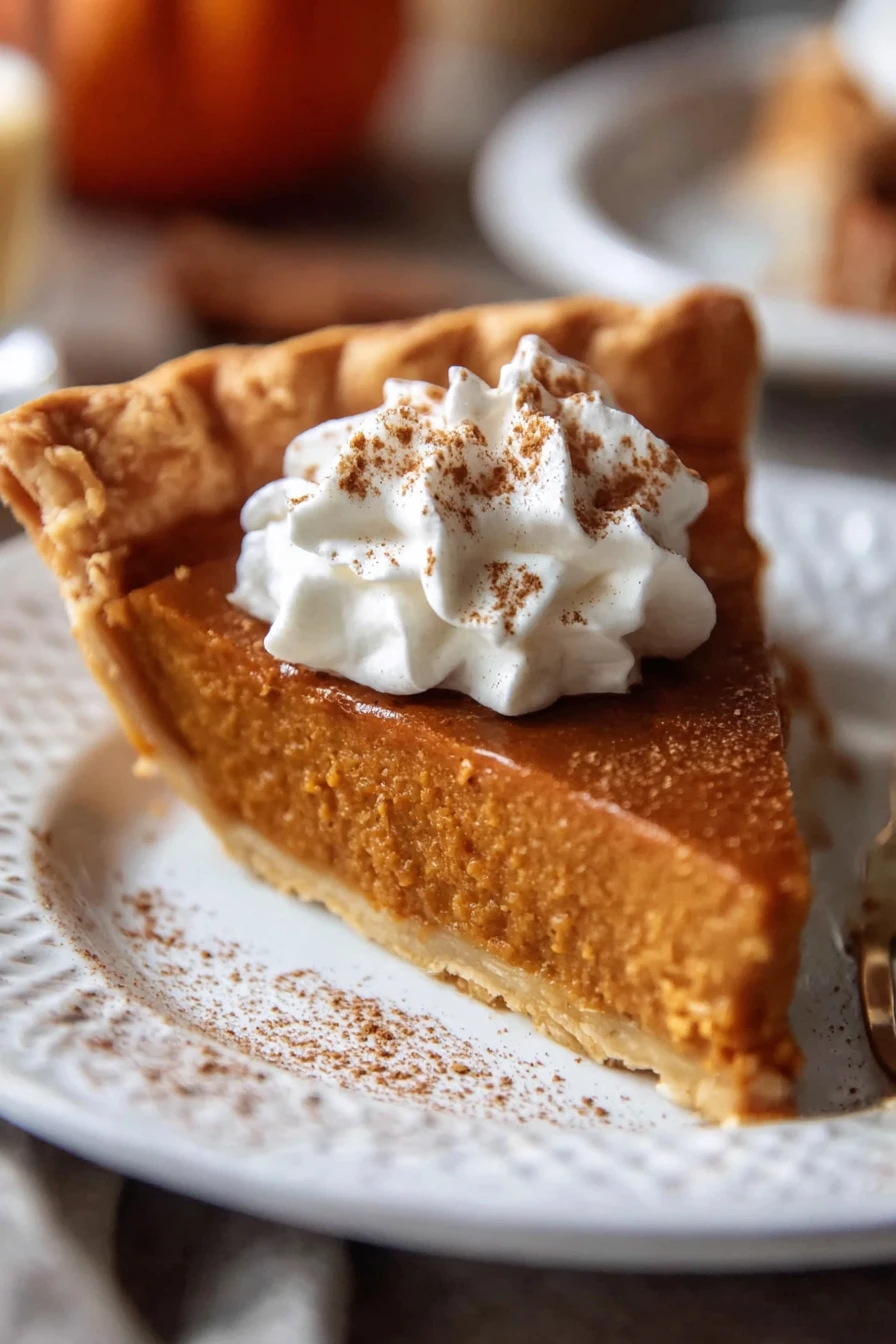
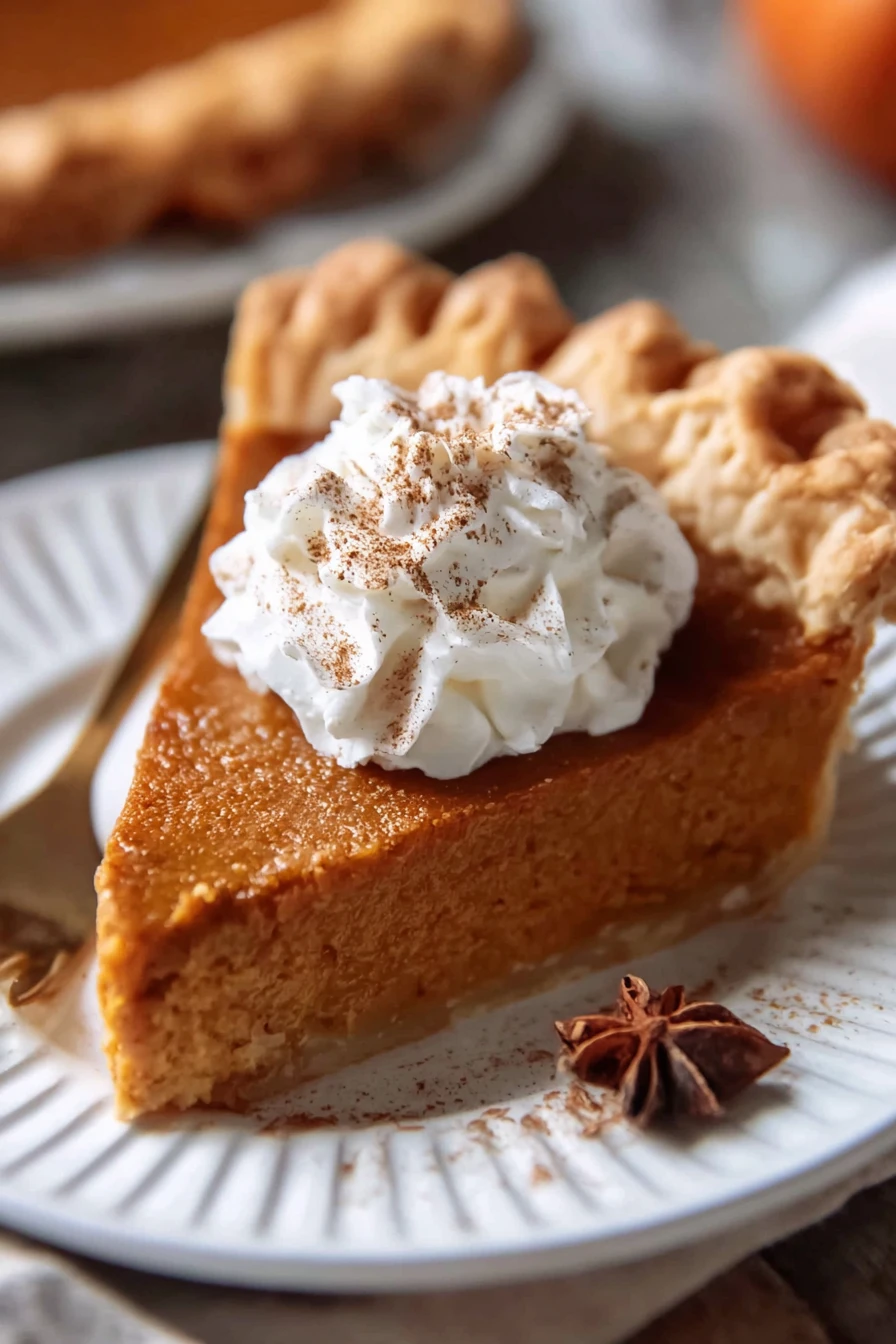
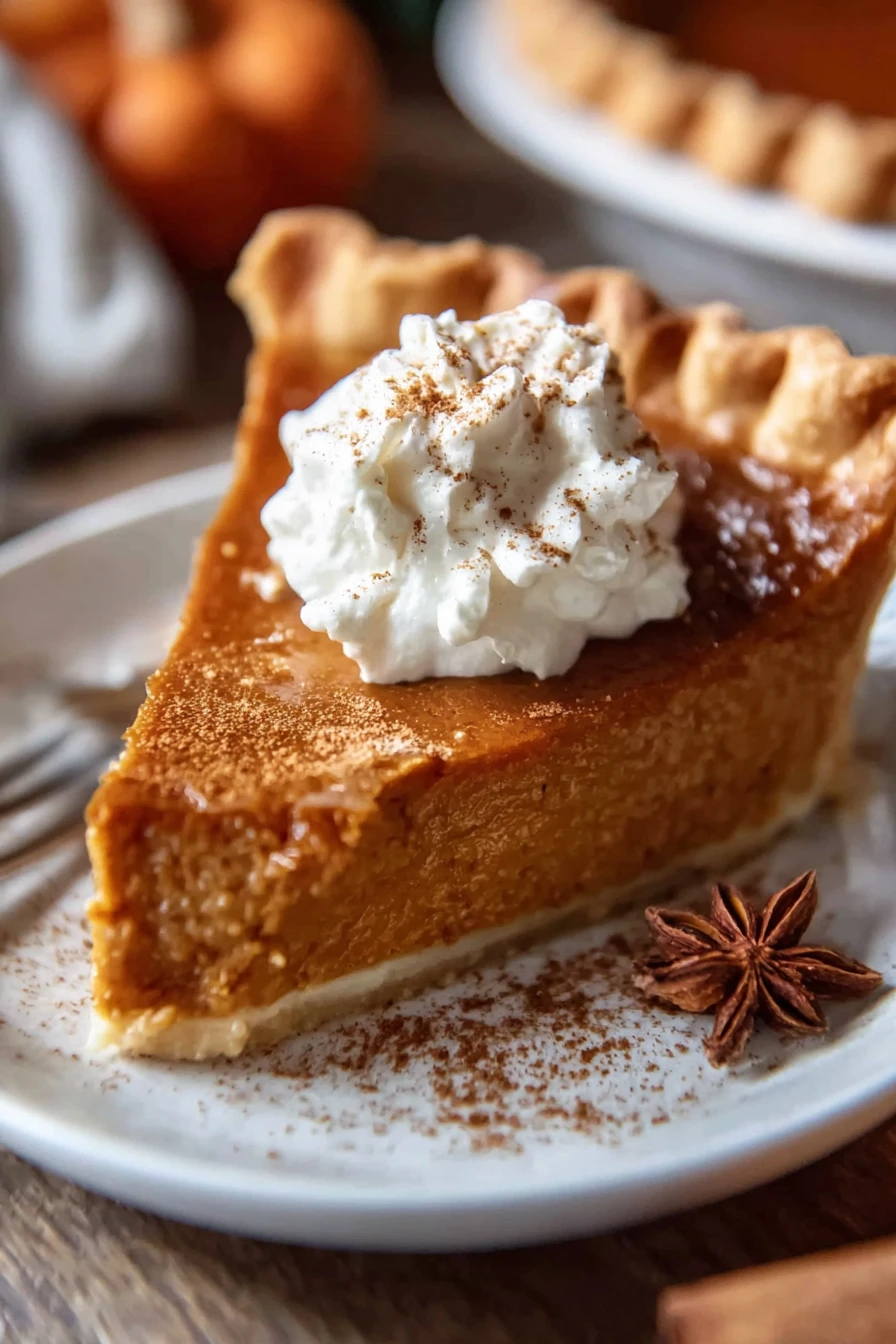
- Classic Topping: A dollop of whipped cream on each slice is non-negotiable for me.
- Fall Feast: Pair it with hot apple cider for the ultimate autumn treat. I did this at my last Thanksgiving, and everyone loved it.
- Ice Cream Twist: Serve warm Classic Pumpkin Pie with a scoop of vanilla ice cream for a melty contrast.
- Extra Crunch: Sprinkle some candied pecans on top for a sweet, nutty bite. It’s my secret weapon!
Common Mistakes to Avoid
I’ve made my fair share of blunders while perfecting a Classic Pumpkin Pie, so let me save you some grief. Trust me on this one, these pitfalls can turn your pie from fab to drab. Here are some common mistakes I’ve learned the hard way when baking a Classic Pumpkin Pie.
- Overbaking: If the filling cracks, you’ve gone too far. I’ve pulled a pie out too late before, and it was dry as a bone.
- Soggy Crust: Not pre-chilling the dough can lead to a mushy bottom. Been there, done that!
- Under-Spicing: Skimping on cinnamon or nutmeg dulls the flavor of a Classic Pumpkin Pie. I forgot the cloves once—never again.
- Wrong Pumpkin: Using pumpkin pie filling instead of puree messes with the texture. I made this rookie mistake years ago.
Storing Tips
Let’s chat about keeping your Classic Pumpkin Pie fresh because I hate wasting good food. I’ve found these methods work best for preserving that just-baked taste. Here’s how I store my Classic Pumpkin Pie leftovers.
- Refrigerator: Store in the fridge for up to 4 days, covered with plastic wrap or foil.
- Freezer: Freeze individual slices for up to 2 months in airtight containers. I’ve done this for quick treats later!
- Room Temp: Only leave it out for a day max if it’s cool in your kitchen.
Frequently Asked Questions
I get a lot of questions about making a Classic Pumpkin Pie, so I’ve rounded up the most common ones. Let’s tackle these together with some real-talk answers.
Can I use fresh pumpkin instead of canned?
Absolutely! I’ve roasted my own pumpkin before, and it’s amazing in a Classic Pumpkin Pie. Just make sure to puree it smooth and drain excess liquid so it’s not watery.
How do I prevent a soggy crust?
Chill your dough well before baking, and you can blind-bake it for 10 minutes if you’re worried. I’ve had soggy disasters, and this trick saved me.
Can I make this pie ahead of time?
Yup, you can bake a Classic Pumpkin Pie a day or two ahead. Just store it in the fridge and let it come to room temp before serving. Easy peasy!
What if my pie cracks on top?
No biggie—cracks usually mean it’s overbaked. Cover ‘em with whipped cream, and no one will know. I’ve been there more times than I’d like to admit.
Is it okay to use a store-bought crust?
Of course! I’ve used store-bought in a pinch, and it still makes a decent Classic Pumpkin Pie. Homemade is better, but do what works for you.
How do I know when it’s done?
Look for a slight jiggle in the center when you shake the pie. If it’s too wobbly all over, give it a few more minutes. That’s my go-to test.
Can I freeze the pie?
Yes, freeze it after it’s fully cooled. Wrap it tight to avoid freezer burn. I’ve frozen slices for quick desserts, and they’re still yummy.
What spices can I substitute?
If you’re out of something like cloves, bump up the cinnamon or add a pinch of allspice. I’ve improvised before, and it turned out fine.
Conclusion
Well, folks, I hope you’re as pumped as I am to bake a Classic Pumpkin Pie this season! There’s nothing quite like slicing into that creamy, spiced goodness and sharing it with loved ones. Give this recipe a whirl for your next gathering, and let me know how it turns out—I’d love to hear your stories about making a Classic Pumpkin Pie!
Conclusion
I hope you enjoyed this recipe for Classic Pumpkin Pie ! It’s truly one of my favorites, and I’m confident you’ll love it too.
Remember to follow the steps carefully for the best results. Don’t hesitate to experiment with your own variations and make this recipe your own. Happy cooking!