

Imagine a dessert that delivers the rich, tangy satisfaction of classic cheesecake but feels a bit lighter on the spoon and comes with a hidden protein boost. That’s the magic of this cottage cheese cheesecake. In my years of recipe testing, I’ve found that blending cottage cheese until ultra-smooth creates an incredibly creamy base that’s both indulgent and smart.
It’s the perfect answer for when you want a spectacular dessert without the heaviness, or when you’re looking to add more protein to your day in the most delicious way possible. The result is a beautifully set, sliceable cheesecake with a velvety texture and a balanced flavor that will have everyone asking for your secret.
- Unexpectedly Creamy: Blending the cottage cheese transforms its texture completely, resulting in a filling that’s as smooth and luxurious as any traditional version.
- Protein-Powered: This dessert packs about 12 grams of protein per serving, thanks to the cottage cheese, making it a more satisfying treat.
- No-Bake Convenience: There’s no water bath, no risk of cracking, and no oven required. It’s a simple process of blend, mix, and chill.
- Lighter Feel: Using cottage cheese lightens the overall density of the filling, creating a mousse-like creaminess that is wonderfully refreshing.
- Customizable Base: The simple, bright flavor of the filling is the perfect canvas for all your favorite toppings, from berry compote to lemon curd.
- Meal Prep Friendly: It needs to chill for hours, making it an ideal make-ahead dessert for parties, potlucks, or a week of sweet treats.
Ingredients You’ll Need
Let’s gather our ingredients—this is where simple components come together to create something truly special. The key here is quality and technique. Using full-fat dairy is my professional recommendation; it provides the best flavor and ensures a firm, creamy set.
For the cottage cheese, I always opt for small-curd and give it a quick drain in a fine-mesh sieve if it seems particularly watery. This prevents a runny filling. The lemon juice isn’t just for flavor; its acidity brightens the entire dessert and helps balance the sweetness perfectly.
- Graham cracker crumbs: These form the classic, buttery foundation. You can buy them pre-crushed or pulse whole crackers in a food processor.
- Unsalted butter: Melted butter binds the crumbs. Using unsalted lets you control the salt level.
- Granulated sugar: A little sugar in the crust adds flavor and helps it crisp up as it chills.
- Full-fat cottage cheese: The star ingredient. The fat content is crucial for richness and texture. Don’t use fat-free.
- Full-fat cream cheese: Softened to room temperature. This partners with the cottage cheese to give that iconic cheesecake tang and body.
- Powdered sugar: Sifted to avoid lumps. It dissolves instantly into the creamy filling.
- Heavy cream: Whipped to stiff peaks and folded in, this is the secret to the cheesecake’s light, mousse-like texture.
- Pure vanilla extract: Use the real stuff for the best flavor.
- Fresh lemon juice: A tablespoon brightens all the flavors and cuts through the richness.
Note: You’ll find the complete list of ingredients, along with their exact measurements, in the printable recipe card at the bottom of this post.
Kitchen Equipment Needed
You don’t need any specialty baking tools for this recipe. A 9-inch springform pan is essential—the removable sides make serving pristine slices a breeze. A high-powered blender or food processor is the other critical piece; it’s what ensures the cottage cheese becomes perfectly smooth.
You’ll also need a mixing bowl for the crust and a hand mixer or stand mixer to whip the heavy cream. A rubber spatula for folding and an offset spatula for smoothing the top are very helpful. If you don’t have a springform pan, a deep 9-inch pie dish will work, though slicing and serving will be a bit trickier.
How to Make Cottage Cheese Cheesecake Recipe
Step 1: Build the Buttery Base
In a medium bowl, combine the graham cracker crumbs with the melted butter and granulated sugar. Mix thoroughly until every crumb is coated and the mixture holds together when pinched. Pour it into your springform pan and use the bottom of a flat measuring cup to press it down firmly and evenly across the bottom.
An evenly pressed crust is key—it won’t crumble when you slice. Pop the pan into the freezer for a solid 15 minutes. This quick chill helps the crust set so it doesn’t mix with the filling.
Step 2: Transform the Cottage Cheese
This is the most important step for texture. Place your drained cottage cheese into your blender or food processor. Blend on high for a full 1-2 minutes, stopping to scrape down the sides once or twice.
You’re looking for a completely homogenous, smooth paste with absolutely no visible curds. Believe me, patience here pays off in a supremely creamy final product. Any remaining graininess will be noticeable in the finished cheesecake.
Step 3: Create the Creamy Filling
To the beautifully smooth cottage cheese in the blender, add the softened cream cheese, sifted powdered sugar, vanilla extract, and fresh lemon juice. Blend again on high until the mixture is utterly smooth and silky, another 1-2 minutes. Scrape the sides down halfway through to ensure everything is incorporated.
The mixture will be quite thick at this point, which is exactly what you want before we lighten it up.
Step 4: Whip and Lighten
Now, let’s add some air. Pour the cold heavy cream into a separate, chilled bowl. Using your hand mixer or stand mixer, whip the cream on medium-high speed until stiff peaks form.
This means when you lift the beaters, the cream stands straight up without drooping. Tip from me: cold cream and a cold bowl whip faster and higher. Be careful not to go past stiff peaks into grainy, over-whipped territory.
Step 5: Gently Combine and Assemble
Here comes the fun part. Add about one-third of the whipped cream to the blended cheese mixture in the blender. Pulse or stir gently just to combine and lighten the dense base.
Then, scrape this entire mixture into the bowl with the remaining whipped cream. Using a large rubber spatula, gently fold them together. Use a broad, sweeping motion from the bottom of the bowl up and over to maintain all that precious air.
Once no white streaks remain, pour the glorious filling over your chilled crust.
Step 6: Chill to Perfection and Serve
Use an offset spatula to smooth the top into an elegant, even layer. Cover the pan tightly with plastic wrap—press it directly onto the surface of the filling to prevent a skin from forming. Refrigerate for at least 4 hours, but I strongly recommend the full overnight chill.
This allows the flavors to fully marry and the structure to set firmly. When ready to serve, run a thin knife under hot water, dry it, and gently run it around the edge of the pan before releasing the springform clasp. Step back and admire your beautiful creation before adding toppings and slicing.
- Texture is Everything: The single biggest mistake is not blending the cottage cheese long enough. Blend for the full 1-2 minutes until it’s as smooth as sour cream. Any graininess will be locked in once chilled.
- Temperature Control: Your cream cheese must be at room temperature to blend smoothly. Take it out of the fridge 1-2 hours ahead. Conversely, the heavy cream must be cold to whip properly.
- The Fold Matters: When incorporating the whipped cream, fold gently and deliberately. Vigorous stirring will deflate the cream, resulting in a denser, less airy cheesecake.
- Patience is a Virtue: Don’t shortcut the chilling time. The 4-hour minimum is non-negotiable for a sliceable texture. Overnight is truly ideal for the best flavor and structure.
- Clean Slices: For picture-perfect slices, heat your knife under very hot water, wipe it dry completely, and make a single confident cut. Repeat for each slice.
Recipe Variations & Customizations
- Crust Swap: For a gluten-free version, use gluten-free graham crackers or 1.5 cups of finely ground almonds mixed with butter and a touch of sugar.
- Lemon Burst: Add the zest of one lemon along with the juice for a brighter, more pronounced citrus flavor that pairs wonderfully with blueberries.
- Chocolate Haven: For a chocolate crust, replace the graham crackers with chocolate wafer cookies. You can also fold 1/2 cup of mini chocolate chips into the filling after folding in the cream.
- Berry Swirl: Before chilling, dollop 1/3 cup of seedless raspberry or strawberry jam on top of the filled cheesecake and use a toothpick to swirl it gently into the surface for a marbled effect.
- New York Style: For a denser, richer texture akin to baked cheesecake, omit the whipped cream. Simply increase the cream cheese to 16 oz and blend it all with the cottage cheese and sugar.
- Savory-Sweet Twist: Add 1/4 teaspoon of almond extract along with the vanilla for a subtle, sophisticated flavor note.
What to Serve With This Recipe
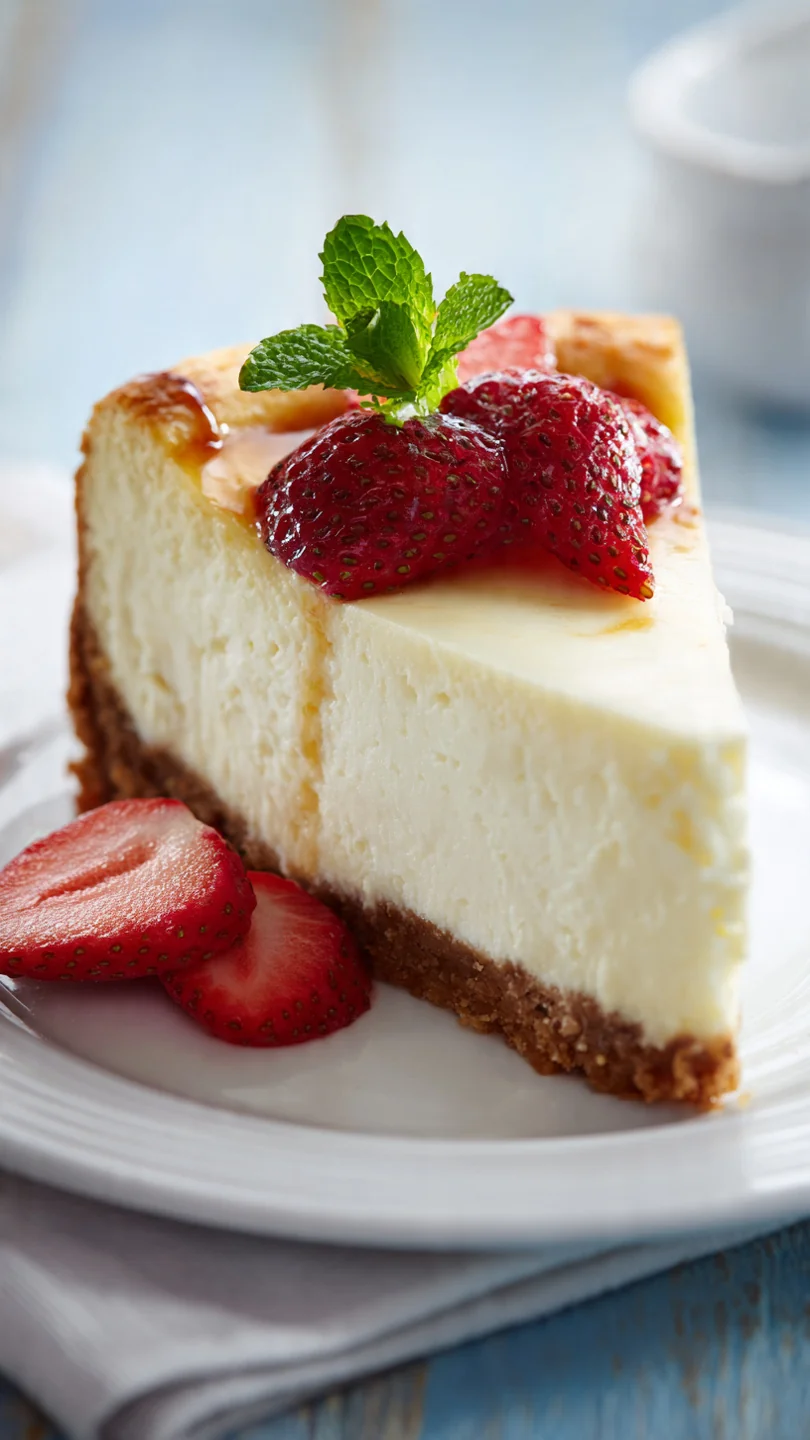
This cheesecake is wonderfully versatile. For a simple, elegant presentation, serve it plain to let the creamy texture shine. For a pop of color and freshness, top slices with a pile of mixed fresh berries (raspberries, blueberries, blackberries) or a quick berry compote made by simmering frozen berries with a little sugar and lemon juice.
A drizzle of raspberry or chocolate sauce on the plate adds a restaurant-quality touch. In terms of beverages, it pairs beautifully with a cup of strong coffee, a glass of late-harvest Riesling, or even a berry-infused sparkling water. It’s perfect for summer barbecues, holiday dinners, or as a celebratory weekend treat.
Storage & Make-Ahead Instructions
- Refrigeration: The cheesecake will keep beautifully in the refrigerator, covered tightly with plastic wrap or in an airtight container, for up to 5 days.
- Freezing: This cheesecake freezes exceptionally well. Wrap the whole cheesecake or individual slices tightly in plastic wrap, then again in aluminum foil. Freeze for up to 2 months. Thaw overnight in the refrigerator before serving.
- Make-Ahead Strategy: This is the ultimate make-ahead dessert. Prepare it fully 1-2 days before you need it. The extended chilling time only improves the flavor and makes for cleaner slicing.
- Avoiding Odors: When storing in the fridge, ensure it’s well-covered, as cheesecake can absorb other food odors.
Frequently Asked Questions
Q: Can I use low-fat or fat-free cottage cheese and cream cheese?
A: I don’t recommend it. Full-fat dairy is essential for the proper rich texture and flavor. Low-fat products contain more water and stabilizers, which can lead to a weepy, less creamy, and less flavorful final product.
Q: My filling seems runny after blending. What did I do wrong?
A: This usually means the cottage cheese was too wet, the cream cheese wasn’t full-fat, or the heavy cream was under-whipped. Next time, drain the cottage cheese in a sieve for 10 minutes first, ensure you’re using full-fat products, and whip the cream to very stiff peaks.
Q: Can I make this without a blender or food processor?
A: Unfortunately, no. Achieving the necessary perfectly smooth texture from the cottage cheese curds requires the power of a blender or food processor. An immersion blender may work if it’s very powerful, but it’s less reliable.
Q: How do I know when the cheesecake is fully set?
A: It should be firm to a gentle touch across the entire surface, with no jiggle in the center when you move the pan. After the minimum 4-hour chill, it should be sliceable. For perfect firmness, the overnight chill is key.
Q: Can I use a different sweetener?
A: Yes, but with caution. Powdered erythritol or monk fruit sweetener blend can be used 1:1 for powdered sugar for a sugar-free version. Liquid sweeteners like maple syrup or honey will alter the texture, making it softer; you may need to reduce another liquid (like lemon juice) slightly to compensate.
Q: Why did my crust get soggy?
A: A soggy crust happens if the filling is too wet when poured on or if the crust wasn’t chilled before adding the filling. Always give the crust its 15-minute freezer chill, and ensure your cottage cheese is well-drained.
Q: Is there a way to make this vegan?
A: It’s challenging to replicate the specific protein structure of cottage cheese. For a vegan version, I’d recommend starting with a recipe specifically designed around silken tofu or cashews as the base, as they will provide the needed creaminess and set.
Final Thoughts
This cottage cheese cheesecake is a testament to how a simple ingredient swap, backed by the right technique, can create something both familiar and excitingly new. It delivers all the indulgent pleasure of a classic cheesecake while feeling a bit more virtuous—a combination I find myself reaching for again and again. Whether you’re serving it to guests who will never guess the secret ingredient or enjoying a protein-rich slice as an afternoon treat, this recipe is designed to work reliably and impress deeply.
I’ve tested it multiple times to ensure your success. So, grab your blender, trust the process, and get ready for a dessert that might just become your new favorite. I’d love to hear how it turns out for you—share your creations and any fun topping combinations you try!
Cottage Cheese Cheesecake
Equipment
- 9-inch springform pan
- High-powered blender or food processor
- Mixing bowls
- Hand mixer or stand mixer
- Rubber spatula and offset spatula
- Measuring cups and spoons
Ingredients
- 1.5 cups Graham cracker crumbs About 12 full-sheet crackers, finely crushed
- 6 tbsp Unsalted butter Melted
- 2 tbsp Granulated sugar For the crust
- 24 oz Full-fat cottage cheese Small-curd, drained if very wet
- 8 oz Full-fat cream cheese Softened to room temperature
- 0.75 cup Powdered sugar Sifted
- 0.33 cup Heavy cream Cold
- 2 tsp Pure vanilla extract
- 1 tbsp Fresh lemon juice About half a lemon
Instructions
- Prepare the crust. In a medium bowl, combine the graham cracker crumbs, melted butter, and 2 tablespoons of granulated sugar. Mix until the crumbs resemble wet sand. Press this mixture firmly and evenly into the bottom of a 9-inch springform pan. Use the bottom of a measuring cup to compact it. Chill in the freezer for 15 minutes while you make the filling.
- Blend the cottage cheese. In a high-powered blender or food processor, add the drained cottage cheese. Blend on high for 1-2 minutes, scraping down the sides as needed, until completely smooth and no curds remain. This step is non-negotiable for a silky texture. Trust me, taking the time here prevents any graininess.
- Combine the filling. To the blender with the smooth cottage cheese, add the softened cream cheese, sifted powdered sugar, vanilla extract, and lemon juice. Blend again until the mixture is perfectly smooth, creamy, and uniform, about 1-2 minutes. Scrape down the sides halfway through.
- Whip the cream. In a separate chilled bowl, use a hand mixer or stand mixer to whip the cold heavy cream until it forms stiff peaks. This should take 2-3 minutes. Be careful not to over-whip it into butter.
- Fold and assemble. Gently fold the whipped cream into the blended cheese mixture using a rubber spatula. Use a folding motion to maintain the airiness. Pour this luscious filling over your chilled crust and smooth the top with an offset spatula.
- Chill and set. Cover the pan tightly with plastic wrap and refrigerate for at least 4 hours, but ideally overnight. This extended chill is crucial for the flavors to meld and the cheesecake to set firmly enough to slice cleanly.