
I’ll never forget the first time I tried making Easy Homemade Granola Bars. It was a rainy Saturday, and I was desperate for a snack that wasn’t just another bag of chips.
My kitchen turned into a bit of a mess (oats everywhere!), but when I pulled those chewy, nutty bars out of the oven, I knew I’d stumbled onto something special. Now, Easy Homemade Granola Bars are a staple in my house, and I’m thrilled to share this recipe with you.
There’s something so satisfying about whipping up a batch of Easy Homemade Granola Bars. They’re customizable, budget-friendly, and way tastier than store-bought versions. Whether you’re packing them for a kid’s lunch or sneaking one as a midnight snack, I promise these will become your go-to. So, let’s dive into making Easy Homemade Granola Bars that’ll have everyone asking for seconds!
Why You’ll Love This Recipe
I’ve found that Easy Homemade Granola Bars are the perfect mix of convenience and comfort. They’re quick to throw together, even on my busiest days, and I love knowing exactly what’s in them—no weird additives or mystery ingredients. Plus, the smell of honey and cinnamon wafting through my kitchen? Pure magic.
In my experience, these Easy Homemade Granola Bars are a hit with everyone, from picky eaters to health nuts. You can tweak them to fit any taste or dietary need, which I’ll get into later. Honestly, once you’ve made these Easy Homemade Granola Bars, you’ll wonder why you ever bought them pre-made.
Ingredients List
Let’s talk about what you’ll need to make Easy Homemade Granola Bars. I’m all about keeping things simple, so these ingredients are probably already in your pantry or easy to grab at the store. I prefer using old-fashioned rolled oats for that hearty texture, but quick oats work in a pinch too. Here’s the lineup for a classic batch of Easy Homemade Granola Bars.
- 2 cups (180g) old-fashioned rolled oats, for that perfect chewy bite
- 1/2 cup (120ml) honey, I usually buy local for a richer flavor
- 1/3 cup (80g) almond butter, creamy works best in my opinion
- 1 teaspoon (5ml) vanilla extract, for a warm, sweet undertone
- 1/2 teaspoon (2.5g) cinnamon, just a hint to spice things up
- 1/4 teaspoon (1.5g) salt, to balance the sweetness
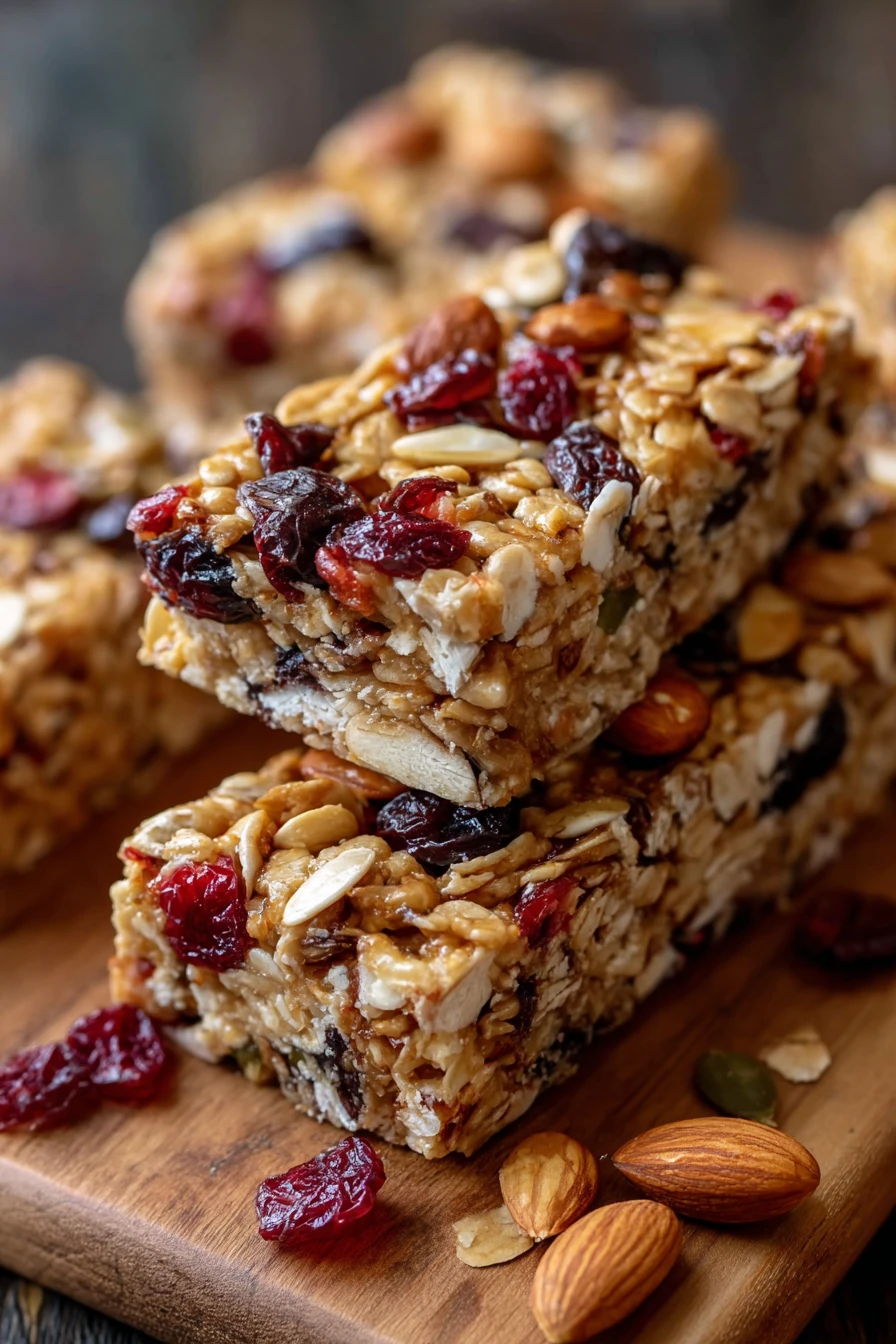
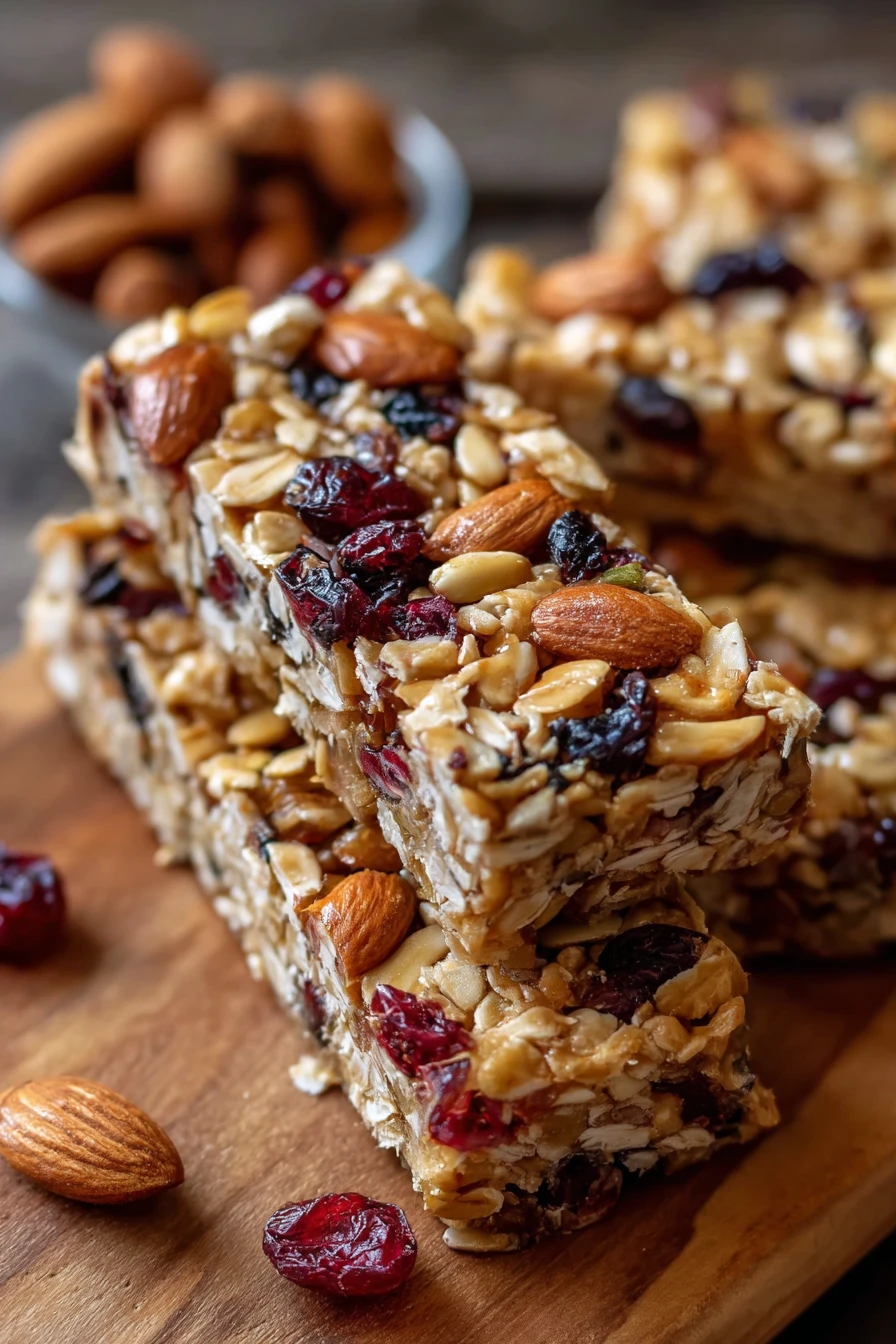
- 1/2 cup (75g) chopped nuts, I love almonds or walnuts
- 1/2 cup (80g) dried fruit, cranberries or raisins are my go-to
- 1/4 cup (45g) mini chocolate chips, optional but highly recommended for a treat
I’ve made Easy Homemade Granola Bars with slight tweaks to these ingredients tons of times, and they always turn out great. If you’re not a fan of almond butter, peanut butter swaps in seamlessly. And don’t skimp on the honey—it’s the glue that holds these Easy Homemade Granola Bars together!
Variations
One of the best things about Easy Homemade Granola Bars is how easy they are to customize. I’ve played around with so many versions over the years, and I’m excited to share some of my favorites. Whether you’re into sweet, savory, or something in between, there’s a twist for you.
- Choco-Peanut Blast: Swap almond butter for peanut butter and double down on chocolate chips for a Reese’s vibe. My kids always beg for this one!
- Tropical Escape: Mix in dried mango and shredded coconut instead of cranberries. I tried this once on a whim, and it felt like a mini vacation.
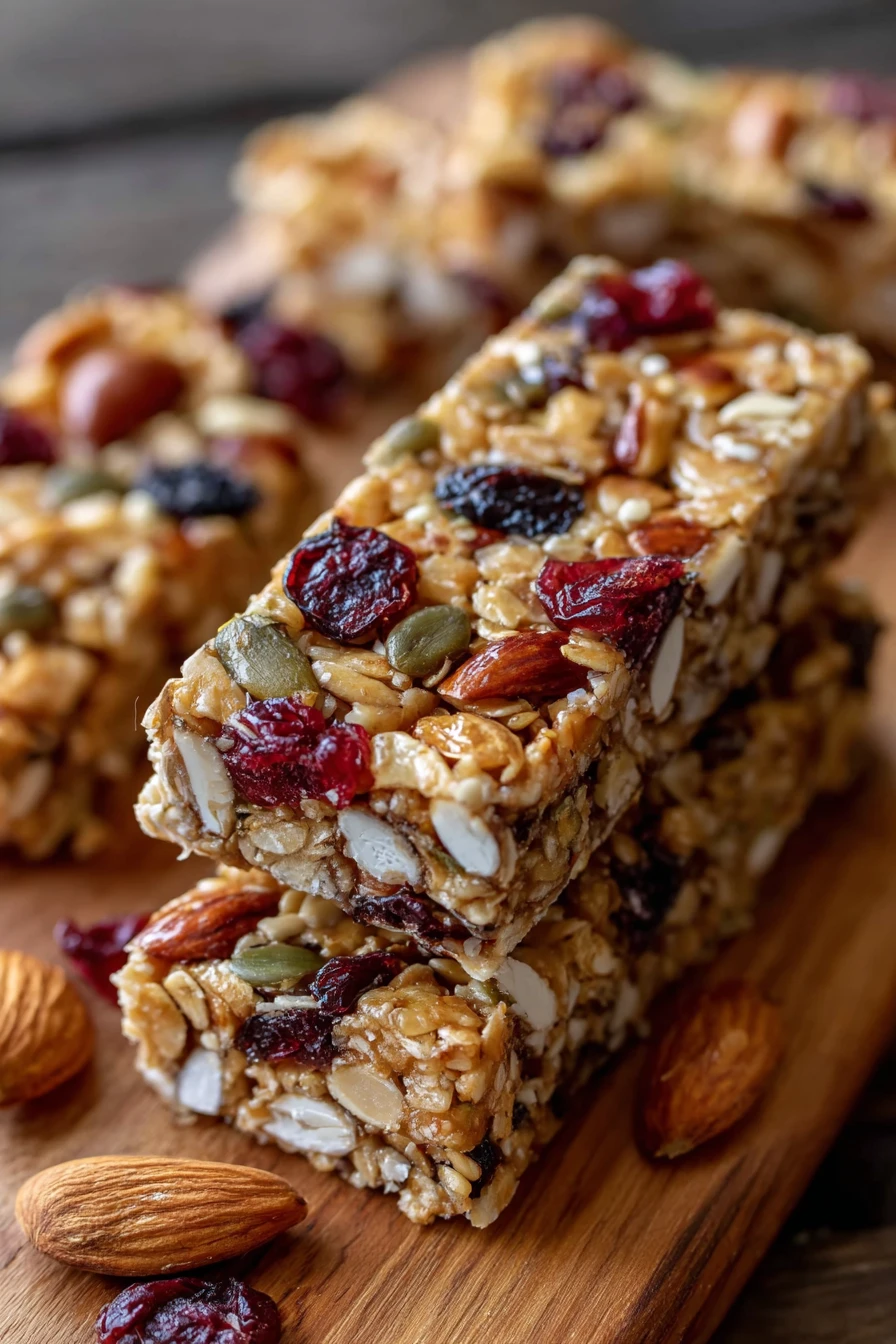
- Nut-Free Zone: Skip the nuts and add sunflower seeds or pumpkin seeds for crunch. Perfect if you’re packing Easy Homemade Granola Bars for school lunches.
- Spiced Autumn: Add a pinch of nutmeg and swap raisins for chopped dried apples. It’s like fall in bar form.
- Protein Power: Toss in a scoop of your favorite protein powder and a handful of chia seeds. I make these Easy Homemade Granola Bars when I need a post-workout boost.
- Berry Burst: Use freeze-dried strawberries or blueberries instead of regular dried fruit for a punchy flavor.
- Maple Pecan Dream: Replace honey with maple syrup and use chopped pecans. It’s my personal fave for cozy mornings.
I love how Easy Homemade Granola Bars can be whatever you want them to be. Got a weird ingredient in the pantry? Throw it in and see what happens with your Easy Homemade Granola Bars! In my kitchen, experimentation is half the fun.
Servings and Timing
Let’s break down the nitty-gritty for making Easy Homemade Granola Bars. In my experience, this recipe comes together pretty quickly, even if you’re juggling a million other things. Here’s what you’re looking at for timing and yield when you whip up these Easy Homemade Granola Bars.
- Prep Time: 15 minutes
- Cook Time: 20 minutes (plus cooling time)
- Total Time: About 35 minutes, not counting the wait
- Servings: 12-16 bars, depending on how you cut ‘em
I usually cut mine into 12 good-sized Easy Homemade Granola Bars, but if I’m packing snacks for a crowd, I’ll stretch it to 16 smaller pieces. You do you!
Step-by-Step Instructions
Alright, let’s get down to business with making Easy Homemade Granola Bars. I’ve made these so many times, I could probably do it blindfolded (not that I’d recommend that!). I’m gonna walk you through each step like I’m right there in your kitchen. Here’s how to nail these Easy Homemade Granola Bars every time.
Step 1: Preheat and Prep
Start by preheating your oven to 350°F (175°C) and lining an 8×8-inch baking dish with parchment paper. I’ve skipped the parchment before, and trust me, it’s a sticky disaster—don’t do it! This little step makes getting your Easy Homemade Granola Bars out of the pan a breeze.
Step 2: Mix the Wet Ingredients
In a medium saucepan over low heat, combine the honey and almond butter, stirring until they meld into a smooth, gooey mix. I like to toss in the vanilla, cinnamon, and salt here too—it’s like building a flavor foundation. Once it’s all blended, take it off the heat before it gets too hot.
Step 3: Combine with Dry Ingredients
In a big mixing bowl, throw together the oats, nuts, and dried fruit. Pour that warm, sticky honey mixture over the dry stuff and stir like your life depends on it. You want every oat coated for the best Easy Homemade Granola Bars. If you’re adding chocolate chips, wait a sec so they don’t melt everywhere (learned that the hard way!).
Step 4: Press into the Pan
Dump the mixture into your prepared pan and press it down hard with a spatula or your hands. I mean, really pack it in there—tight bars are happy bars. This step is key to making sure your Easy Homemade Granola Bars don’t crumble later.
Step 5: Bake and Cool
Pop the pan into the oven for about 20 minutes, until the edges are just starting to turn golden. Here’s where patience comes in: let your Easy Homemade Granola Bars cool completely in the pan before cutting. I’ve rushed this before, and it’s just a crumbly mess—give it at least an hour.
Step 6: Slice and Enjoy
Once cooled, lift the whole slab out using the parchment and slice into bars. I usually go for rectangles, but squares work too—whatever floats your boat. And there you have it, perfect Easy Homemade Granola Bars ready to devour!
Nutritional Information
I’m not a nutritionist, but I do like to keep an eye on what I’m eating with my Easy Homemade Granola Bars. These are a solid snack option, especially compared to processed junk. Here’s a rough breakdown per serving for a batch of Easy Homemade Granola Bars cut into 12 pieces.
- Calories: 220 per bar
- Fat: 10g
- Protein: 5g
- Carbohydrates: 30g
- Sodium: 60mg
These numbers can shift depending on your add-ins, but I think Easy Homemade Granola Bars strike a nice balance of energy and indulgence. They keep me full without feeling heavy.
Healthier Alternatives
If you’re looking to lighten up your Easy Homemade Granola Bars, I’ve got some swaps that work like a charm. I’ve tried these when I’m watching my sugar or fat intake, and they still taste amazing. Here are a few tweaks for healthier Easy Homemade Granola Bars.
- Sugar Substitute: Use maple syrup or agave nectar instead of honey for a lower glycemic option.
- Lower Fat: Swap half the almond butter for mashed banana or unsweetened applesauce. It’s not quite as rich, but still yummy.
- Extra Fiber: Toss in a tablespoon of flaxseeds or chia seeds for a nutrient boost.
I’ve made Easy Homemade Granola Bars with these changes plenty of times, and they’re just as satisfying. You won’t feel like you’re missing out, I promise!
Serving Suggestions
I’ve got some fun ideas for enjoying your Easy Homemade Granola Bars, straight from my own table. These bars are super versatile, and I love switching up how I serve them. Check out these ways to dig into Easy Homemade Granola Bars.
- For Breakfast: Crumble over yogurt with a drizzle of honey for a quick parfait.
- On the Go: Wrap individual Easy Homemade Granola Bars in parchment for a grab-and-run snack.
- With Coffee: Pair with your morning brew for a sweet, energizing start.
- For Dessert: Warm one up slightly and top with a dollop of peanut butter—divine!
Honestly, there’s no wrong way to eat Easy Homemade Granola Bars. How do you like yours?
Common Mistakes to Avoid
I’ve flubbed my share of batches of Easy Homemade Granola Bars over the years, so let me save you some heartache. These are pitfalls I’ve fallen into, and I don’t want you to repeat my goofs. Here are key mistakes to dodge when making Easy Homemade Granola Bars.
- Not Pressing Hard Enough: If you don’t compact the mixture, your bars will fall apart. I learned this the hard way with a tray of oat crumbs.
- Cutting Too Soon: Slice before they’re cool, and you’ve got a mess. Trust me, wait it out.
- Overbaking: They’ll turn rock-hard if left in too long—check at 18 minutes.
- Skimping on Sticky Stuff: Too little honey or nut butter, and your Easy Homemade Granola Bars won’t hold. Don’t cut corners here!
Storing Tips
Storing Easy Homemade Granola Bars properly keeps them fresh and chewy for days. I’ve figured out a couple of tricks to make them last in my busy household. Here’s how I keep my Easy Homemade Granola Bars ready to grab.
- Room Temperature: Store in an airtight container for up to a week.
- Refrigerator: Keeps them fresher for 10-14 days if you’ve got space.
- Freezer: Freeze individual Easy Homemade Granola Bars for up to 2 months—just thaw overnight.
Frequently Asked Questions
I get a bunch of questions about Easy Homemade Granola Bars, so let’s tackle some common ones. I’ve got answers based on my own trial and error. Here’s the scoop on making Easy Homemade Granola Bars like a pro.
Can I make Easy Homemade Granola Bars without baking?
Totally! Just skip the baking step and press the mixture into the pan, then chill in the fridge for a few hours. They won’t be as toasty, but still delicious.
What if my bars are too crumbly?
This usually means not enough binder. Next time, add a bit more honey or nut butter to hold your Easy Homemade Granola Bars together.
Can I use quick oats instead of rolled oats?
Yup, quick oats work fine, though the texture will be a tad softer. I prefer rolled for chewiness, but it’s your call.
Are these bars gluten-free?
They can be if you use certified gluten-free oats. Double-check your add-ins too, just to be safe.
How do I make them vegan?
Swap honey for maple syrup or agave, and you’re good to go. Easy peasy!
Can I add protein powder?
Sure thing—mix in a scoop with the dry ingredients. You might need a splash more liquid to balance it out.
Why do my bars stick to the pan?
Forgot the parchment paper, huh? Been there. Line your pan next time, and they’ll lift right out.
How long do they take to cool?
Give ‘em at least an hour, maybe two, to fully set. I know waiting’s hard, but it’s worth it for perfect Easy Homemade Granola Bars.
Conclusion
There you have it—everything you need to whip up Easy Homemade Granola Bars that’ll impress anyone who tries them. I’ve loved sharing my recipe, tips, and even my kitchen blunders with you, and I hope you’re inspired to give these Easy Homemade Granola Bars a shot. Drop a comment if you try them or have a fun variation—I’d love to hear how it goes with your Easy Homemade Granola Bars!
Conclusion
I hope you enjoyed this recipe for Easy Homemade Granola Bars! It’s truly one of my favorites, and I’m confident you’ll love it too. Remember to follow the steps carefully for the best results. Don’t hesitate to experiment with your own variations and make this recipe your own.
Happy cooking!