
Why You’ll Love This Recipe
- Convenience: Make your apple pie filling ahead of time and store it in the freezer for quick and easy pies whenever you need them.
- Consistent Quality: Freezing preserves the flavor and texture of the apples, ensuring your pie filling is always delicious.
- Customizable: Easily adjust the sweetness and spices to suit your taste or dietary needs.
- Time-Saving: Spend less time in the kitchen and more time enjoying your dessert with this make-ahead solution.
- Versatility: Use this filling not just for pies, but also for crisps, cobblers, and other desserts.
Ingredients & Preparation Notes
- Apples: Choose a mix of tart and sweet varieties like Granny Smith and Honeycrisp for the best flavor. Peel, core, and slice them evenly to ensure uniform cooking.
- Sugar: Adjust the amount to your taste, but remember that freezing can slightly dull sweetness.
- Cornstarch: Essential for thickening the filling. Ensure it’s well mixed with the sugar to avoid lumps.
- Cinnamon and Nutmeg: These spices add warmth and depth to the filling. Feel free to experiment with other spices like allspice or ginger.
- Water and Lemon Juice: The water helps create the sauce, while lemon juice prevents the apples from browning and adds a subtle tanginess.
Professional Tips & Techniques
- Pre-cooking the Apples: Cooking the apples before freezing helps maintain their texture. Aim for a tender but not mushy consistency.
- Balancing Thickening Agents: The right balance of sugar and cornstarch ensures the filling thickens properly after thawing. Too much cornstarch can make the filling overly thick and gummy.
- Freezing in Portions: Freeze the filling in portions that match your pie size for easy use. Label and date the containers for best results.
- Thawing Safely: Always thaw the filling in the refrigerator to prevent bacterial growth. It can take several hours or overnight.
- Visual Cues: Look for a glossy, thickened sauce and tender apples as signs of doneness. The filling should coat the back of a spoon when it’s ready.
Recipe Variations
- Spiced Apple Pie Filling: Add a pinch of cloves and allspice for a more complex flavor profile.
- Bourbon Apple Pie Filling: Substitute part of the water with bourbon for a boozy twist.
- Maple Apple Pie Filling: Replace some of the sugar with maple syrup for a unique sweetness.
- Cranberry Apple Pie Filling: Add cranberries for a tart contrast to the sweet apples.
- Gluten-Free Option: Use tapioca flour instead of cornstarch for a gluten-free version.
- Vegan Option: Ensure the sugar used is vegan-friendly, as some sugars may be processed with bone char.
- Seasonal Adaptation: Use fresh, seasonal apples for the best flavor. Adjust the sugar based on the apple’s natural sweetness.
Serving Suggestions
- Classic Apple Pie: Use the filling in a traditional double-crust pie, served warm with a scoop of vanilla ice cream.
- Apple Crisp: Top the filling with a crumbly oat and brown sugar topping for a quick and delicious dessert.
- Apple Cobbler: Spoon the filling into a baking dish and cover with a biscuit or scone topping before baking.
- Apple Turnovers: Use the filling in puff pastry for handheld treats perfect for parties or snacks.
- Presentation Tip: Brush the top crust with egg wash and sprinkle with coarse sugar for a beautiful, golden finish.
- Pairing Suggestion: Serve with a cup of hot tea or coffee to balance the sweetness of the pie.
Storage & Make-Ahead Tips
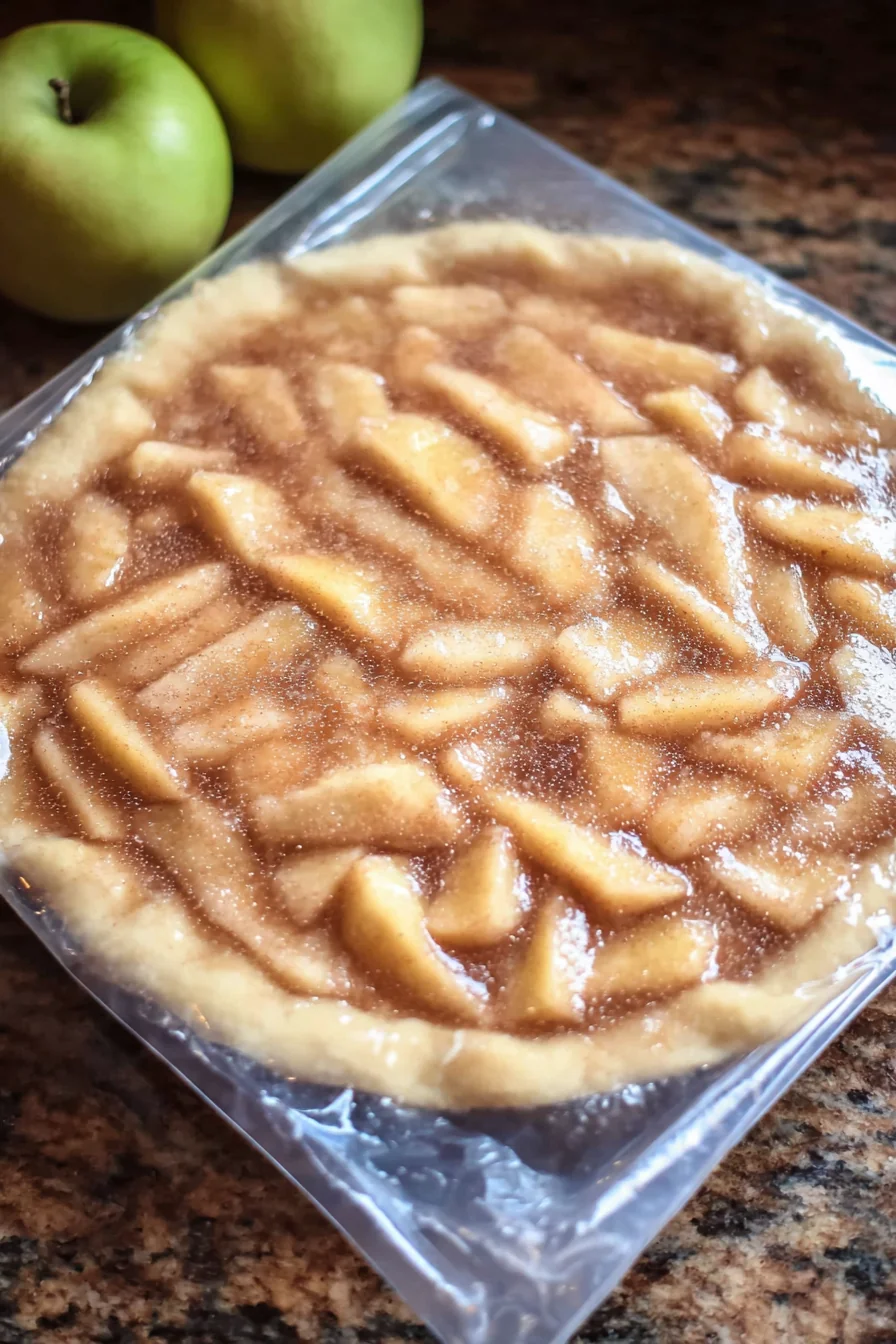
- Freezing: Cool the filling completely before transferring to freezer-safe containers or bags. It can be stored for up to 6 months.
- Thawing: Thaw in the refrigerator overnight before using. The filling can be used straight from the fridge or warmed slightly.
- Make-Ahead: Prepare the filling up to a month in advance and store it in the freezer. It’s perfect for last-minute desserts.
- Reheating: If reheating, do so gently on the stovetop or in the microwave, stirring occasionally to prevent burning.
Frequently Asked Questions
Q: Can I make this ahead of time?
Yes, this filling is designed to be made ahead. Prepare it, cool it, and freeze it for up to 6 months.
Q: How do I know if the apples are cooked enough?
Look for tender apples that still hold their shape. The sauce should be glossy and thick enough to coat the back of a spoon.
Q: Can I use different types of apples?
Absolutely. A mix of tart and sweet apples works best, but feel free to use your favorites or what’s in season.
Q: Is this filling suitable for other desserts?
Yes, it’s versatile enough for crisps, cobblers, turnovers, and more. Adjust the sweetness and spices as needed.
Q: Can I use a different thickening agent?
Tapioca flour or arrowroot can be used instead of cornstarch for a different texture or dietary needs.
Q: How long does it take to thaw the filling?
Thawing in the refrigerator can take several hours or overnight, depending on the portion size.
Q: Can I add other fruits to the filling?
Yes, cranberries or pears can be added for variety. Adjust the sugar and spices accordingly.
Q: What’s the best way to reheat the filling?
Gently reheat on the stovetop or in the microwave, stirring occasionally to prevent burning.
Conclusion
Freezer Apple Pie Filling is the ultimate solution for busy bakers who crave the taste of homemade pie without the last-minute hassle. Its convenience, consistent quality, and versatility make it a must-have in your freezer. Give this recipe a try, and you’ll never be caught without a delicious dessert again.
Share your creations on social media and let us know how it turned out! Enjoy your pie with a scoop of ice cream for the perfect finishing touch.
Freezer Apple Pie Filling
Equipment
- Large saucepan
- Measuring cups and spoons
- Peeler and corer
- Knife and cutting board
- Freezer-safe containers or bags
Ingredients
- 6 cups apples peeled, cored, and sliced
- 3/4 cup sugar
- 1/4 cup cornstarch
- 1 teaspoon cinnamon
- 1/4 teaspoon nutmeg
- 1 cup water
- 1 tablespoon lemon juice
Instructions
- In a large saucepan, combine sugar, cornstarch, cinnamon, and nutmeg. Gradually stir in water and lemon juice until smooth.
- Add sliced apples to the saucepan and bring to a boil over medium heat, stirring constantly. Reduce heat and simmer for 10 minutes or until apples are tender and the sauce has thickened.