
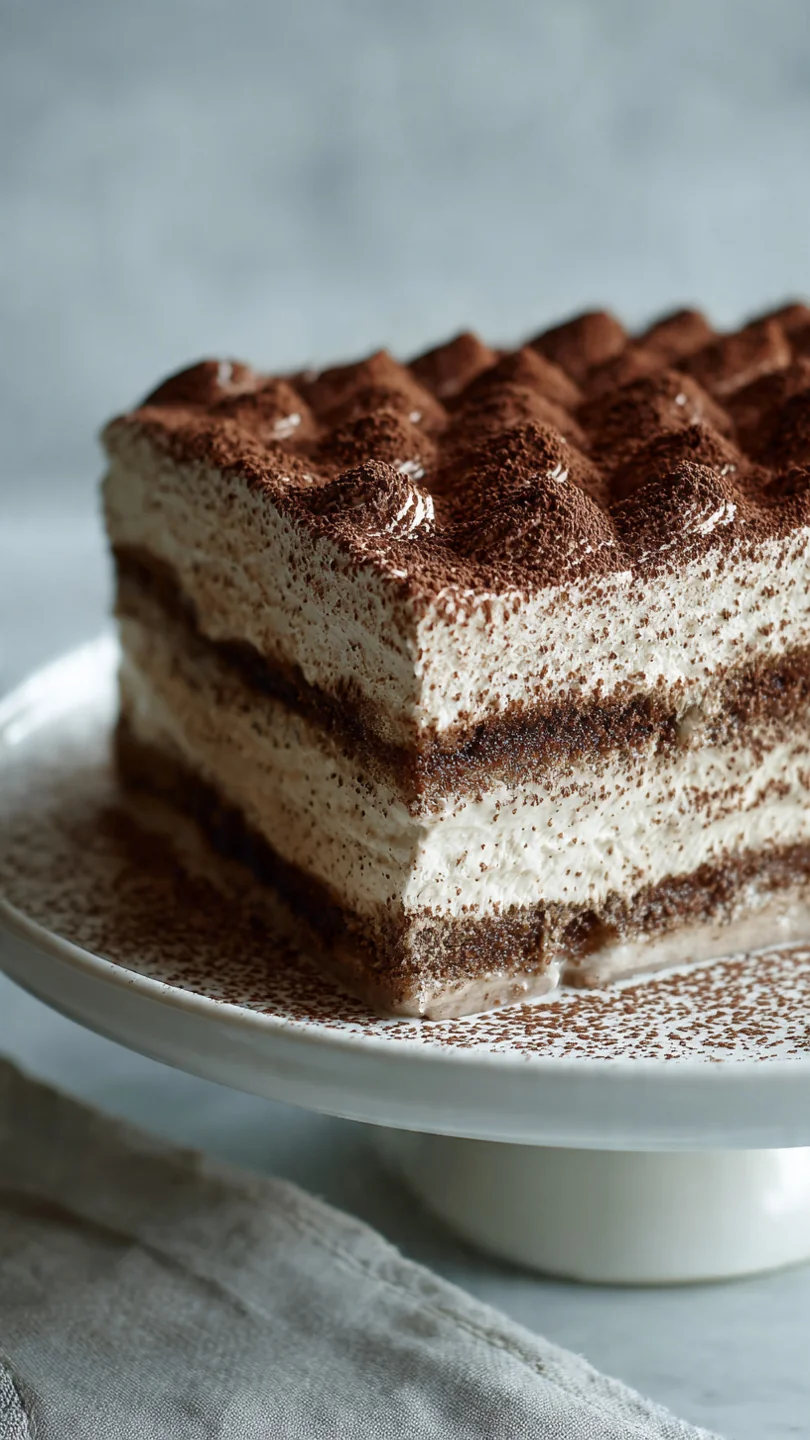
There are desserts that require precision, patience, and a perfectly calibrated oven. And then there are desserts like this one—a magical alchemy of simple components that, given time, transform in your refrigerator into something far greater than the sum of its parts. Ina Garten’s Mocha Chocolate Icebox Cake is the latter: a masterpiece of make-ahead elegance that delivers stunning flavor and texture with zero baking.
Imagine crisp chocolate wafers layered with a cloud of coffee-kissed chocolate whipped cream, all melding overnight into a sliceable, decadent cake. It’s the dessert you confidently serve to guests, knowing its sophistication belies the sheer simplicity of its creation.
- No-Bake Simplicity: This recipe requires no oven, no precise temperatures, and no risk of over-baking. It’s foolproof cooking science at its best.
- Make-Ahead Perfection: The mandatory 8-hour chill means you can prepare it a full day ahead, freeing you up to focus on other parts of your meal.
- Elegant Presentation: The tall, layered structure and glossy chocolate garnish make it look like it came from a professional patisserie.
- Rich, Balanced Flavor: The combination of deep chocolate and aromatic espresso creates a sophisticated mocha profile that’s rich but not cloying.
- Customizable Foundation: Once you master the basic technique, the flavor variations are endless, allowing you to adapt it for any season or preference.
- Crowd-Pleasing Texture: The magic of the icebox cake is the transformation of crisp wafers into a tender, almost cake-like layer that melts in your mouth.
Ingredients You’ll Need
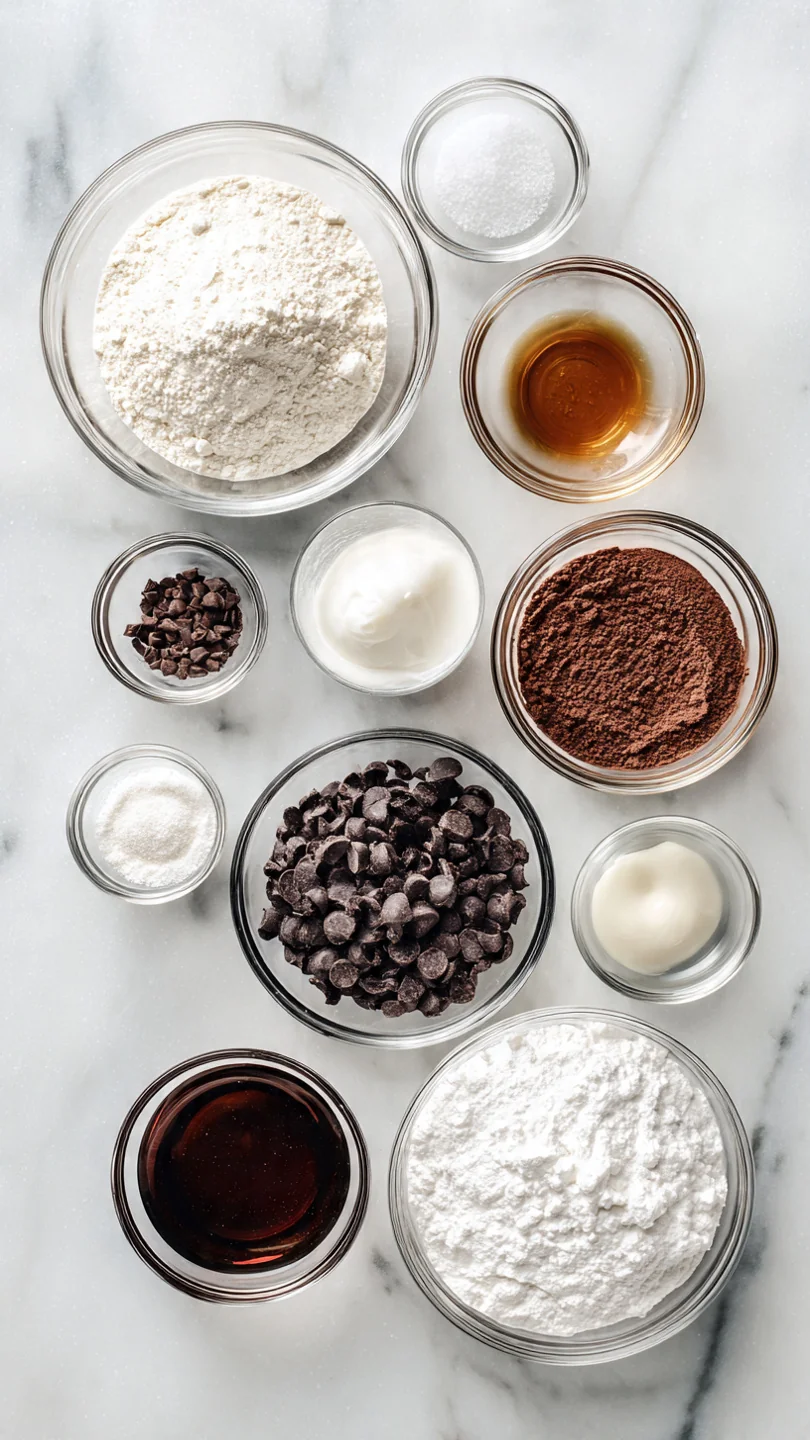
Let’s gather our ingredients—this is where quality truly shines. The beauty of this recipe is its short list, but each component plays a starring role. For the mocha cream, you’ll need heavy cream: always start with it ice-cold straight from the fridge for maximum volume.
Semi-sweet chocolate chips: I recommend a brand with a good cocoa butter content for a smooth melt and rich flavor. Instant espresso powder: This is the secret weapon. Don’t substitute instant coffee granules; the concentrated flavor of espresso powder is essential for that deep mocha note without adding liquid.
Granulated sugar, pure vanilla extract, and a splash of Kahlúa round out the cream. For structure, you need chocolate wafer cookies: the thin, crisp kind are traditional and work perfectly. Finally, have some shaved chocolate ready for a beautiful, professional-looking finish.
Note: You’ll find the complete list of ingredients, along with their exact measurements, in the printable recipe card at the bottom of this post.
Kitchen Equipment Needed
You likely have most of this equipment already. A 9-inch springform pan is ideal as it gives the cake height and makes for easy release, but a flat serving plate or trifle dish works too. A stand mixer or hand mixer with whisk attachments is non-negotiable for achieving the proper whipped cream consistency.
You’ll need a heatproof bowl and saucepan to create a double boiler for melting the chocolate gently. An offset spatula makes smoothing the layers a breeze, and a fine grater or vegetable peeler is perfect for creating those elegant chocolate curls for garnish.
How to Make Mocha Chocolate Icebox Cake Recipe
Step 1: Melt and Cool the Chocolate
This first step is about patience. Gently melt the chocolate chips in a bowl set over simmering water, stirring until it’s completely smooth and glossy. Trust me, rushing this or using a microwave can lead to seized chocolate.
Once melted, you must let it cool to room temperature. This takes about 20-25 minutes. If you add warm chocolate to the cold cream, it will melt the fat in the cream and you’ll end up with a soupy mess instead of a fluffy cloud.
Step 2: Whip the Mocha Cream Base
In your impeccably clean mixer bowl, combine the cold heavy cream, sugar, espresso powder, vanilla, and Kahlúa. Start whipping on medium-high. You’re looking for soft peaks—the point where the whisk leaves a trail that slowly disappears.
This stage gives you a stable base to incorporate the chocolate. Believe me, whipping to stiff peaks now will lead to over-whipping later.
Step 3: Marry Chocolate and Cream
Now for the magic. With the mixer on low, slowly drizzle in the cooled, melted chocolate. Tip from me: pour it down the side of the bowl to help it incorporate smoothly.
Once it’s all in, increase the speed to medium and whip just until the mixture holds firm peaks. It will thicken and become a beautiful, coffee-speckled chocolate mousse. Stop the moment it holds its shape; over-whipping here will give you chocolate butter.
Step 4: Layer with Precision
Spread a tiny bit of cream on your serving plate or springform pan bottom to act as glue. Arrange a single layer of chocolate wafers, breaking some to fill in any gaps. Now, spread about one cup of the mocha cream in an even layer over the wafers.
The key is to be gentle but thorough, ensuring every wafer edge is covered. Repeat this process—wafers, then cream—until you’ve used all your components, ending with a cream layer on top.
Step 5: Chill, Garnish, and Serve
Use your offset spatula to create a beautifully smooth top. Now, the hardest part: waiting. Cover it loosely and refrigerate for a minimum of 8 hours, or overnight.
This time is non-negotiable—it’s when the wafers soften, absorb moisture, and transform into tender cake layers. Before serving, release the springform pan if using, and shower the top with luxurious chocolate shavings. For picture-perfect slices, dip your sharp knife in hot water and wipe it clean between each cut.
Temperature is Everything: The success of this cake hinges on temperature control. Your cream must be cold, your melted chocolate must be completely cool, and your kitchen shouldn’t be too warm. If your cream isn’t whipping, chill your bowl and whisk attachment in the freezer for 15 minutes before starting. The Wafer Warrant: If you can’t find the traditional Nabisco wafers, you have options. Anna’s Swedish Thins or even homemade chocolate shortbread cookies baked very thin will work. Avoid using cookies that are too thick or soft, as they won’t absorb the cream properly. Garnish with Gusto: Don’t be shy with the chocolate garnish. It adds visual appeal and a delightful textural contrast. Use a vegetable peeler on a room-temperature bar of chocolate for perfect curls, or a microplane for fine shavings. Avoid the Grain: If your espresso powder is particularly coarse, dissolve it in the teaspoon of Kahlúa or a tiny splash of hot water before adding it to the cream. This ensures no gritty bits in your otherwise silky filling.Recipe Variations
- Mint Chocolate Chip: Omit the espresso powder and Kahlúa. Add 1/2 teaspoon of peppermint extract to the cream and fold in 1/2 cup of mini chocolate chips after whipping.
What to Serve With This Recipe
This cake is a rich, show-stopping finale, so pair it with lighter, simpler accompaniments. A small cup of strong espresso or a digestif like an amaro cuts through the sweetness beautifully. For a dinner party, serve it after a meal that isn’t too heavy, such as grilled fish or roast chicken with seasonal vegetables.
In the summer, fresh raspberries or strawberries on the side add a lovely tart contrast. For a truly decadent brunch, it pairs surprisingly well with a glass of Champagne or Prosecco.
Storage & Make-Ahead Instructions
- Refrigeration: This cake must be stored covered in the refrigerator. It will keep beautifully for up to 3 days. The flavors actually improve after the first day.
- Freezing: I do not recommend freezing the assembled cake, as the whipped cream can become grainy and the texture of the wafers can suffer.
- Make-Ahead Strategy: This is the ultimate make-ahead dessert. Assemble it up to 24 hours before you plan to serve it. Garnish just before serving to keep the chocolate crisp.
- Leftover Storage: Cover any cut edges directly with plastic wrap pressed against the cake to prevent the cream from drying out.
Frequently Asked Questions
Q: Can I use whipped topping or Cool Whip instead of real whipped cream?
A: I strongly advise against it. Real whipped cream stabilizes with the chocolate and sets properly during the chill. Non-dairy toppings have a different structure and won’t provide the same luxurious texture or stability.
Q: My cream started to look grainy when I added the chocolate. What happened?
A: This usually means your melted chocolate was still too warm. It began to melt the fat in the cream. Next time, ensure the chocolate is truly at room temperature—no warmth to the touch.
Q: Can I make this without alcohol?
A: Absolutely. Simply omit the Kahlúa. The espresso powder provides plenty of flavor.
You could add a teaspoon of strong brewed coffee or just use the vanilla extract.
Q: How do I know when the cream has reached “stiff peaks”?
A: Stop the mixer and lift the whisk straight up. The peak of cream that forms should stand upright without curling over at the tip. It should look thick, smooth, and hold its shape firmly.
Q: What if I can’t find chocolate wafer cookies?
A: As mentioned, other thin, crisp chocolate cookies work. You can also use ladyfingers for a tiramisu-like version, though the texture will be different.
Q: Can I assemble this in a different dish?
A: Yes. A trifle bowl shows off the beautiful layers. A 9×13-inch dish will give you a more rectangular, sheet-cake style dessert with fewer layers.
Q: Is it okay if the wafers aren’t completely covered by cream?
A: Try to cover them as best you can. Exposed wafer edges will remain very hard and crunchy instead of softening into the cake.
Final Thoughts
Ina Garten’s Mocha Chocolate Icebox Cake is more than a recipe; it’s a lesson in trusting the process. It proves that incredible desserts don’t require complex techniques, just an understanding of how ingredients interact over time. The wait for the wafers to soften is an exercise in delicious anticipation, rewarded with a dessert that is simultaneously light and rich, simple and sophisticated.
It has earned a permanent spot in my entertaining repertoire for its reliability and the constant chorus of “wow” it elicits. I encourage you to make it your own—try a variation, perfect your garnish, and share it with people you love. Once you experience the magic of a slice gliding onto a plate, revealing those perfect, tender layers, you’ll understand why this no-bake classic has endured.
Now, go make some magic in your refrigerator.
Mocha Chocolate Icebox Cake
Equipment
- 9-inch springform pan or flat serving plate
- Stand mixer or hand mixer with whisk attachments
- Heatproof bowl and saucepan (for double boiler)
- Offset spatula
- Fine grater or vegetable peeler (for chocolate garnish)
Ingredients
- 2 cups heavy cream, cold Use the highest fat content you can find (36-40%) for best stability
- 12 ounces semi-sweet chocolate chips Good quality like Ghirardelli or Guittard
- 1/4 cup granulated sugar
- 2 tablespoons instant espresso powder Such as Medaglia d’Oro or King Arthur Flour brand
- 1 tablespoon pure vanilla extract
- 1 tablespoon Kahlúa or coffee liqueur Optional, but adds depth
- 3 packages chocolate wafer cookies About 9 ounces total, such as Nabisco Famous Chocolate Wafers
- 1/2 cup shaved chocolate or chocolate curls For garnish
Instructions
- In a heatproof bowl set over a saucepan of simmering water (or using a double boiler), melt the chocolate chips, stirring occasionally until completely smooth. Remove from heat and let cool to room temperature, about 20-25 minutes. This is crucial—if the chocolate is too warm, it will deflate the whipped cream.
- In the bowl of a stand mixer fitted with the whisk attachment, combine the cold heavy cream, sugar, espresso powder, vanilla, and Kahlúa (if using). Whip on medium-high speed until soft peaks form, about 2-3 minutes. Be careful not to overwhip.
- With the mixer on low speed, gradually pour the completely cooled, melted chocolate into the whipped cream. Once incorporated, increase speed to medium and whip just until the mixture holds stiff peaks, about 30-60 seconds more. The mocha cream should be thick and spreadable.
- To assemble, spread a small spoonful of the mocha cream on the bottom of a 9-inch springform pan or serving plate to anchor the first layer. Arrange a single layer of chocolate wafers, breaking some to fill in gaps. Spread about 1 cup of mocha cream evenly over the wafers. Repeat the layering process (wafers, then cream) until you have 5-6 layers, ending with a cream layer.
- Use an offset spatula to smooth the top. Cover the pan or plate loosely with plastic wrap and refrigerate for at least 8 hours, or preferably overnight. The wafers will soften and absorb moisture, creating a cake-like texture.
- Just before serving, run a thin knife around the edge of the springform pan to release, if using. Garnish the top generously with shaved chocolate or chocolate curls. Slice with a sharp knife dipped in hot water for clean cuts.