
There’s something undeniably special about the ritual of making pizza dough from scratch. The tactile pleasure of kneading, the quiet magic of the rise, and the triumphant moment you pull a bubbling, golden-crusted pizza from your own oven. This recipe, popularized by Joanna Gaines in her Magnolia Table cookbook, has earned its fame for good reason.
It’s a masterclass in simplicity, producing a crust with the ideal balance of chew, crispness, and flavor that rivals your favorite pizzeria. As a chef who has made countless batches of dough, I can tell you this formula is a reliable workhorse—forgiving for beginners and yielding professional-quality results that will make Friday night a genuine event.
This dough recipe stands out for its practicality and perfect results. Here’s what makes it a keeper:
- Consistently Perfect Texture: The specific hydration (water-to-flour ratio) is key, giving you a dough that’s easy to work with and bakes up with a satisfyingly chewy interior and a crisp edge.
- Simple, Pantry-Staple Ingredients: You likely have everything you need already: flour, yeast, salt, sugar, olive oil, and water. No special trips to the store required.
- Two Foolproof Methods: Detailed instructions are provided for making it entirely by hand or using a stand mixer. You can choose the method that fits your kitchen and comfort level.
- Incredibly Versatile: While designed for classic pizza, this dough is also the perfect base for calzones, stromboli, focaccia, or even garlic knots.
- Freezer-Friendly for Easy Meals: You can make a double batch and freeze the dough balls for future quick meals, making homemade pizza an achievable weeknight dinner.
Ingredients You’ll Need
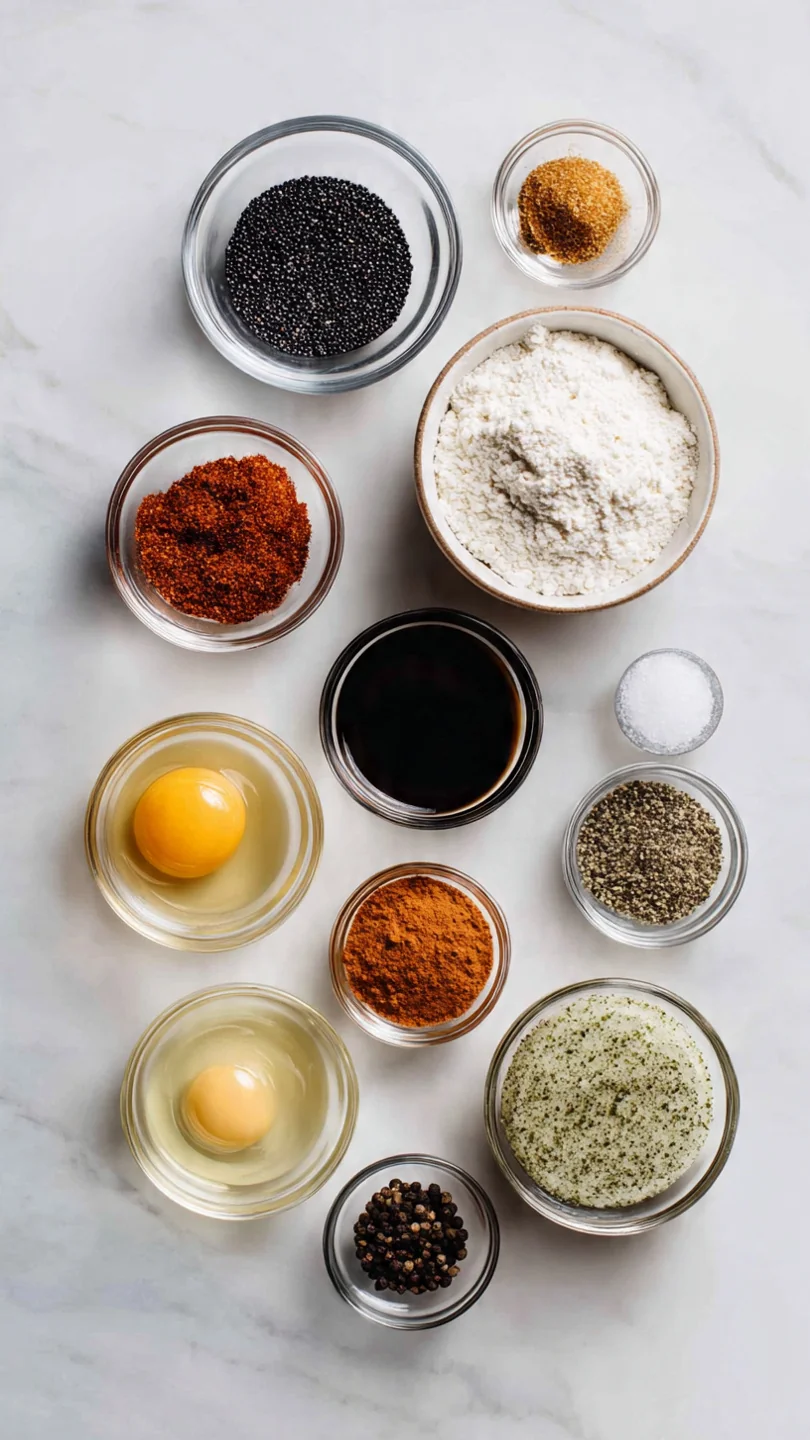
- Let’s gather our simple ingredients—this is where humble pantry staples transform into something magical. The beauty of this recipe lies in the quality and precision of these basics.
- All-Purpose Flour: I recommend an unbleached variety for the best flavor and texture. It provides the right protein level for a chewy yet tender crust.
- Active Dry Yeast: This is the leavening agent that makes the dough rise. Ensure your yeast is fresh and in date for the best results. The packet size (2 1/4 teaspoons) is perfect.
- Warm Water: Temperature is critical here. Use a thermometer if you have one; aim for 110°F to 115°F. This warm environment wakes up the yeast without killing it.
- Extra-Virgin Olive Oil: This adds flavor and richness to the dough, and it helps keep the crumb tender. A good quality oil makes a noticeable difference.
- Kosher Salt: I prefer kosher salt for its clean taste and easy dispersion. It strengthens the gluten structure and is essential for balancing flavor.
- Sugar: Just a teaspoon feeds the yeast and promotes browning, but it doesn’t make the dough taste sweet.
Note: You’ll find the complete list of ingredients, along with their exact measurements, in the printable recipe card at the bottom of this post.
Kitchen Equipment Needed
You don’t need any specialized gear to make great pizza dough. Here’s what will help:
- A Large Mixing Bowl: For combining your ingredients.
- Stand Mixer with Dough Hook (Optional): This makes the kneading process effortless, but your hands work perfectly well.
- Measuring Cups and Spoons: For accuracy, especially with the water temperature.
- Plastic Wrap or a Clean Kitchen Towel: To cover the dough while it rises.
- Pizza Stone or Baking Sheet: A preheated pizza stone will give you the crispiest bottom crust, but a standard half-sheet pan works beautifully too.
How to Make Joanna Gaines Pizza Dough Recipe
Step 1: Activate the Yeast
In a small bowl or liquid measuring cup, combine the warm water (110°F-115°F) with the packet of active dry yeast. Give it a gentle stir and let it sit for about 5 minutes. Trust me, this waiting period is important.
You’re looking for the mixture to become foamy and creamy on top—this is visual proof your yeast is alive and active, which guarantees a good rise. If it doesn’t foam, your yeast may be old or the water was too hot or cold.
Step 2: Combine Dry and Wet Ingredients
While the yeast proofs, whisk together the flour, salt, and sugar in your large mixing bowl or the bowl of your stand mixer. This distributes the salt and sugar evenly so every bite is balanced. Make a well in the center of the dry ingredients.
Pour in the foamy yeast mixture and the olive oil. Using a sturdy wooden spoon or the dough hook on low speed, mix until a shaggy, floury dough ball forms. It will look messy, and that’s exactly right.
Step 3: Knead to Perfection
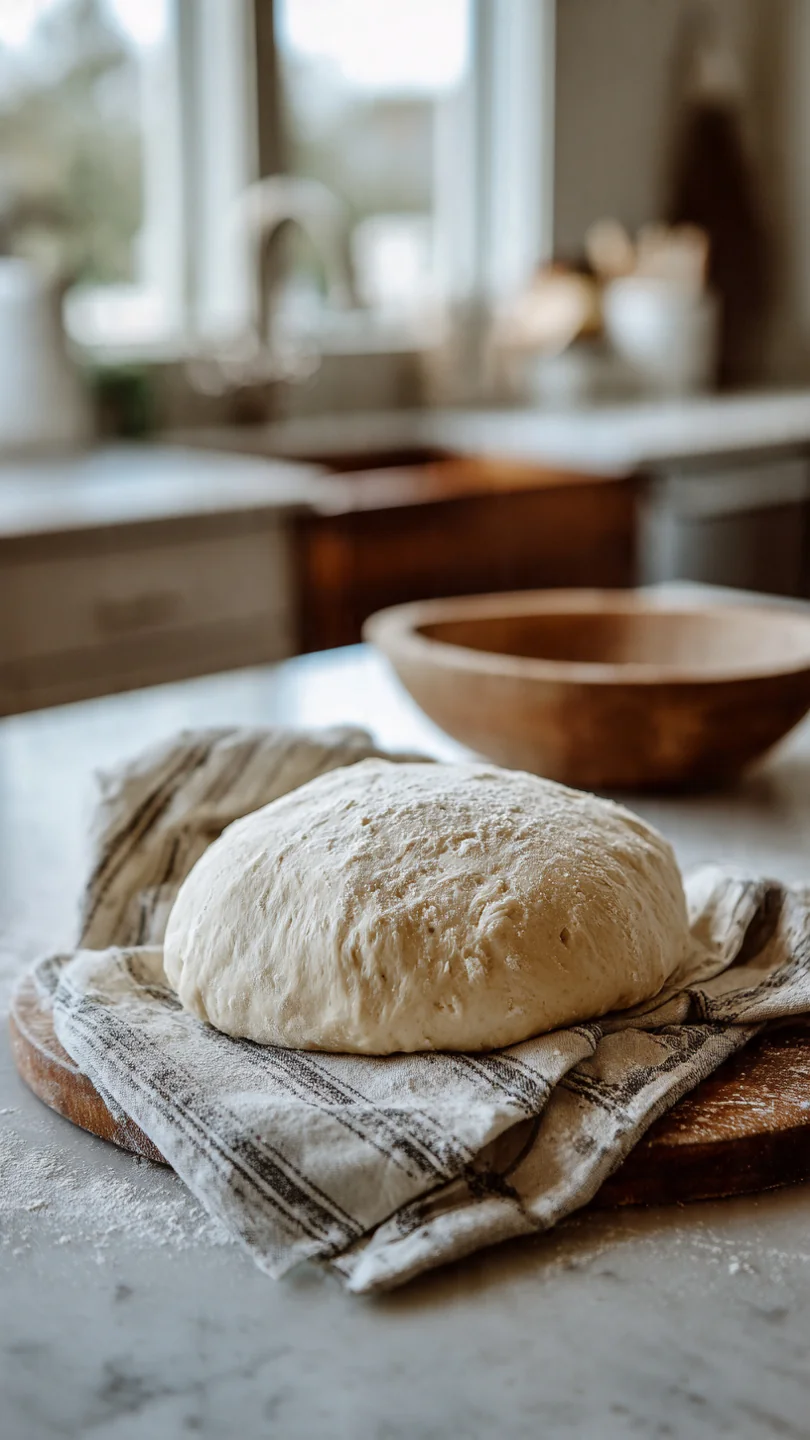
Turn the shaggy dough out onto a lightly floured surface. Here’s where the magic happens. Knead by pushing the dough away from you with the heel of your hand, then folding it back over itself, giving it a quarter turn, and repeating.
Do this for 8-10 minutes. Believe me, the dough will transform from rough and sticky to incredibly smooth, elastic, and satiny. If using a mixer, knead with the dough hook on medium-low speed for 5-7 minutes.
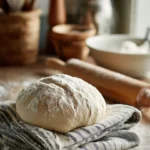
The dough is ready when it springs back slowly after you gently poke it.
Step 4: The First Rise
Lightly coat a clean bowl with a drizzle of olive oil. Place your smooth dough ball in the bowl, turning it once to coat it lightly in oil. This prevents a skin from forming.
Cover the bowl tightly with plastic wrap or a damp kitchen towel. Now, find a warm, draft-free spot for it to rest. I often use my turned-off oven with the light on.
Let it rise for 1 hour, or until it has doubled in size. This slow fermentation is what develops the wonderful flavor.
Step 5: Shape, Rest, and Bake
Once risen, punch the dough down right in the center to deflate it—this is oddly satisfying. Turn it out onto your work surface and divide it in half with a bench scraper or sharp knife. Shape each half into a smooth, tight ball by tucking the edges underneath.
Cover these balls with a towel and let them rest for 10 minutes. Tip from me: This short “bench rest” relaxes the gluten, making the dough much easier to stretch without fighting you. Now, you’re ready to stretch, top, and bake your masterpiece!
A few chef-driven insights can elevate your dough from good to exceptional.
- Flour is a Guideline, Not a Rule: The exact amount of flour needed can vary based on humidity and brand. Start with 3 cups, adding the remaining 1/2 cup gradually during kneading until the dough loses its sticky feel and becomes smooth.
- The Windowpane Test: To be absolutely sure your dough is kneaded enough, try the windowpane test. Gently stretch a small piece of dough between your fingers. If you can stretch it thin enough to see light through it without it tearing, the gluten is perfectly developed.
- Cold Fermentation for Deeper Flavor: For an extra flavor boost, try a slow, cold rise. After kneading, place the oiled dough in a bowl, cover it, and let it rise in the refrigerator for 24-48 hours. The flavor becomes more complex and nuanced.
- Preheat Your Baking Surface: For a crisp, blistered crust that mimics a pizza oven, preheat your pizza stone or an inverted heavy baking sheet in your oven at its highest temperature (usually 500°F) for a full 30 minutes before baking.
Recipe Variations & Customizations
- This master dough recipe is a perfect canvas for creativity. Here are some tested variations to try.
- Whole Wheat Blend: Substitute up to 1 cup of the all-purpose flour with whole wheat flour for a nuttier flavor and added fiber. You may need to add a tablespoon or two more water.
- Herb-Infused Dough: Add 2 tablespoons of finely chopped fresh herbs (like rosemary, thyme, or oregano) or 2 teaspoons of dried Italian seasoning to the dry ingredients for a fragrant crust.
- Garlic or Everything Dough: Knead 2-3 cloves of finely minced garlic or a few tablespoons of “Everything Bagel” seasoning into the dough during the last minute of kneading for a flavor-packed base.
- Sourdough Hybrid: Replace 1/2 cup of the warm water with 1/2 cup of active sourdough starter and reduce the yeast to 1 1/2 teaspoons. This adds a delightful tang.
- Gluten-Free Adaptation: This is a significant change. For a gluten-free version, use a trusted 1:1 gluten-free flour blend and add 1 teaspoon of xanthan gum to the dry ingredients. The texture will be different but still delicious.
What to Serve With This Recipe
Homemade pizza is a complete meal, but it shines as part of a larger spread. For a casual dinner party, start with a simple Italian chopped salad or a platter of marinated olives and roasted almonds. If you’re serving a richer, meat-topped pizza, a light, acidic side like a lemony arugula salad helps balance the meal.
For a classic pairing, a chilled, medium-bodied red wine like a Chianti or a crisp lager beer are perfect companions. Don’t forget a small bowl of chili flakes and grated Parmesan for the table so everyone can customize their slice.
Storage & Make-Ahead Instructions
- This dough is a fantastic make-ahead component.
- Refrigerator Storage: After the first rise, punch down the dough, place it in an oiled container with a tight lid, and refrigerate for up to 3 days. The cold slows the yeast, developing more flavor. Let it sit at room temperature for 30 minutes before shaping.
- Freezer for Long-Term Storage: After dividing and shaping into balls, wrap each dough ball tightly in plastic wrap and then place in a freezer bag. Freeze for up to 3 months. To use, thaw overnight in the refrigerator, then let it come to room temperature before shaping.
- Reheating Leftover Pizza: To revive leftover pizza and keep the crust crisp, reheat it in a preheated 375°F oven on a baking sheet for 8-10 minutes, or in a skillet on the stovetop over medium-low heat with a lid until the cheese melts.
Frequently Asked Questions
Q: Can I use instant yeast instead of active dry yeast?
A: Yes, you can. Instant yeast can be mixed directly with the dry ingredients without proofing. Use the same amount (2 1/4 teaspoons).
Your first rise time might be slightly shorter.
Q: My dough didn’t double in size. What went wrong?
A: The most common culprits are old/inactive yeast or water that was too hot (which kills yeast) or too cold (which doesn’t activate it). Your rising spot may also have been too cool. Ensure your water is between 110°F-115°F and find a warmer place for the bowl.
Q: Can I make this dough in a bread machine?
A: Absolutely. Add the liquid ingredients to the pan first, then the dry ingredients (with the yeast last, making a small well in the flour for it). Select the “Dough” cycle.
It will mix, knead, and perform the first rise for you.
Q: Why is my dough so sticky and hard to handle?
A: It’s likely under-kneaded or you may have measured the flour by scooping directly from the bag, which packs it down. Next time, fluff your flour with a spoon before gently spooning it into your measuring cup and leveling it off. Knead for the full time until it passes the windowpane test.
Q: How thin should I stretch the dough?
A: For a classic hand-tossed style, aim for about 1/4-inch thickness across the middle, leaving a slightly thicker border for the crust. For a thinner, crispier crust, stretch it to about 1/8-inch thick.
Q: What’s the best oven temperature for baking?
A: As hot as your oven goes! Most home ovens max out at 500°F or 550°F. Preheat your oven with your pizza stone or baking sheet inside for at least 30 minutes.
A hot oven is non-negotiable for a great crust.
Q: Can I use bread flour instead of all-purpose?
A: Yes, bread flour has a higher protein content, which will yield a chewier, more structured crust with larger air bubbles. It’s an excellent choice if you have it.
Final Thoughts
This Joanna Gaines pizza dough recipe is more than just a list of ingredients and steps—it’s a gateway to countless delicious meals and the genuine satisfaction of creating something foundational from scratch. Its reliability and fantastic texture have made it a staple in my kitchen, and I’m confident it will become one in yours. Remember, the first time you make it is about learning the feel of the dough; by the second or third batch, you’ll be shaping it with intuitive ease.
So, gather your simple ingredients, clear a little counter space, and get ready for the best homemade pizza you’ve ever made. I’d love to hear how it turns out for you—what are your favorite toppings? Share your creations and any questions in the comments below!
Joanna Gaines’ Pizza Dough
Equipment
- Large mixing bowl
- Stand mixer with dough hook (optional but helpful)
- Measuring cups and spoons
- Plastic wrap or clean kitchen towel
- Pizza stone or baking sheet
Ingredients
- 3 1/2 cups all-purpose flour plus more for dusting
- 1 tsp kosher salt or fine sea salt
- 1 tsp sugar granulated
- 1 packet (2 1/4 tsp) active dry yeast
- 1 1/2 cups warm water 110°F to 115°F
- 2 tbsp extra-virgin olive oil plus more for the bowl
Instructions
- In a large bowl or the bowl of a stand mixer fitted with a dough hook, whisk together the flour, salt, and sugar. In a separate small bowl or measuring cup, combine the warm water and yeast. Let it sit for 5 minutes until foamy, which proves the yeast is active.
- Make a well in the center of the dry ingredients. Pour in the yeast mixture and the 2 tablespoons of olive oil. Mix with a wooden spoon or on low speed with the dough hook until a shaggy dough forms, about 1-2 minutes.
- Turn the dough out onto a lightly floured surface. Knead by hand for 8-10 minutes, or continue kneading with the dough hook on medium-low speed for 5-7 minutes, until the dough is smooth, elastic, and springs back when gently poked.
- Lightly oil a clean large bowl. Place the dough ball in the bowl, turning to coat it in oil. Cover the bowl tightly with plastic wrap or a damp kitchen towel. Let it rise in a warm, draft-free place for 1 hour, or until doubled in size.
- Punch down the risen dough to release the air. Divide it in half for two 12-inch pizzas. On a lightly floured surface, shape each piece into a smooth ball. Cover with a towel and let rest for 10 minutes before stretching and topping.