
Why You’ll Love This Recipe
- Easy to Make: These mini apple tarts use pre-made puff pastry, making them quick and simple to prepare.
- Perfect for Parties: Their bite-sized nature makes them ideal for serving at gatherings or as a sweet treat.
- Delicious Flavor: The combination of sweet apples, cinnamon, and flaky pastry creates a mouthwatering dessert.
- Customizable: You can easily adapt the recipe with different fruits or spices to suit your taste.
- Kid-Friendly: These tarts are a hit with kids and adults alike, making them a versatile dessert option.
- Dietary Considerations: While not suitable for gluten-free diets, they can be enjoyed by vegetarians.
Ingredients & Preparation Notes
- Puff Pastry: Using pre-made puff pastry saves time and effort. Ensure it’s thawed properly to avoid cracking when rolling.
- Apples: Choose firm apples like Granny Smith or Honeycrisp for the best texture. Thinly slice them for even cooking.
- Brown Sugar: Adds a rich sweetness to the apples. You can use light or dark brown sugar based on preference.
- Cinnamon: Enhances the flavor of the apples. Feel free to experiment with other spices like nutmeg or ginger.
- Lemon Juice: Prevents the apples from browning and adds a subtle tanginess to the filling.
- Butter: Brushing the pastry edges with melted butter adds flavor and helps achieve a golden brown crust.
- Granulated Sugar: Sprinkling sugar on top adds a delightful crunch and caramelizes during baking.
For substitutions, you can use other fruits like pears or berries, and maple syrup can replace brown sugar for a different flavor profile.
Professional Tips & Techniques
- Temperature Control: Preheat your oven thoroughly to ensure even baking. A well-preheated oven helps the pastry rise and brown properly.
- Pastry Handling: Handle the puff pastry gently to maintain its layers. Avoid overworking it, as this can lead to a tough crust.
- Apple Arrangement: Layer the apple slices neatly for an attractive presentation. Overlapping them slightly ensures even cooking.
- Edge Folding: When folding the pastry edges, press them gently to secure the filling but don’t seal them completely, as this allows steam to escape during baking.
- Doneness Cues: Look for a golden brown color on the pastry and tender apples as signs of doneness. The pastry should be crisp and flaky.
Recipe Variations
- Pear Tarts: Substitute apples with sliced pears for a different fruit flavor.
- Spiced Tarts: Add a pinch of nutmeg or ginger to the apple mixture for a spiced variation.
- Caramel Apple Tarts: Drizzle caramel sauce over the tarts before serving for an indulgent twist.
- Berry Tarts: Use a mix of berries instead of apples for a summery version of the tarts.
- Gluten-Free Option: Use gluten-free puff pastry to make these tarts suitable for those with gluten sensitivities.
- Vegan Option: Substitute butter with a plant-based alternative and use a vegan puff pastry.
- Savory Tarts: Replace the sweet filling with savory ingredients like caramelized onions and goat cheese for a different flavor profile.
- Mini Pies: Use a muffin tin to create mini apple pies with a lattice top for a more traditional look.
Serving Suggestions
- Dessert Platter: Arrange the mini apple tarts on a dessert platter for a beautiful presentation at parties.
- With Ice Cream: Serve warm tarts with a scoop of vanilla ice cream for a classic dessert combination.
- Tea Time Treat: Enjoy these tarts with a cup of tea or coffee for an afternoon snack.
- Holiday Dessert: These tarts are perfect for holiday gatherings, especially during apple season.
- Brunch Option: Include them in a brunch spread alongside other sweet and savory dishes.
- Garnish: Sprinkle with powdered sugar or a drizzle of honey for an extra touch of sweetness.
Storage & Make-Ahead Tips
- Refrigeration: Store leftover tarts in an airtight container in the refrigerator for up to 3 days.
- Freezing: You can freeze unbaked tarts for up to a month. Bake them directly from frozen, adding a few extra minutes to the baking time.
- Make-Ahead: Prepare the tarts up to the point of baking, then refrigerate them overnight. Bake them fresh the next day for the best texture.
- Reheating: Reheat refrigerated tarts in a 350°F (175°C) oven for about 10 minutes to restore their crispness.
Frequently Asked Questions
Q: Can I make this ahead of time?
A: Yes, you can prepare the tarts up to the point of baking and refrigerate them overnight. Bake them fresh the next day for the best results.
Q: What type of apples should I use?
A: Firm apples like Granny Smith or Honeycrisp work best. They hold their shape well during baking.
Q: Can I use a different type of pastry?
A: Yes, you can use homemade or store-bought pie crust if you prefer. Adjust the baking time accordingly.
Q: How do I prevent the pastry from getting soggy?
A: Ensure the apples are well-drained after mixing with the other ingredients, and don’t overfill the tarts. Baking at the right temperature also helps.
Q: Can I add nuts to the filling?
A: Yes, chopped walnuts or pecans can add a nice crunch. Mix them in with the apples before assembling the tarts.
Q: What’s the best way to serve these tarts?
A: They’re delicious warm or at room temperature. Serve with ice cream or whipped cream for an extra treat.
Q: Can I make these tarts vegan?
A: Yes, use a vegan puff pastry and substitute the butter with a plant-based alternative.
Q: How long do these tarts last?
A: Store leftovers in the refrigerator for up to 3 days. They’re best enjoyed fresh but can be reheated to restore their crispness.
Conclusion
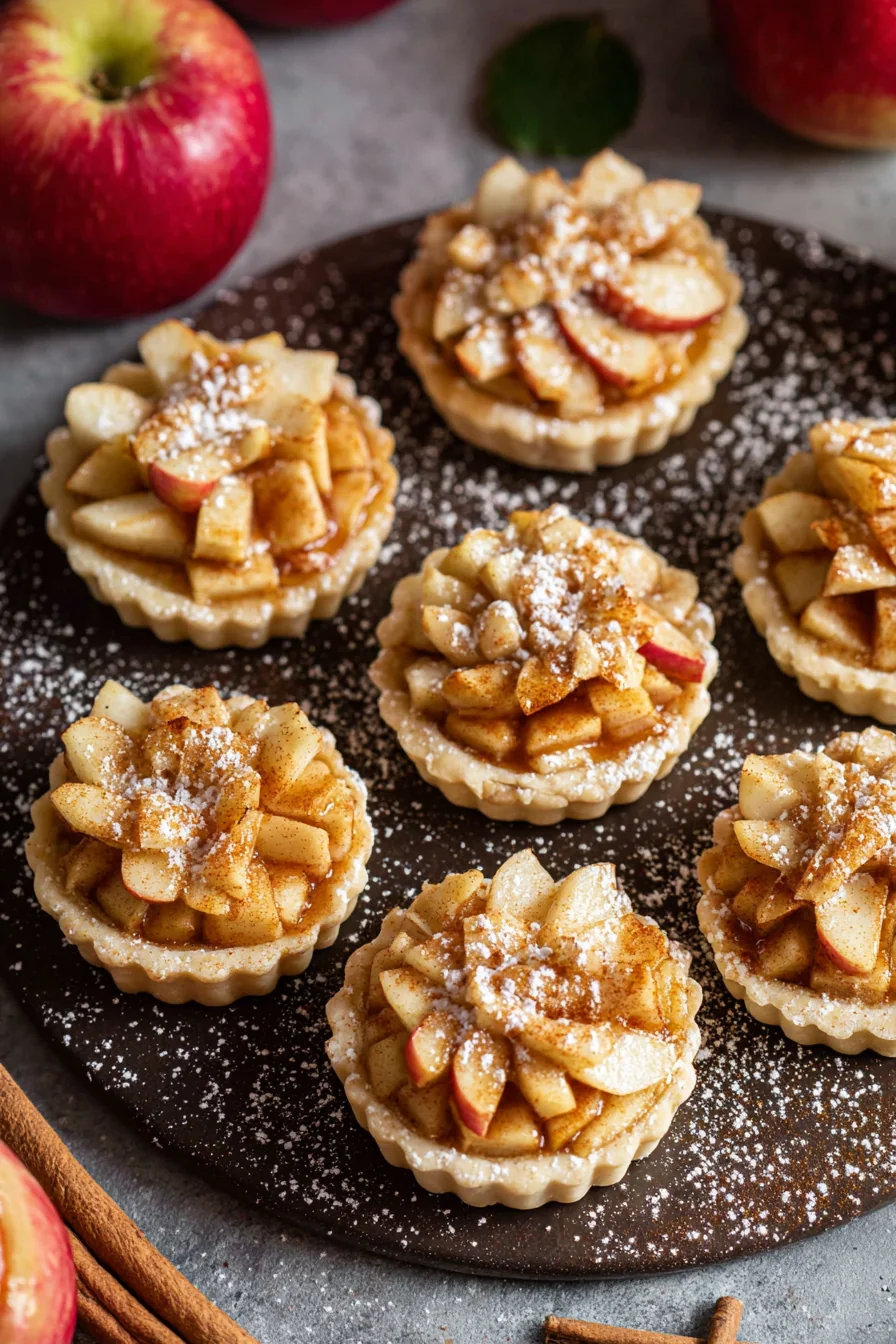
These mini apple tarts are a delightful and easy dessert that’s perfect for any occasion. The combination of flaky puff pastry and sweet, cinnamon-spiced apples creates a treat that’s sure to impress. Whether you’re hosting a party or just want a sweet indulgence, these tarts are a must-try.
Give the recipe a go and share your creations on social media. We’d love to see how you enjoy them! Remember, serving them warm with a scoop of ice cream can elevate them to a whole new level of deliciousness.

Mini Apple Tarts
Equipment
- Baking sheet
- Parchment paper
- Rolling Pin
- Mixing bowl
- Pastry brush
Ingredients
- 1 package puff pastry thawed if frozen
- 4 medium apples peeled, cored, and thinly sliced
- 1/4 cup brown sugar
- 1 teaspoon cinnamon
- 1 tablespoon lemon juice
- 1 tablespoon butter melted
- 1 tablespoon granulated sugar for sprinkling
Instructions
- Preheat your oven to 375°F (190°C) and line a baking sheet with parchment paper.
- Roll out the puff pastry on a lightly floured surface and cut into 12 equal squares. Place the squares on the prepared baking sheet.
- In a bowl, mix the sliced apples, brown sugar, cinnamon, and lemon juice until the apples are well coated.
- Arrange the apple slices on each pastry square, leaving a small border around the edges. Fold the edges of the pastry over the apples to create a rustic look.
- Brush the edges of the pastry with the melted butter and sprinkle with granulated sugar.
- Bake in the preheated oven for 20-25 minutes, or until the pastry is golden brown and the apples are tender.
- Allow the tarts to cool slightly before serving. Enjoy warm or at room temperature.