
There’s a moment in cooking that feels like pure alchemy: when a few simple ingredients simmer together and transform into something greater than the sum of its parts. For me, a great orange sauce embodies that magic. It’s the bridge between a simple piece of chicken or salmon and a restaurant-worthy meal that makes everyone at the table pause.
This isn’t just a sticky-sweet glaze; it’s a balanced symphony of bright citrus, savory depth, and a glossy sheen that clings perfectly to whatever you pour it over. Whether you’re recreating a takeout favorite or adding a vibrant twist to weeknight dinners, mastering this sauce is a kitchen skill you’ll use again and again.
- Restaurant-Quality at Home: Achieve that perfect, glossy consistency and complex flavor you love from professional kitchens, without any mystery ingredients.
- Incredibly Versatile: This is your new secret weapon. It’s fantastic on crispy chicken, roasted duck, baked salmon, firm tofu, or even as a dip for spring rolls and tempura vegetables.
- Quick & Simple: From zesting to glazing, you’re about 15 minutes away from a transformative sauce using mostly pantry staples.
- Fresh & Vibrant Flavor: Using real orange juice and zest creates a bright, authentic citrus taste that bottled versions simply can’t match.
- Make-Ahead Friendly: Whip up a double batch and store it in the fridge for quick meal upgrades throughout the week.
- Easily Customizable: The base recipe is a perfect canvas. You can easily dial the sweetness up or down, add heat, or incorporate different herbs to make it your own.
Ingredients You’ll Need
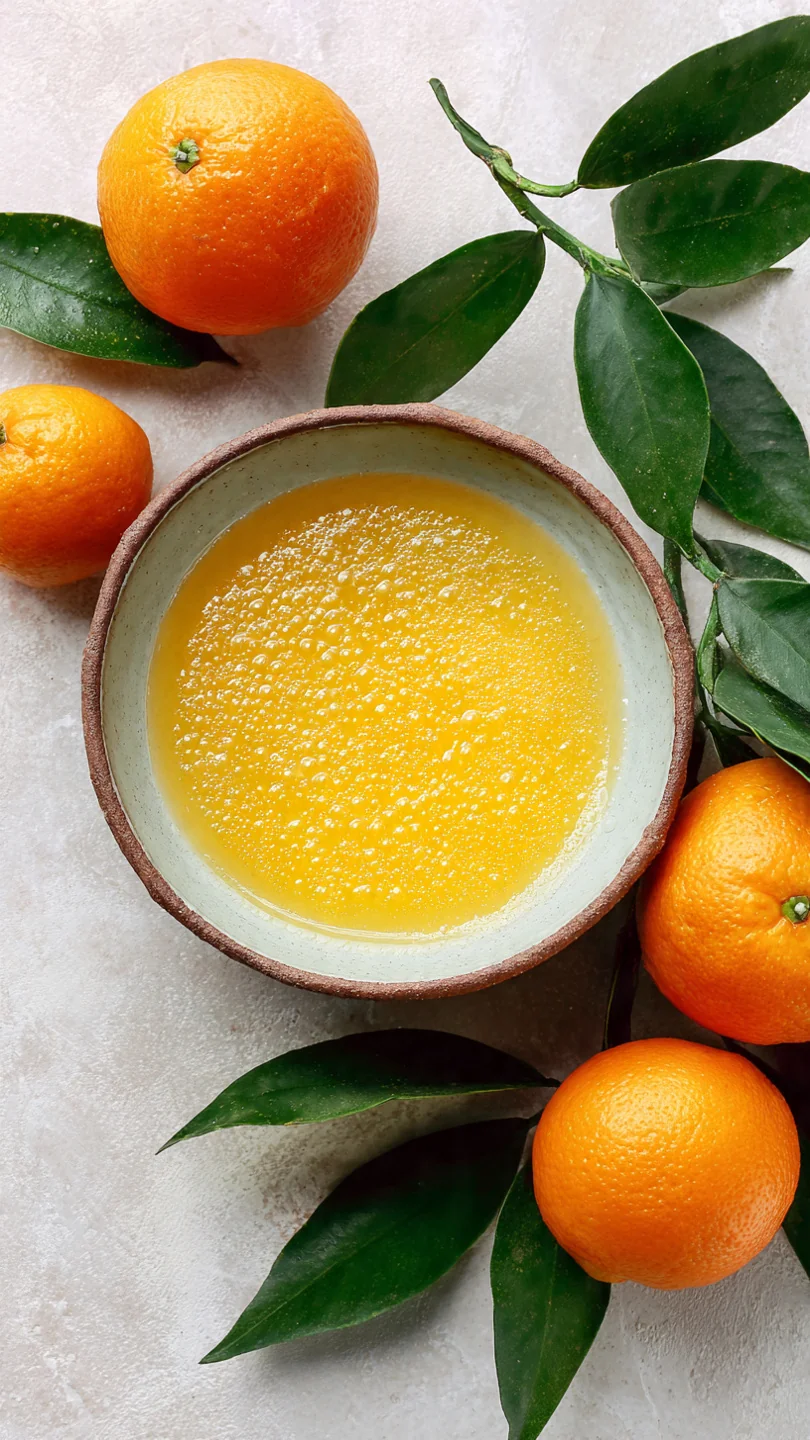
Let’s gather our ingredients—this is where the magic starts. Using fresh, quality components makes all the difference in creating a sauce that tastes alive and vibrant, not flat or artificial.
- Fresh Orange Juice: This is the non-negotiable star. You’ll need about 1 cup, squeezed from 3-4 large navel or Valencia oranges. Trust me, the flavor difference between fresh and concentrate is night and day. Strain it to avoid pulp, which can make the texture less smooth.
- Orange Zest: Don’t skip this! The zest contains the fragrant essential oils that give the sauce its powerful citrus aroma. Use a fine grater or microplane and only take the bright orange outer layer, avoiding the bitter white pith beneath.
- Light Brown Sugar: This adds a caramel-like depth and sweetness that balances the orange’s acidity. The molasses notes in brown sugar create a more complex flavor profile than white sugar would.
- Soy Sauce: This is our savory backbone, providing umami and saltiness. For a gluten-free version, simply swap in tamari. If you’re watching sodium, use a low-sodium variety.
- Rice Vinegar: A touch of acidity sharpens all the other flavors. Rice vinegar is mild and slightly sweet, but apple cider vinegar works in a pinch.
- Garlic & Ginger: Freshly minced garlic and grated ginger build a foundational aromatic layer that prevents the sauce from being one-dimensionally sweet.
- Cornstarch: This is our thickening agent. We’ll mix it with cold water to create a “slurry” before adding it to the hot liquid, which guarantees a lump-free, glossy finish.
- Toasted Sesame Oil (Optional): A mere teaspoon stirred in at the end adds a wonderful, nutty fragrance that ties everything together beautifully.
Kitchen Equipment Needed
You don’t need any fancy gadgets for this recipe. A medium saucepan (2-3 quart) is ideal for giving the sauce enough room to simmer and reduce. A fine grater or microplane is essential for getting that fluffy, perfect zest without the pith.
You’ll also need a juicer or reamer for the oranges, a whisk for stirring and incorporating the slurry, and a small bowl for mixing the cornstarch and water. That’s it! A silicone spatula is helpful for getting every last drop out of the pan.
How to Make Orange Sauce Recipe
Step 1: Build Your Flavor Base
In your saucepan, combine the fresh orange juice, zest, brown sugar, soy sauce, vinegar, garlic, and ginger. Place it over medium-high heat and whisk it all together. Your goal here is to dissolve the sugar completely and bring the mixture to a gentle boil.
As it heats, the incredible aroma of citrus and ginger will start to fill your kitchen—this is how you know you’re on the right track. Believe me, this first simmer is crucial for melding the flavors.
Step 2: Simmer and Concentrate
Once the mixture is boiling, reduce the heat to maintain a steady, active simmer. Let it cook for 8 to 10 minutes, giving it an occasional stir. You’ll notice the bubbles will become slightly thicker and the volume will reduce by about one-third.
This reduction step is key; it concentrates the orange flavor and cooks off the raw edge of the garlic and ginger, transforming them from sharp to sweet and mellow.
Step 3: Prepare the Thickening Slurry
While the sauce simmers, take a moment to prepare your cornstarch slurry. In a small bowl, whisk the tablespoon of cornstarch with the two tablespoons of cold water until it’s completely smooth, with no lumps whatsoever. Tip from me: using cold water is non-negotiable.
Hot or warm water will cause the cornstarch to clump instantly, leading to a grainy sauce.
Step 4: Thicken to Glossy Perfection
After the initial simmer, give your slurry one final stir. Now, while whisking the simmering orange mixture constantly, slowly drizzle in the cornstarch slurry. You’ll see the magic happen—the liquid will begin to thicken almost immediately.
Keep whisking and let it bubble gently for another 1 to 2 minutes. This cooks out the starchy flavor and allows the sauce to reach its final, luxurious consistency. It should coat the back of a spoon nicely.
Step 5: Finish and Serve
Remove the pan from the heat. If you’re using it, stir in the toasted sesame oil now; its flavor is delicate and best added off the heat. Your sauce is ready!
You can use it immediately as a glaze for cooked proteins, or let it cool slightly. Step back and admire that beautiful, glossy sheen. Pour it over crispy chicken, brush it on duck during the last few minutes of roasting, or drizzle it over roasted broccoli.
- The Zest is Best: For maximum flavor, zest your oranges before you juice them. It’s much easier to grate a whole fruit.
- Slurry Success: Always add a cornstarch slurry to a simmering liquid, not a rolling boil, and whisk constantly as you pour. This ensures even thickening without lumps.
- Consistency Control: Remember, the sauce will continue to thicken slightly as it cools. If it becomes too thick upon standing, simply whisk in a teaspoon or two of warm water or orange juice to loosen it.
- Avoid Bitterness: When zesting, use a light touch. The white pith underneath the orange skin is bitter. You only want the brightly colored outer zest.
- Taste and Adjust: The perfect balance is personal. After thickening, taste your sauce. Want it tangier? Add a splash more vinegar. More savory? A dash more soy sauce. Sweeter? A pinch of sugar.
Recipe Variations
- Spicy Orange Sauce: Add 1-2 teaspoons of sriracha, a tablespoon of gochujang, or a pinch of red pepper flakes when you add the initial ingredients for a sweet-heat combination.
- Herb-Infused Orange Sauce: Stir in 1-2 tablespoons of finely chopped fresh cilantro, Thai basil, or mint after removing the sauce from the heat for a bright, aromatic finish.
- Honey Orange Glaze: Substitute the brown sugar with an equal amount of honey for a floral, nuanced sweetness. Add it with the other liquids.
- Bourbon or Grand Marnier Twist: For a sophisticated, adult version, add 2 tablespoons of bourbon or orange liqueur to the saucepan along with the orange juice. Let it simmer to cook off the alcohol.
- Five-Spice Orange Sauce: Add 1/4 to 1/2 teaspoon of Chinese five-spice powder to the saucepan at the beginning for a deeply aromatic, complex flavor profile.
- Vegan & Refined Sugar-Free: Use maple syrup or agave nectar instead of brown sugar, and ensure your soy sauce is vegan-friendly.
What to Serve With This Recipe
This sauce is the ultimate companion for proteins. It’s classic over crispy fried or baked chicken (think homemade orange chicken), or brushed on duck breast during the last few minutes of cooking for a quick duck à l’orange. It’s also superb on salmon fillets, shrimp, or firm tofu.
For a vegetable side, try it drizzled over roasted broccoli, carrots, or Brussels sprouts. To build a meal, serve your glazed protein with steamed jasmine rice to soak up the extra sauce, and a simple side of sautéed bok choy or a cucumber salad to cut through the richness.
Storage & Make-Ahead Instructions
- Refrigerator Storage: Allow the sauce to cool completely, then transfer it to an airtight container. It will keep well in the refrigerator for up to 5 days.
- Freezing: This sauce freezes beautifully for up to 2 months. Store it in a freezer-safe container or zip-top bag, leaving a little space for expansion. Thaw overnight in the refrigerator.
- Reheating: Gently reheat the sauce in a small saucepan over low heat, adding a splash of water or orange juice if it has thickened too much. You can also microwave it in 15-second intervals, stirring between each.
- Make-Ahead Strategy: This is an excellent make-ahead component. Prepare it up to 3 days in advance and store it in the fridge. Reheat gently before using. The flavors often meld and improve after a day.
Frequently Asked Questions
Q: Can I use bottled orange juice instead of fresh?
A: I strongly recommend fresh juice for the best bright, vibrant flavor. Bottled juice, especially from concentrate, often has a cooked or flat taste and can make your sauce overly sweet. If you must substitute, look for a high-quality, not-from-concentrate variety.
Q: My sauce is too thin. How can I thicken it more?
A: Create another small slurry with 1/2 teaspoon of cornstarch and 1 tablespoon of cold water. Ensure your sauce is at a simmer, then whisk in the new slurry and cook for another 1-2 minutes.
Q: My sauce is too thick. How can I thin it out?
A: Simply whisk in a small amount of warm water, orange juice, or even a little chicken or vegetable broth, one tablespoon at a time, until it reaches your desired consistency.
Q: Can I make this sauce without cornstarch?
A: Yes, but the method changes. You can simmer the sauce for longer (15-20 minutes) to reduce it further and naturally thicken it, though it won’t be as glossy. Alternatively, make a roux with 1 tablespoon each of butter and flour, cook for a minute, then whisk in your liquid ingredients and simmer until thickened.
Q: Is this the same as Chinese orange chicken sauce?
A: It’s very close! For a more authentic takeout-style sauce, you might add a tiny pinch of Chinese five-spice powder and finish with a teaspoon of toasted sesame oil. This recipe provides the perfect, balanced base for it.
Q: How can I tell if my leftover sauce has gone bad?
A: Discard the sauce if you notice any mold, an off (sour or fermented) smell, or if it has been in the refrigerator for longer than 5 days.
Q: Can I use lemon or lime instead of orange?
A: Absolutely! The technique remains the same. For lemon sauce, you may want to increase the sugar slightly to balance the stronger acidity.
Lime would create a fantastic glaze for fish or shrimp.
Final Thoughts
Mastering a sauce like this is what turns a home cook into a confident kitchen artist. It’s a fundamental recipe that proves incredible flavor doesn’t require a long list of obscure ingredients—just a little know-how and a commitment to freshness. This orange sauce has earned a permanent spot in my refrigerator because it makes weeknight dinners feel special and gives me the power to improvise a fantastic meal with whatever protein I have on hand.
I encourage you to make it your own. Play with the variations, adjust the sweetness to your taste, and discover all the different dishes it can elevate.
I’d love to hear how it turns out for you! What did you pour it over? Did you add your own twist?
Share your results and any questions in the comments below. If you enjoyed this recipe, please consider sharing it with a friend who loves to cook. For more tested, professional recipes and techniques that bring restaurant magic into your home kitchen, be sure to explore the other recipes on the site.
Happy cooking
Classic Orange Sauce
Equipment
- Medium saucepan (2-3 quart)
- Fine grater or zester
- Juicer or reamer
- Whisk
- Small bowl for slurry
Ingredients
- 1 cup fresh orange juice from about 3-4 large navel oranges, strained
- 2 tbsp orange zest finely grated, from about 2 oranges
- 1/3 cup light brown sugar packed
- 2 tbsp soy sauce or tamari for gluten-free
- 1 tbsp rice vinegar or apple cider vinegar
- 2 cloves garlic minced
- 1 tsp fresh ginger finely grated
- 1 tbsp cornstarch
- 2 tbsp cold water
- 1 tsp toasted sesame oil optional, for finishing
Instructions
- In a medium saucepan, combine the fresh orange juice, orange zest, brown sugar, soy sauce, rice vinegar, minced garlic, and grated ginger. Whisk everything together over medium-high heat until the sugar dissolves completely and the mixture comes to a gentle boil.
- Once boiling, reduce the heat to maintain a steady simmer. Let the sauce cook for 8-10 minutes, stirring occasionally. You’re looking for it to reduce by about one-third and the flavors to meld beautifully. The aroma will become wonderfully fragrant.
- While the sauce simmers, create a slurry by whisking the cornstarch with the 2 tablespoons of cold water in a small bowl until completely smooth and lump-free. This step is crucial to prevent clumping in your final sauce.
- After the initial simmer, give the slurry another quick stir and slowly drizzle it into the simmering orange mixture while whisking constantly. The sauce will begin to thicken almost immediately. Continue to cook for another 1-2 minutes until it reaches a glossy, glaze-like consistency that coats the back of a spoon.
- Remove the saucepan from the heat. Stir in the toasted sesame oil, if using, for a final layer of nutty aroma. Taste and adjust seasoning if desired. Your sauce is now ready to glaze cooked chicken, duck, salmon, or roasted vegetables.