
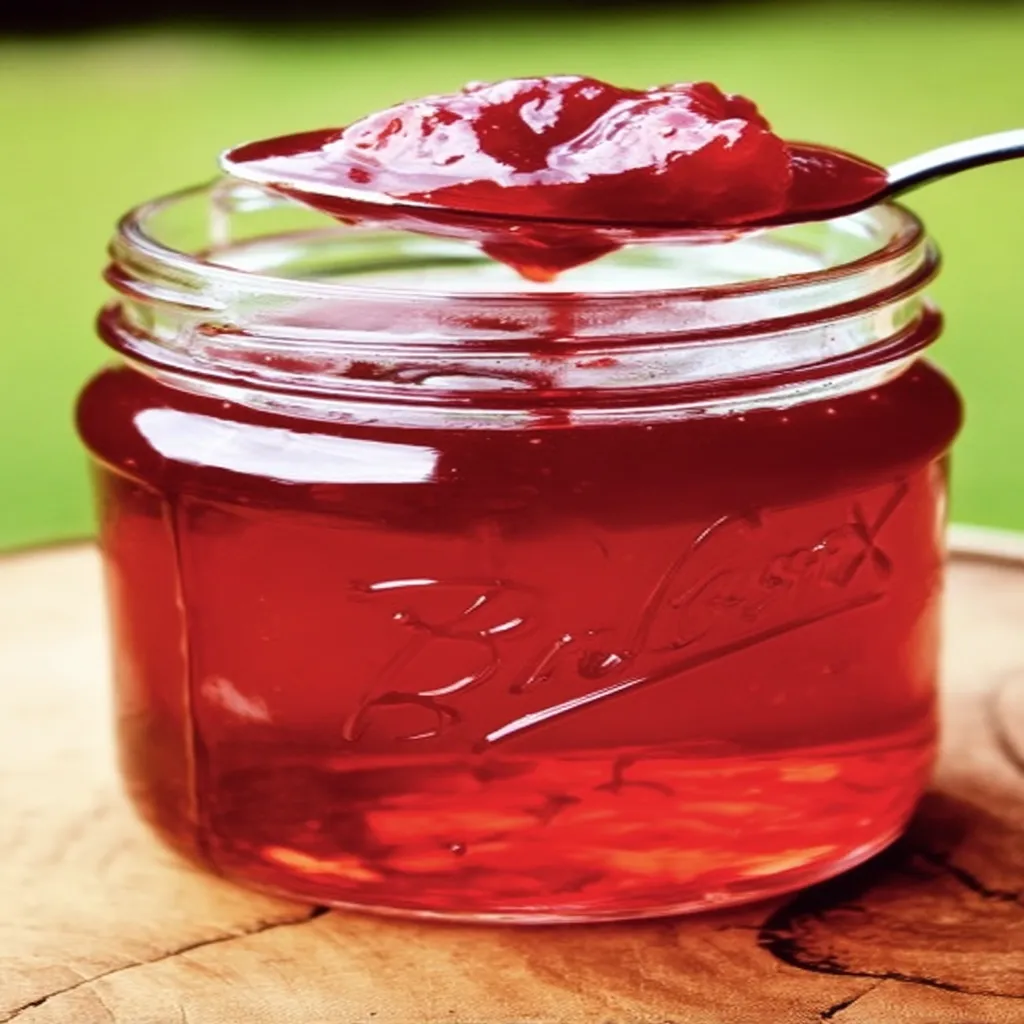
Hey there, fellow food lovers! I’ve gotta confess, I’ve been tinkering with my raspberry jam recipe for years now, ever since I stumbled upon a giant haul of fresh raspberries at a local farmer’s market.
There’s something magical about turning those vibrant, tart little berries into a sticky, sweet spread that my family can’t get enough of. Whether you’re a newbie in the kitchen or a seasoned pro, I’m thrilled to share this raspberry jam recipe that’s become a staple in my home.
I remember the first time I tried making jam; it was a hot mess (literally!). I overcooked it and ended up with something closer to candy than spread. But after a few tries, I nailed this raspberry jam recipe, and now it’s my go-to for gifting, breakfast spreads, or just sneaking a spoonful straight from the jar. So, let’s dive into this easy, foolproof way to whip up some homemade goodness!
Why You’ll Love This Recipe
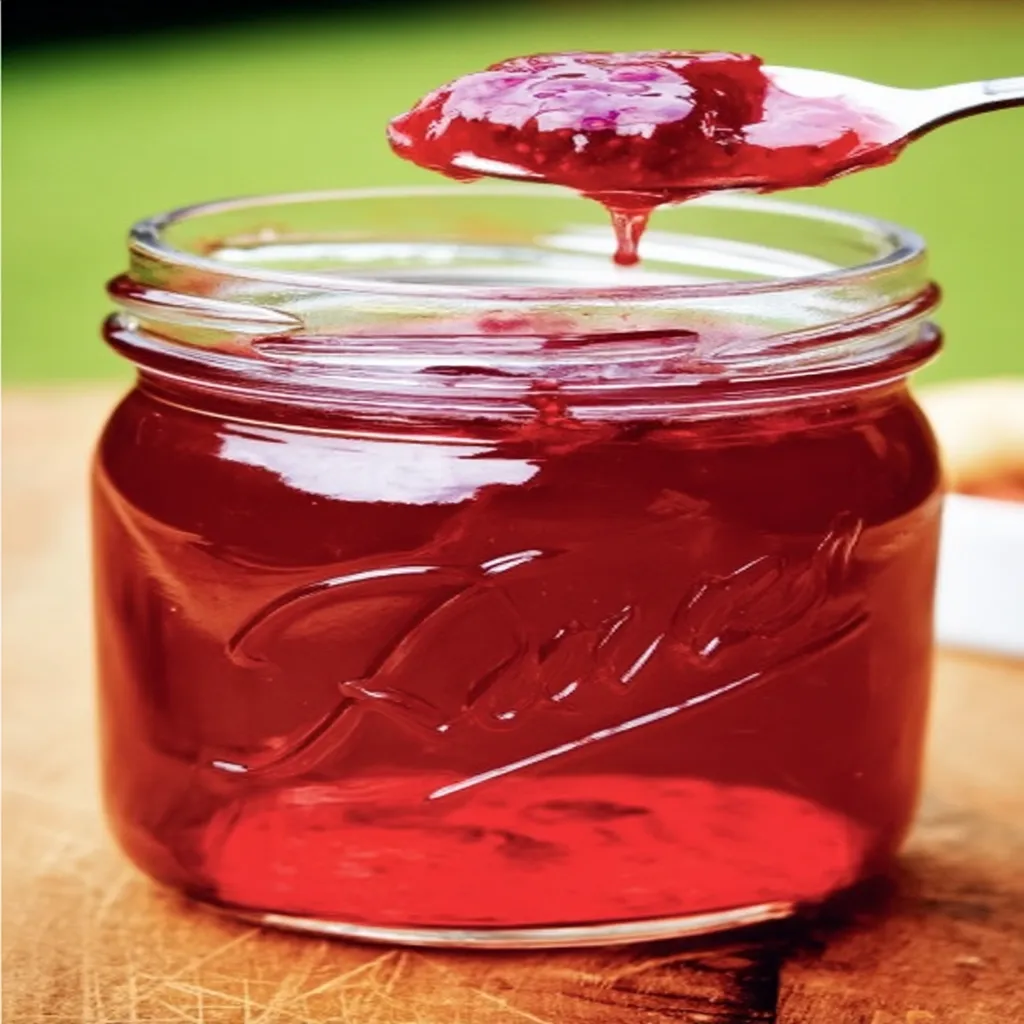
I’ve found that this raspberry jam recipe isn’t just about the end result; it’s about the whole process. The smell of simmering berries, the satisfaction of hearing those jars pop as they seal, it’s pure kitchen therapy! Plus, it’s way simpler than you’d think, with just a handful of ingredients.
And let’s be real, nothing beats the taste of homemade. In my kitchen, this raspberry jam recipe outshines any store-bought version with its bright, fresh flavor. It’s versatile too, perfect on toast or swirled into yogurt, and I’m betting you’ll be as hooked as I am once you try it.
Ingredients List
When it comes to making a killer raspberry jam recipe, the quality of your ingredients matters. I prefer using the freshest raspberries I can get my hands on, usually from a local market or even straight from my backyard patch when I’m lucky. If fresh isn’t an option, frozen works just fine, and I usually buy organic to keep things as natural as possible. If you love this recipe, you’ll also enjoy kiflice jam filled crescent cookies recipe.
Here’s exactly what you’ll need to whip up this raspberry jam recipe:
- 4 cups (about 1 kg) fresh raspberries, rinsed and gently patted dry
- 4 cups (800g) granulated sugar, for that perfect sweetness (adjust slightly if your berries are super sweet)
- 1/4 cup (60ml) freshly squeezed lemon juice, to balance the flavors and help with setting
- 1 packet (1.75 oz or 49g) fruit pectin, like Sure-Jell, to ensure your jam thickens up nicely
I’ve gotta say, I’m picky about my lemon juice; I always squeeze it fresh because the bottled stuff just doesn’t have that zing. And if you’re wondering about the pectin, stick with me, I’ll explain how to use it in the steps for this raspberry jam recipe. These simple ingredients come together to create something truly special, I promise!
Variations
I love how flexible this raspberry jam recipe can be. Over the years, I’ve played around with different twists, depending on my mood or what I’ve got in the pantry. Here are some fun variations I’ve tried for this raspberry jam recipe that might inspire you to get creative too.
- Vanilla Infused: Add a split vanilla bean or 1 teaspoon of pure vanilla extract for a warm, aromatic note.
- Spicy Kick: Toss in a pinch of red pepper flakes or a small diced jalapeño for a sweet-heat vibe that’s unreal on cheese boards.
- Mixed Berry Blend: Swap out 1 cup of raspberries for blackberries or blueberries to switch up the flavor profile.
- Low-Sugar Option: Cut the sugar down to 2 cups and use a low-sugar pectin; it’s still tasty, just less intense.
- Lemon Zest Boost: Grate in the zest of one lemon for an extra citrusy punch that brightens everything up.
- Honey Sweetened: Replace half the sugar with honey for a floral sweetness (I tried this once and my kids went nuts for it!).
- Herbal Twist: Add a sprig of fresh rosemary or basil while simmering; it’s subtle but oh-so-fancy.
- Boozy Touch: Stir in a tablespoon of Grand Marnier or bourbon at the end for a grown-up take on this raspberry jam recipe.
My family’s favorite is probably the vanilla version, though I’m partial to the spicy one when I’m feeling adventurous. What variation are you itching to try with your raspberry jam recipe?
Servings and Timing
I’ve made this raspberry jam recipe enough times to know the timing down to a science, at least in my experience. It doesn’t take all day, which is a win when I’ve got a million other things on my plate. Here’s the breakdown for making this raspberry jam recipe:
- Prep Time: 15 minutes
- Cook Time: 20-25 minutes
- Total Time: About 40 minutes
- Servings: Makes about 5-6 half-pint jars
These jars are perfect for sharing, or hoarding, if you’re like me. Trust me, it’s a breeze to fit this into a busy day!
Step-by-Step Instructions
Let’s get into the nitty-gritty of this raspberry jam recipe. I’m breaking it down step by step, with little tricks I’ve picked up along the way. Follow along, and you’ll have gorgeous jam in no time!
Step 1: Prep Your Gear and Berries
First things first, sterilize your jars and lids by boiling them for 10 minutes. I usually do this while I’m rinsing my raspberries to save time. Make sure your berries are clean but not waterlogged; give ‘em a gentle pat with a paper towel. For more inspiration, I recommend checking out egg roll dipping sauce recipe.
Step 2: Mash and Mix
In a big, heavy-bottomed pot, mash up those raspberries with a potato masher. I like leaving some chunks for texture, but you do you. Stir in the lemon juice and pectin until it’s all combined; this is key for that perfect set in your raspberry jam recipe.
Step 3: Cook It Down
Crank the heat to medium-high and bring the mix to a full rolling boil, stirring constantly so it doesn’t stick. Once it’s boiling hard, dump in all that sugar at once. Keep stirring like your life depends on it; this is where the magic happens for this raspberry jam recipe.
Step 4: Boil and Test
Let it boil for 1-2 minutes, then test for doneness by spooning a bit onto a chilled plate. If it wrinkles when you push it, you’re golden! I’ve over-boiled before, so err on the side of caution with this raspberry jam recipe.
Step 5: Jar It Up
My friend at healthy creamed spinach recipe has a similar recipe that you might enjoy.
Carefully ladle the hot jam into your sterilized jars, leaving about 1/4 inch of headspace. Wipe the rims clean (don’t skip this!), then pop on the lids and screw the bands finger-tight. This step always feels like sealing in little jars of summer.
Step 6: Process and Cool
Process the jars in a boiling water bath for 10 minutes to seal ‘em up tight. Then let them cool on a towel for 24 hours, listening for that satisfying “pop” as they seal. Honestly, this is my favorite part of making this raspberry jam recipe!
Nutritional Information
I’m not gonna lie, this raspberry jam recipe isn’t exactly diet food, but it’s worth every sweet spoonful in my book. Here’s the rough nutritional breakdown per tablespoon, based on what I’ve calculated: If you love this recipe, you’ll also enjoy meringue cookies with strawberry jam recipe.
- Calories: 50
- Fat: 0g
- Protein: 0g
- Carbohydrates: 13g
- Sugar: 12g
I think it’s fine as a treat, especially since you control the ingredients with this raspberry jam recipe. Spread it thin if you’re watching your intake, or go wild like I do on special brunch days!
Healthier Alternatives
If you’re looking to lighten up this raspberry jam recipe, I’ve got you covered with a few swaps I’ve tried myself. It’s all about balance, right? Here are some tweaks for a healthier take on this raspberry jam recipe.
- Less Sugar: Cut the sugar to 2-3 cups and use low-sugar pectin; it sets just fine, though the flavor’s a tad less intense.
- Natural Sweetener: I’ve swapped half the sugar for honey or maple syrup for a different kind of sweetness.
- Chia Boost: Skip pectin and add 2 tablespoons of chia seeds; it gels naturally and adds some omega-3s.
- No Sugar Added: Use a sugar substitute like Stevia, though I’ll warn ya, the texture might be a bit off.
These tweaks still give you that homemade vibe of a raspberry jam recipe, just with a healthier spin. Which one are you gonna try? If you enjoyed this recipe, you might like taco cheese ball recipe.
Serving Suggestions
I love getting creative with how I use this raspberry jam recipe. It’s not just for toast, though that’s a classic for a reason. Here are my fave ways to enjoy this raspberry jam recipe straight from my table.
- Breakfast Bliss: Slather it on warm biscuits or English muffins with a pat of butter.
- Dessert Magic: Use it as a filling for thumbprint cookies or layer it in a trifle.
- Savory Pairing: Pair with a sharp cheddar on crackers for a sweet-salty snack.
- Yogurt Swirl: Stir a spoonful into plain Greek yogurt for a quick, fruity treat.
Honestly, at my last brunch, the yogurt swirl was a hit, and I’m betting it’ll be in your house too with this raspberry jam recipe!
Common Mistakes to Avoid
I’ve botched this raspberry jam recipe more times than I care to admit, so trust me on these pitfalls. Avoid these slip-ups, and you’ll be golden. Here are the biggies I’ve learned the hard way with this raspberry jam recipe.
- Skipping Sterilization: Don’t skip boiling your jars; I did once, and mold ruined everything.
- Overcooking: Boil too long, and you’ve got raspberry taffy, not jam; keep an eye on that plate test.
- Ignoring Headspace: Leave too little room at the top, and your jars might not seal right.
- Not Stirring Enough: I learned this the hard way when I scorched a batch; stir constantly during the boil.
Save yourself the headache and dodge these mistakes with your raspberry jam recipe. Been there, done that!
Storing Tips
I’ve found that proper storage makes all the difference with this raspberry jam recipe. You want to enjoy that fresh flavor as long as possible, right? Here’s how I keep my raspberry jam recipe tasting great.
- Refrigerator: An opened jar keeps for 2-3 weeks in the fridge, tightly sealed.
- Pantry: Unopened, processed jars last up to a year in a cool, dark spot.
- Freezer: Freeze extra jam in small containers for up to 6 months if you skip canning.
These tricks have saved me tons of batches over the years! For more recipes like this, check out fluffy raspberry pistachio cupcakes.
Frequently Asked Questions
I get tons of questions about this raspberry jam recipe, so let’s tackle the most common ones. I’ve got answers straight from my kitchen experiments. Here we go!
Can I use frozen raspberries?
Absolutely, I’ve done it plenty of times! Just thaw them slightly or toss ‘em in frozen; they’ll break down fine. Your raspberry jam recipe will still turn out delish.
Do I have to use pectin?
Nah, you don’t have to, but it helps with the set. I’ve skipped it before and cooked longer for a softer jam. It’s personal preference with this raspberry jam recipe.
How do I know if my jars sealed?
Listen for the “pop” as they cool, and check if the lid doesn’t flex when pressed. If it pops up and down, it didn’t seal. For another great variation, check out baileys cheesecake recipe.
Can I reduce the sugar?
Yup, I’ve cut it down with low-sugar pectin, and it works. Just know the texture might be a bit runnier.
What if my jam is too runny?
No worries, I’ve been there. Reboil with a bit more pectin or lemon juice to thicken it up.
Can I double the recipe?
I wouldn’t, honestly. Bigger batches can mess with the setting time, so stick to small ones for best results.
How long does it take to set?
Usually a few hours to overnight in my experience. Give it time to cool fully before judging.
Is canning necessary?
Not if you’ll eat it quick or freeze it. Canning just extends shelf life for this raspberry jam recipe.
Conclusion
Well, friends, I hope you’re as pumped as I am to try this raspberry jam recipe. It’s honestly one of those kitchen projects that feels like a big win, especially when you spread it on warm bread. Grab some berries, give this raspberry jam recipe a whirl, and let me know how it goes, I’d love to hear! Here’s to sweet, sticky successes in your kitchen! You might also want to try fresh margarita recipe 2.