
There’s a world of difference between dry, rubbery scrambled eggs and the creamy, cloud-like version that feels like a luxury. As a chef, I’ve seen eggs rushed over high heat more times than I can count, and it breaks my culinary heart. The perfect scramble is not about fancy ingredients; it’s a lesson in patience and gentle heat.
When done right, the result is soft, glossy curds that practically melt on your tongue. It’s the ultimate quick, satisfying meal that proves simple food, treated with respect, can be extraordinary. Let me show you the professional method I’ve used for over a decade to get flawless scrambled eggs every single time.
- Consistently Perfect: This method eliminates guesswork. By controlling heat and motion, you get creamy, not rubbery, eggs every time.
- 5-Minute Luxury: From fridge to plate in under five minutes, this recipe delivers a restaurant-quality breakfast faster than you can get in a drive-thru line.
- Endlessly Customizable: This is your perfect blank canvas. Add cheese, herbs, or veggies to make it new every time.
- Teaches a Foundational Skill: Mastering scrambled eggs builds confidence for more complex egg dishes like omelets and frittatas.
- Kid-Friendly & Crowd-Pleasing: A universally loved dish that’s easy to scale up for a family brunch.
- Minimal Cleanup: One bowl, one pan, one spatula. It’s the definition of a simple, satisfying cook.
Ingredients You’ll Need
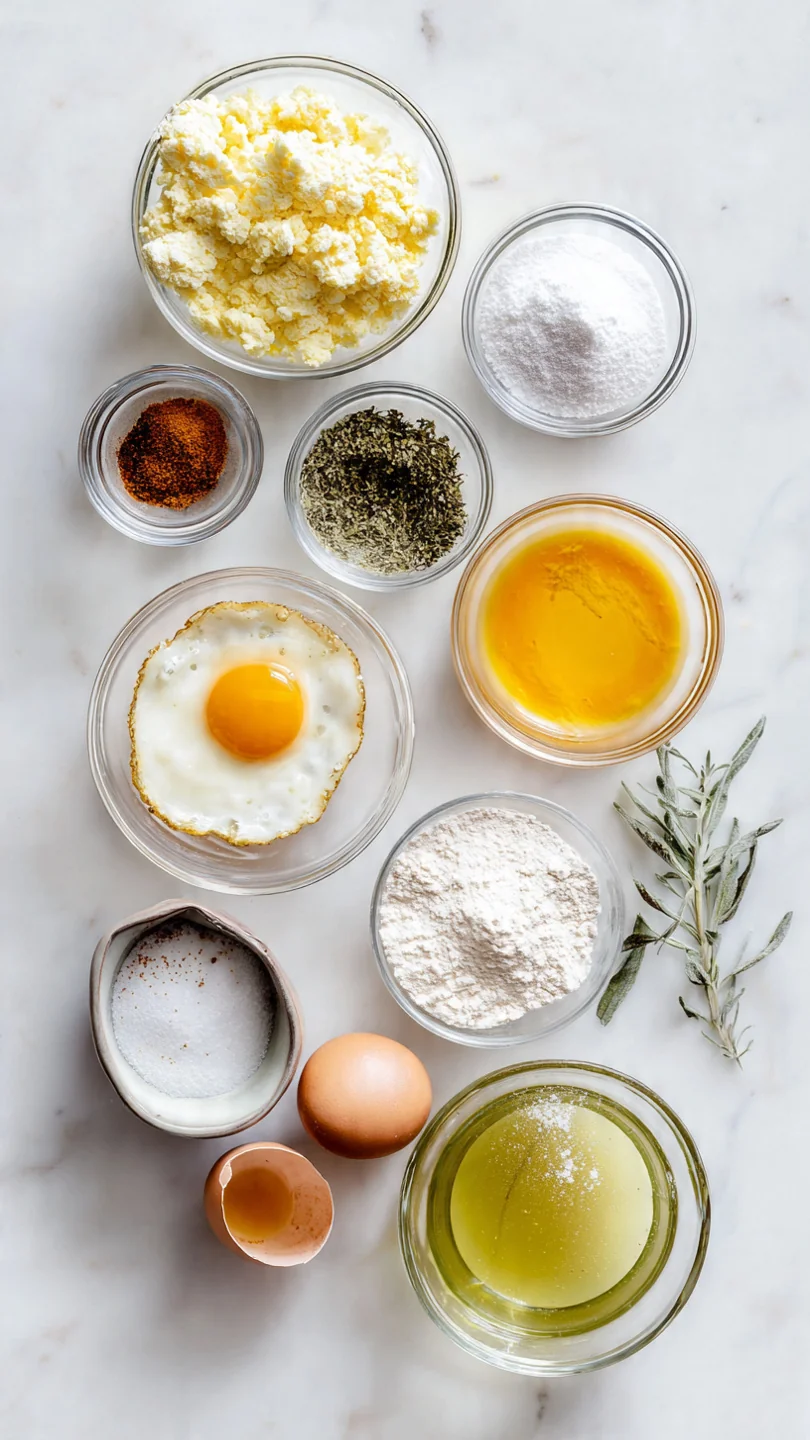
Let’s gather our ingredients—this is where the magic starts. You likely have everything you need already. The beauty lies in how we treat these humble staples.
Eggs are the star; for the best flavor and vibrant color, try to find the freshest ones you can. The milk, cream, or even a splash of water is our secret weapon—it introduces moisture that turns to steam, creating lighter curds. Butter is non-negotiable for its flavor and its role in preventing sticking and adding richness.
Salt is added early here, which is a chef’s trick; it helps break down the proteins slightly for a more tender result. Finally, freshly cracked black pepper and chives add the perfect finishing notes of warmth and freshness.
Note: You’ll find the complete list of ingredients, along with their exact measurements, in the printable recipe card at the bottom of this post.
Kitchen Equipment Needed
You don’t need any special gear. An 8-inch non-stick skillet is ideal—it’s the perfect size for 2-3 eggs, ensuring the mixture isn’t too thin in a larger pan. A flexible silicone spatula is my top choice; it’s gentle on the pan and perfect for folding.
A simple fork or small whisk and a mixing bowl round out the essentials. If you want to be extra prepared, have a warm plate ready—it makes a bigger difference than you’d think in keeping your eggs from cooling down too fast on the way to the table.
How to Make Scrambled Eggs Recipe
Step 1: Beat with Purpose
Crack your eggs into a bowl and add your chosen liquid and salt. Now, here’s the first key step: beat them vigorously for a full 30 seconds. Trust me, don’t skimp.
You’re looking for a completely homogenous, pale yellow, and slightly frothy mixture. This incorporates air and ensures the whites and yolks are fully married, which is the foundation for a uniform, tender texture. No streaks should remain.
Step 2: Master the Heat
Place your non-stick skillet on the stove and turn the burner to the lowest possible setting. Add the butter. The goal is to let the butter melt and foam gently without sizzling or browning.
This low-and-slow start is the single most important factor for creamy eggs. If your butter immediately sizzles and sputters, your pan is too hot. Believe me, patience here pays off in silky texture later.
Step 3: The Gentle Pour
Once the butter is melted and coating the pan, pour in your egg mixture. Let it sit, completely undisturbed, for about 20-30 seconds. You’ll see a thin, cooked layer start to form around the edges.
This quiet moment allows the bottom to set gently, creating the first delicate curds. Resist the urge to stir right away.
Step 4: The Art of the Fold
Now, take your spatula. Instead of stirring in circles, gently push the set edges from the outside of the pan toward the center. Tilt the pan slightly so the uncooked, liquid egg flows back into the empty space.
Tip from me: think of it as slowly folding the eggs over themselves. Repeat this gentle push-and-tilt motion every 15-20 seconds. You’re guiding the eggs, not scrambling them aggressively.
Step 5: The Perfect Finish and Serve
After 2 to 4 minutes of this gentle folding, the eggs will be mostly set but still look slightly wet and glossy. This is the moment to stop. They will continue to cook from residual heat.
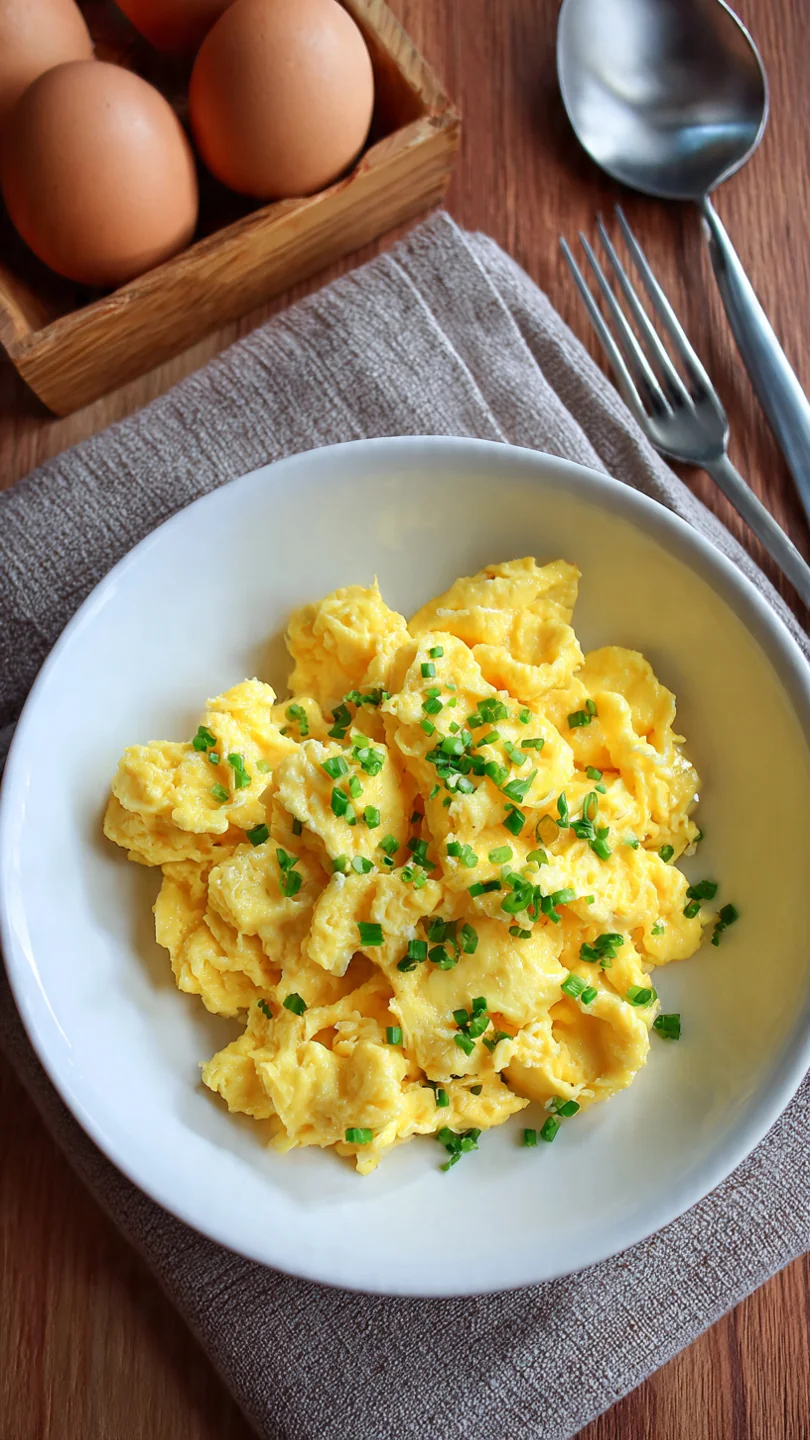
Immediately transfer them to your warm plate. Step back and admire those soft, large curds. Finish with a crack of black pepper and a sprinkle of fresh chives.
Serve at once and enjoy the creamy, dreamy results of your patience.
- Low Heat is Non-Negotiable: High heat is the enemy of creamy eggs. It tightens the proteins too quickly, squeezing out moisture and creating a dry, rubbery texture. If your eggs are cooking in under 90 seconds, your pan is too hot.
- The “Wet” Finish: Remove the eggs from the pan when they look about 90% done. They should still glisten and look a bit undercooked. They will reach perfect doneness on the plate. Cooking them 100% in the pan guarantees overcooked eggs by the time you eat.
- Salt Early: Salting the beaten eggs 5-10 minutes before cooking can actually improve tenderness, as the salt begins to break down the proteins. If you don’t have time, salting right before cooking is still better than salting at the end.
- Butter vs. Oil: Butter provides unmatched flavor and contributes to a rich, creamy mouthfeel. For pure convenience, a neutral oil works, but for the best scrambled eggs, butter is worth it.
- Don’t Overcrowd the Pan: For this method, 2-3 eggs in an 8-inch pan is ideal. If making more, cook in batches or use a larger pan. Too many eggs in a small pan will steam rather than set properly.
Recipe Variations
- Cheesy Delight: In the last 30 seconds of cooking, fold in 2 tablespoons of shredded sharp cheddar, gruyère, or goat cheese. Let it just melt into the curds.
- Herb Garden: Add a tablespoon of finely chopped soft herbs like chives, parsley, dill, or tarragon to the beaten eggs before cooking.
- Creamy Cottage Cheese: For a high-protein, extra-creamy version, fold in 2-3 tablespoons of small-curd cottage cheese just before the eggs are fully set.
- Everything Bagel: After plating, sprinkle the eggs with everything bagel seasoning for a savory, oniony crunch.
- Truffle Indulgence: Finish the plated eggs with a tiny drizzle of truffle oil or a few shavings of truffle for a decadent touch.
- Spanish-Style: Cook a tablespoon of finely diced onion and bell pepper in the butter before adding the eggs. Finish with a sprinkle of smoked paprika.
What to Serve With This Recipe
These scrambled eggs are a glorious centerpiece for a simple breakfast. For a classic diner plate, serve them alongside buttery toast or an English muffin to soak up every last bit. Crispy bacon or breakfast sausage provides a wonderful salty, savory contrast.
For a lighter meal, pair them with sliced avocado or a simple arugula salad. They also make a fantastic filling for a breakfast burrito when wrapped in a warm tortilla with salsa and cheese. For a weekend brunch, elevate the plate with a side of sautéed mushrooms or roasted tomatoes.
Storage & Make-Ahead Instructions
- Best Served Immediately: Scrambled eggs are truly at their peak within minutes of cooking. I do not recommend making them ahead, as they continue to cook and dry out.
- Short-Term Storage: If you must store leftovers, let them cool completely, then transfer to an airtight container and refrigerate for up to 2 days.
- Reheating Gently: Reheat leftovers gently in a non-stick pan over low heat with a tiny pat of butter, or in the microwave at 50% power in short 15-second bursts, stirring between each. They will not be as creamy as when fresh.
- Avoid Freezing: Freezing scrambled eggs is not recommended, as the texture becomes very watery and grainy upon thawing and reheating.
Frequently Asked Questions
Q: Why are my scrambled eggs always rubbery?
A: This is almost always due to cooking over heat that is too high. High heat forces the egg proteins to contract violently, squeezing out all the moisture. The fix is simple: use the lowest possible heat on your stove and be patient.
Q: Can I use water instead of milk or cream?
A: Absolutely. Water creates steam as it heats, which helps form light, fluffy curds. You won’t get the added richness of dairy, but the technique for perfect texture remains the same.
Q: How do I make scrambled eggs for a crowd?
A: I recommend cooking in batches of 4-6 eggs at a time to maintain control. Keep finished batches warm on a heatproof platter in a 200°F oven while you cook the rest. Avoid dumping a dozen eggs into one huge pan.
Q: Is it safe to eat slightly runny scrambled eggs?
A: For safety, eggs should be cooked until firm. With this low-heat method, the eggs will be creamy and soft but should have no visible liquid egg remaining. The “wet” look is from butter and moisture, not uncooked egg.
Q: What’s the best pan to use?
A: A quality non-stick skillet is the best tool for the job. It allows for gentle folding without sticking and requires minimal fat. Well-seasoned cast iron can work, but you may need a bit more butter.
Q: Can I add vegetables to this recipe?
A: Yes, but cook any watery veggies (like mushrooms, onions, peppers) in the butter first until softened and any released liquid has evaporated. Then, add the beaten eggs and proceed. For herbs, add them at the very end.
Q: Why do chefs add salt before cooking?
A: Salting early helps dissolve some of the egg proteins, preventing them from bonding too tightly during cooking. This results in a more tender and moist final texture.
Final Thoughts
Mastering scrambled eggs is one of the most rewarding skills in the kitchen. It transforms a routine ingredient into something special with just a shift in technique. Remember, low heat, gentle folds, and the courage to stop cooking just before they look done are your keys to success.
This recipe isn’t just about eggs; it’s about learning to cook with intention and care. I hope this method becomes your new standard. Once you taste the creamy, delicate curds, you’ll never go back to the hurried, high-heat scramble.
Give it a try this weekend, and taste the difference for yourself. I’d love to hear how it turns out for you—share your results or your favorite variation in the comments below!
Perfect Scrambled Eggs
Equipment
- 8-inch non-stick skillet
- Silicone spatula or wooden spoon
- Medium mixing bowl
- Fork or small whisk
Ingredients
- 2 large eggs Use the freshest eggs you can find for the best flavor and color.
- 1 tbsp whole milk or heavy cream Cream adds richness, milk is lighter. Water can also be used for steam.
- 1 pinch kosher salt Added before cooking to season the eggs properly.
- 1/2 tbsp unsalted butter For cooking. Using unsalted allows you to control the final seasoning.
- freshly ground black pepper For serving.
- fresh chives Optional, for garnish.
Instructions
- Crack the eggs into a medium bowl. Add the milk or cream and a generous pinch of kosher salt. Using a fork or whisk, beat the mixture vigorously for a full 30 seconds until it is completely uniform, frothy, and light yellow with no streaks of white or yolk remaining.
- Place a small non-stick skillet over LOW heat. Add the butter. Let the butter melt slowly and foam slightly, but do not let it brown. This gentle heat is the secret to creamy eggs.
- Pour the beaten egg mixture into the center of the pan. Let it sit, undisturbed, for about 20-30 seconds until you see a thin layer of cooked egg forming at the edges.
- Using a silicone spatula, begin to gently push the cooked edges toward the center, tilting the pan to allow the uncooked egg to flow into the empty space. Continue this slow, gentle folding motion every 15-20 seconds.
- Cook for 2-4 minutes total, folding gently, until the eggs are mostly set but still look slightly wet and glossy. They will continue to cook from residual heat. Immediately transfer to a warm plate, garnish with pepper and chives, and serve at once.