Sarah
Sarah
Deliciously Easy Perfectly Roasted Butternut Squash Recipe
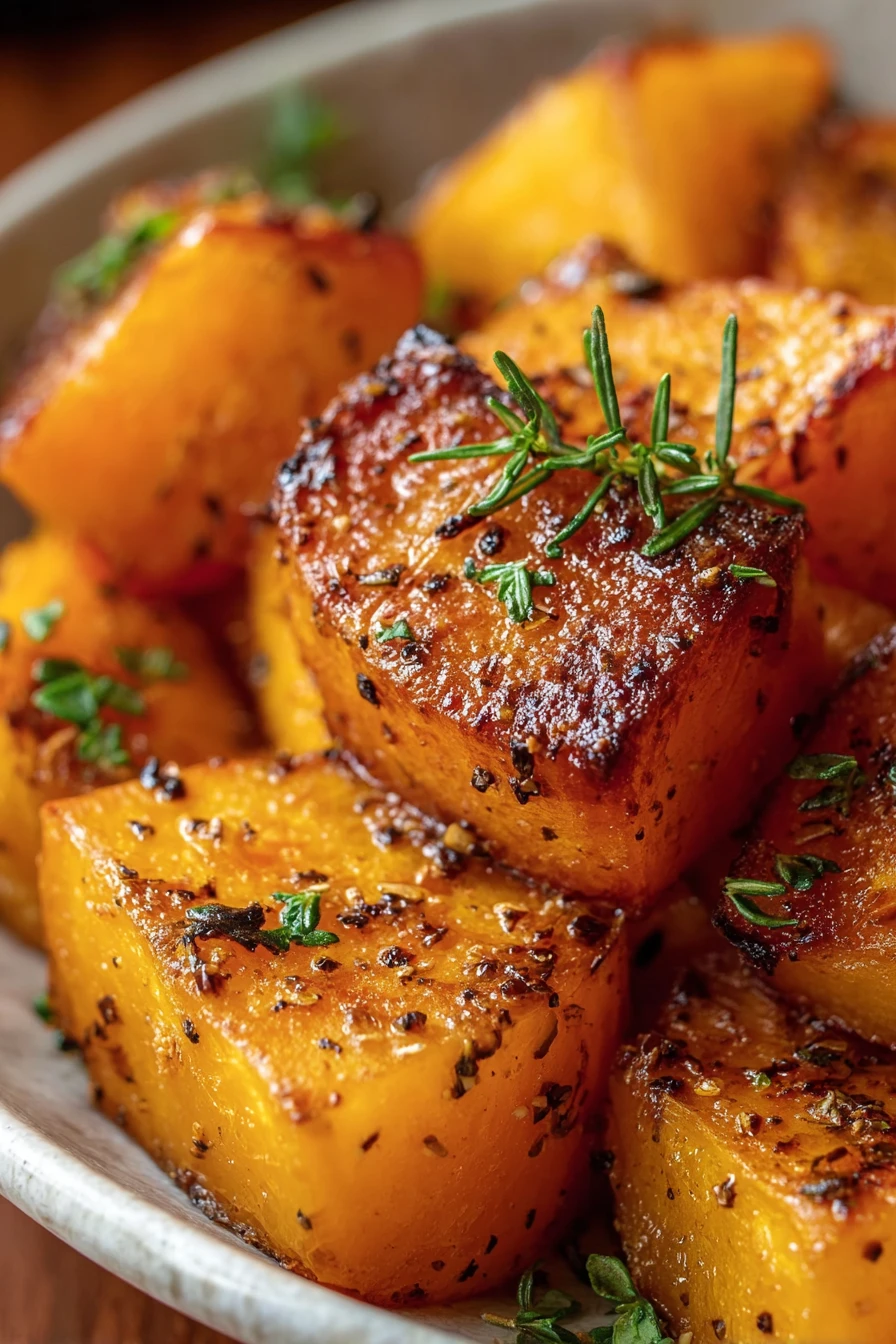
Hey there, friends! I’ve gotta tell ya, nothing screams cozy …
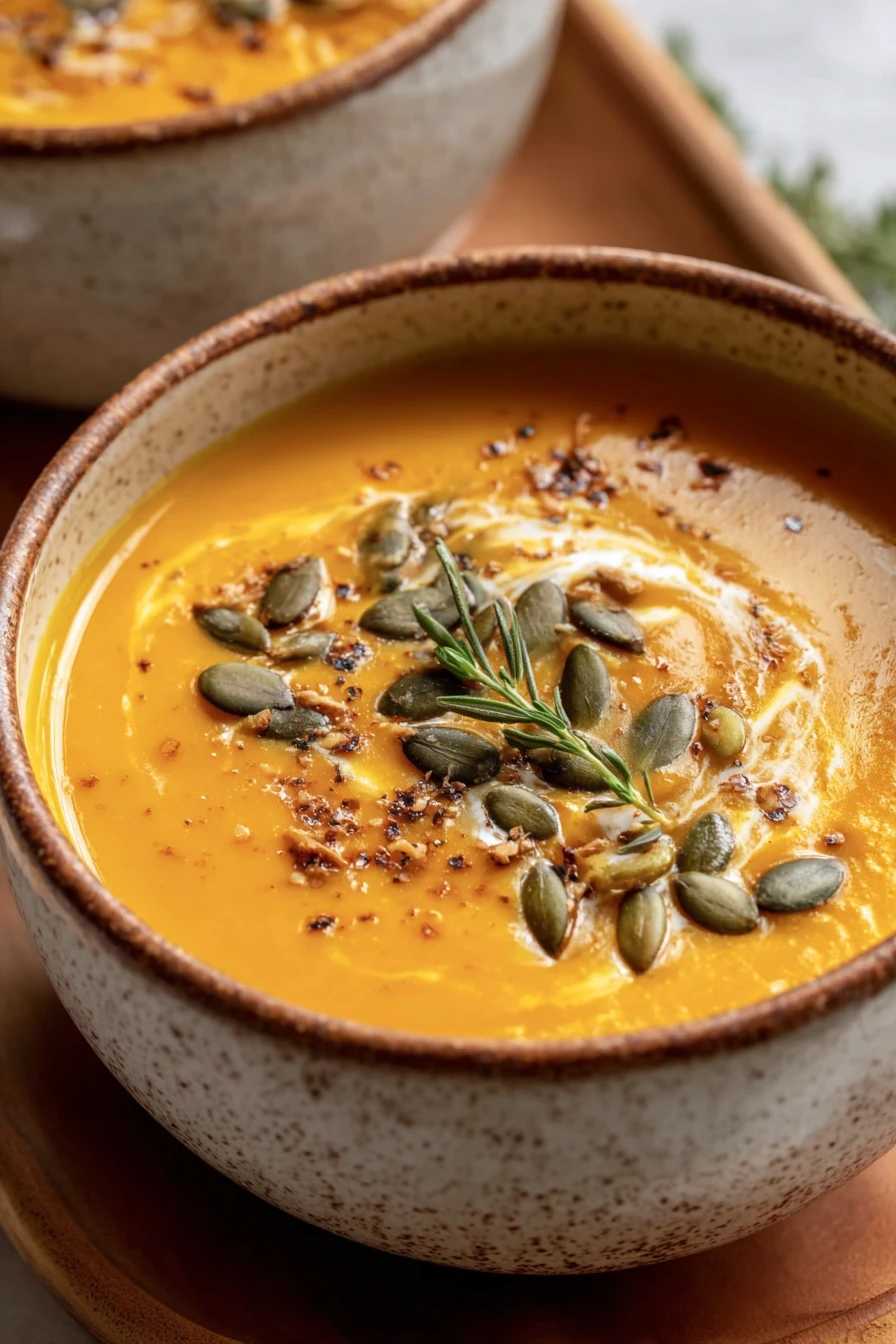
Brown Sugar Roasted Butternut Squash
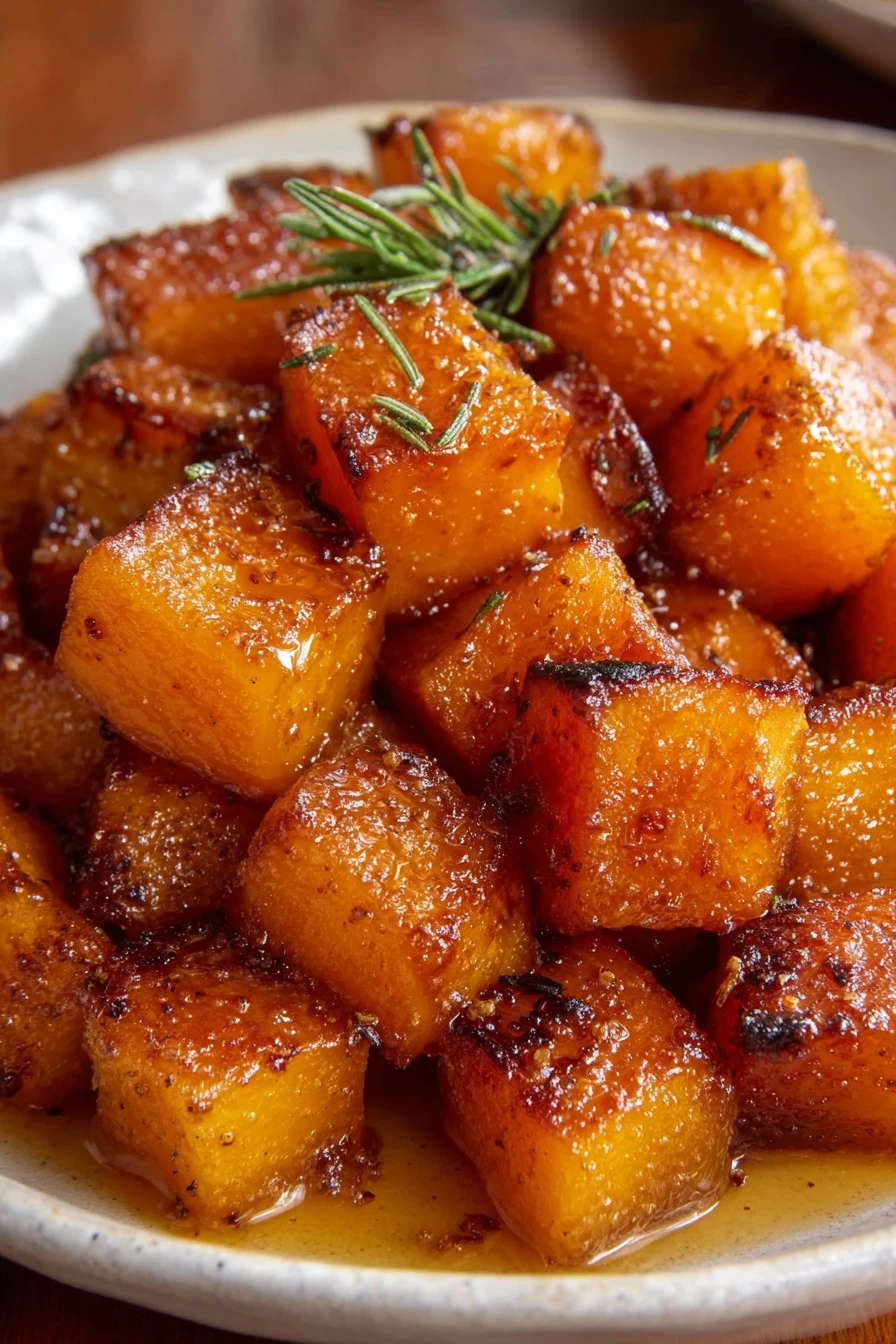
Hey there, friends! I’ve gotta share something that’s become a …