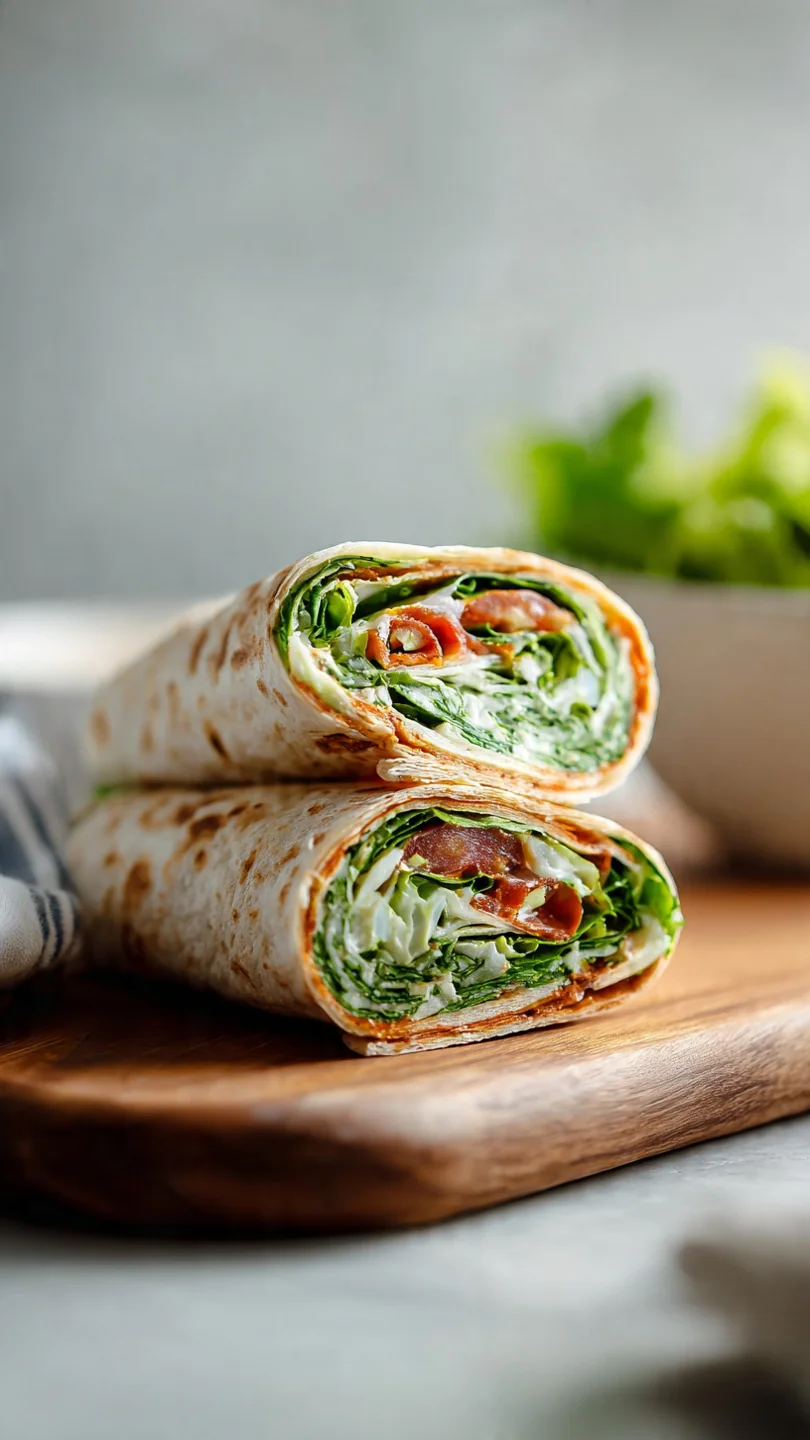
2 Ingredient Spinach Wrap January 17, 2026 by Harper Have you ever stared into your fridge, willing a healthy … Read more
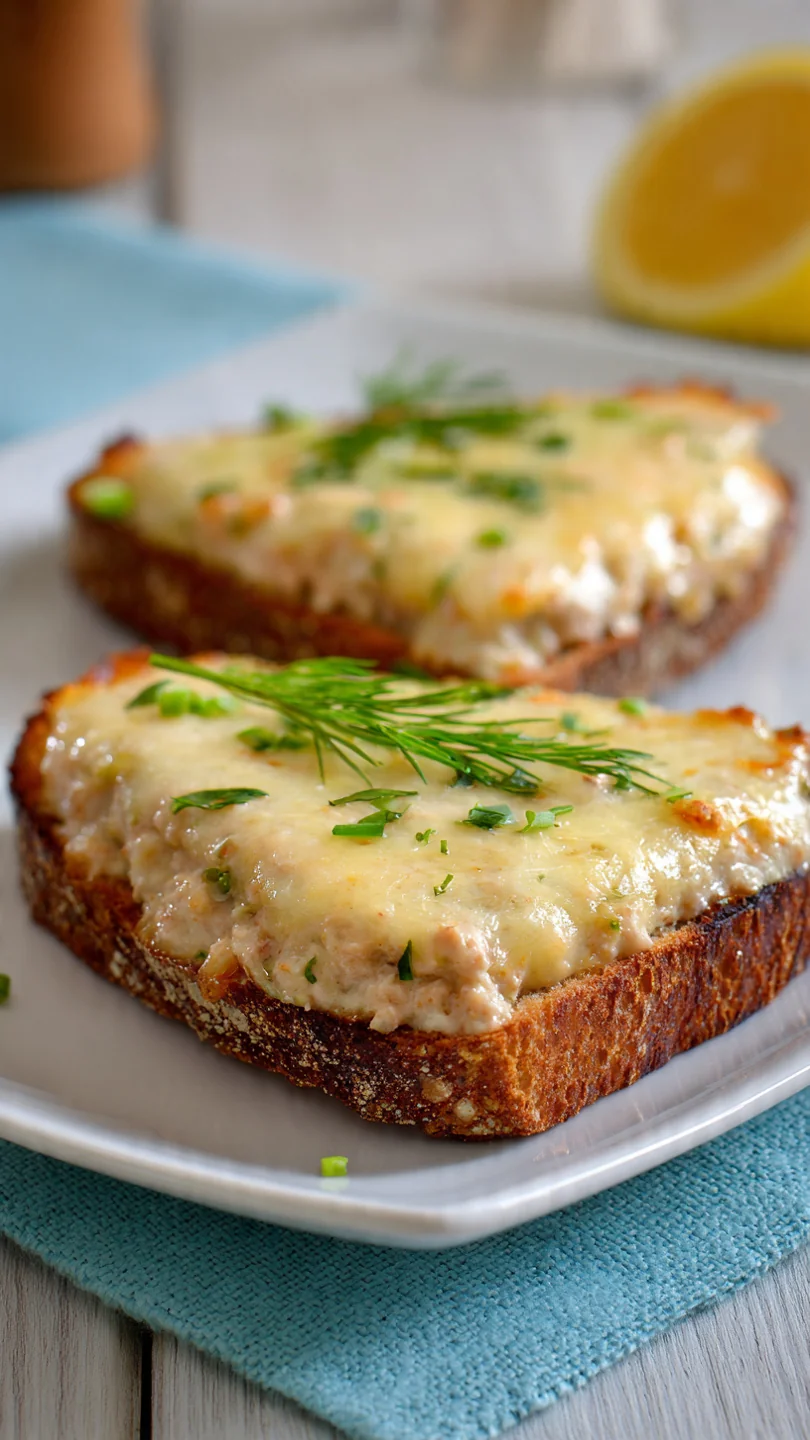
The Best Ever Tuna Melt December 17, 2025 by Harper There’s something deeply comforting about the perfect tuna melt. It’s … Read more
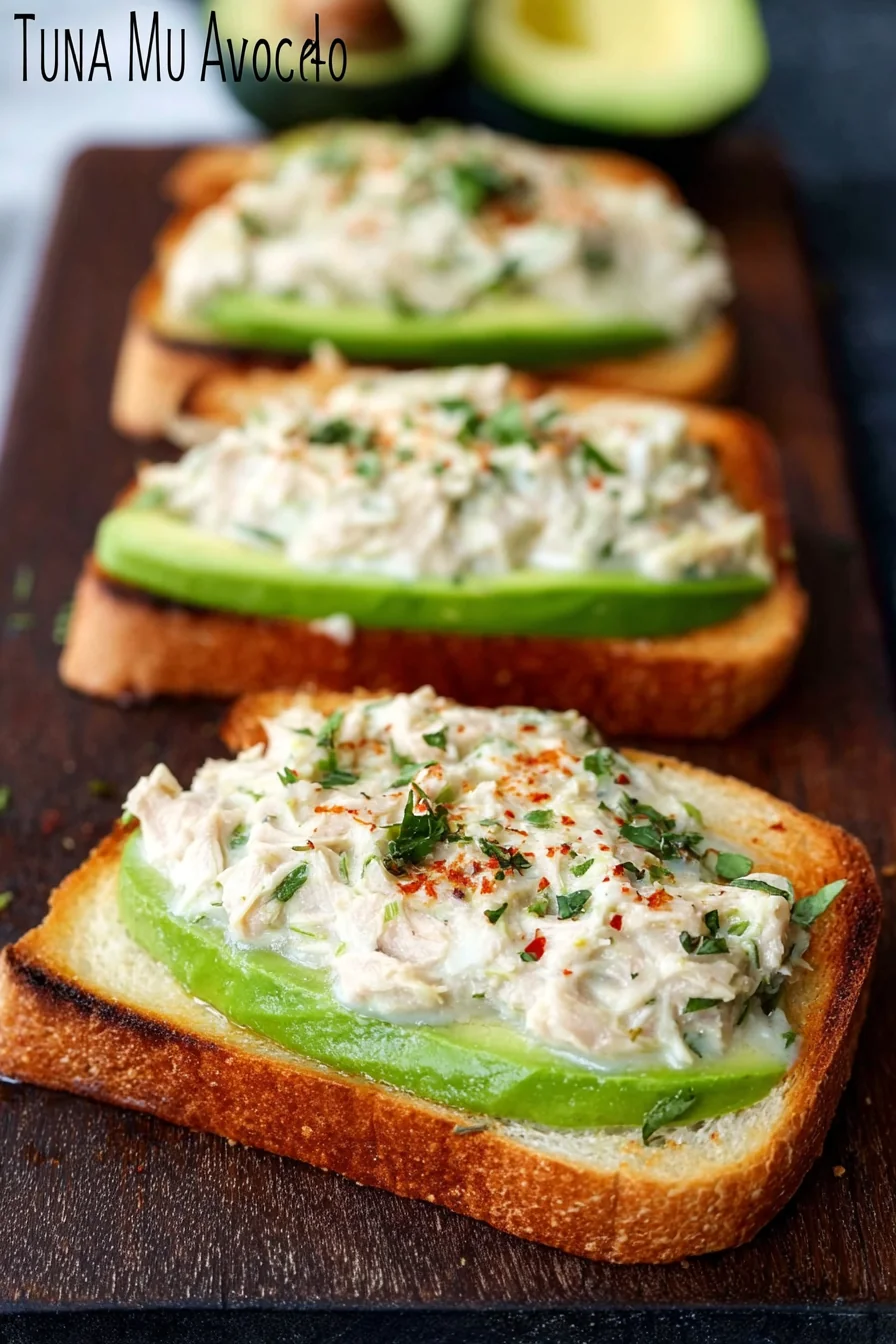
Tuna Melts on Avocado November 19, 2025 by Harper Tuna Melts on Avocado are the perfect quick and nutritious … Read more
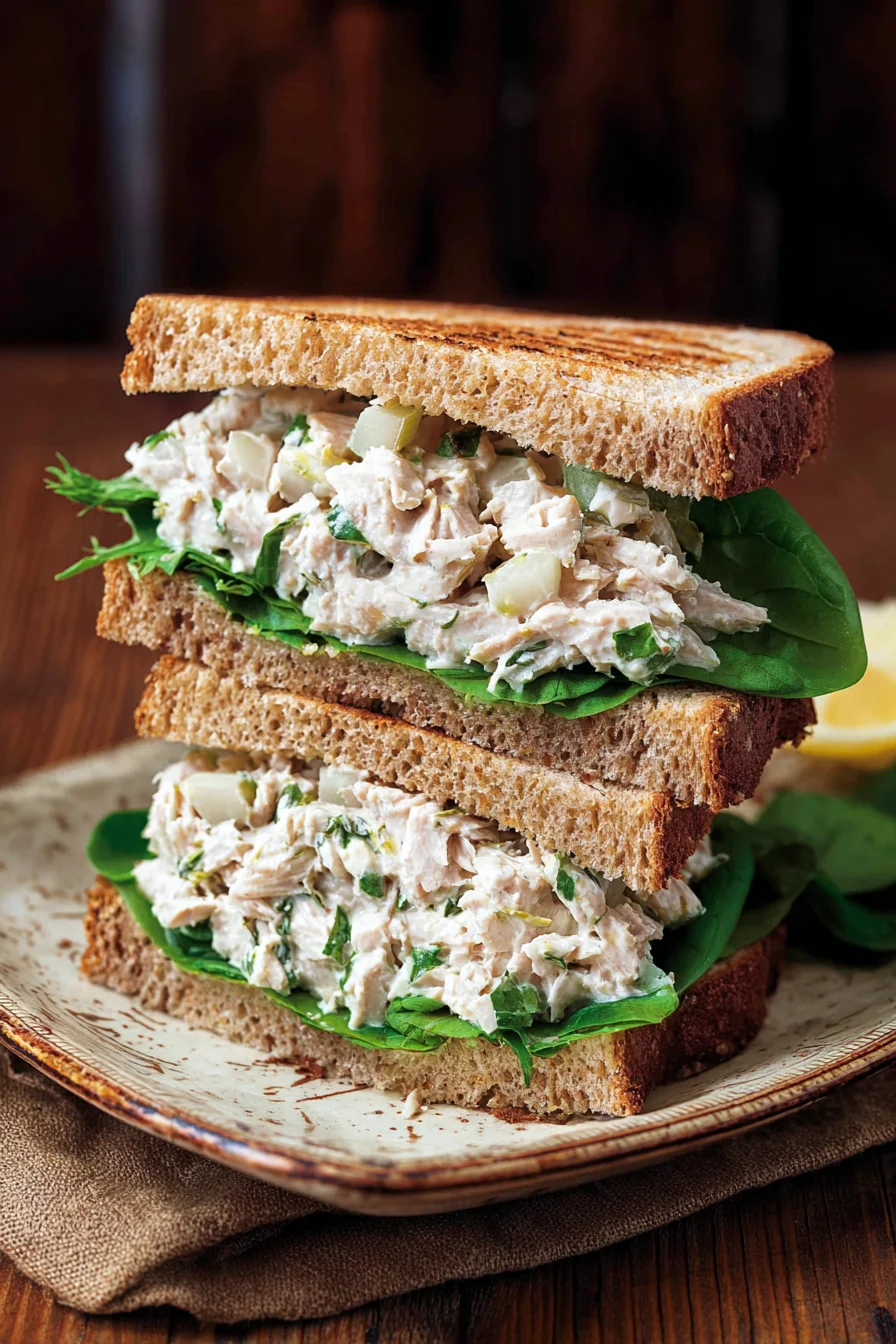
Tuna Salad Sandwich November 14, 2025 by Harper A tuna salad sandwich is a classic lunch option that’s … Read more
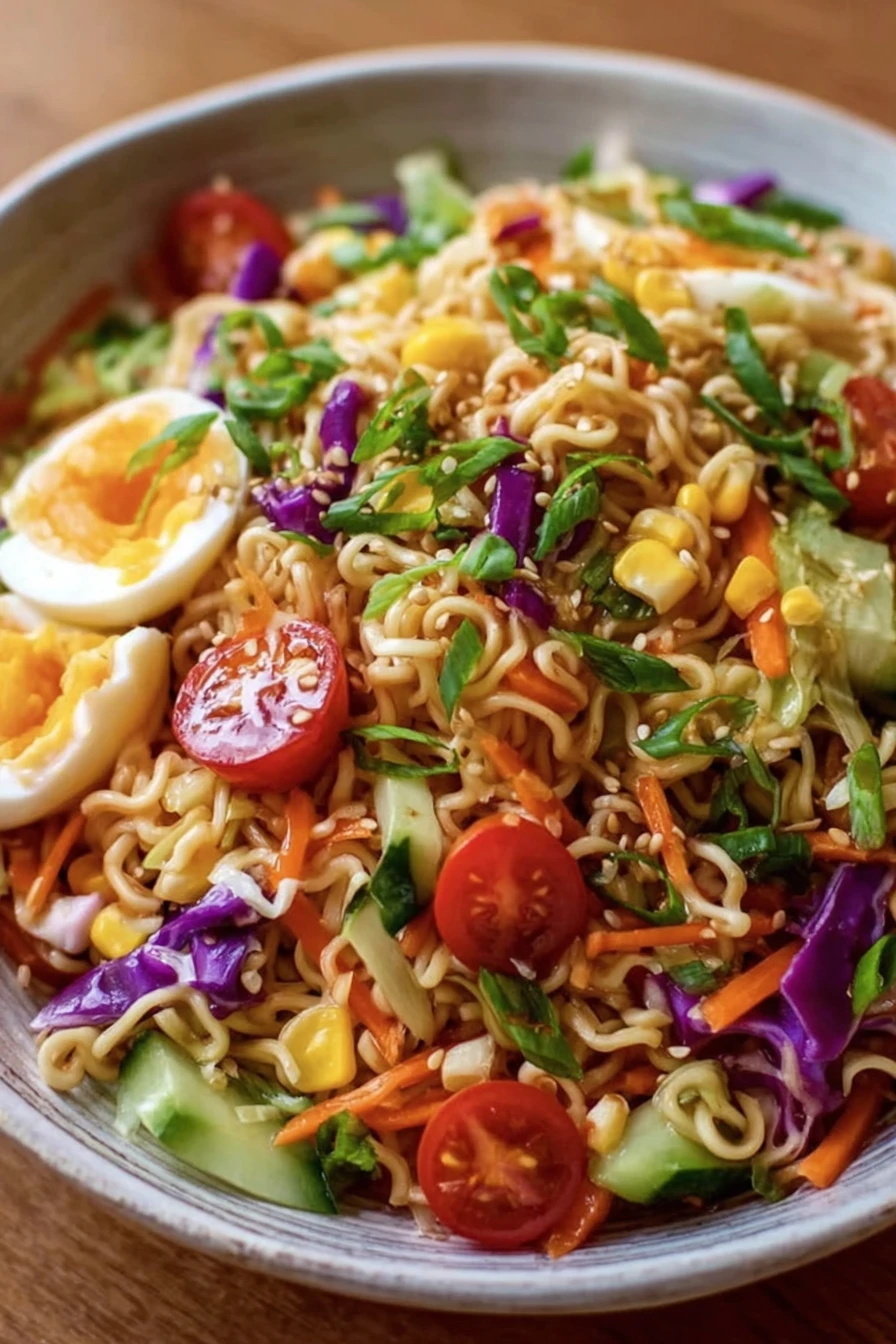
Summer Ramen Noodle Salad September 28, 2025 by Isabella Hey there, friends! I’ve gotta tell ya, I stumbled upon … Read more
Crispy Black Bean Tacos September 28, 2025 by Isabella Man, I still remember the first time I stumbled upon … Read more
Finnish Salmon Soup September 28, 2025 by Isabella I’ll never forget the first time I stumbled upon Finnish … Read more
Broccoli Cheddar Soup September 28, 2025 by Isabella Man, I still remember the first time I whipped up … Read more
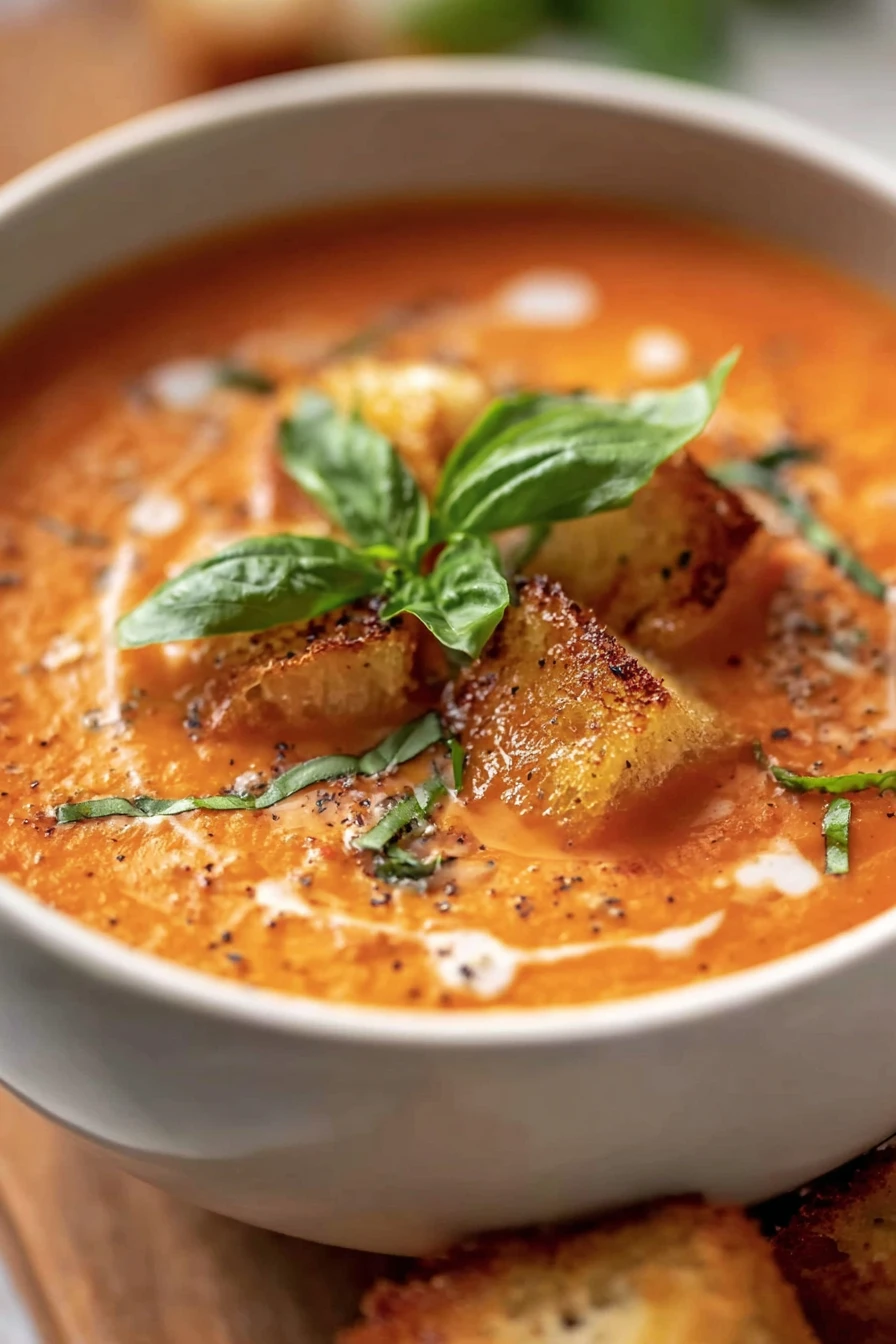
Delicious Tomato Soup with a Twist September 28, 2025 by Isabella Hey there, friends! I’ve gotta tell ya, there’s nothing quite … Read more
Creamy Tomato Basil Soup September 25, 2025 by Harper Hey there, friends! I’ve gotta share something that’s become a … Read more