
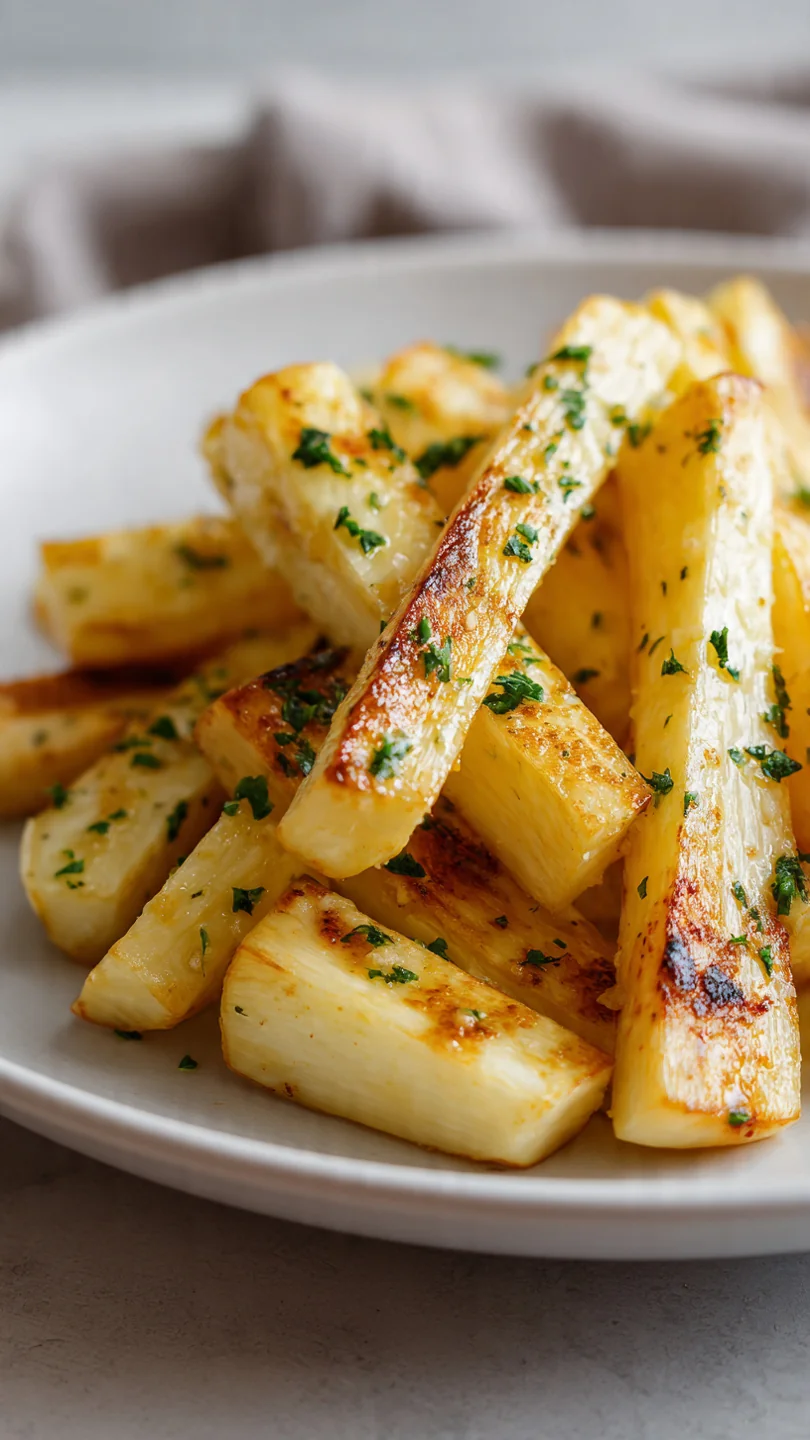
Have you ever tasted a vegetable that transforms into something almost candy-like in the oven? That’s the magic of a well-roasted parsnip. This humble root vegetable, often overlooked next to carrots and potatoes, becomes the star of the dinner table when treated with a little heat, fat, and patience.
In my years in professional kitchens, I’ve found that the simplest preparations often yield the most impressive results, and this recipe is a perfect example. With just a handful of pantry staples, you can create a side dish that’s elegant enough for a holiday feast yet easy enough for a busy Tuesday night. The goal here is crispy, caramelized edges, a tender-sweet interior, and a savory garlic butter glaze that makes them utterly irresistible.
Let’s turn these underrated roots into the dish everyone asks for seconds of.
- Simple Ingredients, Big Impact: You only need a few basic ingredients to create a side dish with complex, restaurant-quality flavor.
- The Perfect Texture: This method guarantees the ideal contrast of a crispy, almost fried exterior and a soft, creamy center.
- Weeknight & Holiday Ready: With less than 10 minutes of hands-on prep, it fits into any schedule but looks and tastes special enough for celebrations.
- Naturally Sweet & Savory: The roasting process caramelizes the parsnips’ natural sugars, which are perfectly balanced by the savory garlic butter.
- Diet-Friendly: This recipe is naturally gluten-free, nut-free, and vegetarian, making it a safe and delicious choice for various dietary needs.
- Customizable Base: Once you master this classic version, it’s a blank canvas for endless herb, spice, and flavor variations.
Ingredients You’ll Need
Let’s gather our ingredients—this is where simple pantry staples come together to create something truly special. The quality of your parsnips is key here. Look for firm, medium-sized roots without soft spots or excessive branching; they’re easier to peel and cut uniformly.
Smaller parsnips tend to be sweeter and more tender. As for the butter, I always recommend unsalted so you can control the seasoning level perfectly. The fresh garlic is non-negotiable for the best flavor—trust me, it makes all the difference compared to the jarred kind.
Fresh herbs like thyme and parsley add a lovely aromatic finish, but dried thyme works in a pinch.

Note: You’ll find the complete list of ingredients, along with their exact measurements, in the printable recipe card at the bottom of this post.
Kitchen Equipment Needed
You don’t need any fancy gadgets for this recipe. A large rimmed baking sheet (half-sheet pan) is essential—the rim prevents any butter from dripping into your oven, and the large surface area is crucial for preventing steaming. A sharp chef’s knife and cutting board will make prepping the parsnips a breeze.
You’ll also need a large mixing bowl for tossing everything together. While not mandatory, a microplane makes mincing the garlic incredibly fast and easy, and a silicone brush can be handy for scraping every last bit of garlic butter onto the parsnips.
How to Make Garlic Butter Roasted Parsnips Recipe
Step 1: Prep the Oven and Parsnips
Start by preheating your oven to a robust 425°F (220°C). This high heat is your secret weapon—it quickly sears the outside of the parsnips, creating a crispy crust while the inside steams to tenderness. As the oven heats, peel your parsnips thoroughly.
The skin can be a bit tough and earthy, so removing it ensures a more pleasant texture. Cut them into uniform batons, about 3 inches long and 1/2-inch thick. If you have a very thick end, slice it in half lengthwise.
Consistency in size is the most important tip I can give you for even cooking.
Step 2: Create the Flavor Base
In your large mixing bowl, combine the melted unsalted butter, finely minced garlic, fresh thyme leaves, kosher salt, and black pepper. Whisk it together until it’s fragrant and emulsified. Believe me, taking a moment to let the garlic infuse into the warm butter will pay off immensely in the final flavor.
The fat carries that garlicky, herby goodness into every nook and cranny of the vegetable. This simple mixture is what elevates these from plain roasted veggies to something extraordinary.
Step 3: Coat the Parsnips
Now, add all your parsnip batons to the bowl with the garlic butter. This is where you get your hands involved. Toss them thoroughly, making sure each piece is glistening and well-coated.
I like to use my hands for this to really massage the flavor in. Tip from me: If your parsnips were damp from washing, pat them dry first. Water is the enemy of crispiness, and we want the butter to cling to the vegetable, not slide off.
Step 4: Arrange and Roast
Pour the coated parsnips onto your prepared baking sheet and arrange them in a single, uncrowded layer. This is critical. If the pieces are touching or piled on top of each other, they’ll steam instead of roast, and you’ll miss out on those beautiful crispy edges.
If your pan looks crowded, please use a second one. Roast in the hot oven for 15 minutes, then carefully remove the pan and flip each piece. This ensures even browning on all sides.
Step 5: Finish Roasting and Serve
Return the pan to the oven for another 10-15 minutes. They are done when they are fork-tender and have developed deep, golden-brown, caramelized spots. Don’t be afraid of a little dark color—that’s flavor!
Transfer them to a serving platter, taste for seasoning (adding another pinch of salt if needed), and garnish generously with fresh chopped parsley. The bright, fresh parsley cuts through the richness beautifully. Step back and admire your work, then serve immediately while they’re hot and irresistibly crispy.
- Dry Your Veggies: After washing, always pat parsnips completely dry with a kitchen towel. Any surface moisture will create steam in the oven, hindering the crisping process.
- The Single Layer Rule: This is the most common mistake I see. Crowding the pan is the number one reason vegetables turn out soggy. Use two pans if you need to; the results are worth it.
- Don’t Skimp on the Fat: The butter isn’t just for flavor; it’s the medium that facilitates caramelization and crispness. A proper coating is essential.
- Test for Doneness: Don’t just rely on the timer. Pierce a parsnip with the tip of a knife or a fork. It should slide in with just a little resistance, indicating a tender interior.
- Fresh Garlic is Key: Pre-minced jarred garlic often contains preservatives and has a sharper, sometimes bitter flavor. Freshly minced garlic mellows beautifully in the oven’s heat.
Recipe Variations
- Herb Garden: Swap the thyme for other hardy herbs like chopped fresh rosemary or sage. Add them with the butter for infused flavor.
- Spicy Honey Glaze: For a sweet and spicy twist, toss the hot roasted parsnips with a mixture of 1 tablespoon honey and 1/4 teaspoon crushed red pepper flakes.
- Parmesan Crisp: Five minutes before the parsnips are done, sprinkle them generously with grated Parmesan cheese. It will melt and form delicious crispy bits.
- Maprye & Mustard: Whisk 1 tablespoon of pure maple syrup and 1 teaspoon of whole-grain Dijon mustard into the garlic butter before tossing. It adds a wonderful sweet-tangy depth.
- Vegan/Dairy-Free: Substitute the butter with an equal amount of high-heat oil like avocado oil or refined coconut oil. The flavor profile will change slightly but will still be delicious.
- Root Vegetable Medley: Combine parsnips with carrots, sweet potatoes, or rutabagas. Just be mindful that different vegetables may have slightly different cooking times.
What to Serve With This Recipe
These Garlic Butter Roasted Parsnips are an incredibly versatile side. They are a show-stopping addition to any holiday table, pairing perfectly with roast turkey, honey-glazed ham, or prime rib. For a comforting weeknight meal, serve them alongside a simple roasted chicken, pan-seared pork chops, or a seared salmon fillet.
The sweet, earthy flavor of the parsnips also complements vegetarian mains like a creamy mushroom risotto or a lentil loaf. For a complete autumnal or winter plate, consider adding a bright, acidic component like a simple green salad with a citrus vinaigrette to balance the richness. Beverage-wise, a crisp Chardonnay, a pale ale, or even sparkling apple cider all make excellent pairings.
Storage & Make-Ahead Instructions
- Refrigeration: Store leftover cooled parsnips in an airtight container in the refrigerator for up to 4 days.
- Reheating for Best Texture: To recrisp, reheat them in a 400°F oven for 8-10 minutes on a baking sheet. Avoid the microwave, as it will make them soft and soggy.
- Freezing: I do not recommend freezing cooked parsnips, as the texture becomes unpleasantly watery and mushy upon thawing and reheating.
- Make-Ahead Prep: You can peel and cut the parsnips 1 day in advance. Store them submerged in cold water in the refrigerator to prevent browning. Drain and pat them very dry before using.
- Garlic Butter: The garlic butter mixture can be melted and combined up to 2 days ahead and stored covered in the fridge. Gently re-melt it before using.
Frequently Asked Questions
Q: Can I use olive oil instead of butter?
A: Absolutely. The flavor will be different—more savory and less rich—but still delicious. Use a good extra-virgin olive oil for the best taste.
For crispiness, butter has a slight edge due to its milk solids.
Q: My parsnips are still hard after 30 minutes. What happened?
A: This usually means your pieces were cut too large or your oven temperature is off. Check your oven’s accuracy with a thermometer. Next time, try cutting pieces a bit smaller or roasting for an additional 5-10 minutes.
Q: Can I make this recipe with baby parsnips?
A: Yes, baby parsnips are a wonderful choice! They are often more tender and sweeter. Simply halve or quarter them lengthwise depending on their size, and reduce the roasting time by 5-7 minutes.
Q: Why are my roasted parsnips soggy?
A: Sogginess is almost always due to overcrowding the baking sheet (which traps steam) or not using a hot enough oven. Ensure your parsnips are in a single layer with space between them and that your oven is fully preheated.
Q: Are parsnips spicy?
A: Raw parsnips can have a slight peppery, earthy note, but roasting completely transforms them. The heat caramelizes their natural sugars, resulting in a sweet, mellow, and nutty flavor with no spiciness.
Q: Can I add other vegetables to the same pan?
A: You can, but choose vegetables with similar density and cooking times. Carrots are the best companion. Avoid watery vegetables like zucchini, as they will release too much moisture.
Q: Do I have to peel parsnips?
A: I strongly recommend it. The skin can be tough, fibrous, and sometimes bitter, especially on larger, older parsnips. Peeling ensures a consistently tender and pleasant eating experience.
Final Thoughts
This Garlic Butter Roasted Parsnips recipe exemplifies my cooking philosophy: respect your ingredients, use technique to highlight their best qualities, and don’t overcomplicate things. Parsnips are a vegetable that truly deserves more time in the spotlight, and this simple method unlocks their full potential. The process is straightforward, the ingredients are accessible, and the payoff—a platter of gorgeous, caramelized, buttery vegetables—is immensely satisfying.
Whether you’re looking to add a new staple to your weeknight rotation or an impressive side dish for your next gathering, this recipe has you covered. I hope it becomes a trusted favorite in your kitchen, just as it is in mine. If you try it, I’d love to hear how it turned out for you.
Share your results and any creative variations you come up with. Happy roasting

Garlic Butter Roasted Parsnips
Equipment
- Large rimmed baking sheet
- Large mixing bowl
- Chef’s knife and cutting board
- Microplane or garlic press (optional, for mincing garlic)
Ingredients
- 2 pounds parsnips peeled and cut into 3-inch batons
- 4 tablespoons unsalted butter melted
- 4 cloves garlic minced
- 1 tablespoon fresh thyme leaves or 1 teaspoon dried
- 1 teaspoon kosher salt plus more to taste
- 1/2 teaspoon black pepper freshly ground
- 1 tablespoon fresh parsley chopped, for garnish
Instructions
- Preheat your oven to 425°F (220°C). This high heat is crucial for achieving crispy, caramelized edges. While the oven heats, peel the parsnips and cut them into uniform 3-inch long batons, about 1/2-inch thick. Try to cut any very thick ends in half lengthwise so all pieces cook evenly.
- In a large bowl, combine the melted butter, minced garlic, thyme, salt, and pepper. Whisk it together until it’s fragrant and well-blended. This garlic butter is the flavor powerhouse—the fat will carry the garlic flavor deeply into the parsnips as they roast.
- Add the parsnip batons to the bowl with the garlic butter. Use your hands or a large spoon to toss them thoroughly, ensuring every piece is evenly coated. This step is key for consistent browning and flavor.
- Arrange the coated parsnips in a single layer on a large, rimmed baking sheet. Do not overcrowd them—use two sheets if necessary. Trust me, giving them space allows steam to escape and promotes that perfect crispy texture we’re after.
- Roast for 25-30 minutes, flipping the parsnips halfway through the cooking time. They are done when they are deeply golden brown, tender when pierced with a fork, and crispy on the edges. Tip from me: Don’t pull them out at the first sign of color; that caramelization equals flavor.
- Transfer the roasted parsnips to a serving platter. Taste and adjust seasoning with a pinch more salt if needed. Garnish with the fresh chopped parsley for a pop of color and freshness. Serve immediately while hot and crispy.