
Homemade beef gravy is a versatile and delicious addition to any meal, enhancing the flavor of everything from roast beef to mashed potatoes. This easy-to-follow recipe, developed through my years of culinary experience, ensures you’ll achieve a rich, smooth gravy every time.
Why You’ll Love This Recipe
- Rich Flavor: The use of beef drippings adds a depth of flavor that store-bought gravies can’t match.
- Easy to Make: With just a few simple steps, you can create a perfect gravy in under 20 minutes.
- Versatile Use: Perfect for enhancing a variety of dishes, from roasts to mashed potatoes.
- Customizable: Easily adjust the thickness and seasoning to suit your preferences.
- Budget-Friendly: Made with pantry staples, this recipe won’t break the bank.
- Dietary Flexibility: Can be adapted to fit various dietary needs, including gluten-free options.
Ingredients & Preparation Notes
- Beef Drippings: These are key for a rich flavor. If unavailable, butter can be used as a substitute.
- All-Purpose Flour: Used to create a roux, which thickens the gravy. For a gluten-free version, use a gluten-free flour blend.
- Beef Broth: Opt for low-sodium to control the saltiness of your gravy. Homemade or store-bought works well.
- Worcestershire Sauce: Adds a savory depth. If you’re avoiding gluten, check the label as some brands contain gluten.
- Salt and Pepper: Essential for seasoning. Start with a small amount and adjust to taste.
When selecting ingredients, choose high-quality beef broth for the best flavor. If using store-bought, look for brands with minimal additives.
Professional Tips & Techniques
- Creating a successful gravy involves understanding the science behind the process. Start by making a roux with the beef drippings and flour. This mixture thickens the gravy by absorbing the liquid and swelling. Cook the roux until it reaches a light golden color, which indicates the flour has been cooked enough to remove its raw taste.
When adding the beef broth, do so gradually while whisking constantly to prevent lumps. The key to a smooth gravy is patience and continuous stirring. Once the gravy reaches a simmer, reduce the heat to low.
This slow cooking allows the flavors to meld and the gravy to thicken without burning.
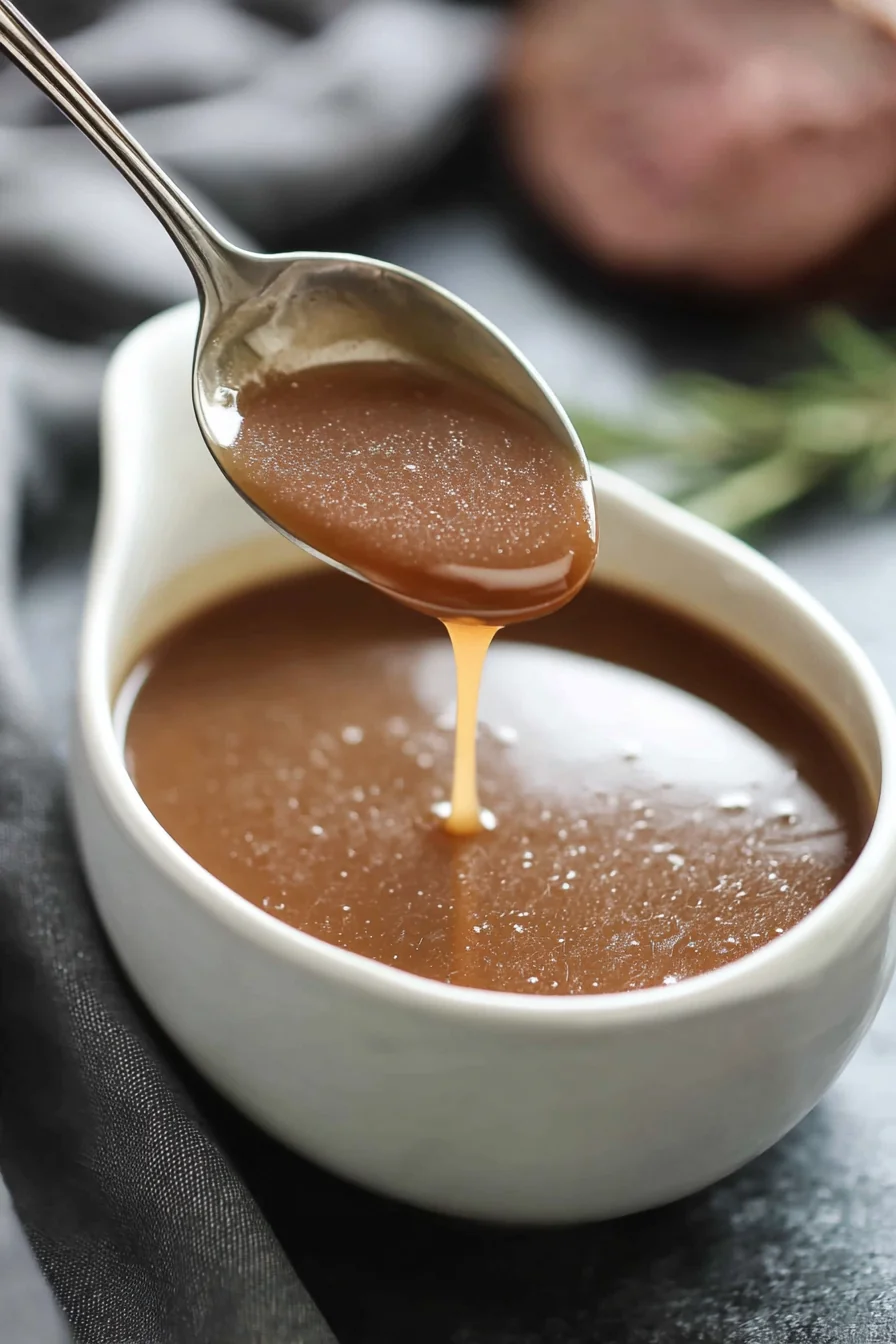
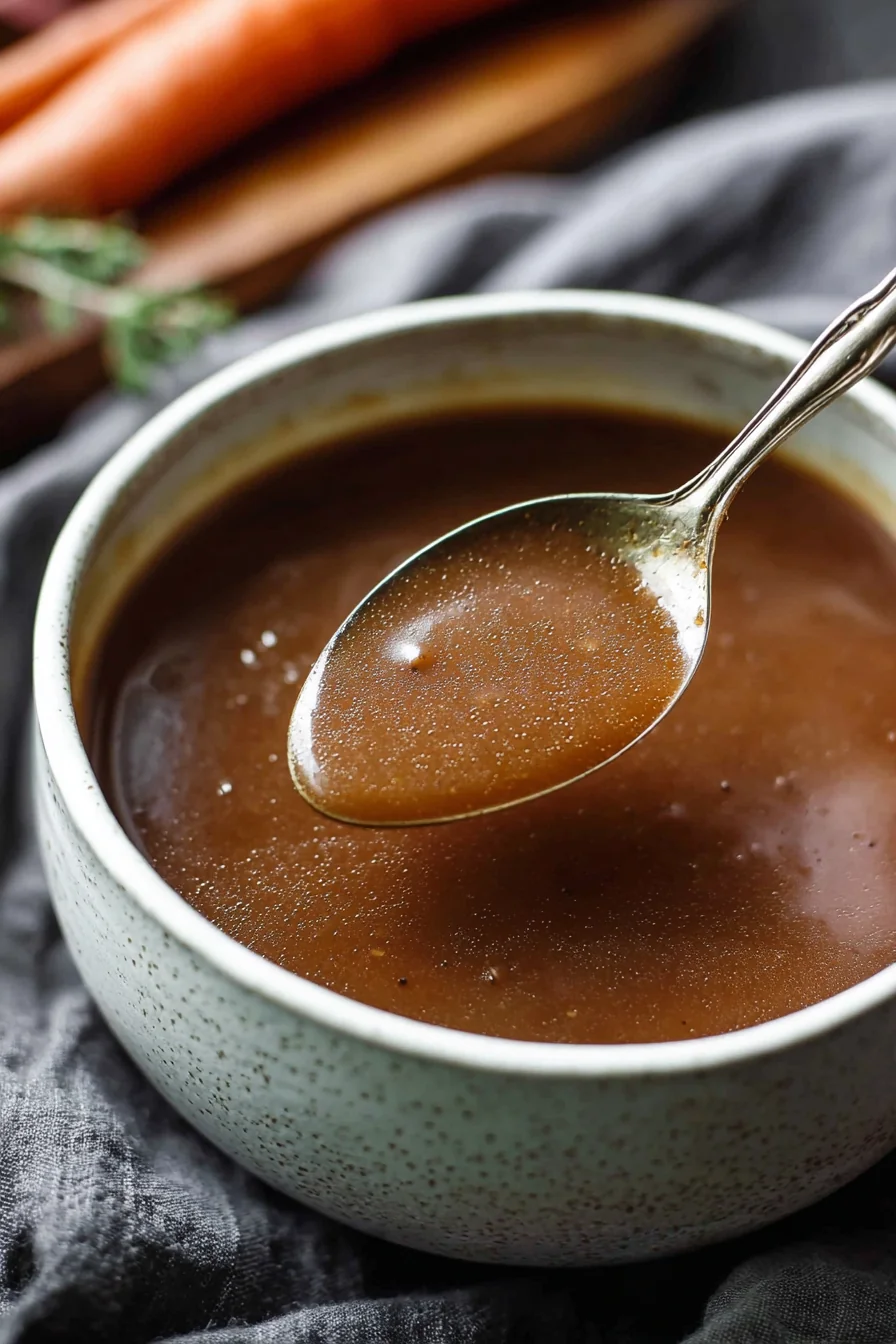
Watch for visual cues: the gravy should coat the back of a spoon when it’s done. If it’s too thick, add more broth; if too thin, let it simmer longer or mix a bit more flour with cold water and whisk it in.
Recipe Variations
- Herb-Infused Gravy: Add fresh herbs like thyme or rosemary when simmering the gravy for an aromatic twist.
- Mushroom Gravy: Sauté sliced mushrooms in the drippings before adding the flour for a hearty, earthy flavor.
- Onion Gravy: Caramelize onions in the drippings for a sweet and savory gravy perfect for roasts.
- Red Wine Gravy: Deglaze the pan with red wine before adding the broth for a sophisticated flavor.
- Spicy Gravy: Add a pinch of cayenne pepper or a dash of hot sauce for a kick.
- Gluten-Free Gravy: Use a gluten-free flour blend to make the roux.
- Vegan Gravy: Substitute beef drippings with vegan butter and use vegetable broth instead of beef broth.
- Low-Sodium Gravy: Omit Worcestershire sauce and use a low-sodium broth for a healthier option.
Serving Suggestions
- Homemade beef gravy is incredibly versatile. Serve it over:
- Roast Beef: Drizzle over slices of roast beef for a classic pairing.
- Mashed Potatoes: Elevate your mashed potatoes with a generous pour of gravy.
- Yorkshire Pudding: Fill Yorkshire puddings with gravy for a traditional British meal.
- Meatloaf: Use as a topping for meatloaf to add moisture and flavor.
- Biscuits and Gravy: Serve over freshly baked biscuits for a comforting breakfast or brunch.
For a complete meal, pair your gravy with roasted vegetables or a simple green salad. For special occasions, consider presenting the gravy in a gravy boat for an elegant touch.
Storage & Make-Ahead Tips
- Refrigeration: Store leftover gravy in an airtight container in the refrigerator for up to 3-4 days.
- Freezing: Gravy can be frozen for up to 3 months. Thaw in the refrigerator overnight before reheating.
- Make-Ahead: Prepare the gravy a day in advance and reheat gently on the stove, adding a bit of broth if needed to adjust the consistency.
- Reheating: Reheat on the stove over low heat, stirring frequently to prevent scorching.
Frequently Asked Questions
Q: Can I make this gravy ahead of time?
Yes, you can make the gravy a day in advance. Store it in the refrigerator and reheat gently before serving, adding a bit of broth if it thickens too much.
Q: What can I use if I don’t have beef drippings?
Butter or vegetable oil can be used as a substitute. The flavor won’t be as rich, but it will still make a delicious gravy.
Q: How can I thicken my gravy if it’s too thin?
Mix a small amount of flour with cold water to create a slurry, then whisk it into the simmering gravy. Continue to cook until thickened.
Q: Can I make this gravy gluten-free?
Yes, use a gluten-free flour blend to create the roux. Ensure your Worcestershire sauce is also gluten-free.
Q: How do I prevent lumps in my gravy?
Whisk constantly while adding the broth to the roux. If lumps do form, strain the gravy through a fine-mesh sieve before serving.
Q: Can I use this gravy for other dishes?
Absolutely! This gravy is versatile and can be used in casseroles, stews, or as a base for other sauces.
Q: How long will homemade gravy last in the fridge?
Refrigerate leftovers in an airtight container for up to 3-4 days.
Q: Can I freeze this gravy?
Yes, you can freeze the gravy for up to 3 months. Thaw in the refrigerator overnight and reheat gently on the stove.
Conclusion
Mastering homemade beef gravy is a skill that will elevate your cooking. With its rich flavor and versatility, this recipe is a must-have in your culinary repertoire. Give it a try and enjoy the satisfaction of creating a delicious, homemade condiment that enhances any meal.
Share your results on social media, and don’t hesitate to leave feedback or ask questions. Remember, the key to perfect gravy is patience and a bit of practice. Enjoy!
Homemade Beef Gravy
Ingredients
Equipment
Method
- In a saucepan over medium heat, melt the beef drippings or butter. Once melted, whisk in the all-purpose flour to create a roux. Cook, stirring constantly, for about 2 minutes until the roux turns a light golden color.
- Gradually whisk in the beef broth, ensuring there are no lumps. Increase the heat to medium-high and bring the mixture to a simmer.
- Stir in the Worcestershire sauce. Reduce the heat to low and let the gravy simmer for about 10 minutes, stirring occasionally, until it thickens to your desired consistency.
- Season with salt and pepper to taste. Remove from heat and serve warm.