
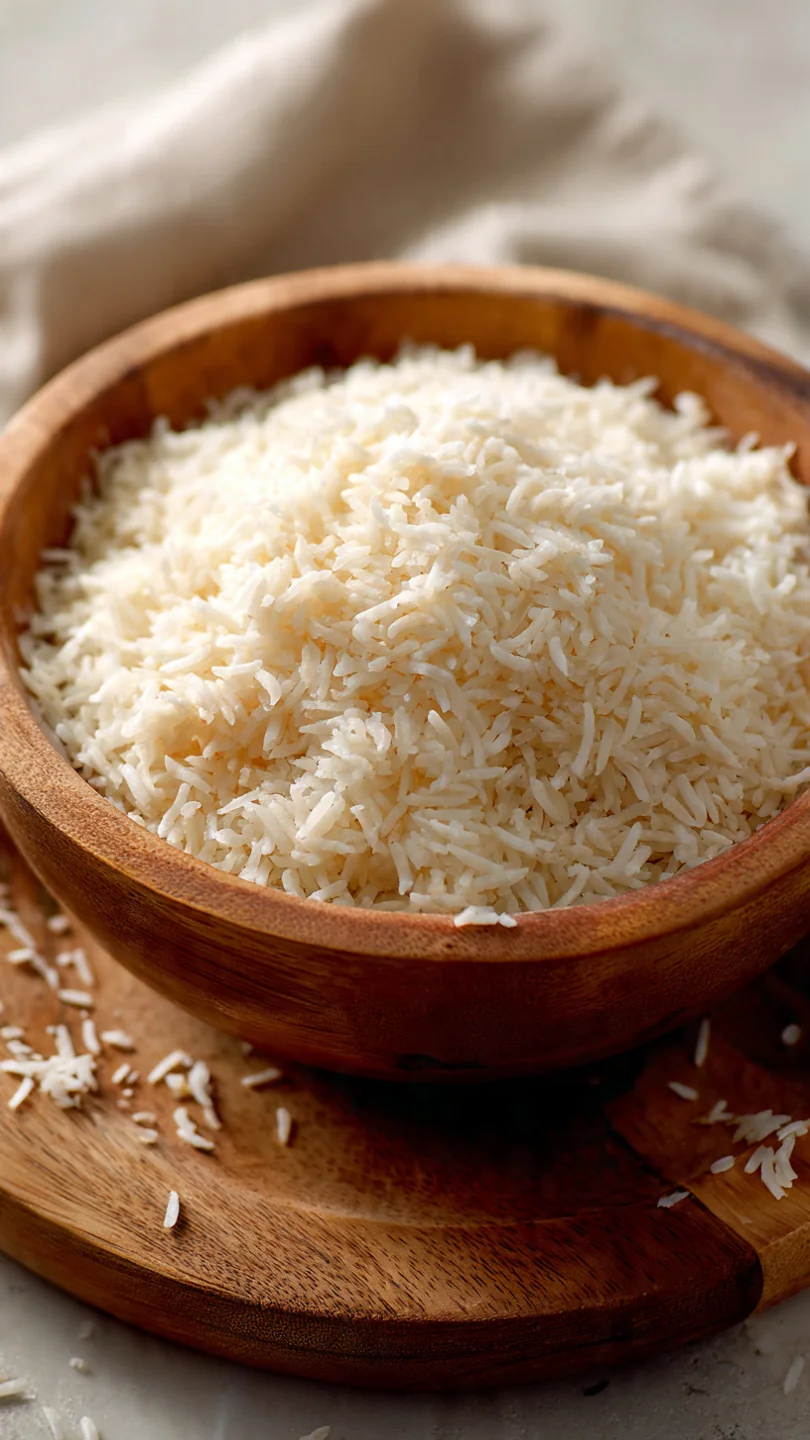
There’s a particular magic to the sound of crispy rice—that satisfying, audible crunch that gives way to a tender, steaming interior. It’s a textural contrast I fell in love with in professional kitchens, where we’d fight over the crunchy bits left in the pan. Achieving that perfect, shattering crust at home isn’t about a secret ingredient; it’s about understanding a few key techniques.
This method demystifies the process, turning simple pantry staples into a versatile, crave-worthy side dish or base for countless meals. Let’s make rice that’s anything but boring.
- Restaurant-Quality at Home: This technique replicates the coveted “socarrat” or “guo ba” (crispy rice crust) you find in skilled chefs’ kitchens.
- Texture Heaven: Experience the ultimate contrast between a deep golden-brown, crunchy crust and fluffy, tender grains.
- Simple Ingredients: You only need rice, water, oil, and salt. The magic is in the method, not a long shopping list.
- Incredibly Versatile: Serve it plain, under a saucy stir-fry, with a runny egg, or as a unique base for bowls.
- Waste-Free Cooking: This is the perfect way to transform leftover rice into a spectacular new dish.
- Diet-Friendly: Naturally gluten-free, vegan-adaptable, and a satisfying component for many eating styles.
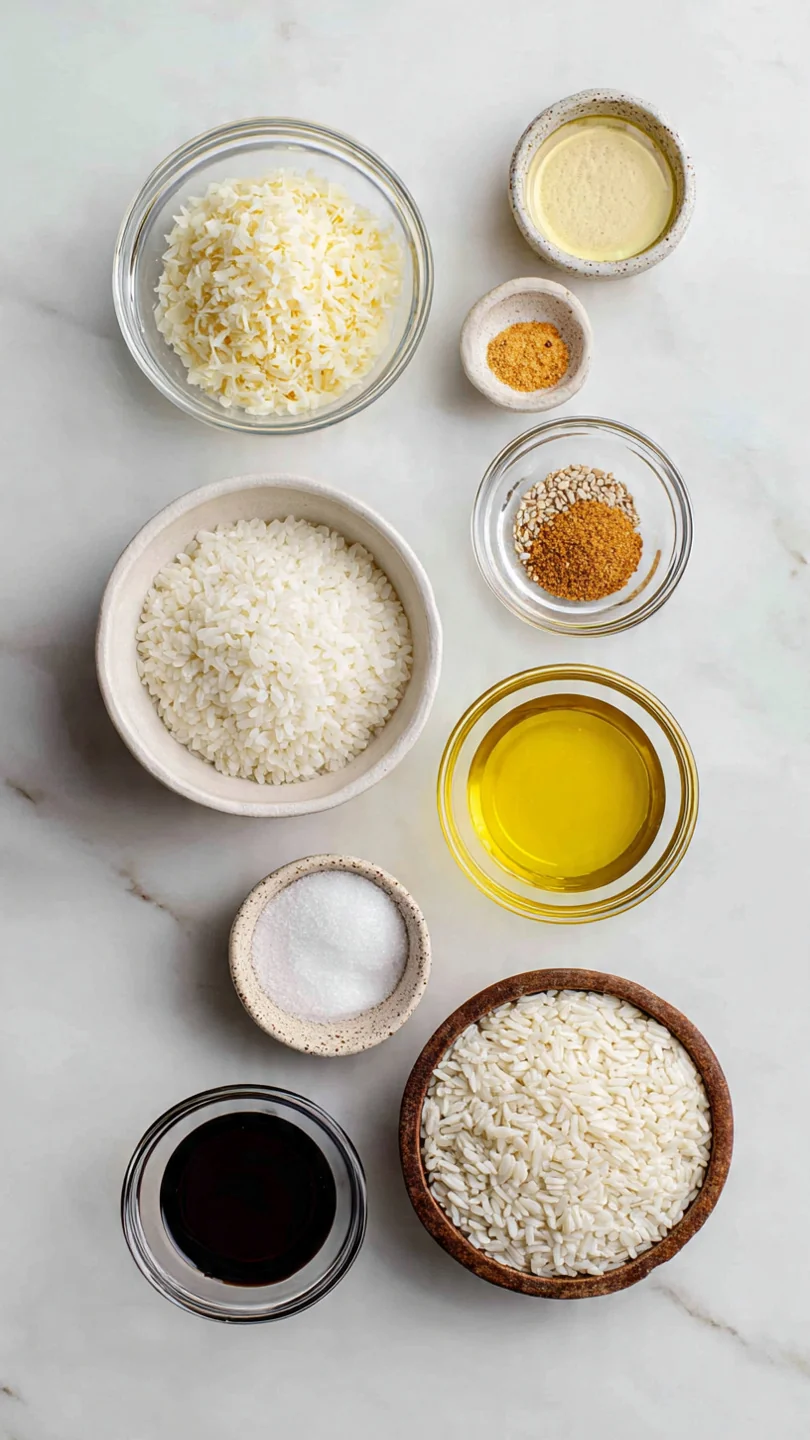
Ingredients You’ll Need
Let’s gather our ingredients—this is where simple elements become something extraordinary through technique. The type of rice you choose is your first critical decision. Long-grain varieties like Jasmine or Basmati have less surface starch and longer, firmer grains that separate beautifully, creating the best individual crunchy bits.
Avoid short-grain or sushi rice, as they’re too sticky. Using water is perfectly fine, but swapping in a low-sodium chicken or vegetable broth is my pro tip for building an extra layer of savory flavor right into the grains. The oil choice matters too: a neutral, high-smoke-point oil like avocado or grapeseed is ideal for crisping without burning.
Finally, a finish of toasted sesame oil isn’t just optional flair; its nutty aroma elevates the entire dish.
- Long-grain white rice: 1 cup (Jasmine or Basmati work best)
- Water or broth: 2 cups (low-sodium broth adds great flavor)
- Neutral oil: 1 tbsp, plus more for crisping (avocado, grapeseed, or vegetable)
- Kosher salt: 1/2 tsp, plus more to taste
- Toasted sesame oil: 1 tbsp for finishing (optional but highly recommended)
Note: You’ll find the complete list of ingredients, along with their exact measurements, in the printable recipe card at the bottom of this post.
Kitchen Equipment Needed
You don’t need special equipment, but the right tools make the process seamless. A medium saucepan with a tight-fitting lid is non-negotiable for the initial cooking—you need to trap that steam. A fine-mesh strainer is essential for rinsing the rice thoroughly, which is the foundational step for non-gummy results.
For the crisping phase, a large, heavy-bottomed skillet is your best friend. I prefer a well-seasoned cast iron for its incredible, even heat retention that creates a superb crust, but a non-stick skillet is a foolproof alternative. Have a wooden spoon or spatula for toasting and a fork for fluffing ready to go.
How to Make Crispy Rice Recipe
Step 1: Rinse and Toast the Rice
Trust me, don’t skip the rinse. Place your rice in a fine-mesh strainer and run cold water over it, swishing with your fingers, until the water runs mostly clear, not milky. This washes away the excess surface starch that causes clumping.
Let it drain well. Next, in your saucepan, heat the neutral oil over medium heat. Add the damp rice and toast it, stirring constantly, for 2-3 minutes.
You’ll see the grains turn from translucent to opaque white and smell a lovely, nutty aroma. This step dries the surface further and builds a flavor foundation that plain boiled rice lacks.
Step 2: Simmer to Perfection
Carefully pour the water or broth into the pot with the toasted rice—it will sizzle. Add the salt and give it one quick stir. Bring the liquid to a full boil, then immediately reduce the heat to the lowest possible setting on your burner.
Cover the pot with the lid as tightly as you can. This is crucial: set a timer for 18 minutes and do not lift the lid. Believe me, I know the temptation to peek is strong, but that trapped steam is cooking your rice evenly.
Breaking the seal releases the steam and can lead to undercooked grains.
Step 3: The Essential Steam Rest
When the timer goes off, turn off the heat. Do not remove the lid. Let the pot sit, undisturbed and off the heat, for a full 10 minutes.
This “steam rest” is a professional kitchen technique that allows the rice to finish cooking gently with residual heat. It equalizes moisture, firms up each grain, and prevents a wet, mushy texture. This step is what gives you rice that’s perfectly tender yet sturdy enough to hold its shape when you crisp it later.
Step 4: Fluff and Dry
Now you can remove the lid. Use a fork to gently fluff the rice, lifting from the bottom to separate the grains without smashing them. For the ultimate crispy crust, spread the fluffed rice in a thin, even layer on a large plate or baking sheet.
Let it cool and air-dry for 15-20 minutes. This further reduces surface moisture, which is the enemy of crunch. If you’re using day-old rice from the fridge, this is the moment to use it—just break up any clumps before proceeding.
Step 5: Create the Golden Crust
Now comes the fun part. Heat your large skillet over medium-high heat. Add a tablespoon of neutral oil and swirl to coat.
Once the oil is shimmering, add your cooled, dried rice. Use your spatula to press it down into a fairly even layer—it doesn’t have to be perfect. Here’s the key: let it cook without stirring or fussing with it.
Set a timer for 5-7 minutes and let the magic happen. You’re waiting for a solid, golden-brown crust to form on the bottom.
Step 6: Flip, Finish, and Serve
After 5-7 minutes, peek at the edges. You should see a deep golden color. Slide your spatula underneath a section and flip it over, like turning a pancake.
You may need to do this in a few sections. Add another small drizzle of oil to the pan if it looks dry. Cook the second side for 4-5 minutes until also crispy.
Tip from me: drizzle the toasted sesame oil over the top in the last 30 seconds for an incredible aroma. Transfer to a serving plate, making sure to scrape up all those delicious crunchy bits. Step back and admire your handiwork before serving immediately.
- The Rinse is Non-Negotiable: Washing rice removes excess amylose starch. Unrinsed rice releases this starch during cooking, creating a gluey layer that steams instead of crisps.
- Patience is a Crust: The single biggest mistake is stirring the rice in the skillet. You must let it sit over consistent heat to develop the Maillard reaction—the chemical process that creates browning and complex flavor.
- Dry Rice, Crispy Rice: Moisture is the enemy of crunch. Cooling and air-drying the cooked rice evaporates surface water, ensuring the skillet’s heat goes directly into crisping the grain, not boiling off water.
- Skillet Choice Matters: A heavy-bottomed skillet (cast iron, carbon steel, or heavy non-stick) provides even, consistent heat. A thin pan will create hot spots that burn the rice before the rest crisps.
- Don’t Crowd the Pan: Spread the rice in a relatively thin layer. If the skillet is too crowded, the rice will steam from its own moisture instead of frying and crisping.
Recipe Variations & Customizations
- Savory Garlic & Ginger: Add 1 tbsp each of minced garlic and ginger to the oil before toasting the raw rice for an aromatic base.
- Coconut Crispy Rice: Substitute one cup of water with full-fat coconut milk for a subtly sweet, rich flavor and fragrance.
- “Dirty” Crispy Rice: Sauté 1/2 cup finely chopped mushrooms or plant-based crumbles with the rice during the toasting step for a hearty, umami-packed version.
- Herb-Infused: Stir a handful of chopped fresh cilantro, scallions, or Thai basil into the rice after fluffing, before the drying stage.
- Spicy Kimchi Rice: Mix in 1/2 cup of finely chopped, well-drained kimchi with the cooked rice before crisping for a tangy, spicy kick.
- Cheesy Crust (Non-Traditional but Delicious): In the last minute of crisping, sprinkle grated Parmesan or cheddar over the top, cover the skillet briefly to melt, then flip for a cheesy crust.
- Brown Rice Adaptation: Use long-grain brown rice. Increase initial simmer time to 35-40 minutes and use a 1:2.25 rice-to-liquid ratio. The texture will be nuttier and slightly less shatteringly crisp but still delicious.
What to Serve With This Recipe
Crispy rice is the ultimate supporting actor that can steal the show. It’s fantastic as a base for saucy dishes where it soaks up flavors while maintaining its texture. Try it under a quick ginger-soy stir-fry with broccoli and bell peppers, or topped with a fried egg with a runny yolk.
For a simple, elegant meal, serve it alongside grilled salmon or chicken with a drizzle of spicy mayo or ponzu sauce. It also makes a phenomenal bed for braised short ribs or mapo tofu. For a vegetarian feast, pair it with sautéed garlic greens and crispy baked tofu.
Beverage-wise, a crisp lager, dry riesling, or even a citrusy iced tea complements its savory, toasty notes perfectly.
Storage & Make-Ahead Instructions
- Best Served Immediately: Crispy rice is at its absolute peak right out of the skillet. The crust will soften over time as it steams in its own container.
- Short-Term Storage: If you have leftovers, let them cool completely, then store in an airtight container in the refrigerator for up to 3 days.
- Reheating for Revival: To recrisp, spread the rice in a single layer on a baking sheet and bake at 400°F for 8-10 minutes, or reheat in a dry skillet over medium heat, pressing down, until warm and re-crisped. The microwave will make it soggy.
- Make-Ahead Strategy: You can cook the rice (through the steam-rest step) up to 2 days in advance. Store it cooled and covered in the fridge. When ready to serve, let it come to room temperature, then proceed with the drying and crisping steps. Day-old, chilled rice often yields an even better crust as it has more time to dry out.
Frequently Asked Questions
Q: Can I use leftover rice from last night’s takeout?
Absolutely! Leftover rice is ideal because it has already dried out somewhat. Break up any large clumps, spread it on a plate to air-dry for 10-15 minutes if it seems moist, then crisp it in the skillet.
You can skip the boiling steps entirely.
Q: Why is my rice burning instead of crisping evenly?
This usually means your heat is too high. Medium-high heat is correct, but all stoves vary. If you see smoke or the rice is browning too fast in spots, reduce the heat to medium.
Also, ensure your rice layer isn’t too thick, which can cause the bottom to burn before the top heats through.
Q: What’s the best way to flip the rice cake without breaking it?
Don’t worry about flipping it in one piece like a pancake—it’s not meant to be a solid cake. Use a thin, flexible spatula to cut it into 3 or 4 manageable sections and flip each section individually. It’s much easier and you still get plenty of crispy surface area.
Q: Can I make this gluten-free or vegan?
This recipe is naturally gluten-free and vegan as written (just ensure your broth is vegan/GF if using). It’s a fantastic option for those dietary needs.
Q: My rice is sticking to the pan badly. What did I do wrong?
Sticking can happen if the pan isn’t hot enough before adding the rice, or if you try to move it too soon. Make sure your oil is shimmering before adding the rice, and let it cook undisturbed to form a crust, which will naturally release from the pan. A well-seasoned cast iron or a quality non-stick skillet is your best defense.
Q: Can I bake the crispy rice instead of pan-frying?
Yes, for a hands-off method. Spread dried, cooked rice in a thin layer on a well-oiled baking sheet. Drizzle with a little more oil and bake at 425°F for 20-25 minutes, stirring once halfway, until golden and crisp.
The texture is slightly different—more all-over crunchy than a defined crust—but still delicious.
Q: Is there a way to make this lower in fat?
You can reduce the oil slightly. Use a very good non-stick pan and a light spray of oil (about 1 tsp total). The crust may be slightly less rich and golden but will still crisp up.
Avoid skipping the oil entirely, as it conducts heat and promotes browning.
Final Thoughts
Mastering how to make crispy rice is one of those simple kitchen skills that pays enormous dividends. It transforms a humble staple into a textural masterpiece, adding excitement to weeknight dinners and impressing guests with minimal effort. The journey from rinsing to that final, satisfying flip is a lesson in patience and technique that any home cook can conquer.
Remember, the keys are washing your rice, letting it steam-rest, drying it well, and most importantly, having the confidence to leave it alone in that hot skillet to form its glorious crust.
I encourage you to try this method exactly as written first, then have fun with the variations. Once you experience that perfect crunch, you’ll find yourself making extra rice just to have leftovers for this purpose. I’d love to hear how it turns out for you—what you topped it with, or what variations you invented.
Share your creations online and tag me. Now, go forth and get crispy
Perfect Crispy Rice
Equipment
- Medium saucepan with tight-fitting lid
- Fine mesh strainer
- Large non-stick or cast iron skillet
- Wooden spoon or spatula
- Fork
Ingredients
- 1 cup long-grain white rice Jasmine or Basmati work best; do not use instant rice
- 2 cups water or low-sodium broth for extra flavor
- 1 tbsp neutral oil such as avocado, grapeseed, or vegetable oil
- 1/2 tsp kosher salt plus more to taste
- 1 tbsp toasted sesame oil for finishing (optional but recommended)
Instructions
- Rinse the rice in a fine-mesh strainer under cold running water until the water runs mostly clear. This removes excess starch, which is crucial for preventing gummy rice and achieving individual, crispable grains. Shake the strainer well to drain thoroughly.
- In a medium saucepan with a tight-fitting lid, heat the neutral oil over medium heat. Add the rinsed and drained rice and toast it, stirring constantly, for 2-3 minutes until the grains turn opaque and smell slightly nutty. This step builds flavor and helps create a better crust.
- Carefully pour in the water or broth and add the salt. Bring to a boil, then immediately reduce the heat to the lowest possible setting. Cover the pot tightly and cook, undisturbed, for 18 minutes. Do not lift the lid—the steam is essential for perfect cooking.
- After 18 minutes, remove the pot from the heat. Keep the lid on and let the rice steam off the heat for an additional 10 minutes. This final resting period allows the rice to finish cooking gently and firms up the grains, making them ideal for crisping.
- Fluff the rice gently with a fork to separate the grains. For the crispiest result, spread the rice in a thin, even layer on a large plate or baking sheet and let it cool and dry for 15-20 minutes. This step is a pro secret for maximum crunch.
- Heat a large non-stick or well-seasoned cast iron skillet over medium-high heat. Add a tablespoon of oil. Once hot, add the cooled rice, pressing it down into an even layer. Cook without stirring for 5-7 minutes until a deep golden-brown crust forms on the bottom.
- Use a spatula to carefully flip sections of the rice cake to crisp the other side, adding a touch more oil if needed. Cook for another 4-5 minutes. Drizzle with toasted sesame oil if using. Serve immediately, scraping up the crispy bits from the pan.