
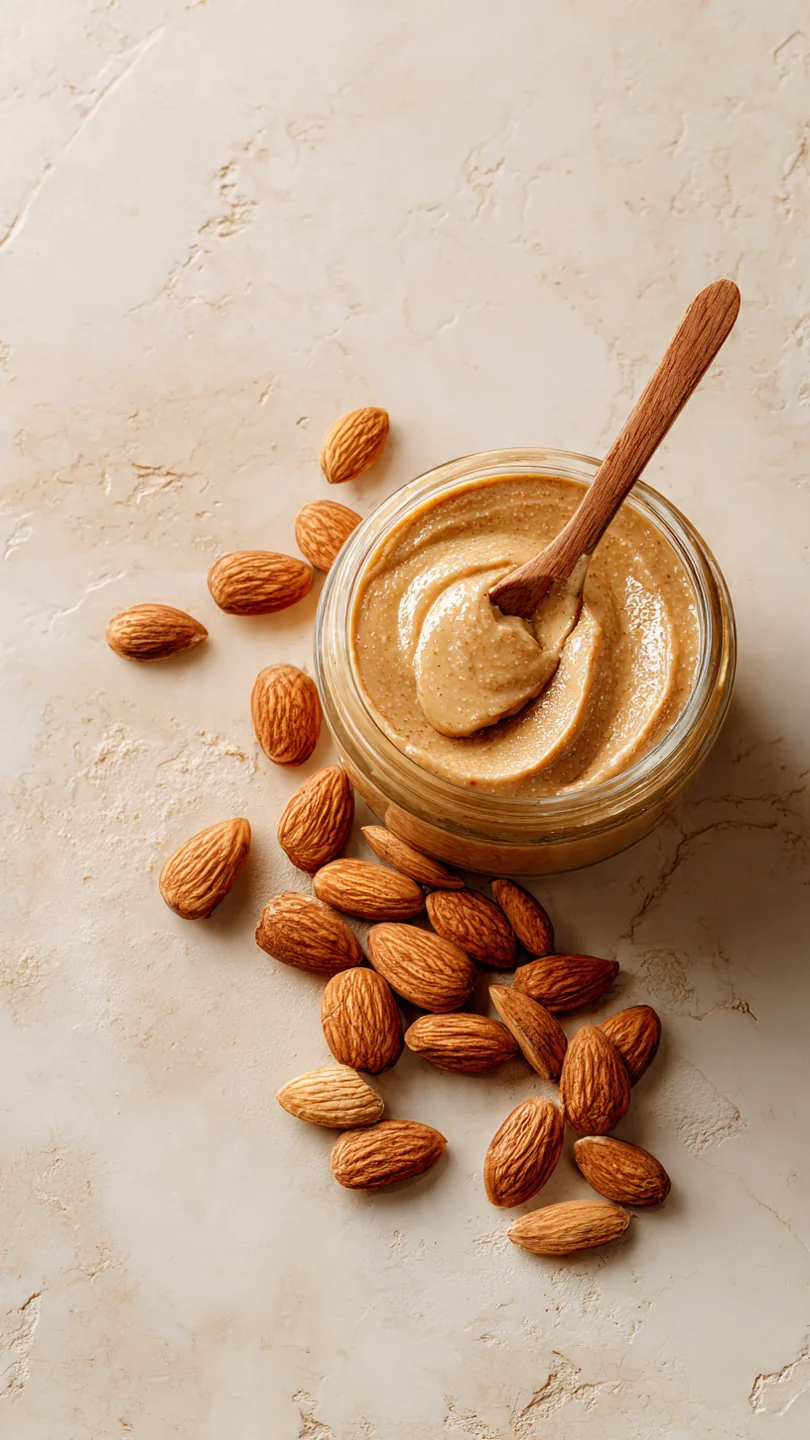
There’s something deeply satisfying about transforming a humble bag of almonds into a jar of silky, spreadable gold. As a chef, I’ve made gallons of nut butters, but this simple, one-ingredient almond butter remains a personal favorite for its pure, toasty flavor and incredible versatility. Forget the expensive, often sugar-laden jars from the store.
With a little patience and your food processor, you can create a condiment that’s richer, fresher, and infinitely more joyous. The result is a luxuriously creamy butter with a deep roasted aroma, perfect for everything from your morning toast to elegant dessert sauces.
- One-Ingredient Wonder: This recipe proves that sometimes, less is more. You only need almonds to create a pure, unadulterated nut butter.
- Cost-Effective: Making it at home is significantly cheaper than buying premium natural almond butter, especially in bulk.
- Complete Control: You decide the roast level and texture—make it extra-toasty or keep it slightly raw for a milder flavor.
- No Additives: Unlike many store-bought versions, your homemade batch contains no added oils, sugars, stabilizers, or preservatives.
- Incredibly Versatile: Use it as a spread, a dip, a baking ingredient, or a smoothie booster. It’s a kitchen staple that earns its keep.
- Dietary Friendly: It’s naturally vegan, gluten-free, paleo, and Whole30 compliant, fitting seamlessly into almost any eating style.
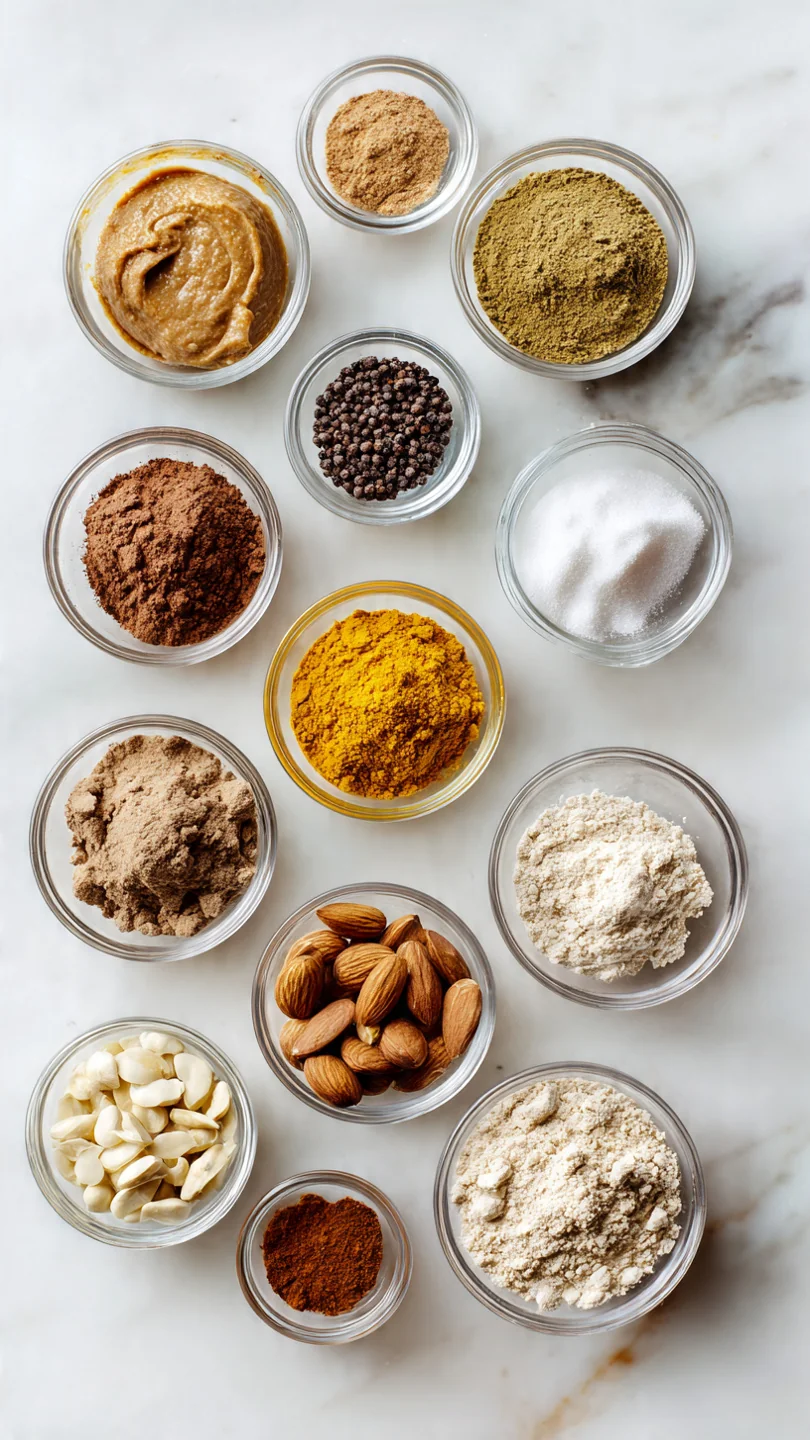
Ingredients You’ll Need
Let’s gather our single, star ingredient. The magic of this recipe lies in the quality and preparation of the almonds themselves. While you can use any raw almonds, I have a strong preference for skin-on, also called natural almonds.
The skins contribute valuable fiber, a slightly more robust flavor, and that beautiful deep tan color in the finished butter. Blanched almonds (with skins removed) will yield a slightly paler and marginally smoother butter, but you sacrifice some nutritional benefits. I don’t recommend pre-roasted almonds, as their roast level is inconsistent and they can often be over-oiled.
Starting with raw gives you complete control over the toasting process, which is where the foundational flavor is built. That’s truly all you need! The process itself coaxes out the almonds’ natural oils, so there’s no need for any added oil, making this the purest form of almond butter possible.
Note: You’ll find the complete list of ingredients, along with their exact measurements, in the printable recipe card at the bottom of this post.
Kitchen Equipment Needed
Your equipment list is short but specific. A heavy-duty food processor (I recommend at least a 7-cup capacity) is non-negotiable. A standard blender often struggles with the thick paste stage, though a high-powered blender like a Vitamix can work if you make a larger batch.
You’ll also need a rimmed baking sheet for toasting the almonds evenly, a spatula for frequent scraping down of the processor bowl, and a clean glass jar with an airtight lid for storage. Avoid plastic containers, as they can retain odors.
How to Make Joyous Almond Butter Recipe
Step 1: Toast to Perfection
Preheat your oven to 350°F (175°C). Spread your three cups of raw almonds in a single, even layer on your rimmed baking sheet. This ensures they toast uniformly rather than steam.
Roast them for 10 to 12 minutes, giving the pan a good shake halfway through. You’re looking for a deep, nutty fragrance and a slightly darkened skin—they shouldn’t look burnt. Believe me, this toasting step is what develops the complex, rich flavor you crave in a great almond butter.
Step 2: The Crucial Cool-Down
Once fragrant, pull the almonds from the oven and let them cool on the sheet for a full 5 minutes. This step is critical. Processing piping hot nuts can cause their natural oils to separate and the mixture to seize, resulting in a grainy texture.
They should be warm to the touch but not hot. This brief rest makes all the difference for a smooth emulsion.
Step 3: Begin the Grind
Transfer the warm almonds to your food processor bowl, fitted with the standard ‘S’ blade. Secure the lid and process on high for about 1 minute. The almonds will quickly turn into a fine, dry, flour-like meal.
Stop and use your spatula to scrape down the sides and any powder from the lid. Everything needs to stay in the path of the blade for even processing.
Step 4: Persist Through the Paste
Continue processing. After another 2-3 minutes, the dry meal will suddenly clump together into a thick, solid ball of paste that rides the blade. This is the infamous “dough ball” stage, and it’s where most people panic and think they need to add oil.
Trust me, you don’t. This is just the almonds’ oils beginning to release. Scrape down the sides once more and keep the processor running.
Step 5: Witness the Magic and Jar
Now comes the fun part. After 3-5 more minutes of processing, the thick paste will magically break. It will go from a ball to a gritty liquid, and finally to a smooth, glossy, and pourable nut butter right before your eyes.
The sound will change from a labored chugging to a smooth, wet whirl. Tip from me: If your machine feels very warm, pause for 30 seconds to let it cool. Once perfectly fluid, scrape every last bit into your clean jar.
Let it cool completely before putting the lid on to prevent condensation.
- Patience is the Secret Ingredient: The total processing time can vary from 8 to 15 minutes depending on your machine’s power and the age/oil content of the almonds. Do not give up during the thick paste stage.
- The Roast Dictates the Flavor: For a deeper, almost coffee-like note, roast your almonds for the full 12 minutes until they are a rich brown. For a milder, sweeter butter, roast for only 8-9 minutes.
- Salt is Optional but Recommended: While this recipe is pure, I often add 1/4 to 1/2 teaspoon of fine sea salt during the final minute of processing. It profoundly enhances the nutty flavor.
- Boosting Creaminess: If you desire an exceptionally silky texture, you can add 1/2 to 1 teaspoon of a neutral oil (like avocado or almond oil) during the final minute of processing. This is a chef’s trick for absolute luxury.
Recipe Variations
- Cinnamon Vanilla Almond Butter: After the butter is smooth, add 1 teaspoon of ground cinnamon and 1 teaspoon of pure vanilla extract. Process for another 30 seconds to combine.
- Maple Sea Salt Almond Butter: Drizzle in 2 tablespoons of pure maple syrup and 1/2 teaspoon of flaky sea salt during the final minute of processing for a sweet-and-salty delight.
- Chocolate Almond Butter: Add 2 tablespoons of unsweetened cocoa powder and 2 tablespoons of maple syrup or honey once the butter is smooth. Process until fully incorporated.
- Spicy Almond Butter: Blend in 1/2 teaspoon of cayenne pepper or smoked paprika for a warming kick that’s fantastic with apples or in savory sauces.
- Superfood Almond Butter: Stir in 2 tablespoons of chia seeds or ground flaxseed after processing for an added fiber and omega-3 boost.
What to Serve With This Recipe
This almond butter is a champion of versatility. For breakfast, swirl it into oatmeal or yogurt, or spread it on toast topped with banana slices. It makes an incredible dip for apple slices, celery sticks, or pretzels.
In savory applications, thin a spoonful with warm water and a splash of soy sauce for a fantastic noodle or salad dressing. For dessert, use it as a base for dairy-free fudge, or simply drizzle it over vanilla ice cream. It pairs beautifully with a cup of black coffee or a glass of cold almond milk.
Storage & Make-Ahead Instructions
- Storage: Store your almond butter in a sealed glass jar. It will keep at room temperature in a cool, dark pantry for up to 2 weeks. For longer storage, refrigerate for up to 3 months. The oils may separate upon standing; simply stir to recombine.
- Make-Ahead: This is an ideal make-ahead recipe. I often double the batch on a weekend to have a ready supply for the weeks ahead.
- Freezing: For long-term storage, you can freeze almond butter in an airtight container for up to 6 months. Thaw in the refrigerator overnight and stir well before use.
- Reviving Texture: If refrigerated butter becomes too hard to spread, let it sit at room temperature for 30 minutes or scoop out the desired amount and warm it briefly in your hands.
Frequently Asked Questions
Q: Can I use a blender instead of a food processor?
A: A high-powered blender can work, but you may need to double the recipe so the blades can engage properly. You will also need to stop and scrape down the sides much more frequently. A food processor is the ideal tool for this job.
Q: Why did my almond butter turn out dry and crumbly?
A: You likely stopped processing during the thick “dough ball” stage. This is a temporary phase! Keep processing—the natural oils will release, and it will become creamy.
Older, drier almonds may also take longer.
Q: Is it normal for the oil to separate?
A: Yes, completely normal. Natural separation occurs because there are no emulsifiers. Just stir it back in with a knife or spoon before use.
Storing it in the fridge minimizes separation.
Q: Can I make this with other nuts?
A: Absolutely! The same method works for peanuts, cashews, pecans, or walnuts. Just note that oilier nuts like cashews will process faster, while harder nuts like almonds take the longest.
Q: How can I make crunchy almond butter?
A: Reserve 1/4 cup of the toasted almonds after they cool. Chop them finely by hand or pulse briefly in the processor. Stir the chopped almonds into the finished smooth butter.
Q: My food processor is getting very hot. What should I do?
A: This is common, especially with less powerful models. Simply stop the machine, unplug it, and let it cool down for 3-5 minutes before continuing. This protects the motor.
Q: Can I add sweetener to the recipe?
A: You can, but add liquid sweeteners like honey or maple syrup only after the butter is completely smooth, then process briefly to combine. Adding them too early can prevent the nuts from releasing their oils properly.
Final Thoughts
This Joyous Almond Butter recipe embodies what I love about cooking: taking a simple, whole ingredient and, through a bit of knowledge and patience, transforming it into something greater than the sum of its parts. The process is almost meditative, and the reward is a jar of pure, wholesome goodness you made yourself. It’s a foundational recipe that will boost your confidence in the kitchen and upgrade your pantry.
I encourage you to try it as written first, then play with the variations to make it your own. Once you taste the rich, creamy results, you’ll understand why homemade is truly the only way to go. I’d love to hear how yours turns out—share your creations with me online!
Now, go grab those almonds and start your food processor. Your new favorite condiment awaits.
Joyous Almond Butter
Equipment
- Heavy-duty food processor (at least 7-cup capacity)
- Rimmed baking sheet
- Spatula
- Glass jar with airtight lid
Ingredients
- 3 cups raw almonds preferably skin-on for the best flavor and nutrition
Instructions
- Preheat your oven to 350°F (175°C). Spread the raw almonds in a single layer on a rimmed baking sheet. Roast for 10-12 minutes, shaking the pan halfway through, until the almonds are fragrant and lightly toasted. Let them cool for 5 minutes—this is crucial as hot nuts can seize in the food processor.
- Transfer the warm (not hot) almonds to the bowl of a heavy-duty food processor fitted with the ‘S’ blade. Process on high for 1 minute until the almonds are finely ground into a coarse meal. Scrape down the sides with a spatula.
- Continue processing. After 2-3 minutes, the mixture will form a thick, dry paste that clumps together. Trust me, this is the ‘dough ball’ stage—it feels like it will never become butter, but keep going. Scrape down the sides again.
- Process for another 3-5 minutes. You’ll see the magic happen: the natural oils will release, and the paste will suddenly break down into a smooth, glossy, liquid butter. Tip from me: If your processor seems to be straining, give it a 30-second rest to prevent overheating the motor.
- Once the almond butter is completely smooth and pourable, scrape it into a clean glass jar. Let it cool completely before sealing with a lid. Store at room temperature for up to 2 weeks or in the refrigerator for up to 3 months.