
Imagine opening your freezer on a hectic Tuesday morning and finding a stash of perfectly portioned, protein-packed breakfasts ready to reheat. That’s the practical magic of these mini crustless quiches. Having spent years in professional kitchens and now managing a busy household, I developed this recipe to solve the eternal “what’s for breakfast?” dilemma.
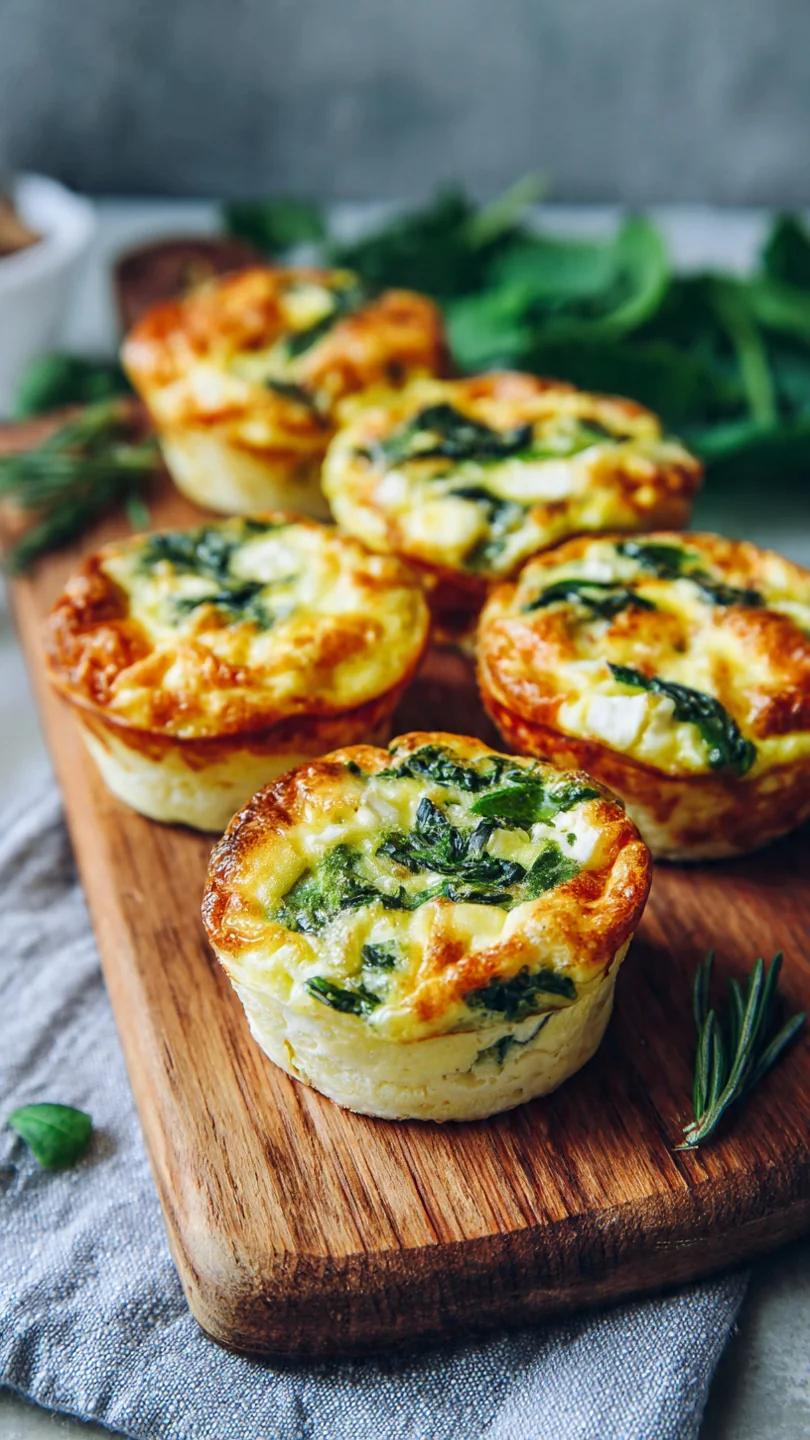
These are not dense egg muffins; they’re light, custardy, and packed with flavor, achieving the elegant texture of a traditional quiche without the fuss of a crust. They bake up golden and puffed, with endless possibilities for customization based on what’s in your fridge. Let’s make your meal prep effortless and delicious.
- Meal Prep Champion: Bake a batch on Sunday and enjoy a quick, satisfying breakfast all week. They freeze and reheat beautifully.
- Endlessly Customizable: Use this recipe as a template. Clean out your vegetable drawer, swap cheeses, or use different proteins to create new flavor combinations every time.
- Naturally Gluten-Free: Without a pastry crust, these quiches are inherently gluten-free, making them a great option for various dietary needs.
- Perfect Portion Control: Each mini quiche is a single, satisfying serving, eliminating guesswork and helping with balanced eating.
- Kid-Friendly & Crowd-Pleasing: Their handheld size and mild, cheesy flavor make them a hit with both kids and adults at brunch gatherings.
- High-Protein Start: Packed with eggs and cheese, they provide lasting energy to fuel your morning without a mid-day crash.
Ingredients You’ll Need
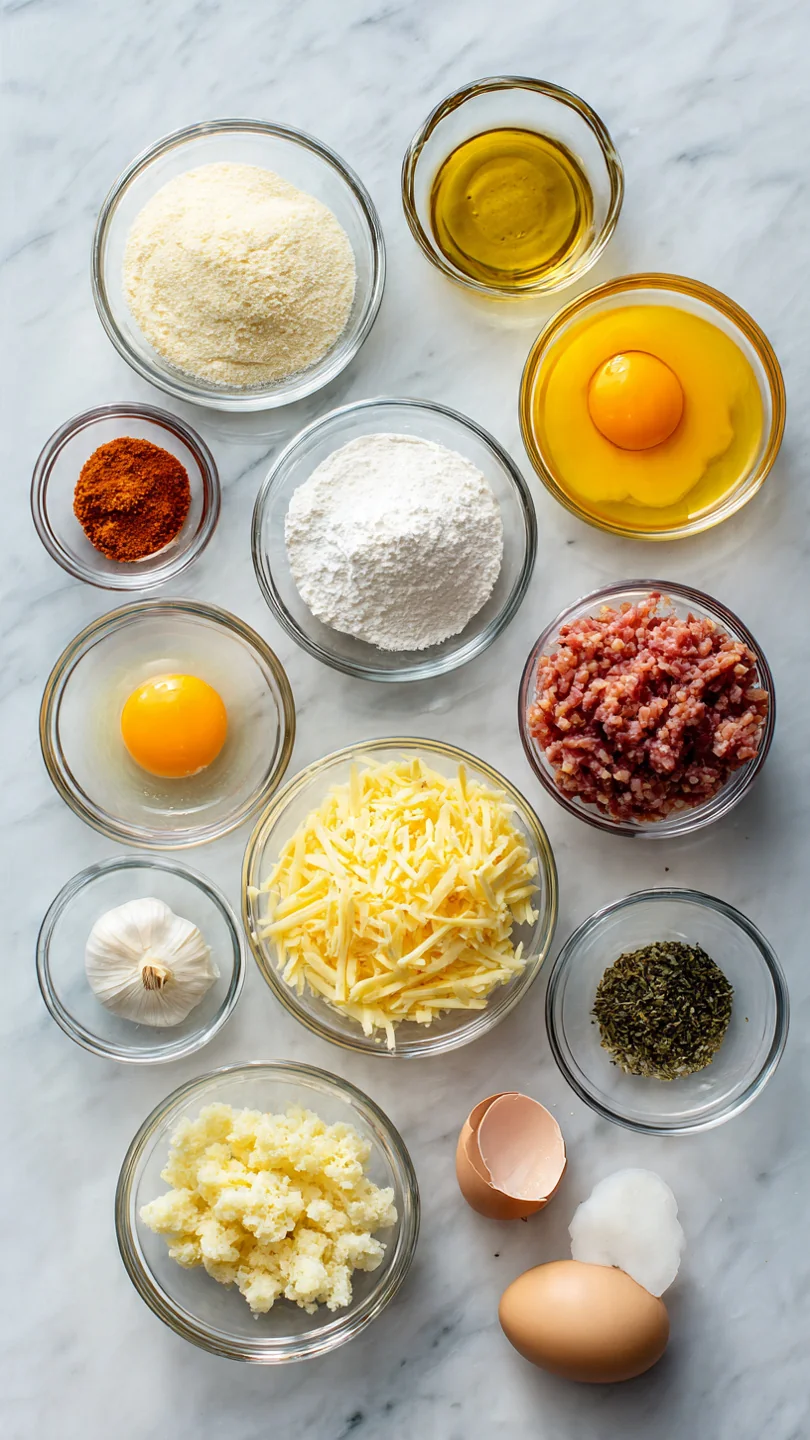
Let’s gather our ingredients—this is where simple pantry staples transform into something special. The beauty of this recipe lies in its flexible formula: a rich egg custard base + cheese + your favorite fillings. For the custard, using a mix of milk and a touch of heavy cream is my professional secret.
It mimics the luxurious mouthfeel that heavy cream provides in a full-sized quiche, ensuring they stay moist and tender even after reheating. For cheese, a good melting variety like sharp cheddar, Gruyère, or Monterey Jack works wonders. As for fillings, the rule is about 1/2 cup each of a cooked protein and vegetables per batch—anything more and the quiches won’t hold together properly.
Ensure your vegetables are finely chopped and any watery ones (like spinach or zucchini) are thoroughly squeezed dry. This prevents a soggy result.
Note: You’ll find the complete list of ingredients, along with their exact measurements, in the printable recipe card at the bottom of this post.
Kitchen Equipment Needed
You likely have everything you need already. The essential tool is a standard 12-cup muffin tin. I don’t recommend silicone molds here, as they can prevent the beautiful golden crust from forming.
You’ll also need mixing bowls, a whisk for creating a smooth custard base, and a ladle or large measuring cup for easy pouring. Non-stick cooking spray is crucial for effortless release; butter works too but can brown more. An offset spatula is incredibly helpful for gently loosening and removing the baked quiches without breaking them.
How to Make Mini Crustless Quiches Recipe
Step 1: Prep and Mix the Custard Base
Preheat your oven to 350°F (175°C). Generously grease every cup of your muffin tin—this step is non-negotiable for clean removal. In a large bowl, whisk together the eggs, dairy, and seasonings.
Believe me, taking an extra 30 seconds to whisk until completely smooth and streak-free is worth it. This emulsification creates the foundation for that signature quiche texture. The pinch of nutmeg is a classic French touch that adds a subtle, warm depth you’ll appreciate.
Step 2: Incorporate Fillings and Cheese
Now for the fun part: customization. Stir your chosen shredded cheese into the base. Then, fold in your prepared meats and vegetables.
Use a gentle hand here to avoid deflating the mixture. At this stage, the batter will be quite thick with goodies. Let it sit for a minute while the oven comes to temperature; this allows the dry ingredients to hydrate slightly and ensures even baking.
Step 3: Portion and Bake
Using a ladle, evenly divide the mixture among the 12 muffin cups, filling each about 3/4 full. Trust me, leaving this headspace is important as they will puff up slightly. Gently tap the tin on the counter to release any trapped air bubbles.
Place the tin in the center of your preheated oven. The consistent, moderate heat is key to cooking the custard through without over-browning the tops.
Step 4: Watch for Doneness
Bake for 18-22 minutes. Tip from me: Start checking at 18 minutes. You’re looking for a few visual cues.
The tops should be lightly golden, the centers should be just set (a very slight jiggle is okay, as they’ll carryover cook), and the edges will have just started to pull away from the sides of the tin. Overbaking leads to dry, rubbery quiches.
Step 5: Cool, Remove, and Serve
This is the most critical step for presentation. Remove the tin from the oven and let it cool on a rack for a full 5 minutes. This resting period allows the protein structure to firm up.
Then, carefully run a small knife or offset spatula around each quiche to loosen it before lifting it out. Step back and admire your beautiful, golden-brown creations. Serve warm, garnished with fresh herbs.
- Prevent Sogginess: Always sauté watery vegetables like mushrooms, onions, or spinach and squeeze them dry in a paper towel before adding to the egg mix. This removes excess moisture that would steam during baking.
- Room Temperature Matters: Using room-temperature eggs and dairy helps them blend more smoothly and can lead to a slightly more even rise.
- Don’t Overmix: Once you add the fillings, fold gently. Over-whipping at this stage can incorporate too much air, leading to uneven texture and potential collapse.
- The Toothpick Test: For absolute certainty, insert a toothpick into the center of a middle quiche. It should come out clean or with tiny moist crumbs, not wet egg mixture.
- Grease Thoroughly: Pay special attention to the top rim and corners of each muffin cup. This ensures the quiche can pull away cleanly as it bakes and contracts.
Recipe Variations
- Mediterranean: Use feta cheese, chopped sun-dried tomatoes, and fresh spinach. Add a pinch of dried oregano to the egg base.
- Everything Bagel: Mix in 2 tablespoons of everything bagel seasoning with the dry ingredients. Use cream cheese chunks and smoked salmon (add salmon after baking for best texture).
- Southwestern: Pepper Jack cheese, diced green chiles, cooked chorizo or black beans, and a sprinkle of cumin.
- Keto/Very Low-Carb: Use all heavy cream or full-fat coconut milk instead of milk, and load up on low-carb veggies like broccoli and peppers.
- Dairy-Free: Substitute the milk and cream with unsweetened almond or oat milk, and use a dairy-free cheese alternative that melts well.
- Vegetarian Supreme: Skip the meat and use a mix of sautéed mushrooms, bell peppers, onions, and zucchini. Add an extra 1/4 cup of cheese for protein.
What to Serve With This Recipe
These mini quiches are incredibly versatile. For a simple, balanced breakfast, pair two quiches with a handful of fresh berries or a slice of melon. To create a beautiful brunch spread, serve them alongside a crisp green salad with a lemony vinaigrette, a platter of fresh fruit, and perhaps some roasted potatoes or breakfast sausages.
They are perfect for baby showers, holiday mornings, or as part of a breakfast-for-dinner menu. For a drink pairing, a mimosa or a freshly squeezed orange juice complements them beautifully, while a hot coffee or tea is always a welcome match.
Storage & Make-Ahead Instructions
- Refrigeration: Cool the quiches completely, then store in an airtight container in the refrigerator for up to 4 days.
- Freezing: This is where they shine. Place cooled quiches in a single layer on a baking sheet to freeze solid (about 2 hours), then transfer to a freezer bag or container. They will keep for up to 3 months. This prevents them from sticking together.
- Reheating: For best results, reheat from refrigerated in a 350°F oven or toaster oven for 8-10 minutes until warmed through. From frozen, reheat at 350°F for 15-20 minutes. You can also microwave for 30-60 seconds, but the oven method preserves the texture.
- Make-Ahead: The egg mixture can be prepared (without adding wet vegetables) and stored in a sealed container in the fridge for up to 24 hours before baking. Give it a good stir before pouring.
Frequently Asked Questions
Q: Can I make these without any cream?
A: Absolutely. You can use all milk. The cream adds richness and helps stabilize the custard, but the quiches will still be delicious with 3/4 cup of total dairy from milk alone.
Q: Why did my quiches deflate or get rubbery?
A: This is usually due to overbaking. Eggs continue to cook from residual heat once out of the oven. Remove them when the centers are just set, not completely firm.
Also, ensure you’re not over-mixing the batter, which can toughen the proteins.
Q: Can I use egg whites or a liquid egg substitute?
A: You can use 1 1/2 cups of liquid egg substitute. The texture will be slightly less rich but still good. Using only egg whites will result in a very different, spongier texture and is not recommended for this custard-style recipe.
Q: How do I prevent them from sticking to the pan?
A: Generous greasing is key. I prefer a non-stick cooking spray for even coverage. Letting them cool for 5 minutes in the pan also allows them to contract and release naturally.
Q: Are these served hot or cold?
A: They are excellent both ways! Warm is ideal for that fresh-from-the-oven feel, but they are also perfectly portable and tasty at room temperature, making them great for lunchboxes.
Q: Can I double this recipe?
A: Yes, simply double all ingredients. You may need to bake in batches or use two muffin tins. Rotate the tins halfway through baking for even cooking.
Q: My fillings all sank to the bottom. What happened?
A: Ensure your fillings are finely chopped and not too heavy. Letting the batter rest for 5-10 minutes before baking can also help suspend the ingredients more evenly.
Final Thoughts
These mini crustless quiches are more than just a recipe; they’re a strategy for easier, healthier mornings. They embody the kind of practical, chef-tested cooking I believe in—food that is both nourishing and deeply satisfying without requiring hours of effort. Their flexibility means you’ll never get bored, and their freezer-friendly nature is a genuine lifesaver.
I encourage you to make your first batch this weekend. Play with the flavors, find your family’s favorite combination, and enjoy the peace of mind that comes with a ready-to-go breakfast. I’d love to hear how yours turn out—what fillings did you choose?
Share your creations with me, and if you enjoyed this recipe, please explore more of my tested, reliable dishes designed for real life. Happy cooking

Mini Crustless Quiches
Equipment
- Standard 12-cup muffin tin
- Mixing bowls
- Whisk
- Ladle or large measuring cup
- Non-stick cooking spray or butter for greasing
Ingredients
- 6 large eggs Use room temperature for best blending
- 1/2 cup whole milk Or half-and-half for richer texture
- 1/4 cup heavy cream Optional, but adds wonderful richness
- 1 cup shredded cheese Cheddar, Gruyère, or a blend work well
- 1/2 cup diced cooked meat Ham, cooked bacon, or sausage crumbles
- 1/2 cup chopped vegetables Spinach, bell peppers, mushrooms, onions
- 1/4 tsp salt Fine sea salt or kosher salt
- 1/4 tsp black pepper Freshly ground
- 1/8 tsp ground nutmeg Classic quiche seasoning, optional but recommended
- 1 tbsp fresh herbs Chives, parsley, or dill, finely chopped
Instructions
- Preheat your oven to 350°F (175°C). Generously grease a standard 12-cup muffin tin with non-stick cooking spray or butter. Trust me, a thorough greasing is the key to easy removal later. In a large mixing bowl, whisk the eggs, milk, cream (if using), salt, pepper, and nutmeg until completely smooth and homogenous—no streaks of egg white should remain.
- Stir in your chosen shredded cheese. This is where you can get creative. A sharp cheddar gives a classic flavor, while Gruyère offers a nutty sophistication. Fold in your prepared fillings: the diced meat and chopped vegetables. The mixture should be thick but still pourable. Let this base mixture sit for a minute while you prepare the pan.
- Using a ladle or large measuring cup, evenly divide the egg mixture among the 12 prepared muffin cups, filling each about 3/4 full. Tip from me: Tap the muffin tin gently on the counter a few times to release any large air bubbles, which helps create a uniform texture.
- Carefully transfer the muffin tin to the center rack of your preheated oven. Bake for 18-22 minutes. You’ll know they’re done when the tops are lightly golden, the centers are just set (no longer jiggly), and a toothpick inserted comes out clean. The edges will have just started to pull away from the sides of the cups.
- Remove the tin from the oven and let the quiches cool in the pan for 5 minutes. This resting period is crucial—it allows them to firm up for easy handling. Then, run a small offset spatula or butter knife gently around the edges of each quiche and lift them out. Transfer to a wire rack or serve immediately, garnished with fresh herbs.