
Roasted garlic cloves are a versatile ingredient that can transform your dishes with their sweet, mellow flavor. Whether you’re looking to enhance a sauce, spread, or soup, this simple technique will help you achieve perfect results every time.
Why You’ll Love This Recipe
- Easy to Make: With just a few ingredients and simple steps, you can master roasted garlic cloves.
- Flavorful Addition: Roasted garlic adds depth and richness to a wide variety of dishes.
- Versatile Use: Use it as a spread, mix into sauces, or toss with vegetables for a flavor boost.
- Health Benefits: Garlic is known for its immune-boosting properties, and roasting enhances its antioxidant content.
- Long Shelf Life: Store roasted garlic in the fridge for up to a week, making it a convenient ingredient to have on hand.
- Diet-Friendly: This recipe is vegan, vegetarian, and gluten-free, fitting a variety of dietary needs.
Ingredients & Preparation Notes
- Garlic: Choose fresh, firm heads of garlic for the best flavor. Look for heads that are heavy for their size and have tight, unbroken skins.
- Olive Oil: Extra virgin olive oil is preferred for its rich flavor, but any high-quality oil will work.
- Salt: Sea salt enhances the flavor of the garlic without overpowering it.
- Black Pepper: Freshly ground black pepper adds a subtle kick to the roasted cloves.
When selecting garlic, ensure it’s free from mold or sprouting, as this can affect the taste and texture of your roasted cloves. If you’re looking for a substitution, you can use garlic powder in a pinch, though the flavor won’t be the same.
Professional Tips & Techniques
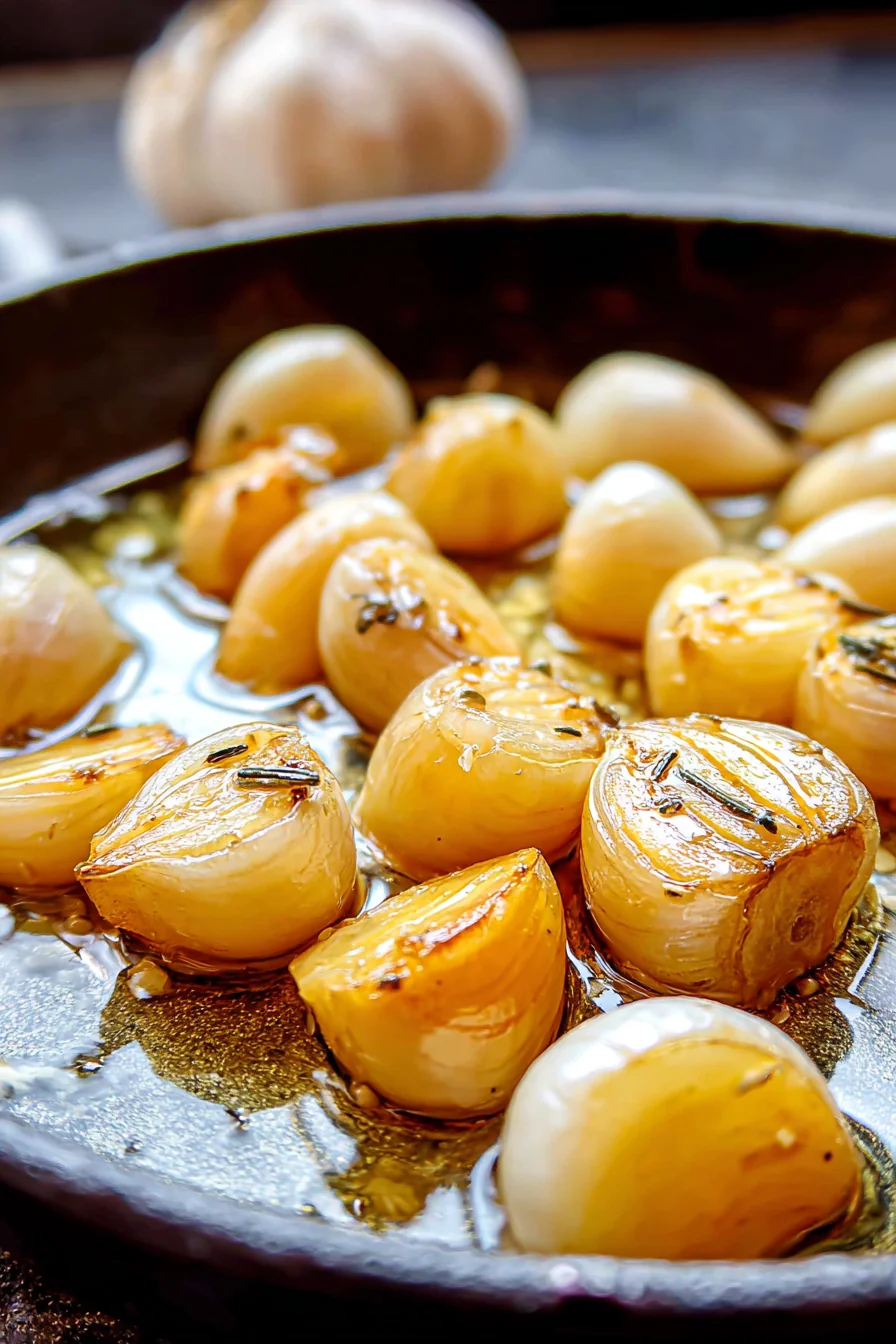
- Temperature Control: Roasting at 400°F (200°C) ensures the garlic caramelizes without burning. A lower temperature for a longer time helps achieve a sweet, mellow flavor.
- Skin On: Keeping the skin on the cloves during roasting prevents burning and makes peeling easier after cooking.
- Even Coating: Tossing the cloves in oil and seasonings ensures they roast evenly and absorb flavor.
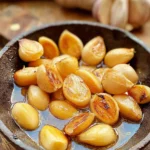
- Visual Cues: Look for golden, soft cloves as a sign of doneness. If they’re still firm, they need more time.
- Avoid Over-Roasting: Garlic can become bitter if over-roasted, so check frequently towards the end of cooking.
Recipe Variations
- Herb-Infused: Add fresh herbs like rosemary or thyme to the oil mixture for a fragrant twist.
- Spicy Kick: Mix in a pinch of red pepper flakes for a spicy version of roasted garlic.
- Honey Glazed: Drizzle honey over the cloves before roasting for a sweet and savory flavor.
- Lemon Zest: Incorporate lemon zest into the oil for a bright, citrusy note.
- Cheese-Stuffed: After roasting, carefully cut a slit in each clove and stuff with a small piece of cheese for a decadent treat.
- Smoked Garlic: Use a smoker instead of an oven for a smoky flavor profile.
- Garlic Confit: Simmer garlic cloves in oil on low heat for a softer, more spreadable result.
- Whole Head Method: Roast entire heads of garlic wrapped in foil for a different texture and presentation.
Serving Suggestions
- Spread on Bread: Mash the roasted cloves and spread them on toasted bread for a simple yet delicious appetizer.
- Mix into Sauces: Add roasted garlic to pasta sauces, dressings, or dips for added depth of flavor.
- Toss with Vegetables: Mix roasted garlic into roasted vegetables for a flavor boost.
- Enhance Soups: Stir roasted garlic into soups or broths for a rich, savory taste.
- Pizza Topping: Use roasted garlic as a pizza topping for a gourmet touch.
- Mashed Potatoes: Incorporate roasted garlic into mashed potatoes for a luxurious side dish.
- Compound Butter: Mix roasted garlic into softened butter for a flavorful spread.
Storage & Make-Ahead Tips
- Refrigeration: Store roasted garlic in an airtight container in the refrigerator for up to a week.
- Freezing: Freeze roasted garlic in ice cube trays with a bit of oil, then transfer to a freezer bag for up to three months.
- Make-Ahead: Roast a large batch of garlic and store it in the fridge for easy use throughout the week.
- Reheating: Gently reheat roasted garlic in a pan or microwave to preserve its flavor and texture.
Frequently Asked Questions
Q: Can I make this ahead of time?
A: Yes, roasted garlic can be made ahead and stored in the refrigerator for up to a week or frozen for longer storage.
Q: How do I know when the garlic is done roasting?
A: The garlic is done when the cloves are golden and soft. You can test by gently squeezing a clove; it should be tender and easy to squeeze out of its skin.
Q: Can I use this recipe with other types of garlic?
A: Yes, you can use elephant garlic or other varieties, though cooking times may vary slightly.
Q: What can I do if my garlic burns?
A: If your garlic burns, it’s best to start over. Burnt garlic can impart a bitter flavor to dishes.
Q: Can I roast garlic without oil?
A: While oil helps with flavor and texture, you can roast garlic without it. Simply wrap the cloves in foil and roast at a lower temperature to prevent burning.
Q: How can I use roasted garlic in recipes?
A: Roasted garlic can be mashed and used as a spread, mixed into sauces, added to soups, or incorporated into dishes like mashed potatoes or pasta.
Q: What’s the best way to peel roasted garlic?
A: After roasting, let the cloves cool slightly, then gently squeeze from the root end to pop the garlic out of its skin.
Q: Can I roast garlic at a lower temperature?
A: Yes, you can roast garlic at a lower temperature, such as 350°F (175°C), but it will take longer, typically 50-60 minutes.
Conclusion
Roasted garlic cloves are a simple yet transformative ingredient that can elevate your cooking with minimal effort. This recipe provides a foolproof method to achieve perfectly roasted garlic every time, with professional tips to ensure the best results. Whether you’re a seasoned chef or a home cook, this technique is sure to become a staple in your kitchen.
Try it out, share your results on social media, and let us know how you enjoy using roasted garlic in your favorite dishes. Remember, a little roasted garlic goes a long way in enhancing the flavor of your meals!
Roasted Garlic Cloves
Equipment
- Baking sheet
- Oven
- Mixing bowl
Ingredients
- 2 heads garlic Choose fresh, firm heads
- 1 tbsp olive oil Extra virgin preferred
- 1/2 tsp salt Sea salt recommended
- 1/4 tsp black pepper Freshly ground
Instructions
- Preheat your oven to 400°F (200°C). This temperature ensures even roasting and caramelization of the garlic.
- Separate the garlic cloves from the heads, keeping the skin intact. This helps prevent burning and aids in easy peeling after roasting.
- Place the cloves in a bowl, drizzle with olive oil, and sprinkle with salt and pepper. Toss to coat evenly.
- Arrange the coated cloves in a single layer on a baking sheet. Roast for 40-45 minutes, or until the cloves are golden and soft.
- Remove from the oven and let cool slightly. Once cool enough to handle, squeeze the cloves out of their skins.