
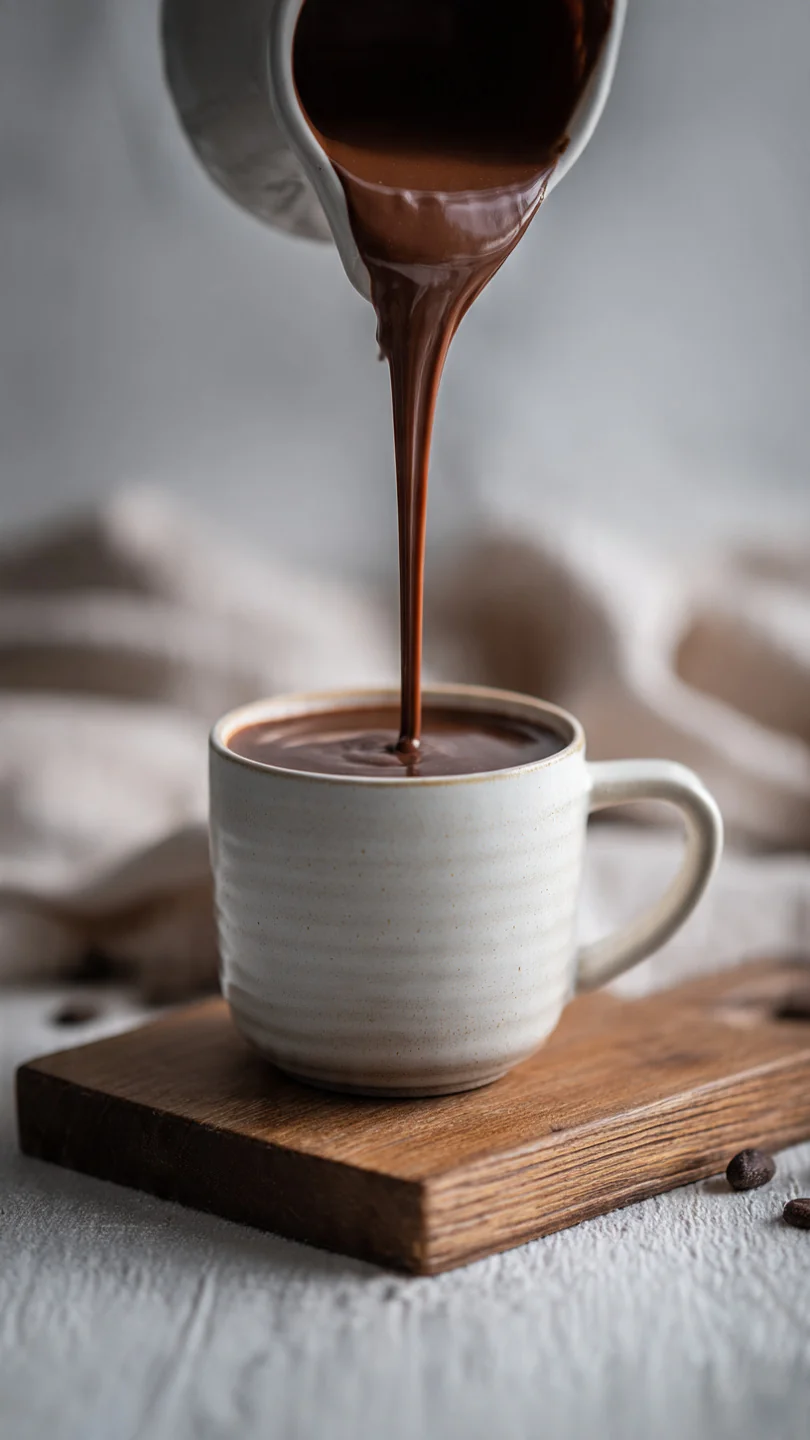
There’s hot chocolate, and then there’s this hot chocolate. The kind that’s so luxuriously thick you need a spoon, with a deep, resonant chocolate flavor that lingers. As a chef, I’ve tasted countless versions, from watery packets to overly sweet sipping chocolate.
This recipe is my gold standard—the perfect balance of intense flavor, velvety texture, and comforting warmth, achieved with a few simple techniques I learned in professional kitchens. It’s the antidote to a chilly day, a celebratory treat, or the ultimate cozy nightcap. Let’s make a mug of pure, unapologetic indulgence.
- Restaurant-Quality at Home: This recipe uses the same technique chefs use for ganache, creating a smooth, emulsified texture that’s far superior to any mix.
- Spoonably Thick: Thanks to the perfect ratio of cream to chocolate, this hot chocolate has a luxurious, almost pudding-like body that truly coats the spoon.
- Deep, Complex Flavor: Using real chocolate and a pinch of salt delivers a rich, nuanced taste that powdered cocoa can’t match.
- Quick & Simple: Ready in about 15 minutes with just one saucepan and a handful of pantry staples.
- Endlessly Customizable: It’s a perfect base for adding spices, liqueurs, or different types of chocolate to suit your mood.
- Impressively Decadent: This is the drink you serve to make a moment special, whether for family movie night or hosting friends.
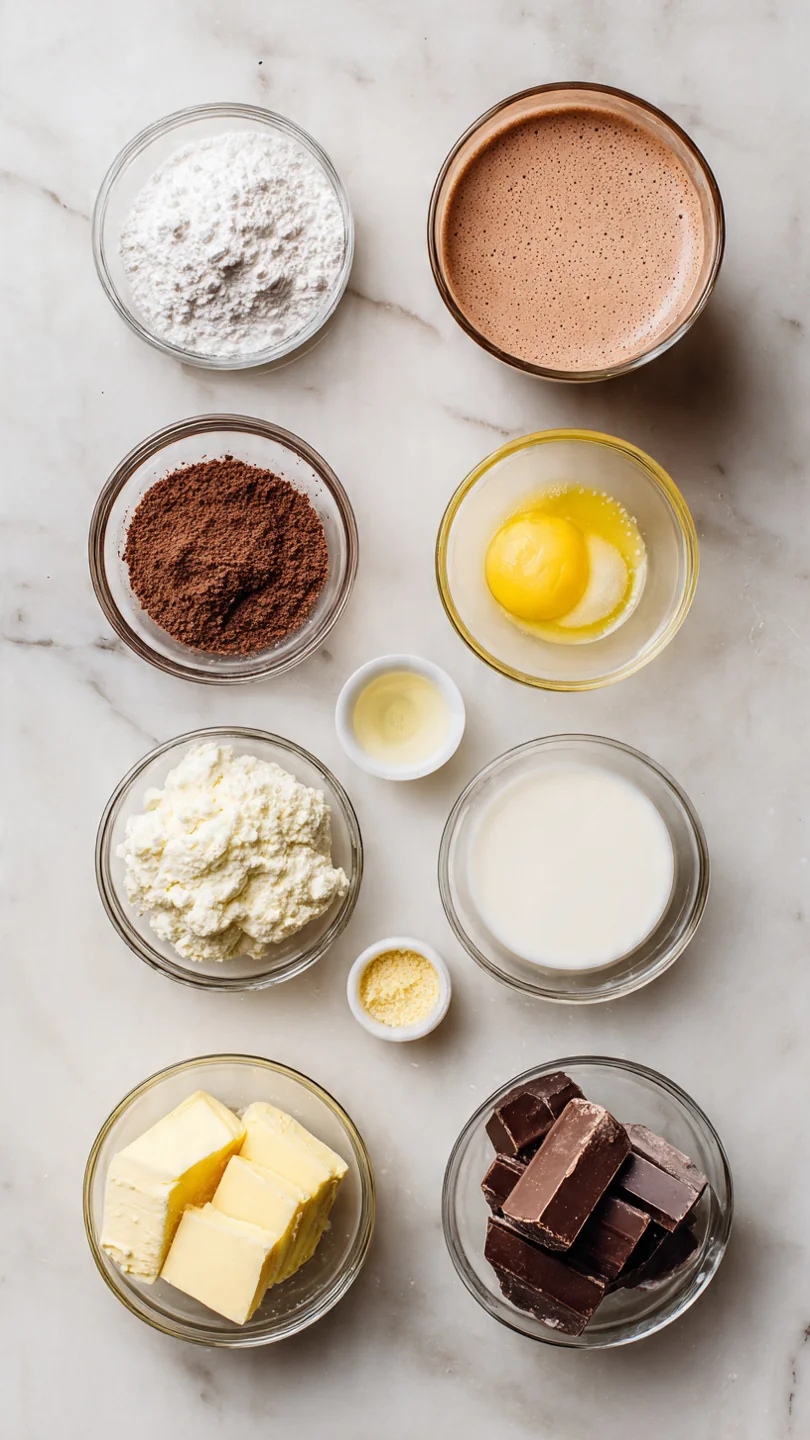
Ingredients You’ll Need
Let’s gather our ingredients—this is where the magic starts. The simplicity is beautiful: just a few high-quality components combine to create something extraordinary. Choosing the right chocolate is your most important decision; it is the star of the show.
- Semi-Sweet Chocolate (4 oz): This is the foundation. I recommend a bar with 50-60% cocoa solids for the best balance of chocolate intensity and sweetness. Chopping it finely ensures it melts smoothly and quickly.
- Heavy Cream (1/2 cup): This is the secret to the incredible thickness and rich mouthfeel. It provides the fat necessary for that luxurious body.
- Whole Milk (1/2 cup): Using whole milk alongside the cream gives us the perfect texture—creamy but still drinkable. Lower-fat milks will make the final result thinner.
- Granulated Sugar (1 tbsp, optional): Depending on the sweetness of your chocolate and your personal preference, you may want to add a little sugar. Taste before adding!
- Fine Sea Salt (1/8 tsp): Trust me on this. Salt is a flavor enhancer, not a flavor maker. It amplifies the chocolate notes and prevents the drink from tasting flat or overly sweet.
- Pure Vanilla Extract (1/4 tsp): A classic flavor partner for chocolate that adds a warm, aromatic depth.
Note: You’ll find the complete list of ingredients, along with their exact measurements, in the printable recipe card at the bottom of this post.
Kitchen Equipment Needed
You don’t need any fancy gadgets for this recipe, just a few reliable basics. A small, heavy-bottomed saucepan is ideal because it distributes heat evenly and prevents the dairy from scorching on the bottom. A good whisk is your best friend for emulsifying the chocolate into the cream.
If you have an immersion blender, it’s a fantastic optional tool for creating a super frothy, café-style foam on top. Finally, pre-warming your mugs with hot water for a minute before pouring will keep your hot chocolate piping hot longer.
How to Make The Thickest And Creamiest Hot Chocolate Recipe
Step 1: Gently Warm the Dairy Base
Place your small saucepan over medium-low heat and pour in the whole milk and heavy cream. Your goal here is to heat it gently until it’s steaming hot and you see tiny bubbles forming just around the edges of the pan—this is called scalding. Believe me, rushing this step or letting it come to a full boil can cause the dairy to separate or develop a “skin,” so patience is key.
Stir it occasionally as it heats, which should take about 5 minutes.
Step 2: Prepare Your Chocolate
While the dairy warms, take your semi-sweet chocolate bar and chop it finely with a chef’s knife. Tip from me: smaller pieces have more surface area, which means they will melt faster and more evenly when they hit the warm liquid. If you’re using high-quality chocolate chips, you can skip the chopping.
Having your chocolate ready to go before the dairy is hot makes the process seamless.
Step 3: Create the Chocolate Emulsion
Once your milk mixture is steaming, reduce the heat to low. Add all of your finely chopped chocolate (or chips), the optional sugar, and that crucial pinch of salt. Let it sit undisturbed for about 30 seconds to allow the chocolate to begin softening from the bottom up.
Now, start whisking. Whisk constantly in a gentle but firm motion, making sure to scrape the bottom and corners of the pan. You’ll see the magic happen as the chocolate melts and the mixture transforms from speckled to gloriously smooth and homogenous.
This should take 2-3 minutes.
Step 4: Finish and Froth
Remove the saucepan from the heat immediately once smooth. Stir in the vanilla extract—adding it off the heat preserves its delicate flavor. Now, taste it.
Is it sweet enough? Adjust if needed. For the ultimate texture, this is where you can use an immersion blender.
Plunge it in and blend for 15-20 seconds until the top is beautifully frothy and light. If you don’t have one, simply whisk vigorously by hand for a full minute; it will still be incredibly creamy.
Step 5: Serve and Savor
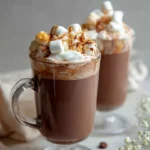
Pour your masterpiece into those pre-warmed mugs. The fun part is the topping: a dollop of freshly whipped cream, a few mini marshmallows, a dusting of cocoa powder, or some chocolate shavings. Step back and admire that rich, glossy surface.
Serve it immediately while it’s at its peak temperature and texture, and enjoy every spoonful of this decadent creation.
- Chocolate Quality is Key: The flavor of your hot chocolate is directly proportional to the quality of chocolate you use. Taste a piece of the chocolate bar before you start. If you don’t love it plain, you won’t love it in the drink.
- Control the Heat: The most common mistake is overheating. Keep the flame on medium-low for warming and low for melting. Boiling will cause the fats to separate, making your drink oily and grainy.
- The Power of an Immersion Blender: This is my secret weapon for a professional, frothy texture. It incorporates tiny air bubbles, making the drink lighter and giving it a luxurious mouthfeel that lasts.
- Salt is Non-Negotiable: Don’t skip the salt. It’s not for making it salty; it’s for making it more chocolatey. It balances sweetness and heightens the cocoa flavors.
- Pre-Warm Everything: Warm your mugs and have your toppings ready before you start cooking. Hot chocolate thickens as it cools, so you want to serve it the moment it’s perfect.
Recipe Variations & Customizations
- Dark Chocolate Intense: Swap the semi-sweet for a 70% dark chocolate bar. You may want to increase the sugar by another tablespoon to balance the bitterness.
- Mexican-Style Spiced: Add a cinnamon stick to the warming milk and a tiny pinch of cayenne pepper with the chocolate for a warm, complex kick.
- Vegan/Dairy-Free: Use full-fat canned coconut milk in place of both the dairy milk and cream. Choose a dairy-free dark chocolate bar.
- Mocha Madness: Stir in 1-2 teaspoons of instant espresso powder or strong brewed coffee with the chocolate. It makes the chocolate flavor taste even deeper.
- Peppermint Twist: Replace the vanilla extract with 1/4 teaspoon of peppermint extract. Top with crushed candy cane for a festive treat.
- Salted Caramel: Drizzle a tablespoon of good-quality caramel sauce into the finished drink and sprinkle a few flakes of flaky sea salt on top.
- Orange Infusion: Add 2-3 strips of orange zest (just the peel, no white pith) to the warming milk. Remove before adding the chocolate.
What to Serve With This Recipe
This hot chocolate is a decadent treat that can anchor a cozy gathering. For a winter brunch, pair it with buttery croissants, cinnamon rolls, or scones. As a dessert, it’s sublime alongside a plate of crisp biscotti, shortbread cookies, or a simple slice of pound cake for dipping.
For a full dessert experience, serve it after a light meal like a soup or salad. It’s also the perfect standalone nightcap. For adults, consider setting out small bottles of complementary liqueurs like Baileys, Frangelico, or Grand Marnier for guests to customize their mugs.
Storage & Make-Ahead Instructions
- Refrigeration: This hot chocolate is best enjoyed immediately. However, you can store any leftovers in an airtight container in the refrigerator for up to 2 days.
- Reheating: Reheat gently in a saucepan over low heat, whisking constantly until warm. Avoid the microwave, as it can cause the emulsion to break and become oily.
- Make-Ahead Strategy: You can combine the chopped chocolate, sugar, and salt in a container. Measure your dairy into a separate jug. When ready to serve, simply proceed with the recipe—the minimal prep is already done.
- Freezing: I do not recommend freezing, as the dairy and emulsion may separate and become grainy upon thawing and reheating.
Frequently Asked Questions
Q: Can I use cocoa powder instead of chocolate bars?
A: For this specific thick-and-creamy texture, real chocolate is essential. Cocoa powder recipes create a different, thinner drink. The chocolate bar provides both flavor and the necessary cocoa butter for that luxurious body.
Q: My hot chocolate turned out grainy. What went wrong?
A: Graininess usually means the chocolate was added to liquid that was too hot, causing it to “seize,” or it wasn’t whisked vigorously enough. Next time, ensure your milk is just steaming, not boiling, and whisk constantly until perfectly smooth.
Q: How can I make this recipe for a crowd?
A: Simply multiply the ingredients. Use a larger, heavy-bottomed pot and be mindful to keep the heat low to prevent scorching on the bottom. You may need to whisk for a bit longer to ensure all the chocolate melts evenly.
Q: Is there a way to make it less rich?
A: You can use half-and-half instead of the cream and milk combination, but the texture will be noticeably thinner. For a lighter version, I’d recommend seeking a different recipe designed with milk as the base.
Q: Can I make this in a slow cooker?
A: Yes, for a party. Combine all ingredients (except vanilla) in a small slow cooker on the LOW setting for 1-2 hours, whisking occasionally until smooth. Add vanilla at the end.
Q: What’s the best type of chocolate to use?
A: A semi-sweet baking bar (like Ghirardelli or Baker’s) is widely available and reliable. For a splurge, a high-quality eating chocolate from brands like Valrhona or Guittard will yield an exceptional depth of flavor.
Q: My hot chocolate separated after sitting for a minute. How do I fix it?
A: This means it got too hot. Pour it back into the pan, add a tablespoon of cold milk, and re-warm it over very low heat while whisking vigorously. It should come back together.
Final Thoughts
This thick and creamy hot chocolate recipe is more than just a drink; it’s a lesson in how a few quality ingredients and proper technique can create something truly extraordinary. It embodies what I love about cooking: transforming simple elements into a moment of pure joy and comfort. The rich texture, the deep chocolate flavor, the warmth it brings—it’s a small act of culinary craftsmanship you can master in your own kitchen.
I encourage you to try it exactly as written first, then have fun with the variations. Make it for someone you love, or simply treat yourself after a long day. Once you experience this level of hot chocolate, there’s no going back to the packet.
I’d love to hear how it turns out for you! Share your creations and any twists you invent. Now, go warm up that saucepan—your new favorite winter ritual awaits.
The Thickest And Creamiest Hot Chocolate
Equipment
- Small heavy-bottomed saucepan
- Whisk
- Measuring cups and spoons
- Chef’s knife and cutting board (if chopping chocolate bar)
- Immersion blender (optional, for extra froth)
Ingredients
- 1/2 cup whole milk For maximum creaminess
- 1/2 cup heavy cream
- 4 oz semi-sweet chocolate Chopped, or high-quality chocolate chips
- 1 tbsp granulated sugar Optional, adjust to taste
- 1/4 tsp vanilla extract Pure vanilla extract recommended
- 1/8 tsp fine sea salt Enhances chocolate flavor
Instructions
- In a small saucepan, combine the whole milk and heavy cream. Warm over medium-low heat, stirring occasionally, until it just begins to steam and tiny bubbles form around the edges (about 5 minutes). Do not let it boil.
- While the dairy heats, finely chop your semi-sweet chocolate if using a bar. Smaller pieces melt more evenly and quickly, preventing any graininess in your final drink.
- Reduce the heat to low. Add the chopped chocolate, sugar (if using), and salt to the warm milk mixture. Let it sit for 30 seconds to begin melting, then whisk constantly until the chocolate is completely melted and the mixture is smooth and uniform (about 2-3 minutes).
- Remove the saucepan from the heat. Stir in the vanilla extract. Taste and adjust sweetness if desired. For an extra frothy texture, use an immersion blender for 15 seconds or vigorously whisk by hand for a minute.
- Pour immediately into pre-warmed mugs. Top with whipped cream, marshmallows, or a sprinkle of cocoa powder. Serve hot and enjoy the luxurious, spoonable texture.