
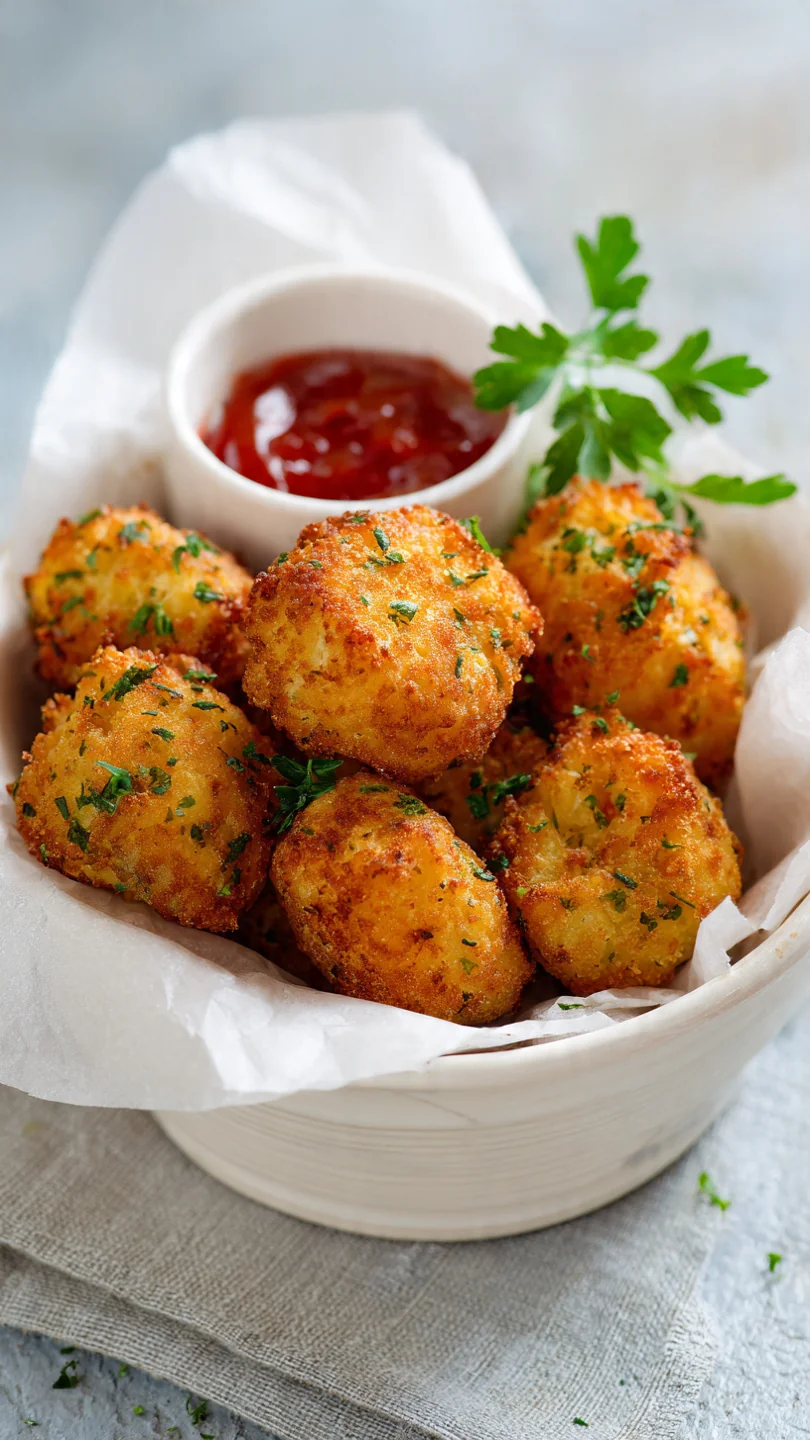
There’s something incredibly satisfying about transforming a humble head of cauliflower into a plate of golden, crispy nuggets that disappear in minutes. Whether you’re looking for a healthier snack, a kid-friendly dinner component, or a crowd-pleasing party appetizer, this recipe delivers. Forget soggy, bland veggie bites—we’re using a professional coating technique to achieve a shatteringly crisp exterior that gives way to tender, flavorful cauliflower inside.
Trust me, after 15 years in kitchens, I’ve perfected this method to make your vegetarian option the star of the table.
- Surprisingly Crispy Texture: The triple-coating method (flour, egg, panko) creates a perfect, crunchy shell that holds up to dipping, rivaling any fried version.
- Kid-Approved & Sneakily Healthy: These nuggets are a brilliant way to get more vegetables into picky eaters (and adults!) without a battle. They’re baked, not fried, for a lighter meal.
- Quick & Simple Weeknight Fix: With about 15 minutes of hands-on prep and pantry-staple ingredients, you can have a delicious snack or side on the table in well under an hour.
- Endlessly Customizable: The seasoning blend is your playground. Add Italian herbs, cayenne for heat, or nutritional yeast for a cheesy vegan twist.
- Perfect for Meal Prep: These nuggets reheat beautifully in the oven or air fryer, making them an excellent make-ahead option for lunches or easy dinners.
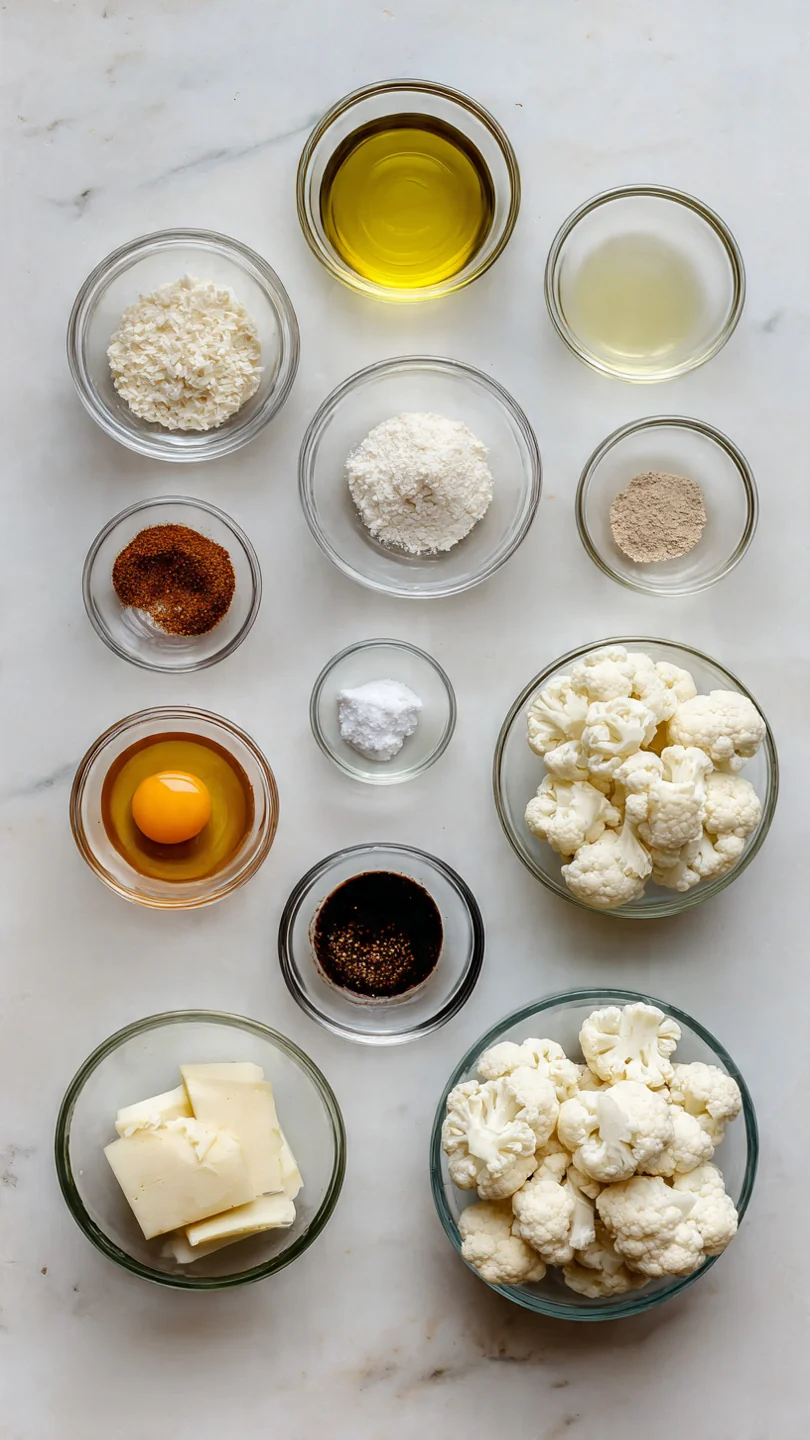
Ingredients You’ll Need
Let’s gather our ingredients—this simple lineup uses a classic breading technique to create magic. The key is quality cauliflower: look for a firm, heavy head with tightly packed, creamy-white florets and bright green leaves. Avoid any with brown spots.
For the breading, I highly recommend panko breadcrumbs for their superior, airy crunch compared to fine, sandy breadcrumbs. If you need a gluten-free version, a 1:1 gluten-free flour blend and gluten-free panko work perfectly. The Parmesan adds a savory, umami depth, but you can omit it for a dairy-free version or swap in a tablespoon of nutritional yeast.
Note: You’ll find the complete list of ingredients, along with their exact measurements, in the printable recipe card at the bottom of this post.
Kitchen Equipment Needed
You won’t need any specialty gadgets here. A large, rimmed baking sheet is essential—if your sheet is too small, bake in batches to avoid steaming the nuggets. Parchment paper or a silicone baking mat is non-negotiable for easy cleanup and preventing sticking.
Have three medium bowls ready for your flour, egg, and panko stations. A whisk for combining dry ingredients and a set of tongs or a fork for handling the coated florets will make the process smooth. An oil mister is helpful for lightly and evenly coating the nuggets before baking.
How to Make Vegetarian Cauliflower Nuggets Recipe
Step 1: Prep Your Stations and Oven
Preheat your oven to a hot 425°F (220°C). This high heat is crucial for creating steam quickly, which sets the coating, and then browning it to a perfect crisp. Line your baking sheet with parchment.
Now, set up your classic breading assembly line: in your first bowl, whisk together the flour and all your dried spices. In the second, beat the eggs until uniform. In the third, combine the panko and Parmesan.
This organization is a pro-kitchen trick that keeps the process clean and efficient.
Step 2: Coat the Cauliflower Florets
Working with one floret at a time, dredge it thoroughly in the seasoned flour. Shake off the excess—this initial dry layer helps the egg wash adhere. Next, dip it into the beaten egg, let the excess drip back into the bowl for a few seconds.
Finally, press it firmly into the panko mixture, turning to coat all sides. Use your fingers to pack the crumbs on gently; this ensures full coverage. Believe me, that firm press makes all the difference for a solid, crispy crust.
Step 3: Arrange and Oil for Crispiness
Place each coated nugget on your prepared baking sheet, ensuring they aren’t touching. Crowding is the enemy of crispiness, as it creates steam. Once all are arranged, lightly but evenly drizzle or spray them with olive oil.
This mimics the effect of frying, helping the panko toast to a beautiful, golden brown. Tip from me: if using spray oil, a quick spritz from about 10 inches away gives the most even coverage without dislodging the coating.
Step 4: Bake to Golden Perfection
Slide the baking sheet into the center of your preheated oven. Bake for 10 minutes, then carefully flip each nugget using tongs. This ensures even browning on all sides.
Return to the oven for another 8-12 minutes. You’re looking for a deep, appetizing golden brown color. If you desire extra crunch, you can broil for the final 1-2 minutes, but do not walk away!
They can burn in seconds under the broiler.
Step 5: Rest, Serve, and Enjoy
This might be the hardest step: let the nuggets rest on the baking sheet for 5 full minutes after they come out of the oven. This allows the crust to fully set and become even crispier. Then, transfer them to a serving platter with your favorite dips.
Step back and admire your work before they vanish! Serve them hot for the ultimate textural experience of a crunchy shell giving way to tender cauliflower.
Dry Your Cauliflower: After washing, pat the florets completely dry with a clean kitchen towel. Any excess water will prevent the flour coating from sticking properly, leading to a patchy crust. The Press is Key: When coating in panko, don’t just roll the floret. Gently press the crumbs onto all sides. This creates a denser, more cohesive layer that bakes up sturdier and crispier. Temperature Matters: A properly preheated, hot oven (425°F) is non-negotiable. It quickly sets the exterior, locking in moisture and starting the Maillard reaction (browning) that builds complex flavor and texture. Don’t Skip the Flip: Flipping halfway through baking is essential for even color and crispness on all sides. Use a thin spatula or tongs for a gentle turn to avoid scraping off the coating. The Cooling Trick: Letting the nuggets cool for 5 minutes on the sheet isn’t just for safety—it allows residual heat to finish cooking the interior gently and lets the crust firm up, preventing sogginess.Recipe Variations
- Buffalo Style: After baking, toss the hot nuggets in a bowl with 1/3 cup of your favorite Buffalo sauce. Return to the oven for 2-3 minutes to let the sauce set. Serve with blue cheese or ranch dressing.
What to Serve With This Recipe
These versatile nuggets shine in multiple roles. As an appetizer, serve them with a trio of dips: classic marinara, creamy ranch, and a spicy sriracha mayo. For a light lunch or dinner, pair them with a simple green salad dressed with a lemony vinaigrette to cut through the richness.
They also make a fantastic vegetarian “main” alongside comforting sides like crispy roasted potatoes, garlicky sautéed green beans, or a creamy mac and cheese. For a fun game-day or party spread, pile them high on a platter next to other finger foods like wings and sliders. Beverage-wise, they pair wonderfully with a cold, crisp lager, a dry cider, or a non-alcoholic sparkling lemonade.
Storage & Make-Ahead Instructions
- Refrigerating: Store cooled leftovers in an airtight container in the refrigerator for up to 4 days. The coating will soften but will still taste great.
Frequently Asked Questions
Q: Can I make these cauliflower nuggets in an air fryer?
Absolutely. Air fry at 400°F for 10-12 minutes, shaking the basket halfway through. You may need to work in batches to avoid overcrowding.
The air fryer yields an incredibly crispy result.
Q: My coating is falling off. What did I do wrong?
This usually happens if the florets are too wet or if you didn’t shake off the excess flour or egg. Ensure florets are dry, follow the shake-off step diligently, and press the panko on firmly.
Q: Can I use frozen cauliflower?
I don’t recommend it. Frozen cauliflower contains too much water, which will release during baking and create a soggy, steam-filled environment, preventing a crispy coating.
Q: How do I know when they are done baking?
The nuggets should be a uniform golden brown color, and the coating should feel firm and crisp to the touch. You should be able to easily pierce a floret with a fork or skewer with little resistance.
Q: What’s the best dip for cauliflower nuggets?
It’s all about personal preference! Popular choices include honey mustard, barbecue sauce, ranch, marinara, tzatziki, or a spicy chipotle aioli. A creamy, cool dip often complements the crispy, savory nuggets best.
Q: Can I make these gluten-free?
Yes, with great results. Use a certified gluten-free 1:1 flour blend (like Bob’s Red Mill) and gluten-free panko breadcrumbs. The method remains exactly the same.
Q: Are these nuggets vegan?
The recipe as written is vegetarian. To make it vegan, see the “Vegan & Dairy-Free” variation above, using a flax egg and omitting the Parmesan cheese.
Final Thoughts
This recipe proves that vegetarian cooking can be every bit as crave-worthy and satisfying as its meat-based counterparts. By applying a few simple, professional techniques—the triple-coat, the hot oven, the patient rest—you transform basic ingredients into a snack that’s crispy, flavorful, and genuinely fun to eat. It’s a recipe that earns its place in your regular rotation, whether you’re feeding a family, hosting friends, or just treating yourself.
I’d love to hear how your nuggets turn out and what creative seasoning twists you try. Share your results online and tag me—there’s nothing I enjoy more than seeing your kitchen successes. Now, go grab that head of cauliflower and get ready for some seriously delicious crunch

Crispy Vegetarian Cauliflower Nuggets
Equipment
- Large baking sheet
- Parchment paper or silicone baking mat
- 3 medium mixing bowls
- Whisk
- Tongs or fork for dipping
Ingredients
- 1 large head Cauliflower cut into 1.5-inch florets
- 1/2 cup All-purpose flour or gluten-free 1:1 blend
- 2 large Eggs beaten
- 1 1/2 cups Panko breadcrumbs or gluten-free panko
- 1 cup Grated Parmesan cheese optional for extra flavor
- 1 tsp Garlic powder
- 1 tsp Paprika smoked or sweet
- 1/2 tsp Onion powder
- 1/2 tsp Salt plus more to taste
- 1/4 tsp Black pepper freshly ground
- 2 tbsp Olive oil or avocado oil spray
Instructions
- Preheat your oven to 425°F (220°C) and line a large baking sheet with parchment paper. In a medium bowl, whisk together the flour, garlic powder, paprika, onion powder, salt, and pepper. In a second bowl, beat the eggs. In a third bowl, combine the panko breadcrumbs and grated Parmesan (if using).
- Working with one floret at a time, dredge the cauliflower in the seasoned flour, shaking off any excess. Next, dip it into the beaten egg, letting the excess drip off. Finally, press it firmly into the panko-Parmesan mixture, ensuring all sides are well coated. Place on the prepared baking sheet. Repeat with all florets.
- Arrange the coated cauliflower nuggets in a single layer on the baking sheet, ensuring they aren’t touching. Lightly drizzle or spray them with olive oil. This is crucial for achieving that golden, crispy exterior in the oven.
- Bake for 18-22 minutes, flipping the nuggets halfway through the cooking time. You’re looking for a deep golden brown color and a crispy texture. For extra crispiness, you can broil for the final 1-2 minutes, but watch them closely!
- Remove the baking sheet from the oven and let the nuggets cool for 5 minutes on the sheet. This allows the coating to set and become even crispier. Serve immediately with your favorite dipping sauces like ranch, marinara, or a spicy sriracha mayo.