
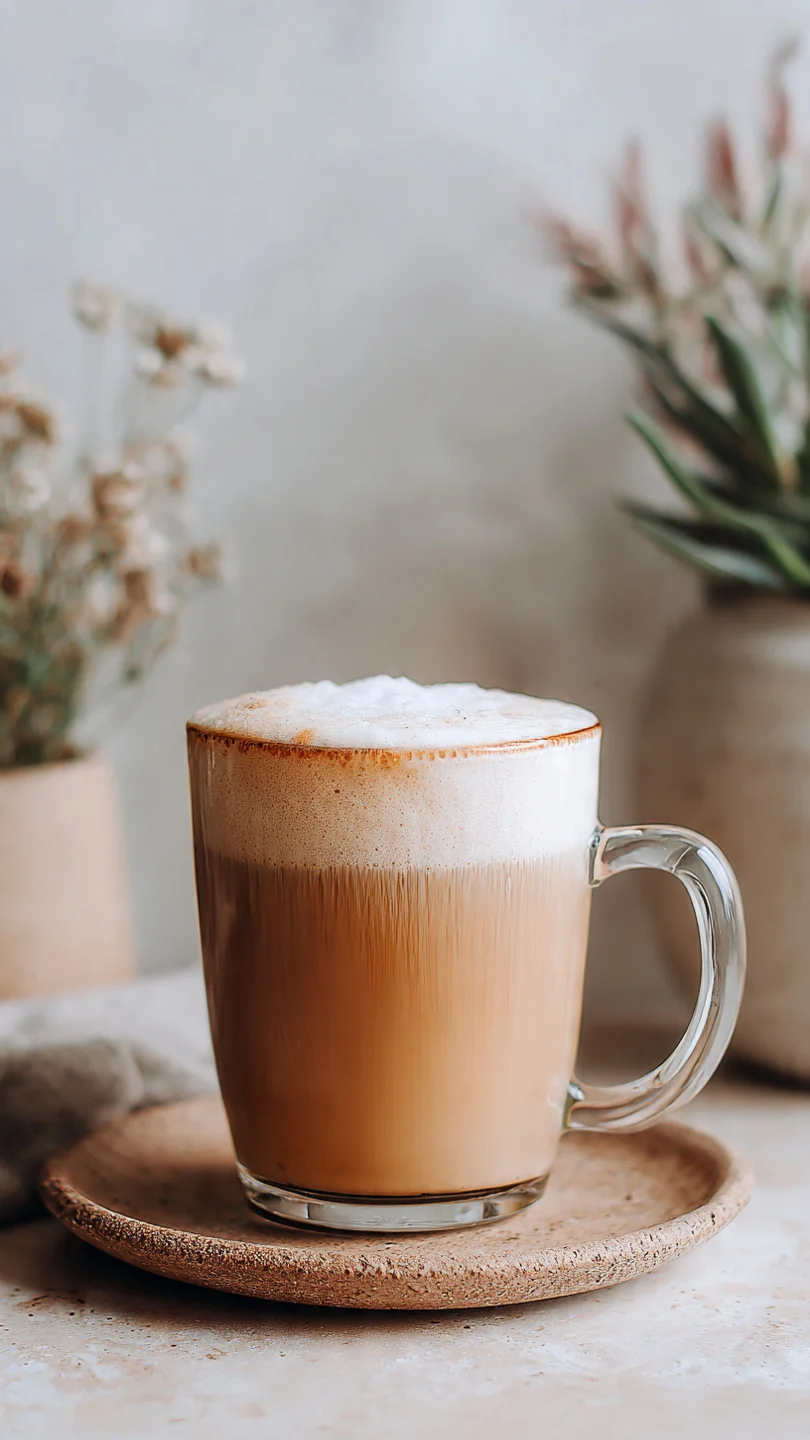
There’s a particular magic to a perfectly made latte—the rich aroma of espresso, the luxurious feel of velvety foam, and that first comforting sip. But for those of us avoiding dairy, achieving that cafe-quality creaminess at home can feel elusive. As a chef who has worked countless espresso machine shifts, I’ve tested my way through countless plant-based milks.
Oat milk, with its naturally sweet flavor and remarkable ability to froth, has become my gold standard. Today, I’m sharing five foolproof oat milk latte recipes that will transform your home coffee routine. From a classic vanilla to a decadent salted caramel, you’ll learn the techniques to make barista-level drinks that are creamy, satisfying, and completely dairy-free.
- Creamy, Dairy-Free Perfection: Oat milk creates a remarkably rich and sweet foam that rivals whole milk, making it the ideal plant-based choice for lattes.
- Quick & Easy: Each recipe comes together in about 5 minutes with minimal equipment—no fancy espresso machine required.
- Endlessly Customizable: Use the classic recipe as a canvas for endless flavor variations with spices, syrups, and extracts.
- Naturally Sweet: Oats have a inherent sweetness that reduces the need for added sugar, allowing the coffee’s flavor to shine through.
- Consistently Great Results: My tested techniques for heating and frothing ensure you get perfect microfoam every single time, not just by chance.
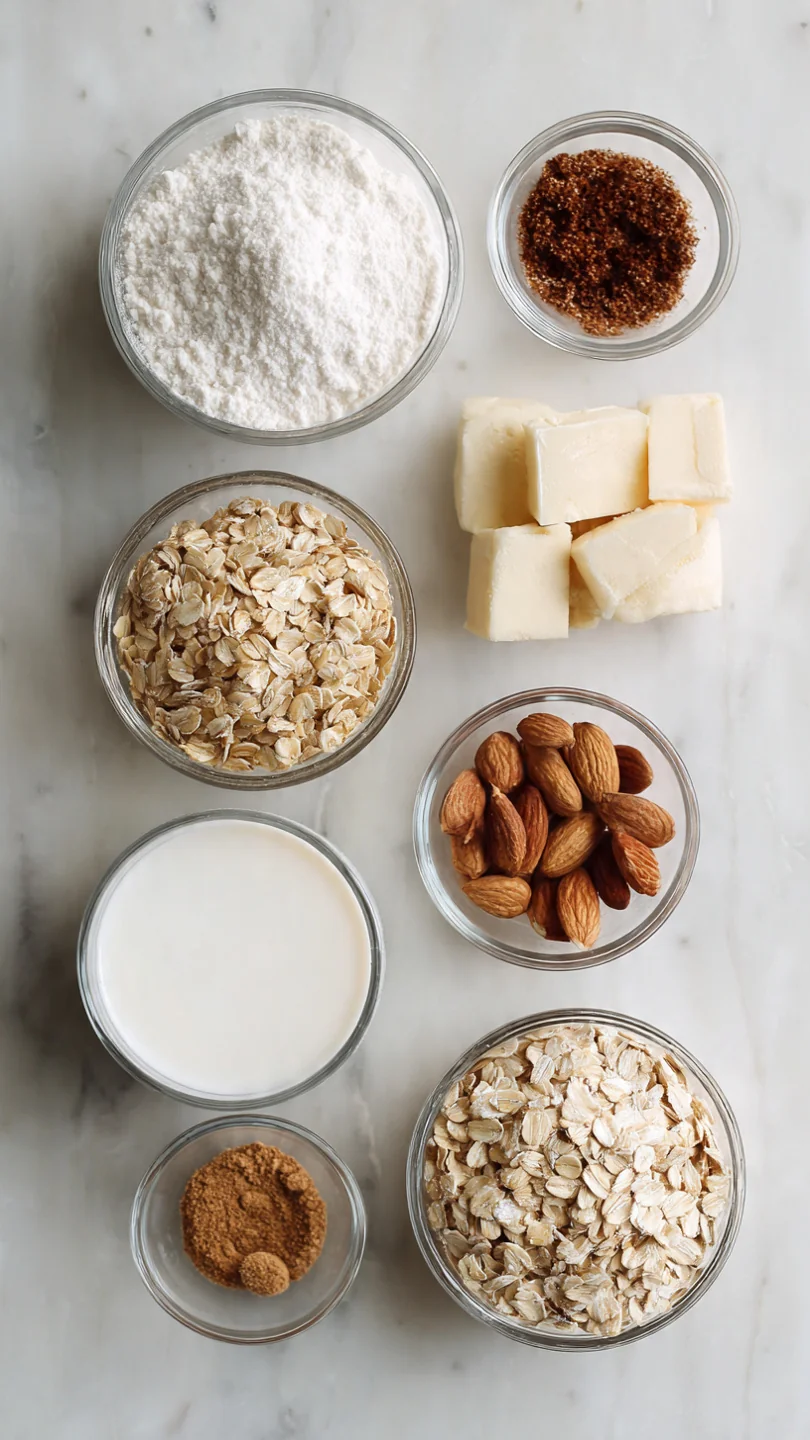
Ingredients You’ll Need
Let’s talk ingredients—the simplicity here is beautiful. With just a few key players, you can create a world of latte flavors. The absolute non-negotiable is a high-quality barista-style oat milk.
This specific formulation includes oils and stabilizers that allow it to steam and stretch into that silky foam we crave, whereas regular oat milk can sometimes separate or become thin. For your coffee base, freshly brewed espresso is ideal, but don’t let that stop you; strongly brewed coffee from a French press, AeroPress, or Moka pot works wonderfully. The rest is about flavor: pure vanilla extract, cocoa powder, spices like cinnamon and nutmeg, and natural sweeteners like maple syrup or date syrup.
Having these pantry staples on hand means a luxurious latte is never more than a few minutes away.
Note: You’ll find the complete list of ingredients, along with their exact measurements, in the printable recipe card at the bottom of this post.
Kitchen Equipment Needed
You don’t need a commercial setup to make excellent lattes. An espresso machine with a steam wand is fantastic, but a handheld electric milk frother (an inexpensive tool I highly recommend) or even a French press will create great foam. You’ll also need a small saucepan for heating milk, a thermometer to nail the perfect 150°F temperature (a game-changer for consistency), and your favorite mug.
If you’re making the iced versions, a cocktail shaker or a jar with a tight lid is helpful for chilling and frothing the coffee mixture.
How to Make Classic Vanilla Oat Milk Latte Recipe
Step 1: Brew and Flavor Your Base
Start by brewing two shots of espresso or 1/2 cup of very strong coffee directly into your serving mug. While it’s piping hot, stir in your vanilla extract and any sweetener. Trust me, adding flavorings to the hot coffee first helps them dissolve completely and distribute evenly throughout the drink, preventing a sugary sip at the bottom.
Step 2: Heat the Oat Milk Precisely
Pour your chilled barista-style oat milk into a small saucepan or your frothing pitcher. Heat it over medium-low heat, stirring gently. This is where precision pays off.
You want the milk to reach about 150°F—steaming hot but well below a simmer. Tip from me: If you don’t have a thermometer, heat it until you see steam and small bubbles form around the edges, then immediately remove it from the heat.
Step 3: Create Velvety Microfoam
Now, froth the heated milk. If using a handheld frother, immerse it just below the surface and turn it on, moving it in a slow circle to create a whirlpool. This incorporates air to build volume.
For a French press, pour the hot milk in and pump the plunger vigorously for 20-30 seconds. You’re looking for a smooth, paint-like texture with tiny bubbles, not large, stiff foam.
Step 4: The Art of the Pour
This step is the most satisfying. Hold your mug of espresso at a slight angle. Pour the frothed milk from a height of a few inches, aiming for the center of the coffee.
Pour steadily and slowly at first to mix the liquid milk and coffee. Then, as the mug fills, raise the pitcher and pour more quickly to let the thick foam flow out on top. Believe me, this technique creates those beautiful, distinct layers.
Step 5: Admire and Enjoy Immediately
Step back and admire your handiwork—the creamy foam crown on a pool of coffee is a small daily triumph. Give it a gentle stir if you prefer it mixed, or sip through the layers. A latte is best enjoyed right away while the foam is at its peak texture and the temperature is perfect.
- Milk Temperature is Key: The ideal range for frothing oat milk is 140-155°F. Beyond this, the proteins can break down, resulting in flat, thin foam. A simple kitchen thermometer is your best friend here.
- Start with a Cold Pitcher: Always pour cold milk into a cold frothing pitcher or saucepan before heating. This promotes more even heating and gives you more control to stop at the right temperature.
- Froth Immediately After Heating: Don’t let the milk sit after heating. Froth it right away while it’s at its peak temperature for the best volume and texture.
- Keep Your Equipment Clean: Any residual oil or old milk fat in your frother or pitcher can hinder foam formation. Clean your tools thoroughly after each use for consistent results.
- Pre-Warm Your Mug: Rinse your coffee mug with hot water before brewing the espresso. This simple trick keeps your latte hotter for longer, preserving the delicate foam.
Recipe Variations & Customizations
- Spiced Maple Latte: Add 1/4 tsp of pumpkin pie spice or cinnamon to the espresso along with 1-2 tsp of maple syrup. The warm spice and earthy sweetener pair beautifully with the oat milk’s natural flavor.
- Mocha Oat Milk Latte: Whisk 1 tbsp of unsweetened cocoa powder and 1 tsp of sweetener into the hot espresso until smooth before adding the milk. This creates a rich, chocolatey base for a decadent treat.
- Iced Brown Sugar Oat Milk Latte: Brew espresso and immediately stir in 1-2 tsp of brown sugar until dissolved. Let it cool for a minute, then pour over a glass full of ice. Top with cold, frothed oat milk (froth it cold for an iced drink!).
- Salted Caramel Latte: Use 1 tbsp of salted caramel syrup in place of vanilla. After pouring, drizzle a little extra syrup over the foam and finish with a tiny pinch of flaky sea salt for a sweet-and-salty delight.
- Golden Turmeric Latte (No Coffee): Skip the espresso. Whisk 1/2 tsp turmeric, 1/4 tsp cinnamon, a pinch of black pepper (aids absorption), and 1 tsp sweetener into 2 tbsp of hot water. Add heated oat milk and froth as usual for a cozy, anti-inflammatory drink.
What to Serve With This Recipe
A homemade oat milk latte is a complete joy on its own, but it also pairs wonderfully with a simple breakfast or afternoon snack. For a morning treat, serve your latte alongside a warm oatmeal muffin, a slice of banana bread, or a buttery croissant. In the afternoon, pair an iced version with a dark chocolate square or a shortbread cookie for a balanced bite.
These lattes are perfect for leisurely weekend brunches, as a comforting afternoon work break, or as a sophisticated non-alcoholic option when entertaining guests.
Storage & Make-Ahead Instructions
- Best Served Fresh: Lattes are an immediate-consumption beverage and do not store well once prepared. The foam will collapse and the drink will separate.
- Make-Ahead Components: You can brew a batch of strong coffee or espresso and store it in the refrigerator for up to 3 days. You can also pre-measure your flavorings and sweeteners.
- Reheating Not Recommended: I do not recommend making a latte ahead and reheating it, as this will ruin the texture of the foam. The process is so quick that it’s best made fresh when you’re ready to drink it.
Frequently Asked Questions
Q: Why is my oat milk not frothing?
You may be using a regular oat milk instead of a “barista” or “steamable” version. The latter has added ingredients that stabilize foam. Also, ensure your milk is very cold when you start and that you’re not overheating it.
Q: Can I make this without any special frothing tools?
Absolutely. For a hot latte, you can shake cold oat milk vigorously in a sealed jar until frothy, then heat it in the microwave (watch closely). For an iced latte, shaking cold milk and coffee together in a jar creates a great frothy top.
Q: Is oat milk latte good for weight loss?
It can be a lower-calorie option compared to lattes made with whole milk or sweet creamers, especially if you minimize added sweeteners. Always check the label of your oat milk, as sugar content can vary by brand.
Q: My latte tastes bitter. How can I fix that?
Bitterness usually comes from the coffee. Ensure you’re using fresh, quality beans and not over-extracting your espresso. A pinch of salt or a tiny drop of vanilla extract can also help neutralize bitterness without adding sweetness.
Q: Can I use flavored creamer instead of plain oat milk?
You can, but flavored creamers are often much sweeter and may not froth as well. If you use one, you’ll likely need to reduce or eliminate any additional sweetener in the recipe.
Q: How do I make a large batch for a crowd?
Brew a pot of strong coffee. Heat the oat milk in a large saucepan, froth it in batches using a large French press or a powerful handheld frother, and serve immediately. I recommend setting up a “latte bar” with different syrups and toppings.
Q: Why does my oat milk sometimes curdle in coffee?
This is usually due to a temperature shock or high acidity. Pouring very cold milk into very hot coffee can cause separation. Try warming the milk slightly first, or pouring the milk into the cup before adding the hot coffee.
Final Thoughts
Mastering the oat milk latte is one of the most rewarding small kitchen skills you can acquire. It saves money, allows for complete customization, and delivers a moment of genuine cafe-quality comfort right in your own home. These five recipes are just the beginning—once you’re confident with the heating and frothing technique, you can invent your own signature drinks using different spices, extracts, and sweeteners.
Remember, the key is in the details: the right milk, the perfect temperature, and a confident pour. I encourage you to start with the Classic Vanilla, get the technique down, and then explore the variations. Don’t forget to share your beautiful creations online and tag me—I love seeing your results.
Here’s to many more perfect, creamy, dairy-free sips

Classic Vanilla Oat Milk Latte
Equipment
- Espresso machine or coffee maker
- Small saucepan or milk frothing pitcher
- Handheld milk frother, French press, or steam wand
- Kitchen thermometer (helpful but optional)
Ingredients
- 2 shots espresso or 1/2 cup strong brewed coffee
- 1 cup barista-style oat milk chilled
- 1/2 tsp vanilla extract or 1 tbsp vanilla syrup
- 1 tsp maple syrup or sweetener optional, to taste
Instructions
- Brew two shots of espresso or 1/2 cup of very strong coffee. Pour into your favorite mug. If using vanilla extract and sweetener, stir them into the hot espresso now to help them dissolve evenly.
- Pour the chilled oat milk into a small saucepan or milk frothing pitcher. Heat it gently over medium-low heat, stirring occasionally, until it is steaming hot but not boiling (around 150°F). Trust me, overheating can break the proteins and prevent good foam.
- Using a handheld milk frother, French press, or the steam wand on an espresso machine, froth the hot oat milk until it is velvety and has increased in volume by about one-third. For a handheld frother, hold it at a slight angle just below the surface to create a whirlpool effect.
- Now for the satisfying part: pour the frothed oat milk over the espresso. Tip the pitcher and pour slowly at first to integrate the liquid milk, then raise it higher at the end to dollop the thick foam on top. Believe me, this technique creates beautiful layers.
- Step back and admire your creation. Give it a gentle stir if you like, and enjoy immediately. The creamy, slightly sweet foam and rich coffee are the perfect morning or afternoon pick-me-up.