
Hey there, friends! I’ve gotta tell ya, there’s nothing quite like the smell of a freshly baked Apple Cobbler Recipe wafting through the house on a crisp fall day. I discovered my love for this classic dessert years ago when my grandma whipped up her version during a family gathering, and let me tell you, I’ve been hooked ever since.
That warm, cinnamon-spiced goodness paired with tender apples? Pure magic!
Now, I’ve spent countless hours tweaking my own Apple Cobbler Recipe to get it just right, and I’m thrilled to share it with y’all. It’s one of those dishes that’s become a staple in my kitchen, especially when I need a crowd-pleaser for potlucks or cozy nights in. Stick with me, and I’ll walk you through every step to nail this comforting treat at home.
And honestly, who doesn’t love a dessert that’s equal parts rustic charm and downright delicious? Whether you’re a baking newbie or a seasoned pro, this Apple Cobbler Recipe is gonna steal your heart. Let’s dive in and get those ovens preheated!
Why You’ll Love This Recipe
I’ve found that this Apple Cobbler Recipe is a total game-changer for anyone craving a dessert that’s easy yet feels super special. There’s something about the way the buttery topping crisps up over those juicy, spiced apples that just hits all the right notes. In my kitchen, it’s become the go-to when I want to impress without spending hours slaving over a complicated dish.
Plus, it’s crazy versatile—swap in different fruits or play with the spices, and you’ve got a whole new vibe! I mean, I’ve made this for everything from casual weeknight dinners to holiday feasts, and it never fails to get rave reviews. Trust me, once you try this Apple Cobbler Recipe, you’ll be itching to make it again and again.
Ingredients List
Alright, let’s talk about what you’ll need to whip up this amazing Apple Cobbler Recipe. I’m a big believer in using fresh, quality ingredients because, in my experience, it really makes a difference in the final dish. I usually buy my apples from a local market when they’re in season, but any good grocery store will do the trick too.
Here’s the full rundown, split into the two main components of this dessert. I’ve got my preferences noted, but feel free to tweak things to your taste!
For the Apple Filling
- 6 medium apples (about 2.5 lbs), peeled, cored, and sliced thin—I prefer a mix of Granny Smith for tartness and Honeycrisp for sweetness
- 3/4 cup (150g) granulated sugar, to bring out the natural juices
- 2 tablespoons (16g) all-purpose flour, to thicken the filling
- 1 teaspoon ground cinnamon, for that warm, cozy flavor
- 1/4 teaspoon ground nutmeg, just a pinch for depth
- 1 tablespoon (15ml) lemon juice, to brighten up the apples and prevent browning
For the Cobbler Topping
- 1 cup (125g) all-purpose flour, for a tender, cakey crust
- 1/4 cup (50g) granulated sugar, for a touch of sweetness
- 1 teaspoon baking powder, to give it some lift
- 1/2 teaspoon salt, to balance the flavors
- 6 tablespoons (85g) unsalted butter, cold and cut into small cubes—cold is key for a flaky texture!
- 1/4 cup (60ml) whole milk, to bring the dough together—I like whole milk for richness
This lineup for my Apple Cobbler Recipe is pretty straightforward, right? You’ve probably got most of this stuff in your pantry already. And if you’re wondering about the apple varieties, I’ve got some fun swaps coming up next for your Apple Cobbler Recipe adventures!
Variations
One of the things I adore about this Apple Cobbler Recipe is how easy it is to mix things up and make it your own. I’ve played around with different twists over the years, and let me tell ya, some of these variations have become family favorites. Whether you’re catering to dietary needs or just wanna switch up the flavor profile, there’s something here for everyone.
Here are a few ideas I’ve tried (and loved) that’ll take your Apple Cobbler Recipe to new heights. My kids always ask for a couple of these, and I’m happy to oblige!
- Mixed Fruit Medley: Toss in 1 cup of fresh or frozen berries like blueberries or raspberries with the apples for a vibrant, tangy twist.
- Spiced-Up Kick: Add 1/2 teaspoon of ground ginger or a pinch of cloves to the filling for an extra layer of warmth—perfect for chilly nights.
- Nutty Crunch: Mix 1/2 cup of chopped pecans or walnuts into the topping for a delightful texture contrast. I tried this once and was blown away!
- Caramel Drizzle: Drizzle 1/4 cup of caramel sauce over the apples before adding the topping—trust me, it’s pure indulgence.
- Gluten-Free Swap: Use a 1:1 gluten-free flour blend in place of all-purpose flour for both filling and topping. It works like a charm!
- Boozy Boost: Stir 2 tablespoons of bourbon or rum into the apple mixture for a grown-up flavor—great for holiday gatherings.
- Oatmeal Topping: Add 1/3 cup of rolled oats to the cobbler topping for a heartier, rustic feel. My husband can’t get enough of this one.
- Maple Magic: Replace half the sugar in the filling with maple syrup for a rich, autumnal sweetness that pairs so well with apples.
These tweaks to the Apple Cobbler Recipe are just the beginning—feel free to get creative! I’m always tinkering with new ideas, and I’d love to hear what you come up with too.
Servings and Timing
Let’s chat about how much this Apple Cobbler Recipe makes and how long it’ll take to get it on the table. In my experience, this dessert comes together pretty quickly, even on busy weeknights when I’m juggling a million things. Here’s the breakdown based on how it usually goes down in my kitchen.
- Prep Time: 20 minutes
- Cook Time: 45 minutes
- Total Time: 1 hour 5 minutes
- Servings: 8 portions
This Apple Cobbler Recipe is perfect for a family dessert or a small gathering. And if you’ve got leftovers (rare in my house!), they reheat like a dream. Honestly, it’s one of those dishes that fits right into any schedule!
Step-by-Step Instructions
Alright, let’s roll up our sleeves and get into the nitty-gritty of making this Apple Cobbler Recipe. I’ve made this so many times, I could probably do it in my sleep, and I’m excited to share my little tips and tricks with you. Follow along, and I promise you’ll have a drool-worthy dessert in no time!
Step 1: Preheat and Prep
First things first, preheat your oven to 375°F (190°C). Grab a 9×13-inch baking dish and give it a light grease with butter or cooking spray—I’ve forgotten this step before and ended up with a sticky mess, so don’t skip it! While the oven’s warming up, let’s tackle those apples for our Apple Cobbler Recipe.
Step 2: Make the Apple Filling
Peel, core, and slice your apples into thin wedges—about 1/4 inch thick works best for even baking. Toss ‘em in a big bowl with the sugar, flour, cinnamon, nutmeg, and lemon juice until they’re nicely coated. Spread this mixture evenly into your prepared dish, and just wait till you smell those spices working their magic in this Apple Cobbler Recipe!
Step 3: Whip Up the Cobbler Topping
In another bowl, whisk together the flour, sugar, baking powder, and salt. Cut in the cold butter with a pastry cutter or your fingertips until it looks like coarse crumbs—don’t overwork it, or you’ll lose that flaky goodness. Stir in the milk just until a shaggy dough forms; it’s okay if it’s not perfect for this Apple Cobbler Recipe.
Step 4: Assemble and Bake
Drop spoonfuls of the dough over the apples, spreading it out a bit but leaving some gaps for that rustic, cobblestone look. Pop it in the oven and bake for 40 to 45 minutes, or until the topping is golden and the filling is bubbling like a happy little volcano. I always sneak a peek around the 35-minute mark just to make sure my Apple Cobbler Recipe isn’t browning too fast.
Step 5: Cool and Enjoy
Let your masterpiece cool for about 10 minutes before diving in—trust me, it’s worth the wait to avoid burning your tongue (been there, done that!). The apples will be tender, the topping crisp, and your kitchen will smell like a dream. This Apple Cobbler Recipe truly shines when it’s still warm, so gather everyone around and dig in!
I’ve gotta say, every time I pull this out of the oven, it feels like a small victory. There’s just something so satisfying about creating comfort food from scratch, ya know?
Nutritional Information
Now, I’m no dietitian, but I like to keep an eye on what’s going into my Apple Cobbler Recipe, especially since my family devours it so often. Here’s a rough breakdown per serving, based on 8 portions. Keep in mind, this is a treat, so don’t stress too much about the numbers!
- Calories: 320 per serving
- Fat: 12g
- Protein: 3g
- Carbohydrates: 52g
- Sodium: 180mg
This Apple Cobbler Recipe isn’t exactly health food, but it’s soul food for sure. If you’re looking to lighten it up, I’ve got some ideas coming right up!
Healthier Alternatives
I’ll be honest, I’m not always in the mood for a full-on indulgent dessert, so I’ve played around with ways to make this Apple Cobbler Recipe a bit kinder to the waistline. These swaps don’t skimp on flavor, and I’ve used them plenty of times when I’m watching my sugar or fat intake. Here are my go-to tweaks for a lighter take on this classic.
- Reduced Sugar: Cut the granulated sugar in the filling to 1/2 cup and add a tablespoon of honey for natural sweetness.
- Lower Fat Topping: Swap half the butter in the topping for unsweetened applesauce—it keeps things moist without all the calories.
- Whole Grain Flour: Use whole wheat flour instead of all-purpose for a bit more fiber and a nutty flavor. I’ve done this and barely noticed a difference!
- Less Sweet Topping: Reduce the sugar in the cobbler topping to 2 tablespoons—honestly, the apples bring plenty of sweetness on their own.
These options for the Apple Cobbler Recipe let you enjoy the comfort without the guilt. Give ‘em a try next time you’re feeling health-conscious!
Serving Suggestions
I love serving this Apple Cobbler Recipe in ways that make it feel extra special, no matter the occasion. There’s just something about pairing it with the right sides or toppings that takes it over the top. Here are a few of my favorite ways to dish it up, straight from my table to yours.
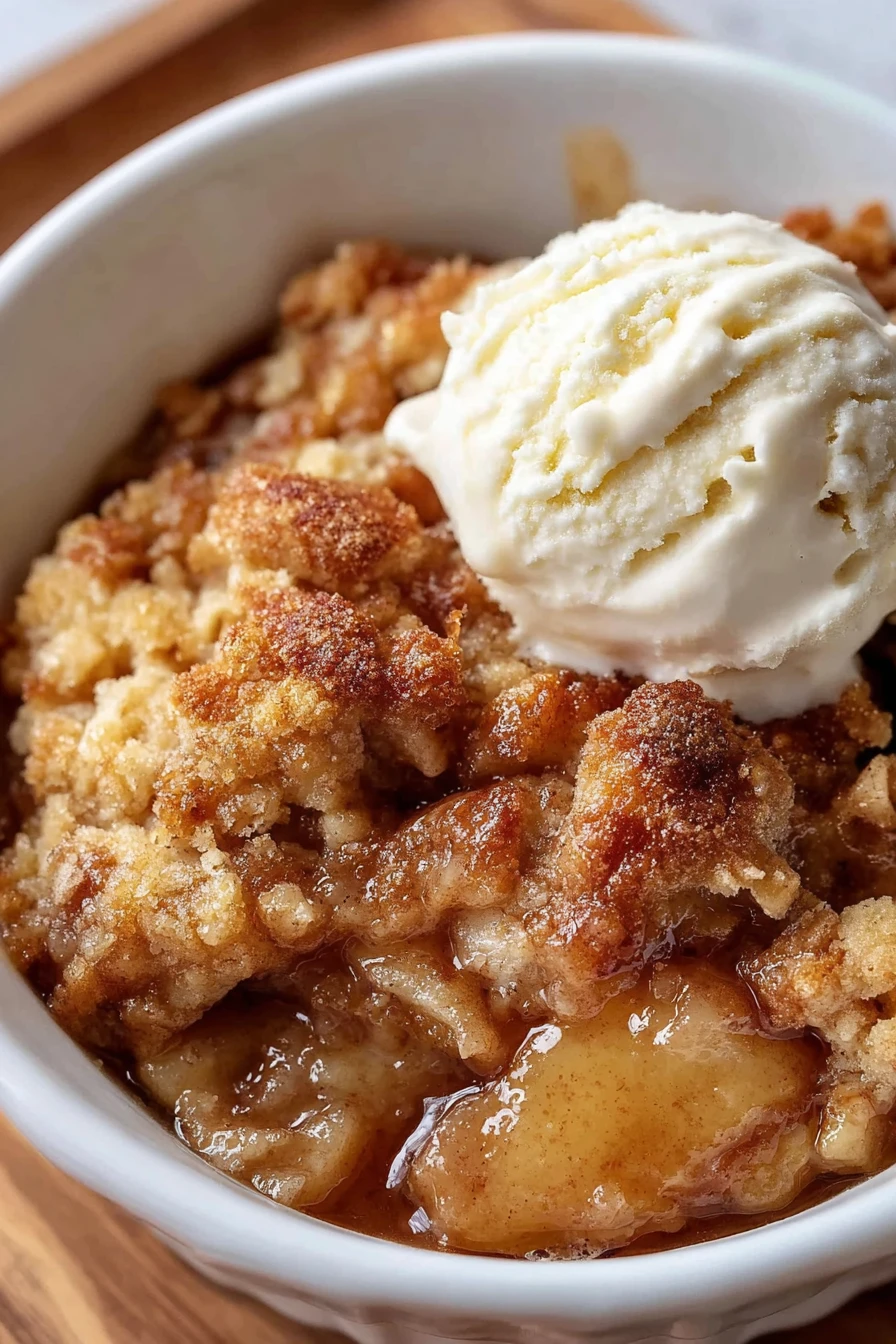
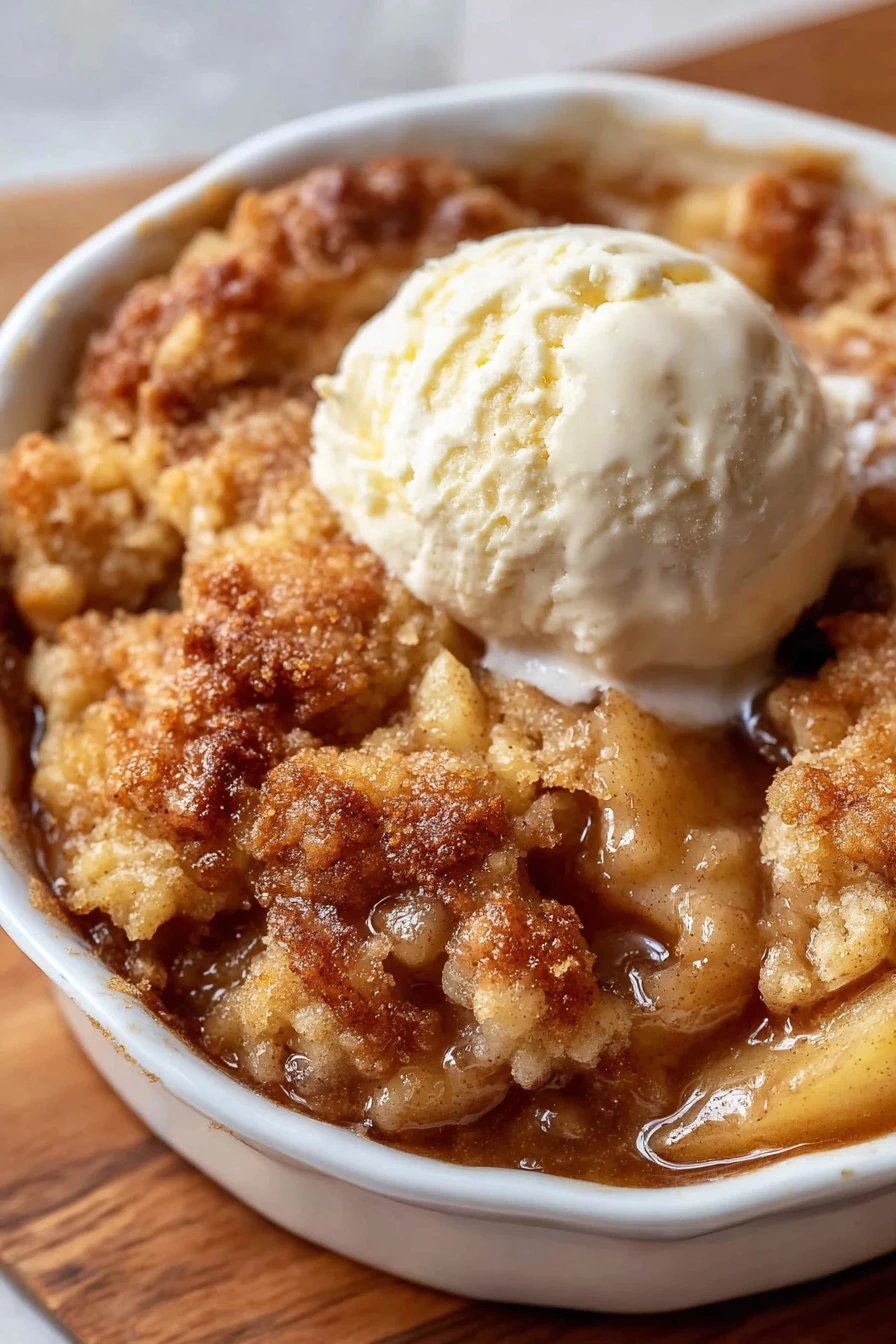
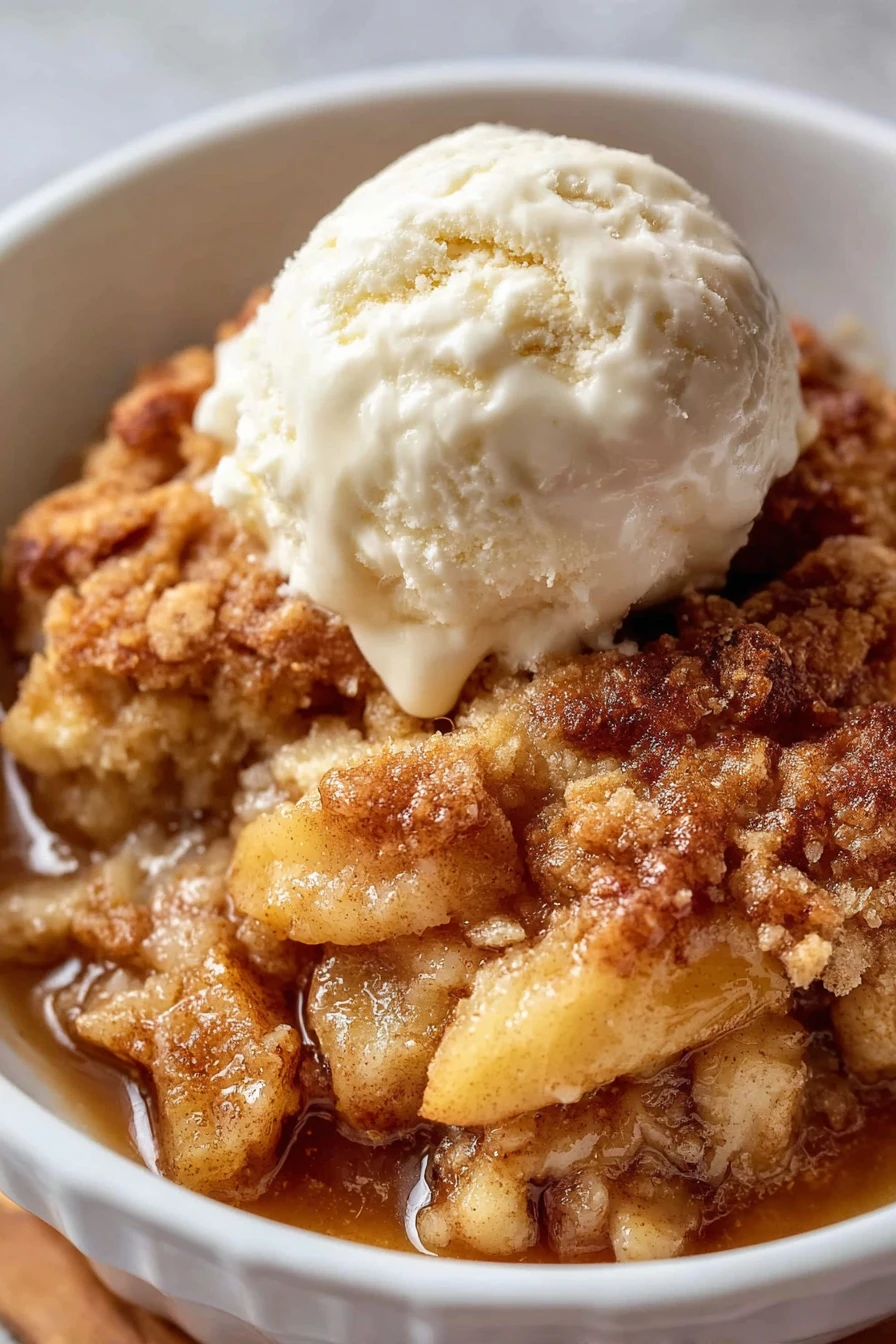
- Classic Comfort: Serve warm with a big scoop of vanilla ice cream melting over the top—pure heaven!
- Cozy Brunch: Pair it with a dollop of Greek yogurt and a drizzle of honey for a lighter, morning-friendly treat.
- Fancy Finish: At my last dinner party, I added a sprinkle of powdered sugar and a few fresh apple slices on the side for a polished look.
- Whipped Wonder: Top with freshly whipped cream and a dash of cinnamon—my family goes nuts for this combo with the Apple Cobbler Recipe.
However you serve it, this dessert’s gonna be a hit. What’s your favorite way to enjoy it?
Common Mistakes to Avoid
I’ve made my fair share of blunders while perfecting this Apple Cobbler Recipe, so I’m spilling the tea on what to watch out for. Trust me on this one, learning the hard way isn’t fun, but it’s taught me how to get this dish right every time. Here are the pitfalls I’ve stumbled into, so you don’t have to!
- Overcooking Apples: Don’t precook the apples too long if you’re tempted to soften them first—they’ll turn to mush in the oven. I did this once, and it was more like apple soup!
- Too Much Liquid: Skip adding extra juice or water to the filling; the apples release plenty on their own. I learned this after a soggy disaster.
- Flat Topping: Don’t overmix the cobbler dough, or it’ll be dense instead of light and fluffy—been there, hated that.
- Wrong Apple Type: Avoid super soft varieties like Red Delicious; they break down too much. Stick with firmer apples for the best Apple Cobbler Recipe texture.
Save yourself the headache and keep these tips in mind. You’ve got this!
Storing Tips
I’ve found that this Apple Cobbler Recipe keeps pretty well if you’ve got leftovers (which, let’s be real, isn’t always the case in my house!). Here’s how I store it to keep that fresh-baked taste as long as possible. These methods have saved me time and again!
- Refrigerator: Store in an airtight container for up to 4 days. Just reheat in the microwave or oven to crisp it back up.
- Freezer: Freeze individual portions in freezer-safe containers for up to 2 months—perfect for a quick dessert fix.
- Reheating Tip: Pop it in a 350°F oven for 10 minutes to revive the topping’s crunch for your Apple Cobbler Recipe.
These tricks will keep your cobbler tasting amazing, even days later. Gotta love a dessert that’s just as good on round two!
Frequently Asked Questions
I get a ton of questions about my Apple Cobbler Recipe, so I’ve rounded up the most common ones here. Let’s tackle these head-on with answers straight from my kitchen experiments. I’m happy to help clear up any confusion!
Can I use canned apples for this recipe?
Sure, you can, but I’d recommend fresh apples for the best texture and flavor in your Apple Cobbler Recipe. Canned ones work in a pinch—just drain them well to avoid a soggy mess.
Can I make this ahead of time?
Absolutely! Prep the filling and topping separately, store ‘em in the fridge, and assemble right before baking. I’ve done this for holiday meals, and it’s a total time-saver.
What if I don’t have nutmeg?
No worries—skip it or swap in a pinch of allspice or extra cinnamon. It won’t be exactly the same, but your Apple Cobbler Recipe will still taste awesome.
Can I double the recipe?
Yup, just use a larger baking dish or split it into two. You might need to add 5 to 10 minutes to the baking time—keep an eye on it!
Is this recipe gluten-free?
Not as written, but check my variations section for a gluten-free flour swap. I’ve made it that way for friends, and it’s just as yummy.
How do I know when it’s done?
Look for a golden-brown topping and bubbly filling around the edges. Stick a toothpick in the topping; if it’s set, you’re good to go with your Apple Cobbler Recipe.
Can I use frozen apples?
For sure, just thaw and pat them dry first to avoid extra moisture. I’ve used frozen in a pinch, and it works fine.
What’s the best way to reheat it?
I pop mine in the oven at 350°F for about 10 minutes to keep the topping crisp. A microwave works too, but it might soften things up a bit.
Conclusion
Well, there ya have it—my tried-and-true Apple Cobbler Recipe that’s been a hit in my home for years. I hope you’re as excited as I am to bake up this cozy, comforting dessert and share it with your loved ones. Drop me a comment if you give this Apple Cobbler Recipe a whirl—I’d love to hear how it turns out!
Conclusion
I hope you enjoyed this recipe for Apple Cobbler Recipe! It’s truly one of my favorites, and I’m confident you’ll love it too. Remember to follow the steps carefully for the best results.
Don’t hesitate to experiment with your own variations and make this recipe your own. Happy cooking!